A fun tutorial on how to marble
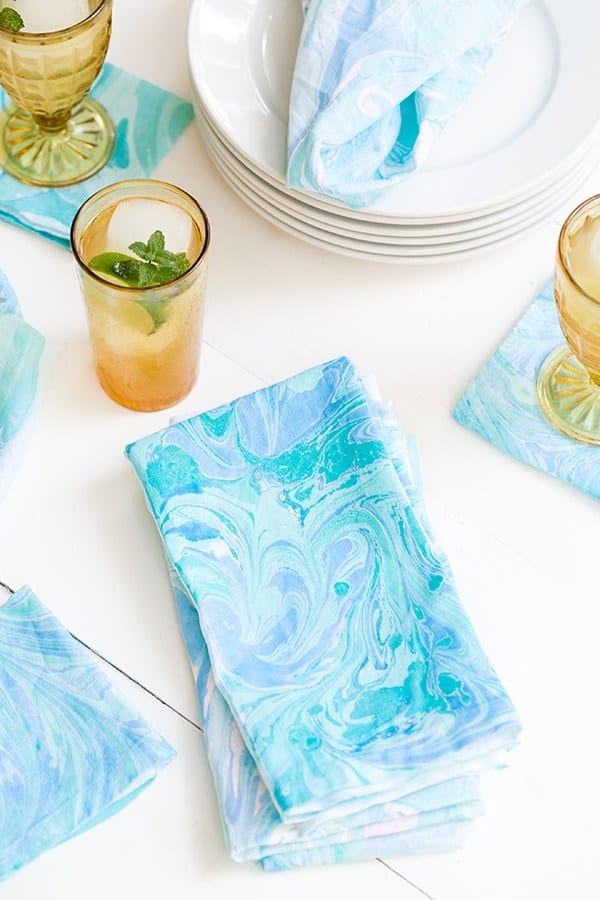
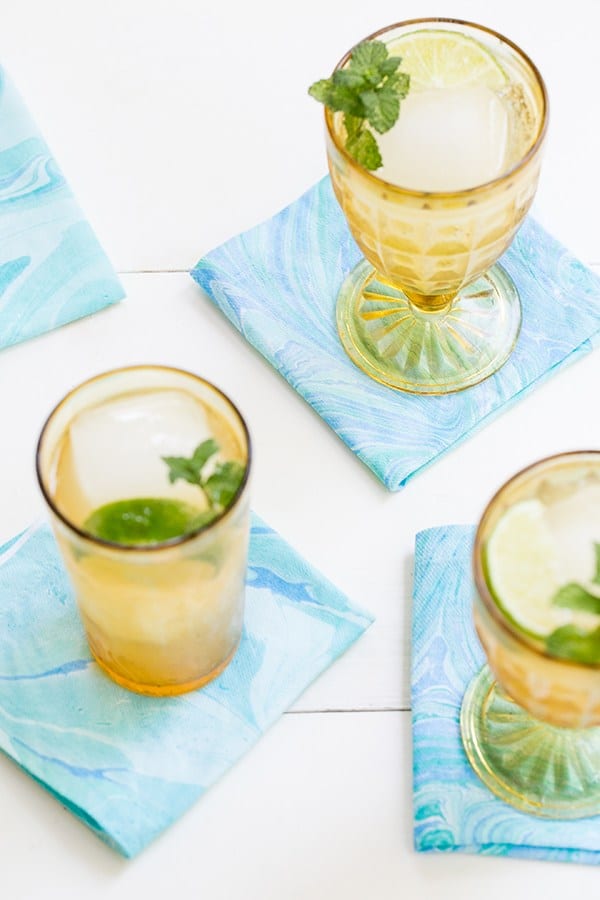
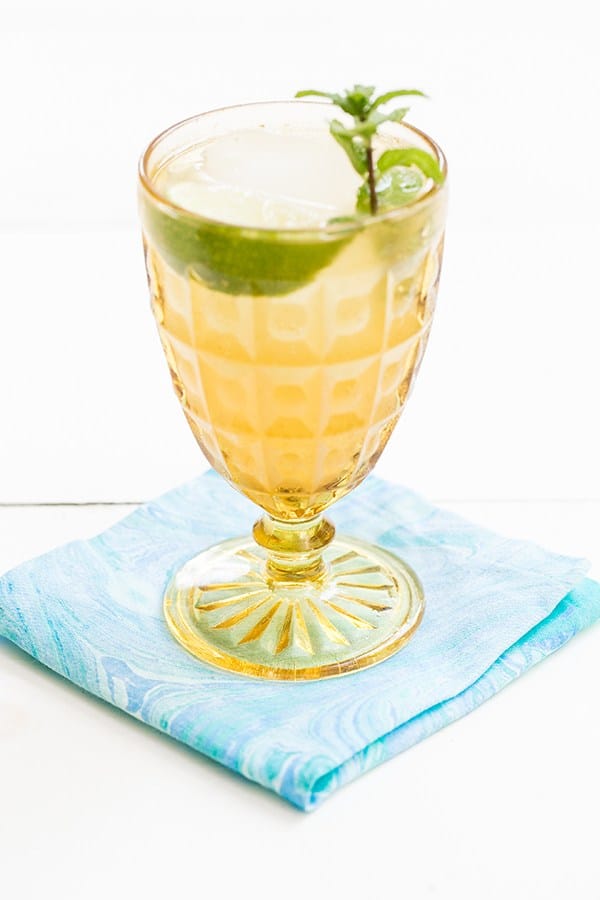
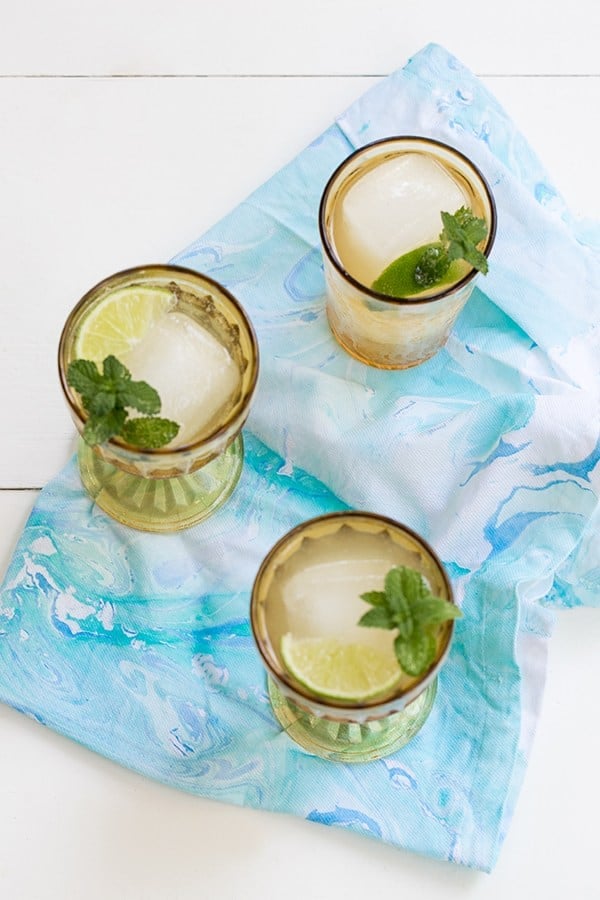
We had a blast creating these cocktail and dinner napkins to use for parties or events! This marbling technique takes time, but it’s so much fun. Once you actually see the paint adhering to the napkin, it’s totally worth it!! We wanted to marble every fabric item around us. It was pretty awesome and worth a try. We also did this with ceramic coasters too. They looked awesome.
How to Make Hand-Marbled Fabrics
Marbling Fabric Supplies
Acrylic Paint in whatever colors you want
Bucket of water to the side to rinse fabric once marbled
Whisk
Measuring cup
Small cups for paint
Wooden sticks
Directions for Fabric Marbling
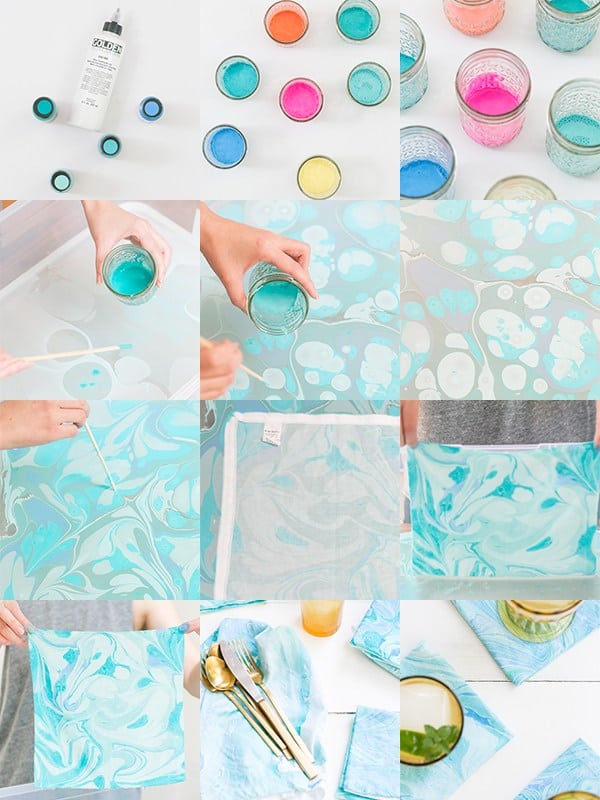
1. The trick to adhering the paint to fabric is presoaking the fabric in alum. You can do this the night before. Mix 3 tablespoons alum per 1 quart of hot water. Let the alum dissolve, then soak the fabric for 20 minutes. Hang to completely dry before marbling.
2. In the large flat bin, prepare the marbling base by mixing 4 tablespoons Methocel and 1 tablespoon Ammonia per gallon of warm water. Whisk until it’s completely mixed and then let it sit for 1-2 hours until the mixture is thick and most of the bubbles have dissipated.
3. While you wait, prepare small jars of Acrylic Paint. Squeeze about 2 tablespoons of paint into the jar and slowly thin using Golden Acrylic Polymer until it’s a milky consistency.
4. Iron the dried and prepared pieces of fabric.
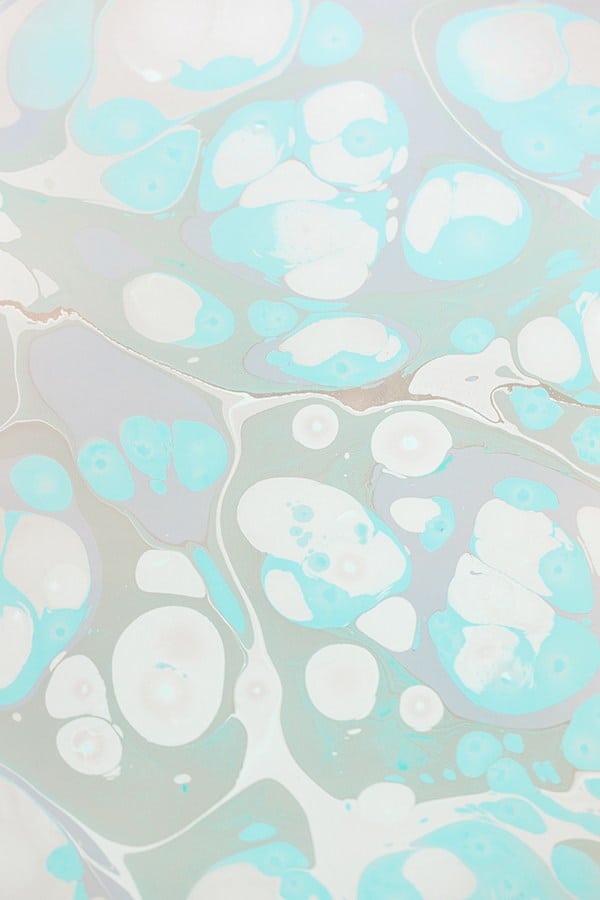
5. Once the bin mixture is set, go through and pop any bubbles that are still remaining. Then drop the paint colors on top of the mixture using popsicle sticks or skewers. You can layer paint colors, place different colors on top of each other, etc. Some paints will spread out more and others will go on a little thicker and that’s okay.
6. When you’re satisfied with the colors you’ve placed, take the fine tip of the skewer and drag it through the paint to create a marble pattern.
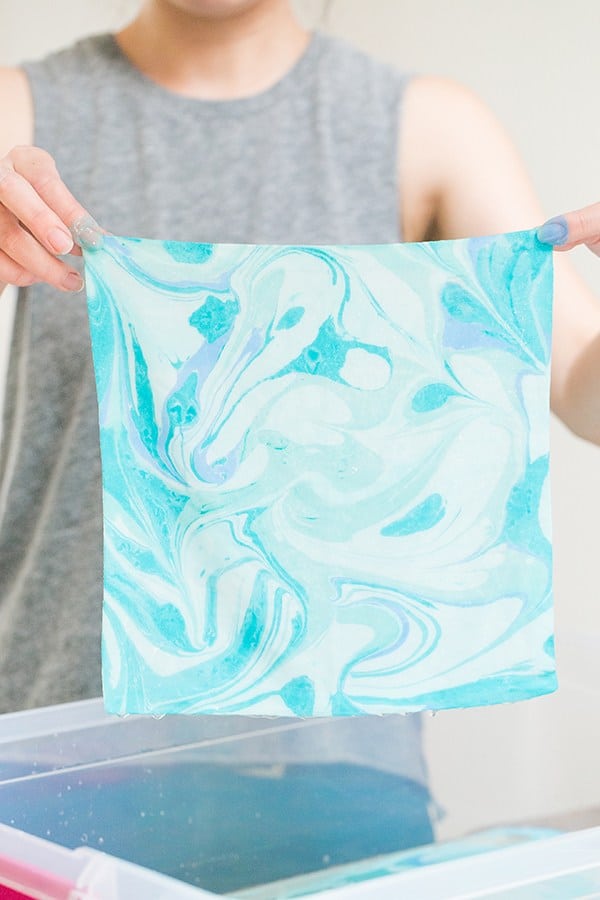
7. Once the pattern is ready, place the napkin flat down on the surface. Make sure every inch of the napkin fits flat inside the bin. Whatever the napkin touches, will be transferred to the fabric. You can see the pattern adhere from the backside.
8. Take one side and lift towards you, pulling the napkin up.
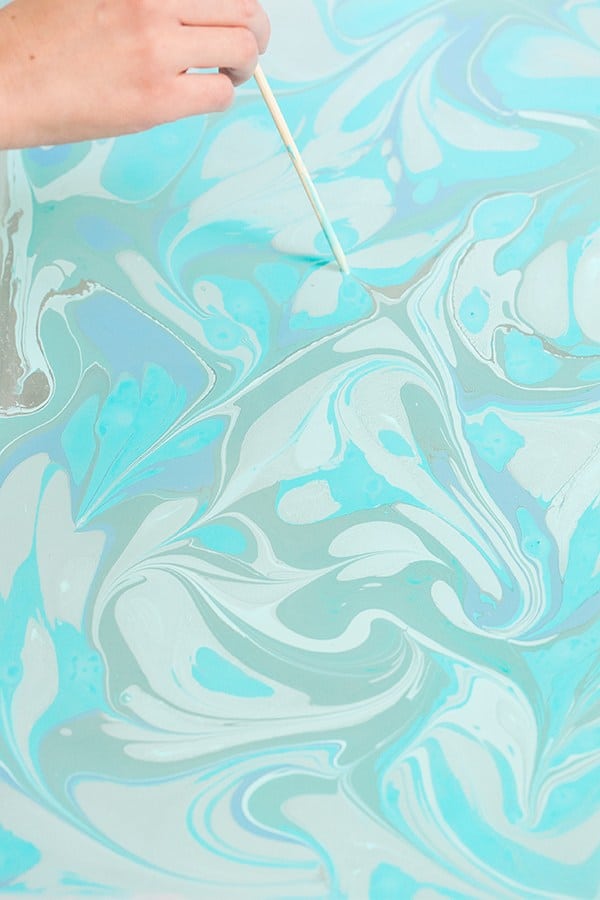
9. Transfer the napkin to the clean bucket of water next to you and rinse. Then hang to dry or lay flat on a towel.
Tips for making hand-marbled fabrics:
Make sure you follow the directions well. Wear gloves if you don’t want to marble your fingers! Play around with other flat objects. The paint will adhere to ceramics and thick paper too.
Does acrylic paint work on ceramic and does not wash off?
This method of marbling will also adhere to ceramic and will not wash off. We made coasters at an event that were so fun. It’s best to create a project with a flat surface. Some other ideas would be serving trays, outside of plates, ceramic picture frames or even thick paper.
There are also fabric marbling kits if you’re looking to do a quick project or doing this with kids.
More DIY Projects You’ll Love!
Let us know if you try this marbling technique by leaving a comment below! Also, tag us @sugarandcharm


Wow the Methocel is expensive. I really wanted to do the napkins but when you total up this and that it comes pretty expensive. Love the job you did.
Great tutorial. I will just give you one tip- when you prepare your fabric with alum, flatten it and get the wrinkles out before drying. Alum will break down the fibers in the fabric and ironing it will weaken the fibers further- making them weak enough to fall apart- disintegrate- the first time you launder the napkins. If you don’t get a chance to marble all of your alum sized fabric in one day- rinse the alum out of the unmarbled fabric until you have more time- otherwise your fabric will fall apart. …ask me how I know this….☺
Will the colors last after washing in the washing machine multiple times?
They do!
Will this marbling method work on glass Christmas ornaments?
It can! You’ll have to roll the ornament over the pattern, not dunk it. The surface of the ornament has to touch the surface of the paint.
Can you substitute silk dyes for the acrylic mixture?
We have not tried that, but it might work!
Hello,
I would like to know we could use any substitute of Golden Acrylic Polymer for mixing with Acrylic paints…
We did some marbling in a class. It was a lot of fun. I wish the supplies were cheaper too.
As for those asking about this golden polymer replacement? It is acrylic paint and we just watered it down a bit more.
Do you use cotton napkins? Or fabric? I saw this technique with silk,is there any difference? For paint it brought me to amazon Martha Stewart multi surface acrylic satin does that matter satin or just acrylic? Do you have a video of this?
We used a cotton napkin and it worked great! We linked all of the products in the post and recommend using those to achieve the same desired look. We don’t have a video, but that’s a great idea!
Hey!
I have tried this technique but what is missing from the samples is the brightness of the colors! I have used every chemical except golden acrylic polymer. I live in India where there is no such thing available! Can you suggest it’s substitution?
What kind of paint that u use to dye the fabric? Are u can use that technique for any kind of fabric?
Wow! These are adorable. I love the colors you used. Can’t wait to try and make my own!
so fun!
Since this project is shown in a dining setting, is the end result safe to use as normal napkins, I.e. on the mouth or to wipe hands?
We always suggest doing your own research, but for us we do use these. You can wash them in the washing machine and dry before doing so.
These turned out so pretty! I definitely need to give this marbling trend a try!
Let’s Mingle Blog
I love all these marbling ideas! So awesome!
Thank you!! XOXO