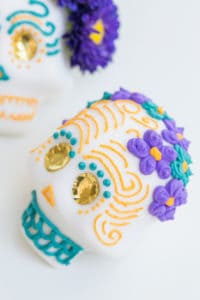
Mexican Sugar Skulls
Eden Passante takes on the traditional art of Mexican Sugar Skulls by using dyed icing and gold foil to portray the beautiful and colorful designs.
Servings: 10 skulls
Calories:
Equipment
- Oaxaca Medium Sugar Skull Mold
- Original Medium Sugar Skull Mold
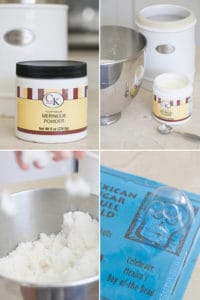
- 8oz jar of meringue powder.
- Assortment of colored foil for the eyes.
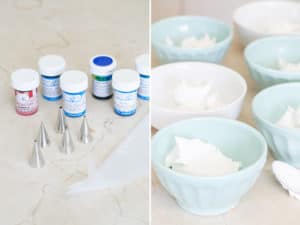
- Food coloring paste (do not use food coloring drops, as you won't get the right coloring). I used: Chartreuse, Royal Blue, Golden Egg Yellow, Purple, Teal and Royal Red.
- Disposable icing bags for each frosting
- Decorating tips for each color. I went to a craft store and bought 6 of the smallest circles/holes I could find.
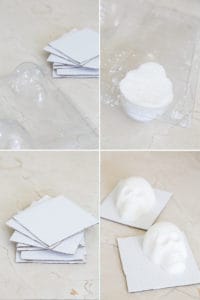
- Small pieces of cut cardboard for the sugar skulls to dry on.
Ingredients
Mexican Sugar Skull Recipe
- 8 cups sugar
- 8 teaspoons meringue powder
- 8 teaspoons water
Royal Icing Recipe
- 7 cups powdered sugar
- 1/2 cup meringue powder
- 2/3 cup water
Instructions
Mexican Sugar Skulls
- In a large mixing bowl, combine all of the ingredients. Mix with a wooden spoon at first, then use your hands to thoroughly remove all of the clumps and to create a mixture that holds in your hand when you squeeze it. You will most likely need to mix for about 5 minutes, if not more.
- Once the mixture can hold a shape, pack it down into the mold tightly. Then place the cardboard behind and gently flip it over to remove the sugar skull onto the cardboard.
- Let the sugar skulls dry for 12 hours. If you're making the 2 part skulls, after about 4 hours you can scrape a hole in the back of each piece to remove some of the sugar inside. This way they won't be too heavy when you glue the back and front together with icing. Otherwise, they might slide apart.
Royal icing
- In a stand-alone mixer, beat the ingredients for about 5 minutes until it appears to have a fluffy texture. This paste is extremely thick and dries quickly.
- Have 6 bowls set out to divide the royal icing into equally. While you're adding food coloring paste to each of them, cover the others with plastic wrap to ensure they stay moist.
- Add a good amount of gel coloring to each bowl, then mix until incorporated.
- Cut the tip of the frosting bag and choose a tip you want to use to place inside before you add the frosting.
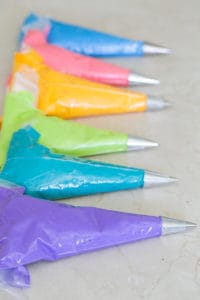
- Once the frosting is added, roll down the opening of the bag to close it so the frosting doesn't dry.
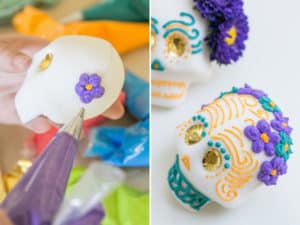
- While you're decorating, the frosting in the tips might dry, just use a small needle to unclog them.