Interior Barn Doors are great for space saving and the look fantastic! They open so smoothly and are relatively simple to install.
This post is in partnership with Schlage
So we finally finished our kitchen and dining room remodel, but one thing we’ve been wanting to do since we moved back in was to find a solution for noise while entertaining.
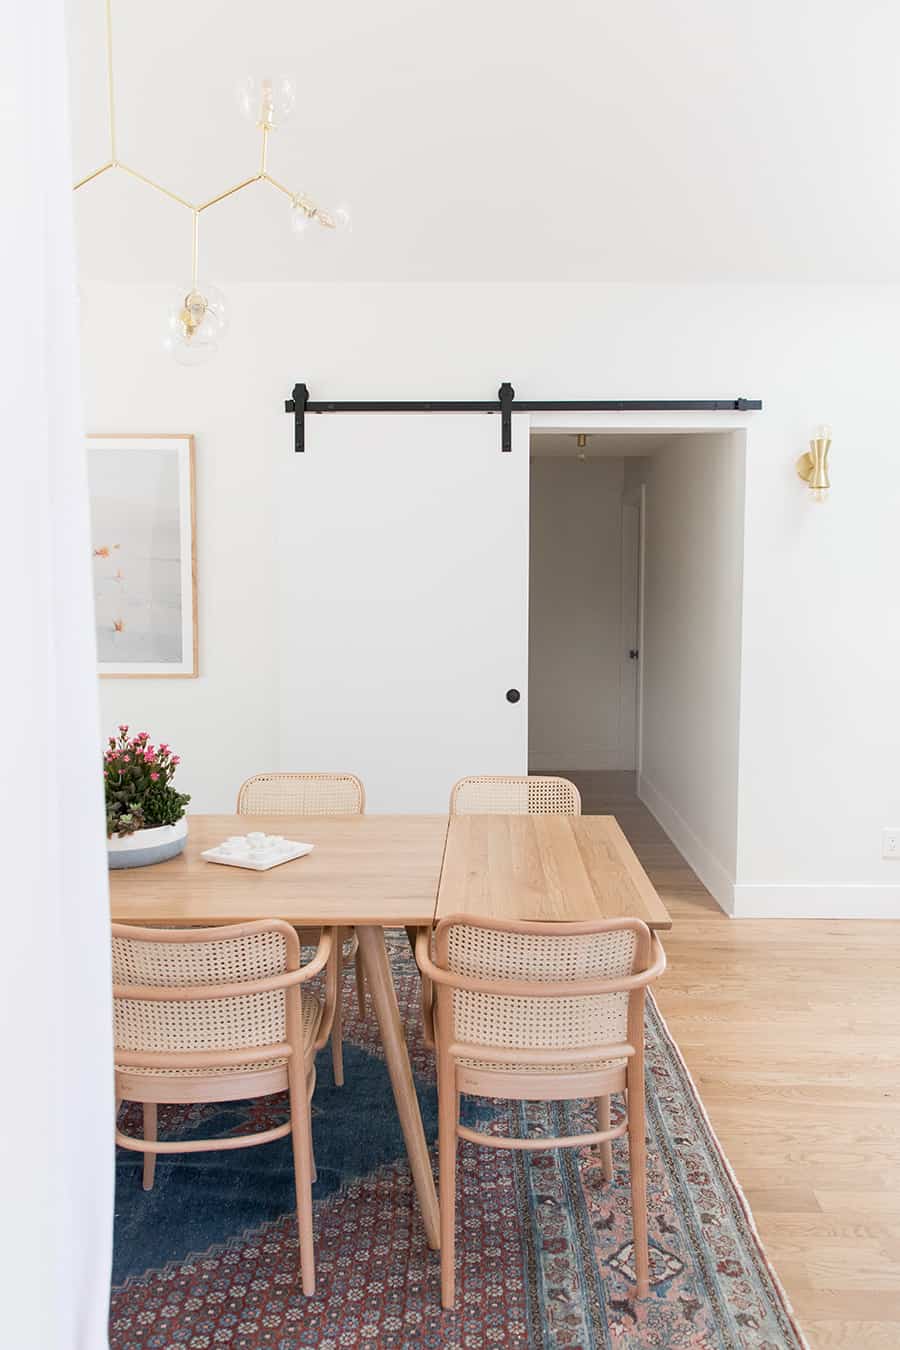
The boys room is right off the dining room, down a little hallway. When we’re entertaining it can get a little loud in the dining area so we wanted to have another solid door where we can block out extra noise.
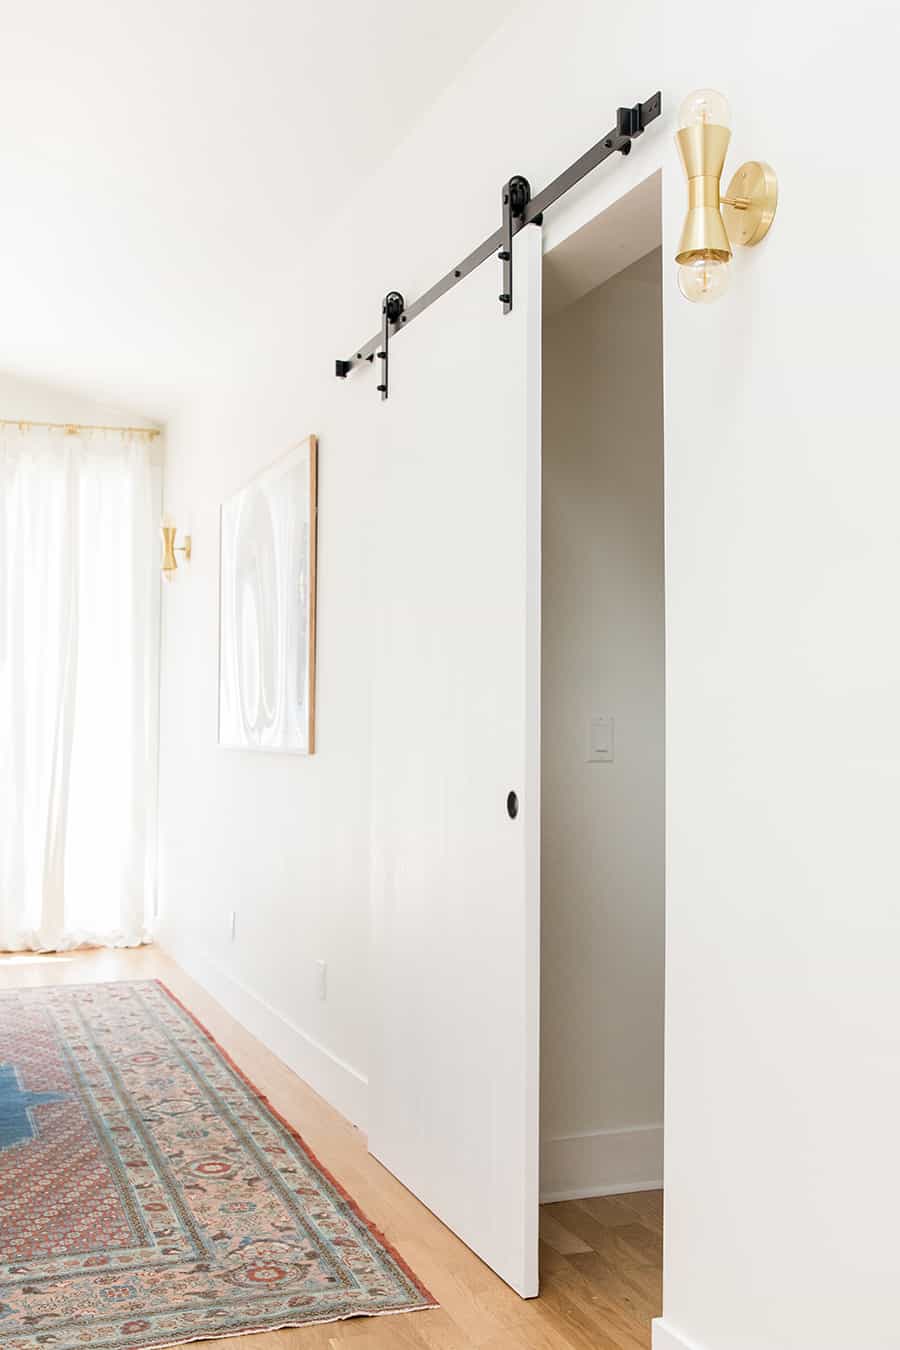
I was researching hardware so we could install it ourselves and found that Schlage makes really beautiful sliding barn door hardware in matte black! It’s designed for a single sliding door which is what we needed! It came with the complete hardware kit, so it was game on!
How To Install An Interior Barn Door – Step by Step
- Order your barn doors.
- Paint your door(s)
- Install your top track. Use stud finder and a leveller.
- Install the two sliders on the door, them place them on the track.
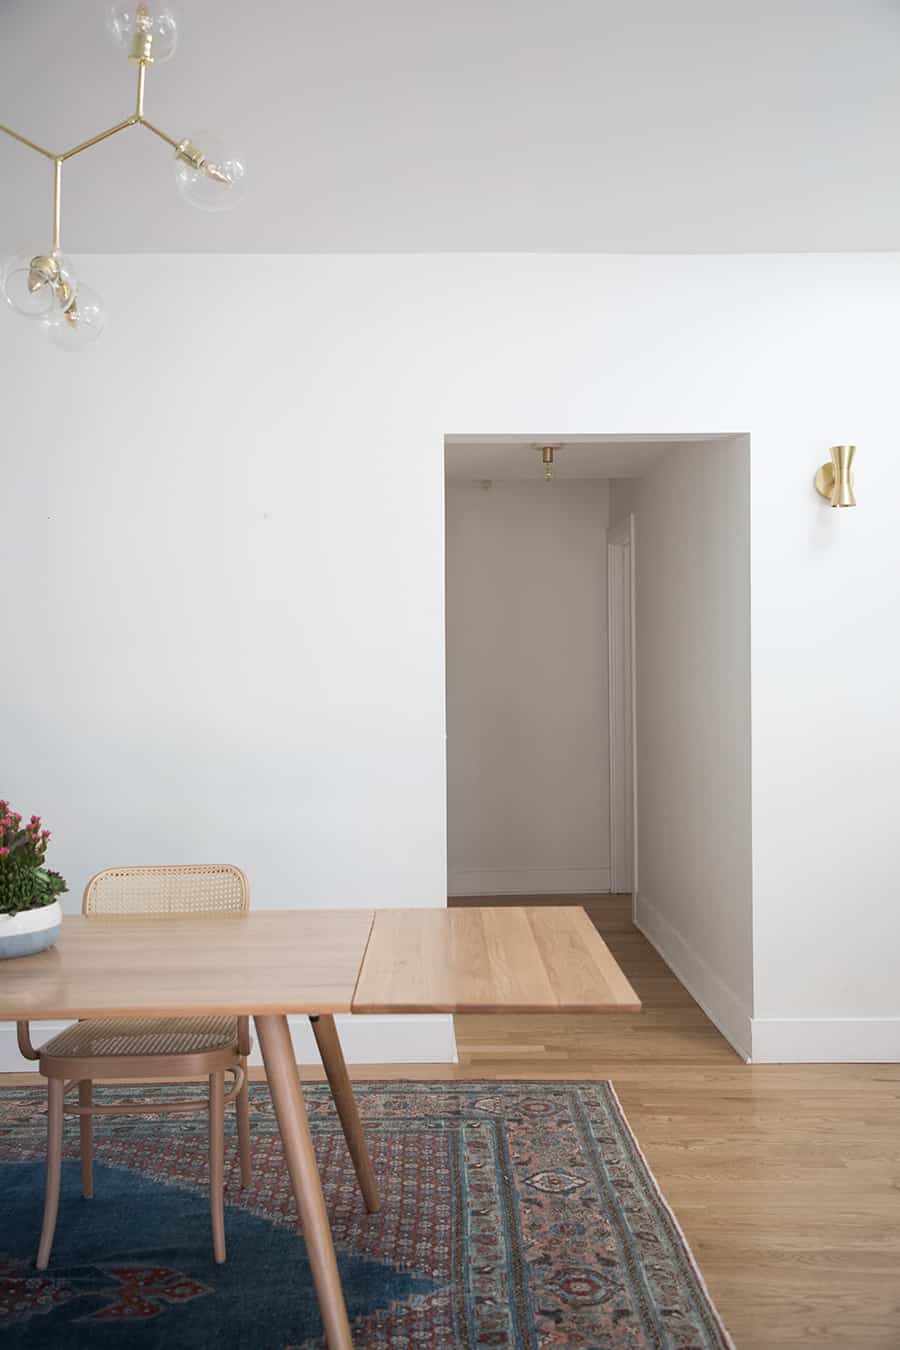
Benefit of Interior Barn Doors
I really love how much warmth it brought to this room. The room is gorgeous already, but adding this door and the hardware made it stand out and gave it even more style. It was the perfect solution to blocking off the hallway when we have guests over or when the baby is napping during the day.
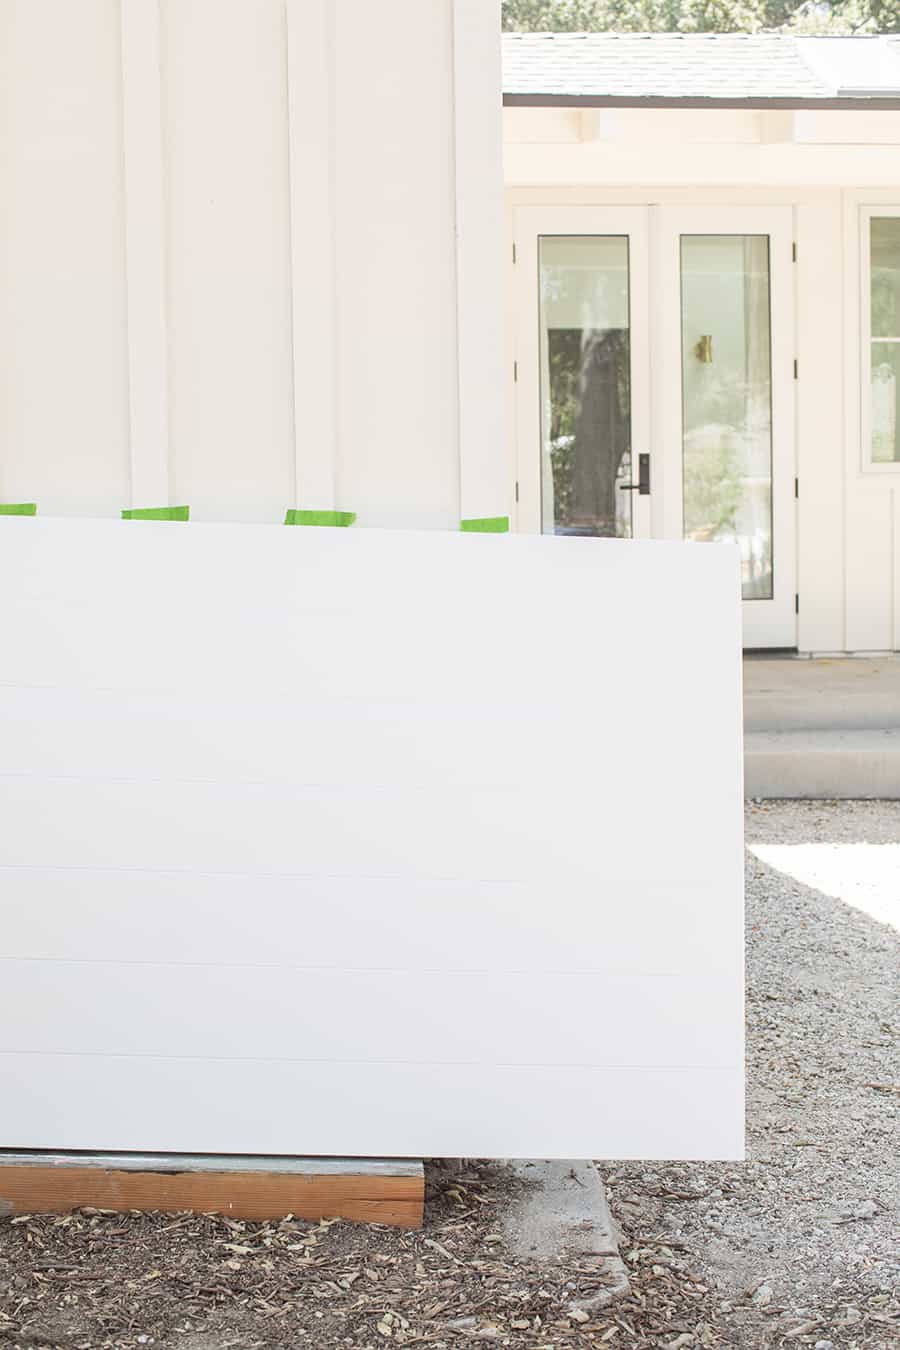
Custom Interior Barn Doors
We ordered the same style custom door we have throughout the house so it would match, and of course, we painted it the same color. We used White Picket Fence from Dunn Edwards for the paint color.
Easy To Install Interior Barn Doors!
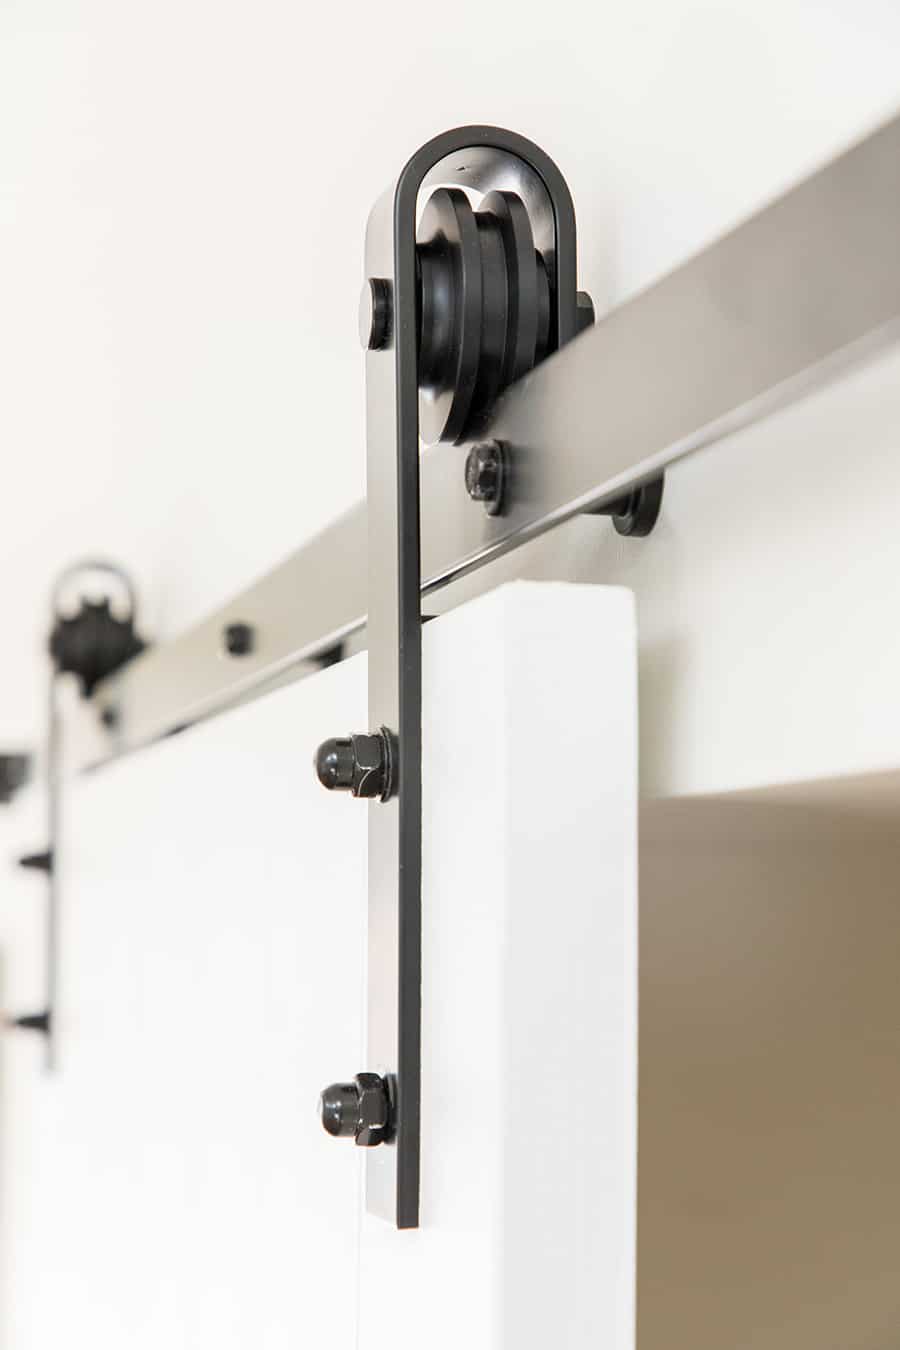
Luckily, the Schlage Sliding Barn Door Hardware was easy enough for us to install ourselves! It’s really just getting the top track (that the barn door’s sliders slide on) level and then installing 2 sliders onto the door and plopping those sliders (now attached to the door) onto the track!
Installing into Drywall
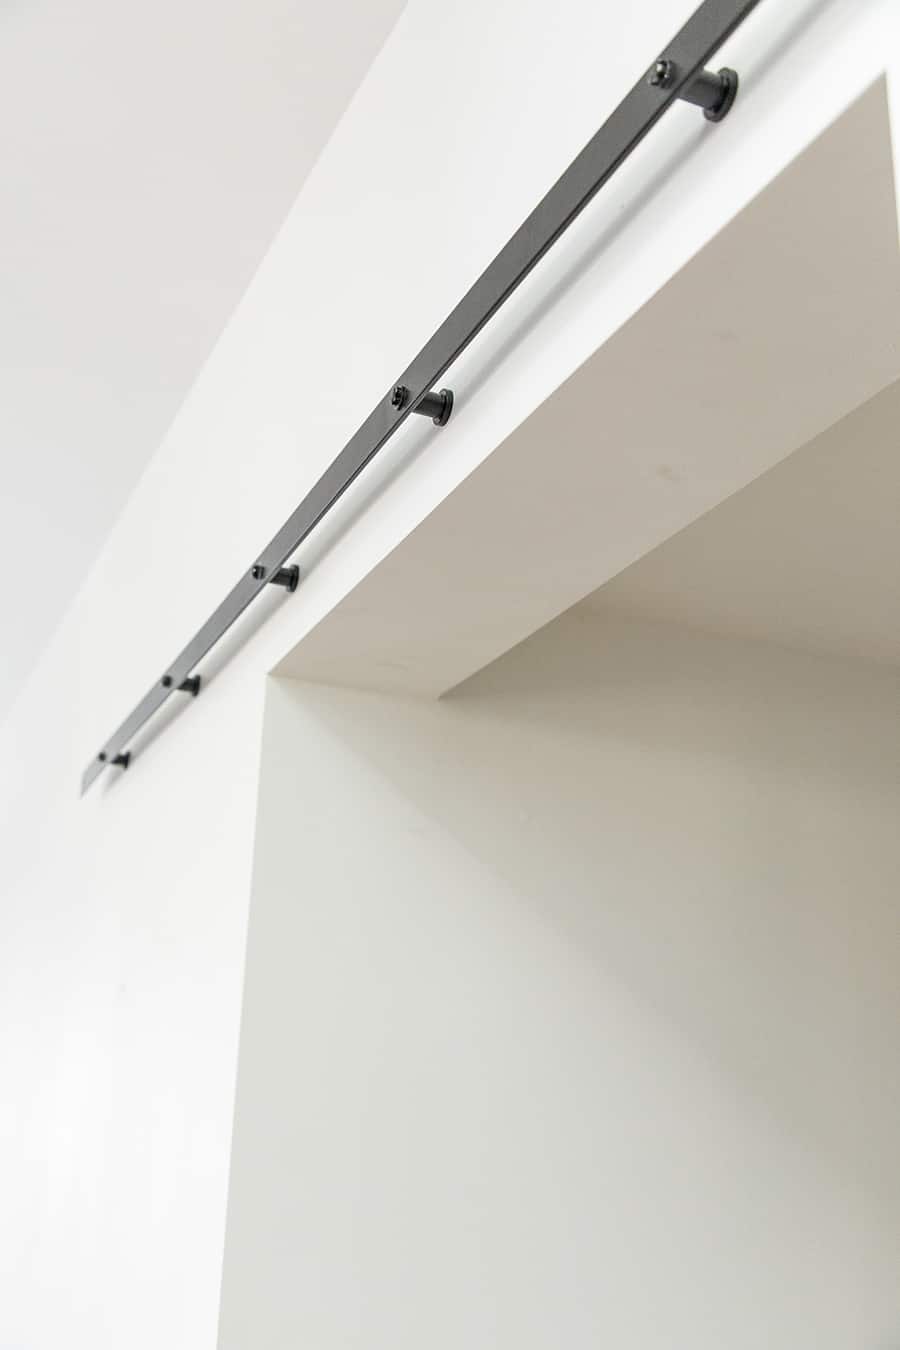
When installing the top track, if you’re installing into drywall, you must have a wooden header behind the wall (we were lucky to have one because we told the framer we were planning on installing a door there one day!) OR you have to add a wood header if you don’t have studs or a header in the wall. A header is just a nice piece of wood that gets attached to the wall that’s the same length of the track, stained, painted white or whatever color your walls are.
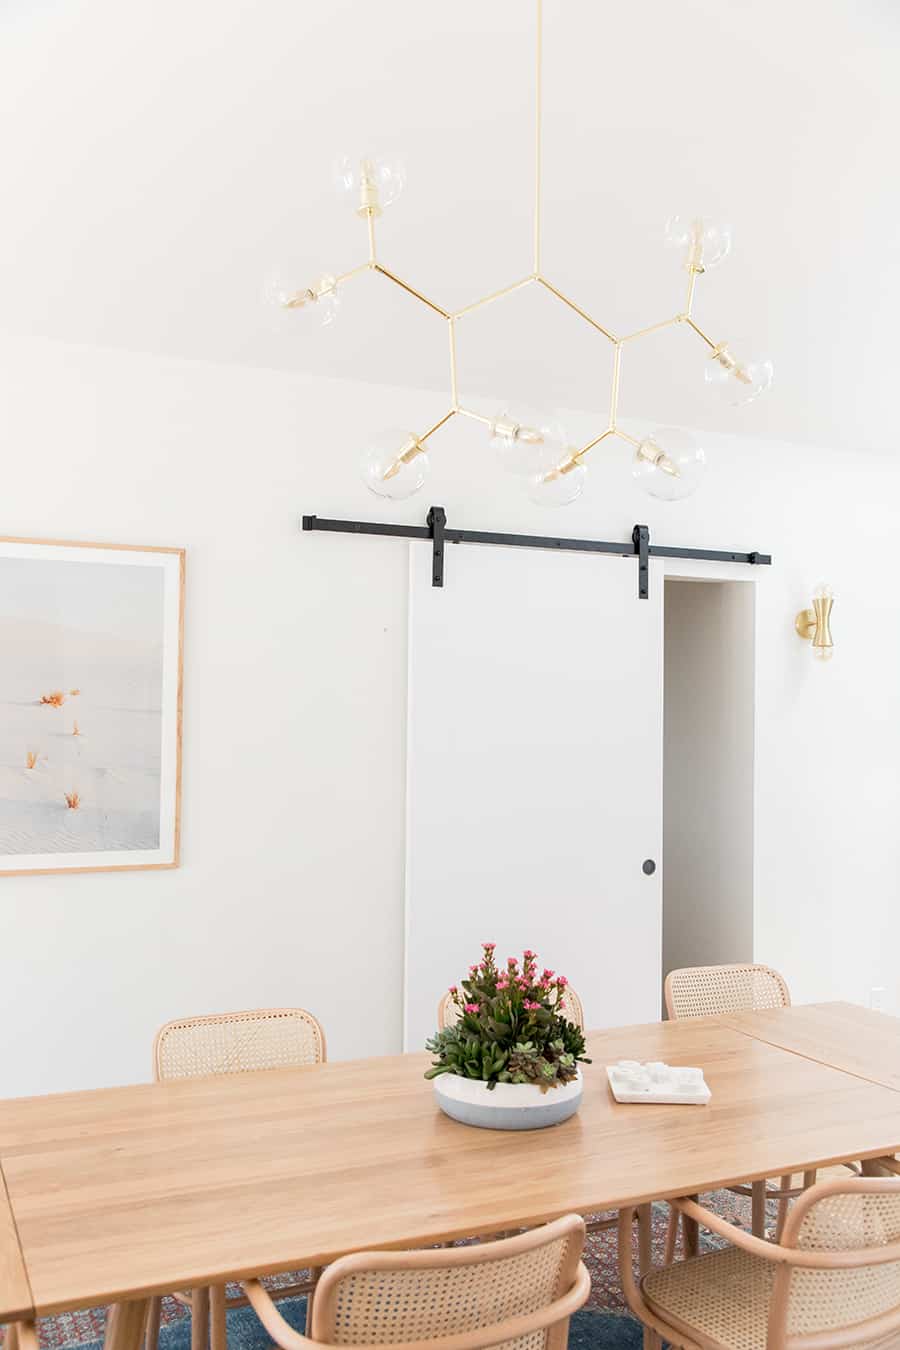
The Track Bar
The main thing with installing the track bar is to make sure it’s level! Use a level and mark the 5 LARGE holes with a pencil. Then when installing the bar, don’t forget (like Zan did) to add the 5 spacers between the wall and the track. Also, you may need to do some math with converting mm’s to inches. Thank God for Siri on that one.
Once that track is installed and level (make sure it’s also looking level to the ceiling since some ceilings may not be level!), you just install the 2 sliders onto the door using the paper template Schlage provides with the hardware and you’re good to go! We couldn’t believe actually how easy and fairly cut and dry it was.
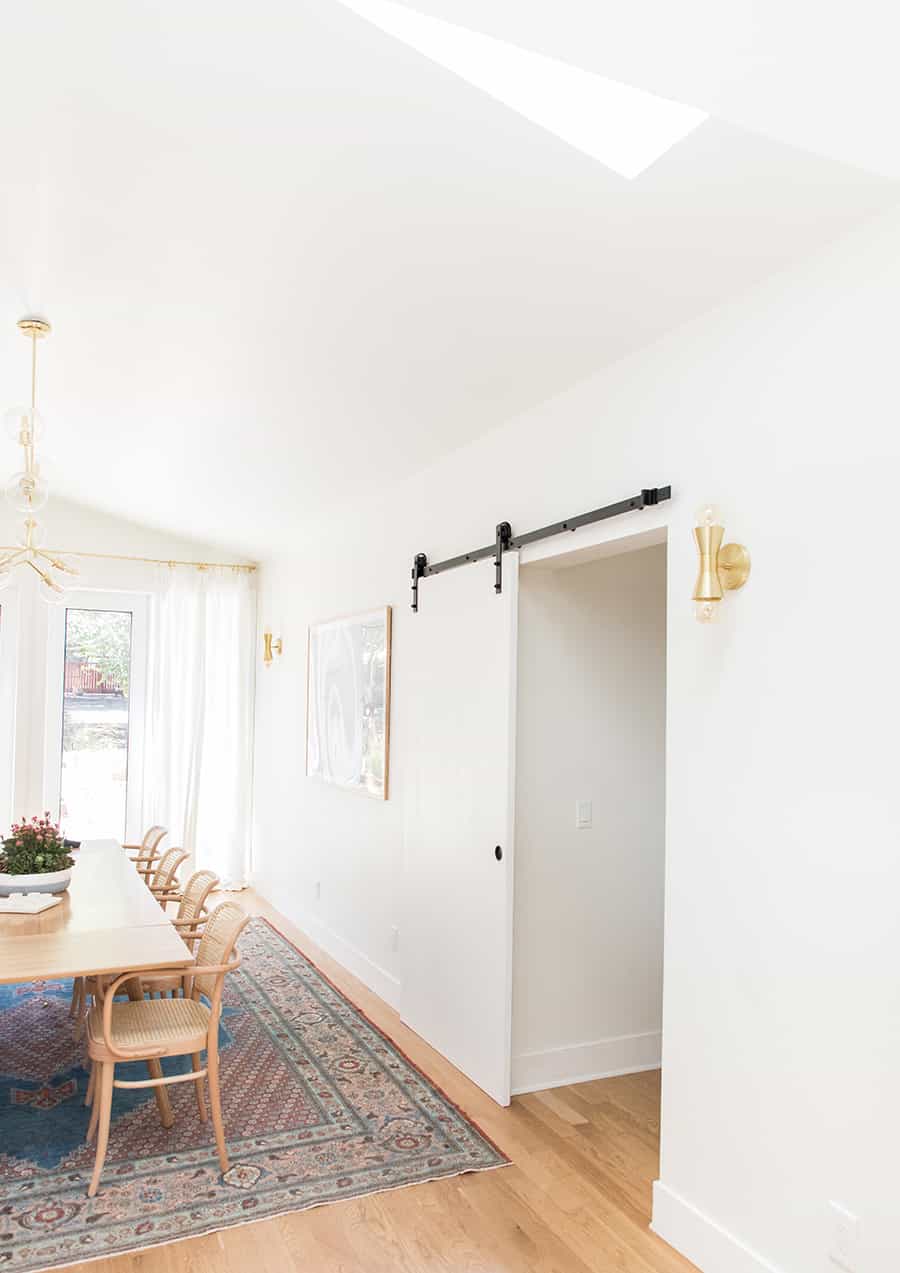
Top Tips For Installing Interior Barn Doors
- If installing into drywall, use a wooden header.
- Make sure you track is level.
- Ensure you add 5 spacers between the track and the wall.
Check Out These Great DIY Ideas
DIY Thanksgiving Dessert Table
5 DIY Natural Cleaning Products
How To Wall Mount a TV by Digital Trends
Designer Tips on How to Hang Drapes by The Spruce
If you have installed this interior barn door recipe or done any other project on Sugar and Charm, then please rate it and let me know how it turned out in the comments below!
You can also FOLLOW ME on FACEBOOK, INSTAGRAM, and PINTEREST to see more delicious recipes, cocktails, desserts and party ideas!



Great tutorial and very helpful. Years ago the hardware was not readily available and it was not cheap at all. Thankfully all the DIY projects has made so many products easy to find online now. Your door looks amazing!!