DIY Pumpkin Concrete Decorations
Oct 11, 2016, Updated Oct 14, 2025
This post may contain affiliate links. Please see our disclosure policy.
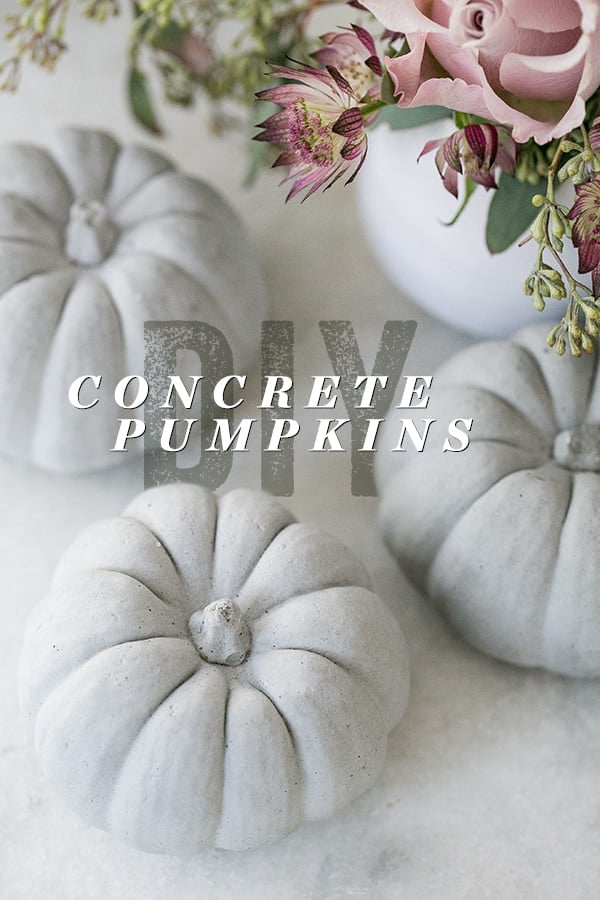
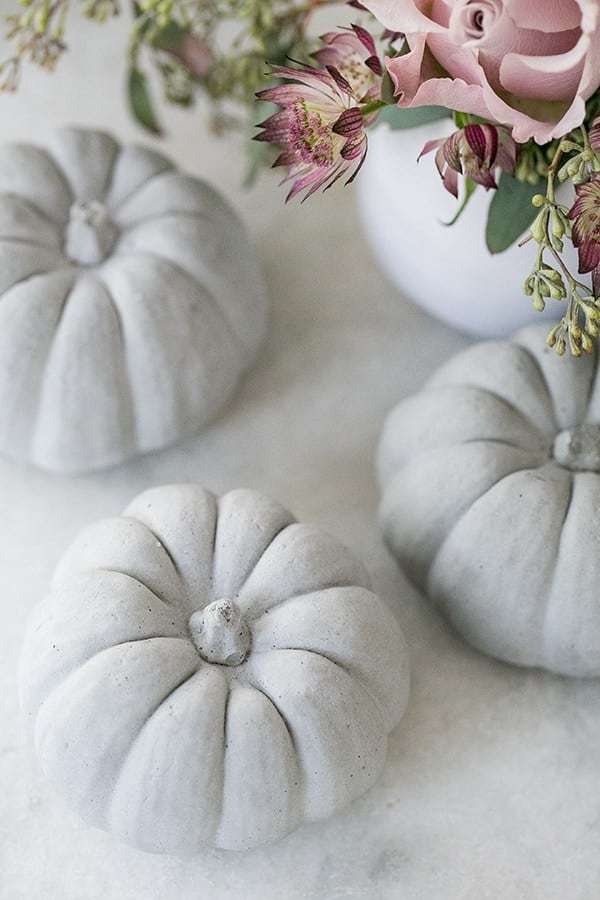
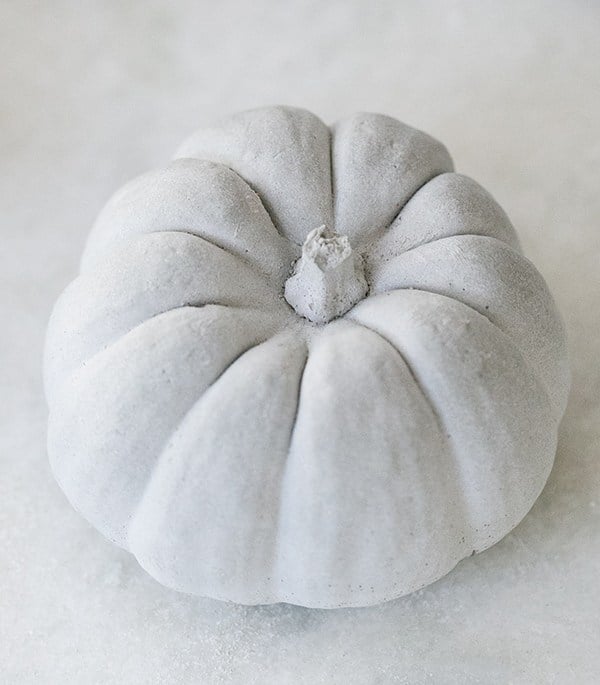
These concrete pumpkin decorations are so delightful! You put them on your front porch or as a table centerpiece, wherever you want a bit of fall charm!
Pin this now to find it later
Pin It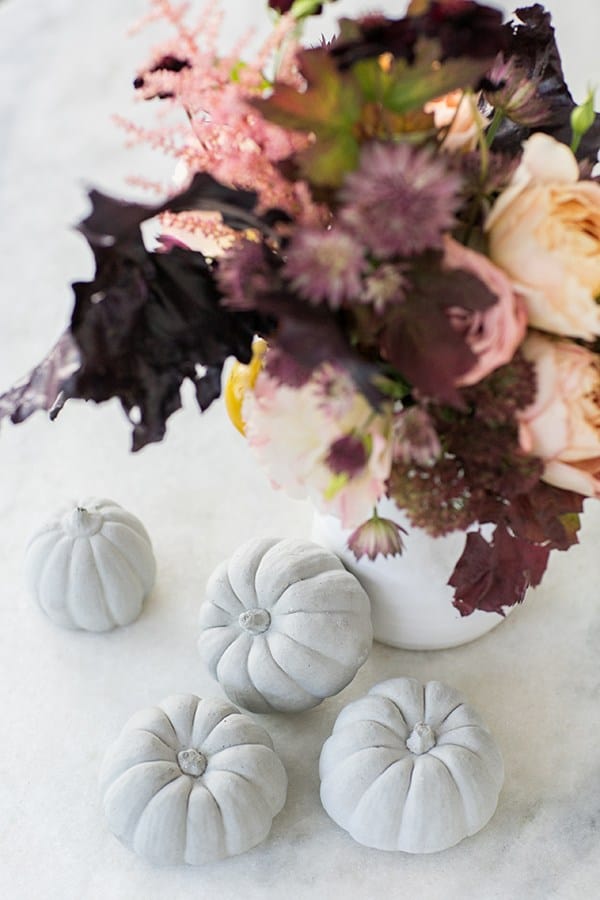
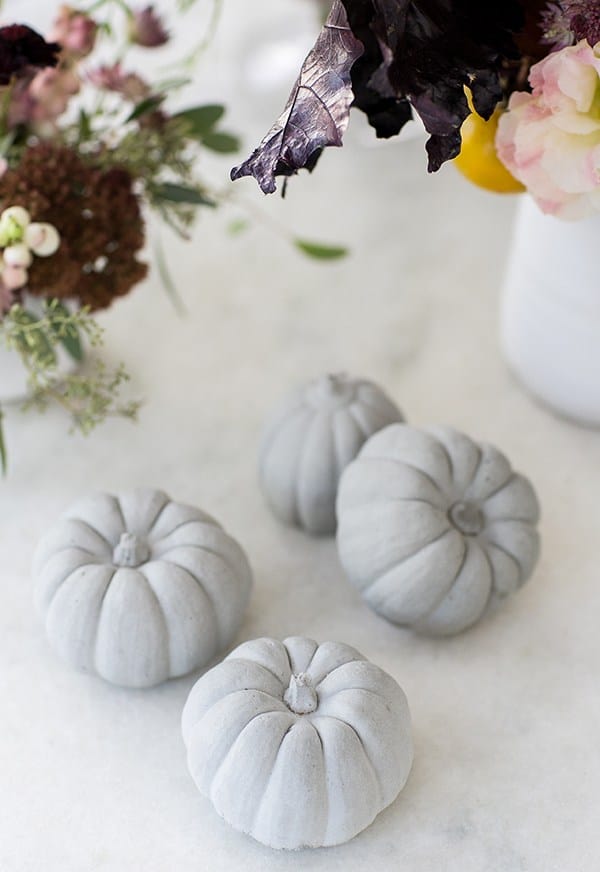
Who knew concrete could be so charming, right?! We made these DIY concrete pumpkins from silicone molds and a really cool, crafty concrete mixture!
I think they’re adorable and have such a modern vibe to them too. They’re also super versatile and would look gorgeous on a table setting for Thanksgiving or add them to a spooky Halloween party.
Perfect to set on a mantle for some charming fall decor too! After the season is over, pack them up and use them again next year!
How To Make Concrete Pumpkin
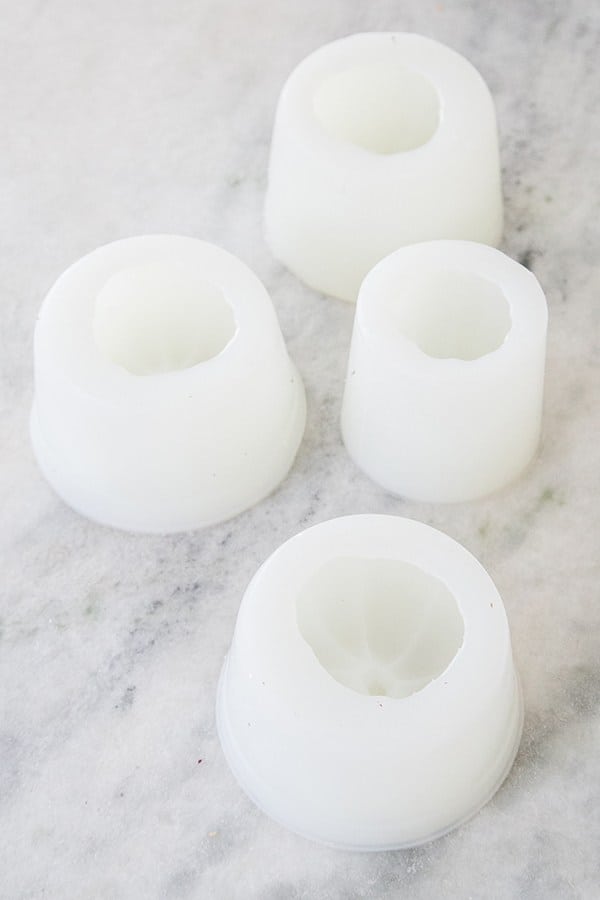
1. For these concrete pumpkins, you’ll need to get two small silicone pumpkin molds and three medium pumpkin candle molds. We used 4 oz and 5.5 oz pumpkin molds from Van Yulay.
2. Buy a few molds so you can make pumpkins at a time.
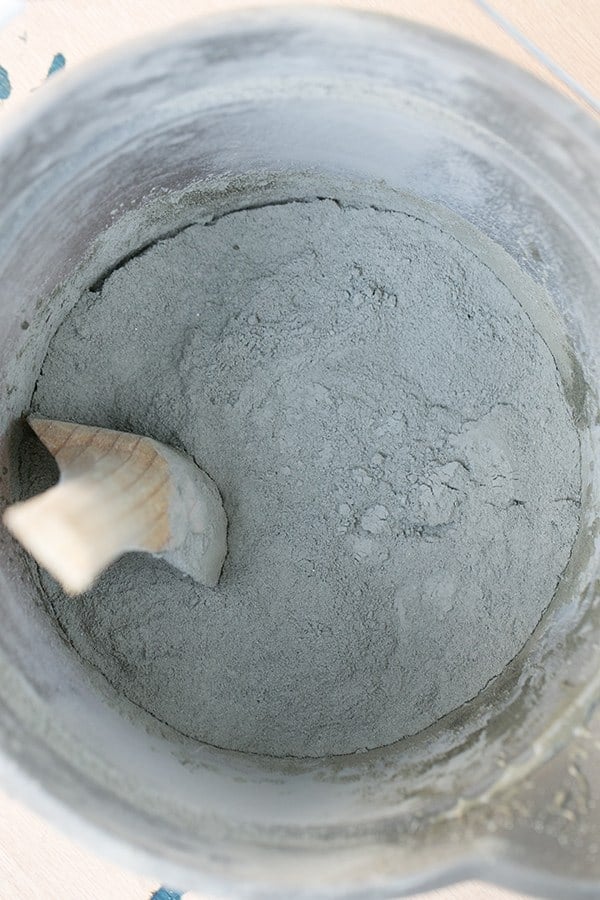
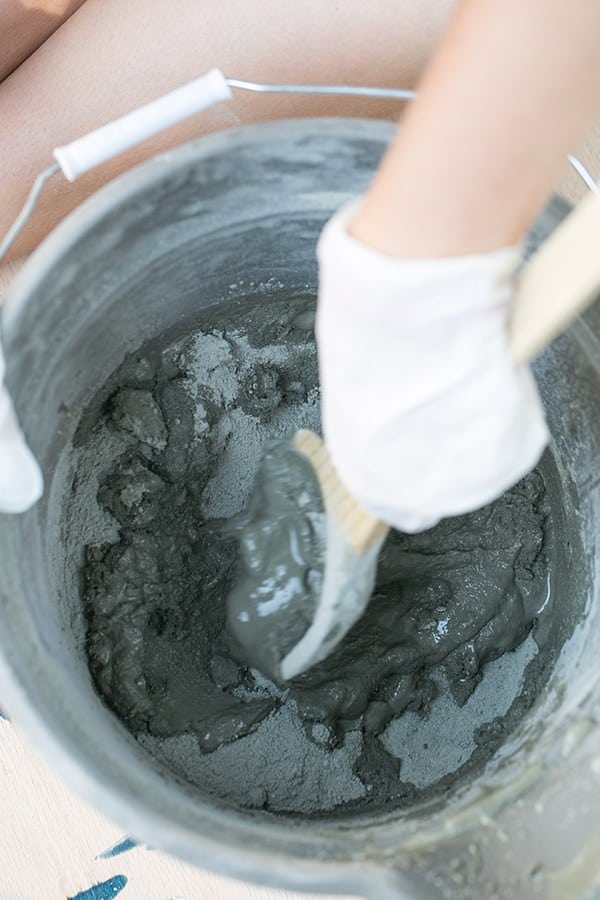
3. Follow the directions on the back of ShapeCrete to create a plaster consistency. It’s a 3-to-1 ratio of ShapeCrete and water. Just ensure it’s not too watery. Otherwise, it doesn’t set well.
4. Wearing gloves, mix really well in a bucket, then just pour into your molds. Let it sit for 1 to 2 days, and then gently pull them from your mold.
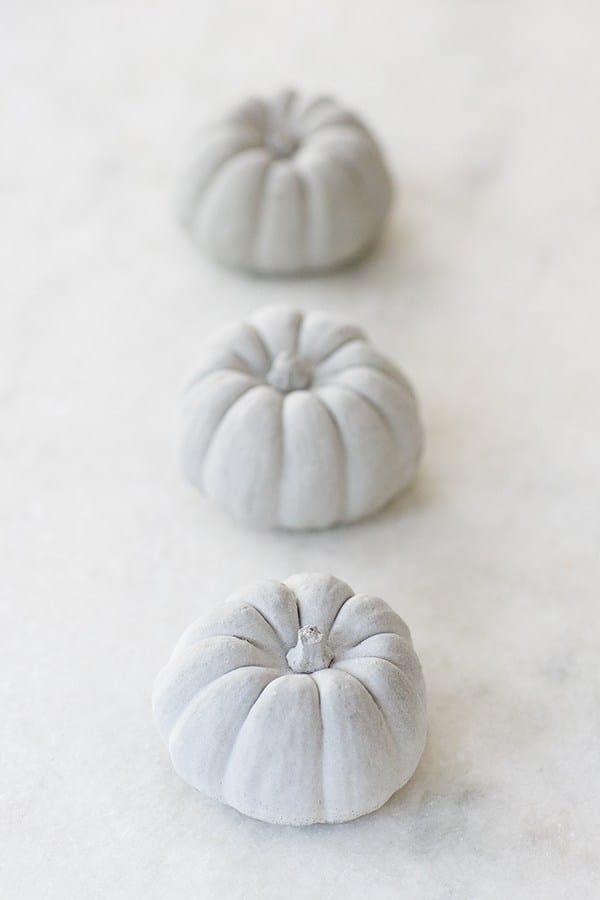
5. You can paint and decorate the pumpkins as you please. I liked leaving them just as is!
Concrete Pumpkin Video
Options for Pumpkin Molds
We ordered the molds from Van Yulay. Here are more options as well.
Concrete Pumpkin Tips
Work outdoors. Mixing concrete creates a lot of fine dust, so fresh air and good ventilation are key. A mask is highly recommended.
Protect your surface. Lay down a disposable drop cloth to keep the area clean and make cleanup easy.
Wear gloves. Concrete can be harsh on your skin.
Use eye protection. When stirring the mixture, it can splash—so keep your eyes safe.
Find a flat surface. A level work area helps your pumpkins set evenly.
How to Paint Concrete Pumpkin Decorations
Keep them clean. If your pumpkins are already painted, gently scrub them with a stiff nylon brush and hot, soapy water to refresh the surface.
Start with a base coat. If you plan to paint your pumpkins, begin by applying a base coat over the entire surface. You can use either a paintbrush or a sprayer for even coverage.
Choose the right paint. Use a latex exterior paint or a paint specifically made for concrete. Pick a base color that complements the topcoat you’ll be applying.
What Kind of Paint Can Be Used On These Concrete Pumpkins?
Use either acrylic enamel or epoxy paint on concrete statues. Though you can use acrylic enamel on both interior and exterior statues, epoxy is only suited for interior statues.
Don’t apply epoxy paint to exterior concrete statures, or sunlight will cause the finish to fade.
I think they would also be perfect as a Thanksgiving table centerpiece or even part of your Halloween decorations. Give them a try – I promise you won’t be disappointed!
If you have tried this concrete pumpkin decoration project, please comment and let us know how it turned out!
You can also FOLLOW ME on FACEBOOK, INSTAGRAM, and PINTEREST to see more great projects!



That is a great tip especially to those new to the blogosphere. Brief but very accurate information… Thank you for sharing this one. A must read post!
Hi, I am not seeing a link to the pumpkin molds! Do you mind sending me the link? Thank you
spectacular and super cool DIY.
Signing up for new posts!
Which molds did you purchase, the food grade or candle? Thanks, Pat S
I did the candle grade for these since they’re concert, but I did order a few food grade ones for a later project!
Eden, Thanks for answering. I thought the site had a lot of unique and cool molds. I spent a long time looking at them yesterday. Since you ordered both candle and food safe molds I am wondering if you see any difference in them, such as thickness or sturdiness? So I assume you shouldn’t used molds with cement that you would use for food later.
Hi Pat! I actually didn’t see any difference in the molds! They felt the same to me… I guess just going based off the way they’re made with food safe materials. I won’t use the ones I used cement in for food, but I would make candles and stuff out of them!!
Do the food safe molds say you can bake in the oven (or freeze) and if so up to what temp? Pat S
Your link to silicon molds may be wrong. It took me to a skin care site that did sau silicon molds but when clicked said this page not there.
Hi Debra! That is where I got them… super random right?! But I honestly searched for hours because most of the molds ship from china and I didn’t want to wait and had a bad experience last time I ordered molds overseas!! This shop was really great and shipped super fast. The two links above link to the pumpkin molds…. you can search the site for other molds too. I hope that helps!!
The links work fine but the site does sell skin care products and a lot of really cool silicone and candle molds.
that’s the right site… there is a menu item for molds. I thought the same thing until I looked around.