DIY Christmas Ornaments
Dec 04, 2024, Updated Nov 08, 2025
This post may contain affiliate links. Please see our disclosure policy.
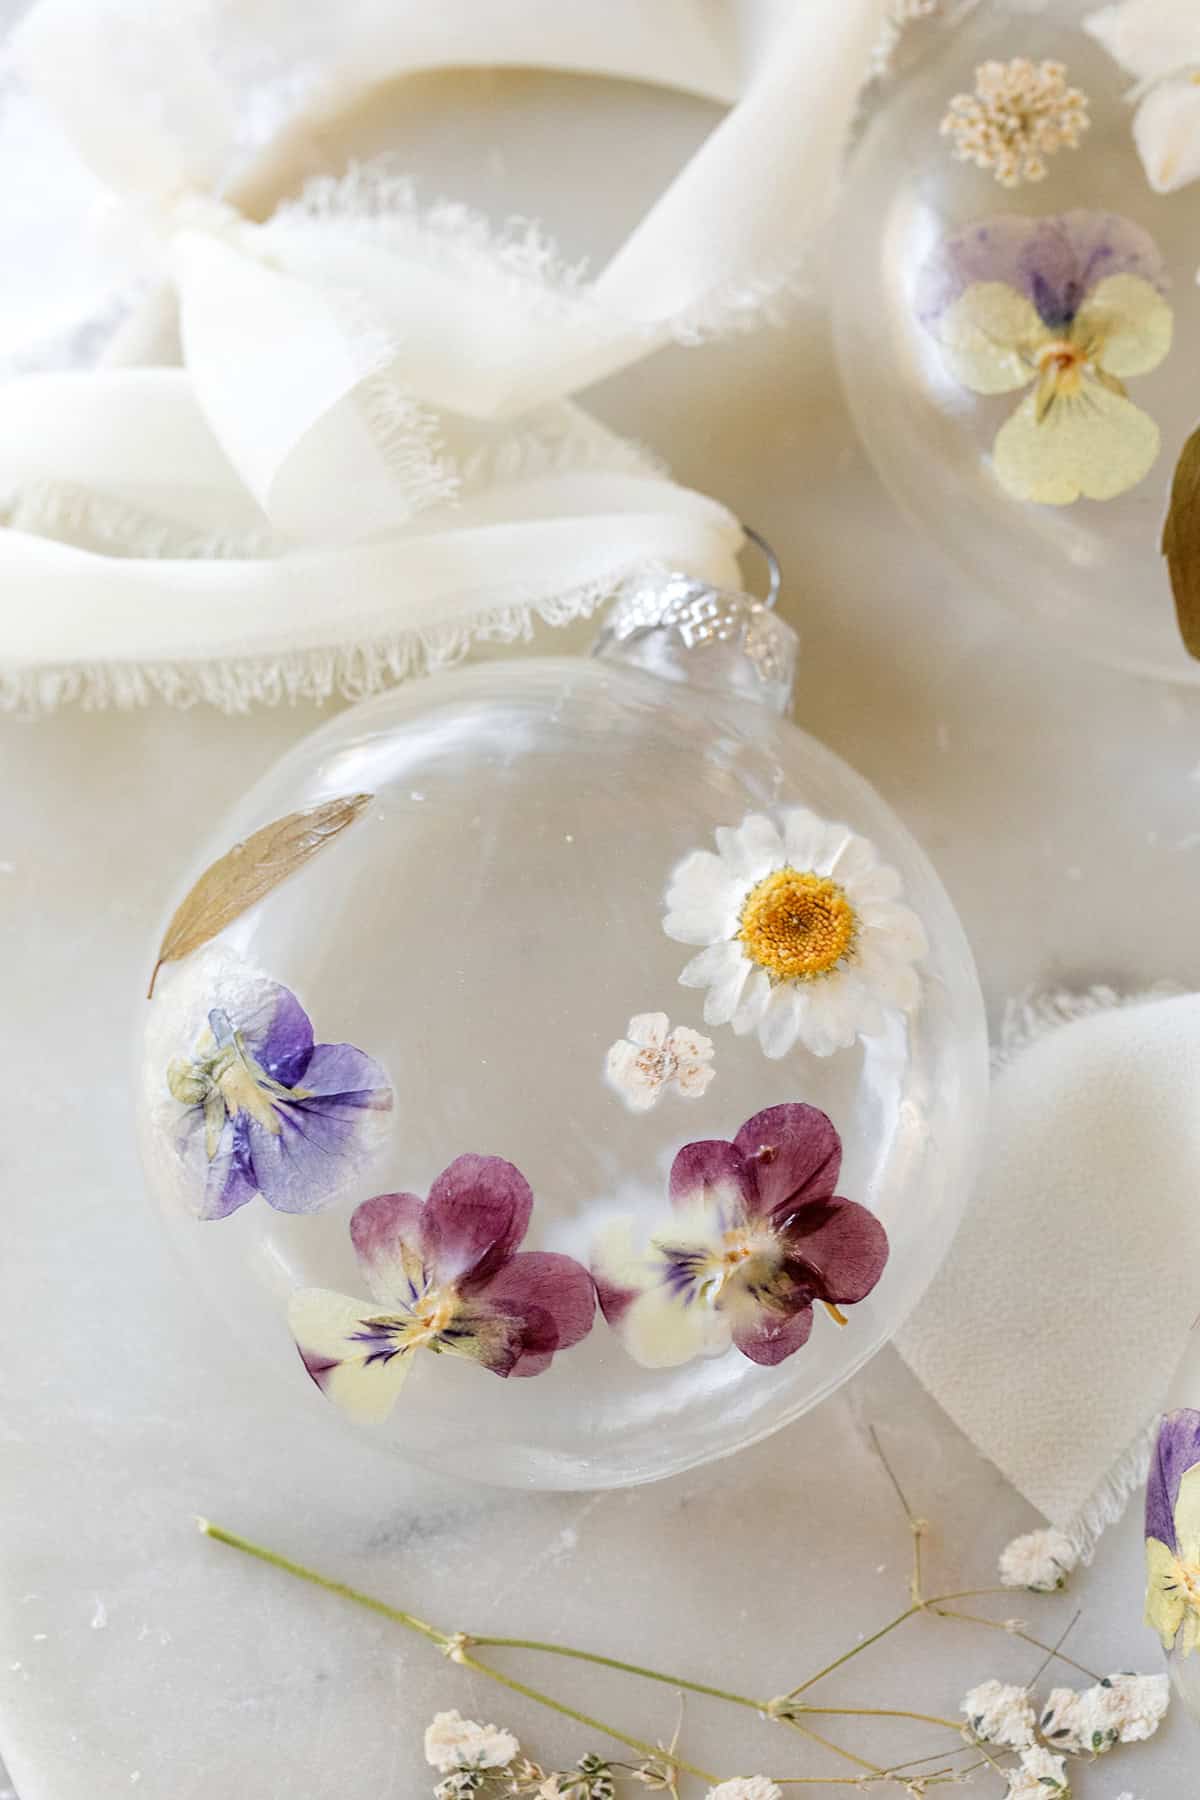
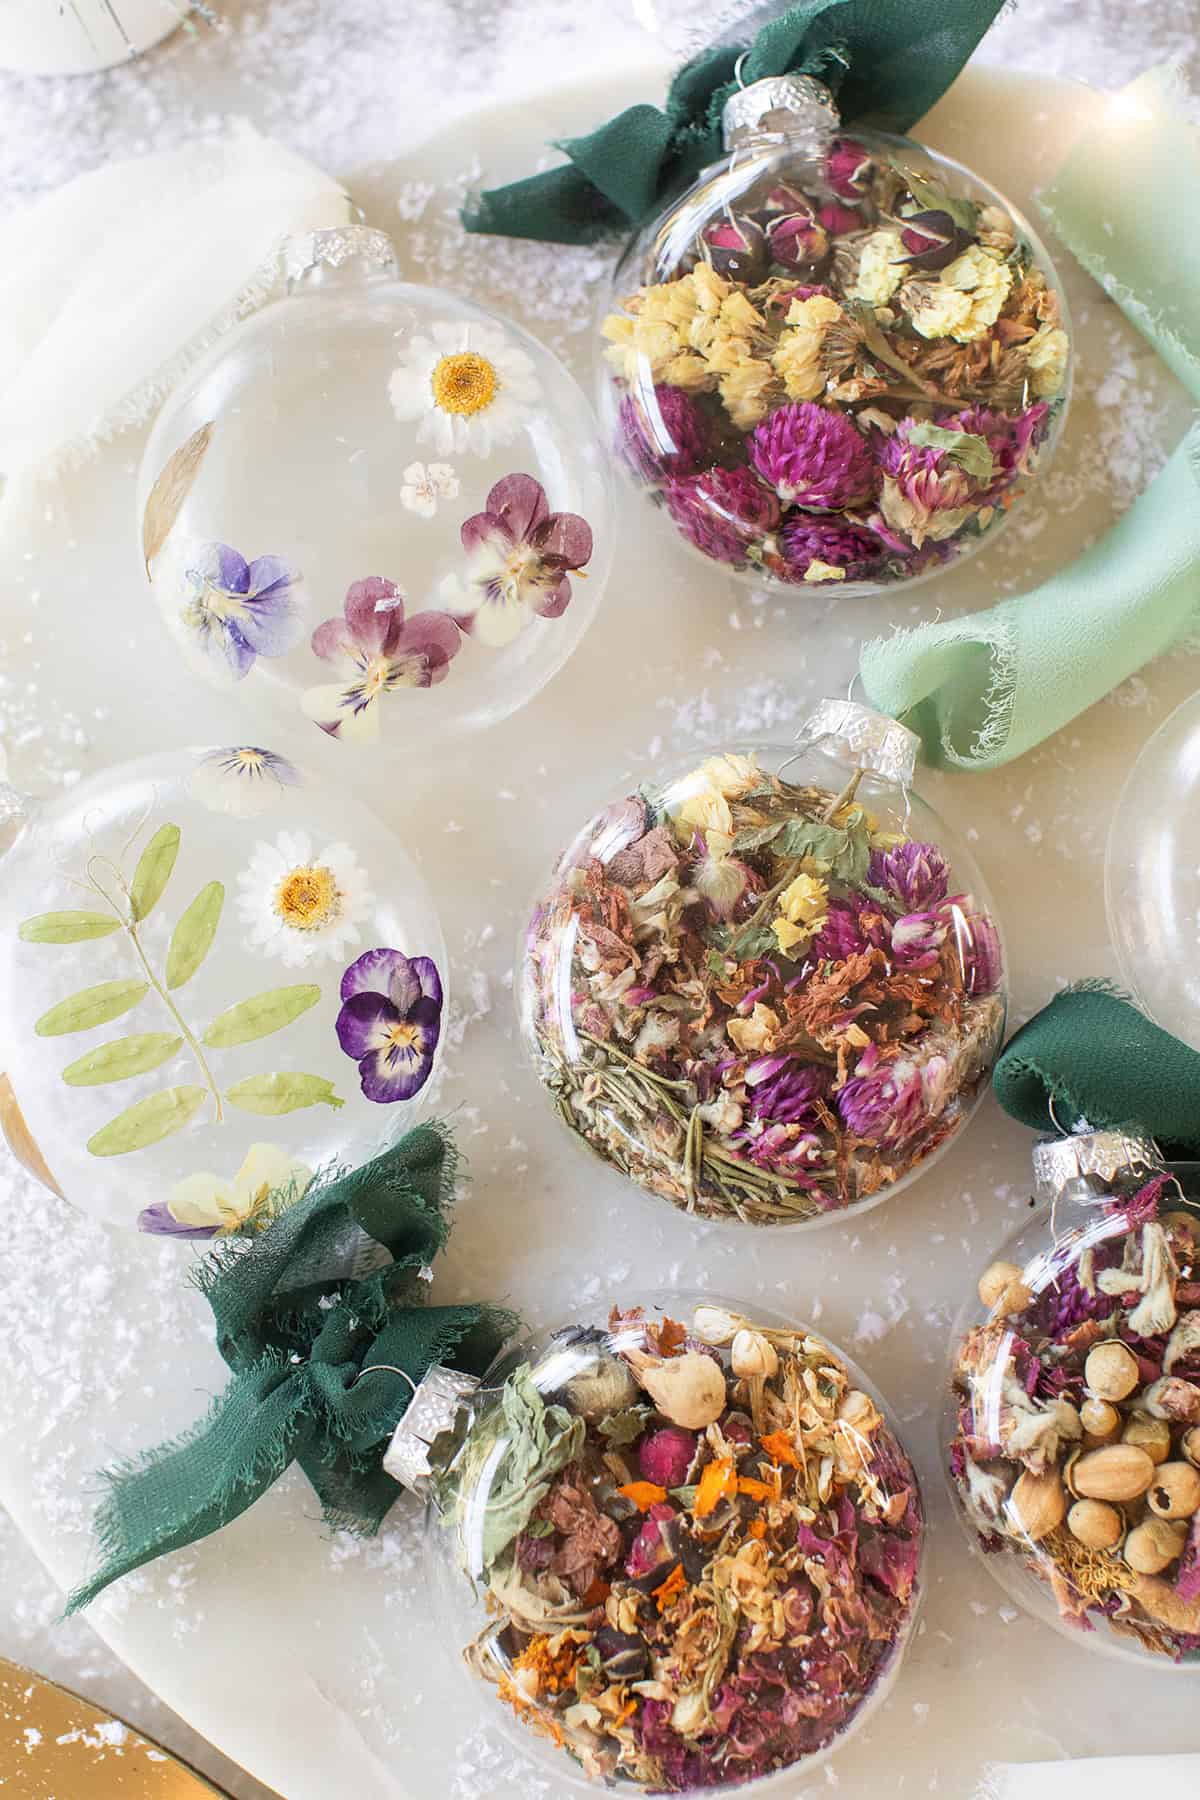
These charming DIY Christmas ornaments are made using dried flowers! You can create two stunning ornament styles that are simple to make and versatile for entertaining, decorating, or gifting. These crafts are ideal for a holiday party activity, a craft night, or just a relaxing afternoon project.
Pin this now to find it later
Pin ItI made these and used them as present toppers and place settings. They’re easy, charming, and special. They look beautiful on my tree, too!
DIY Christmas Ornaments
Meaningful and Memorable: These ornaments are a unique way to add a personal touch to your holiday decor.
Simple and Relaxing: Crafting them is easy and fun, perfect for slowing down during the busy holiday season.
Versatile Uses: They work as tree ornaments, place settings, gift toppers, or party favors.
Perfect for Gatherings: Host a craft night with friends or make them with family to create lasting memories.
Customizable and Unique: Each ornament can be personalized with names, designs, or your favorite dried flowers, making them unique.
How to Make DIY Christmas Ornaments
Supplies
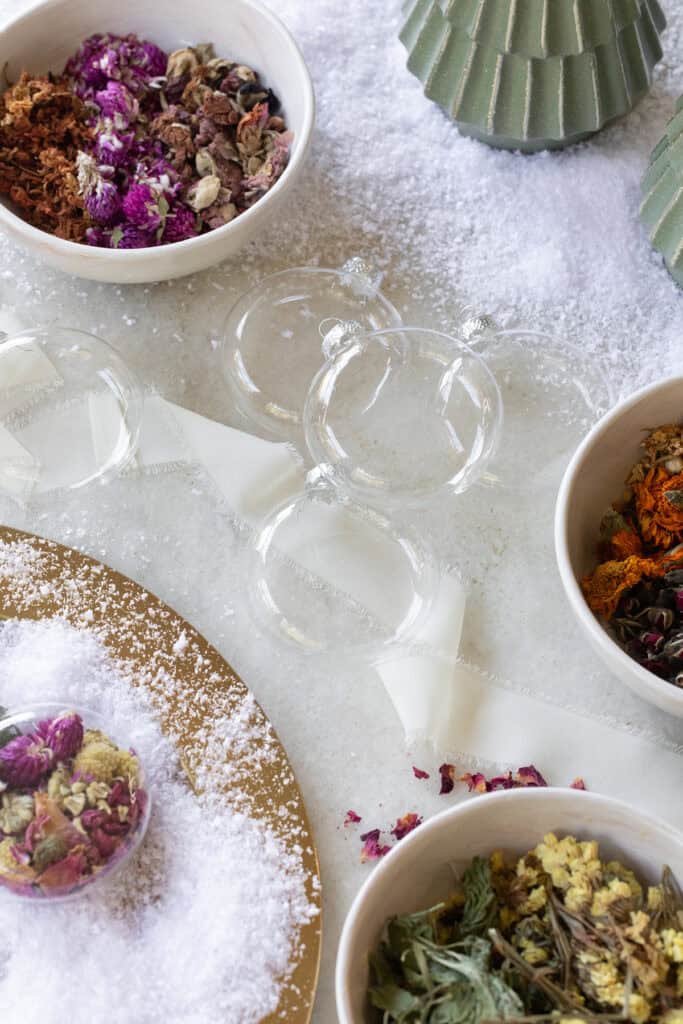
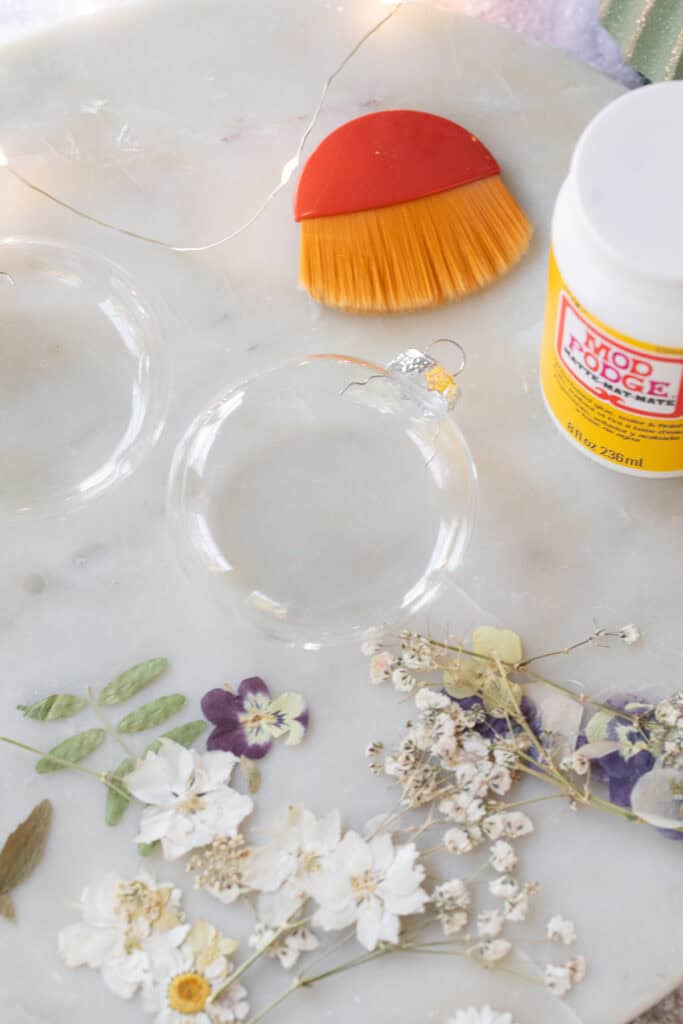
Here’s what you’ll need to make these DIY Christmas ornaments:
- Clear glass ornaments
- Dried flowers (pressed or regular – you can find these online!)
- Decoupage glue
- Ribbon
- White marker
Dried Flower Fillers
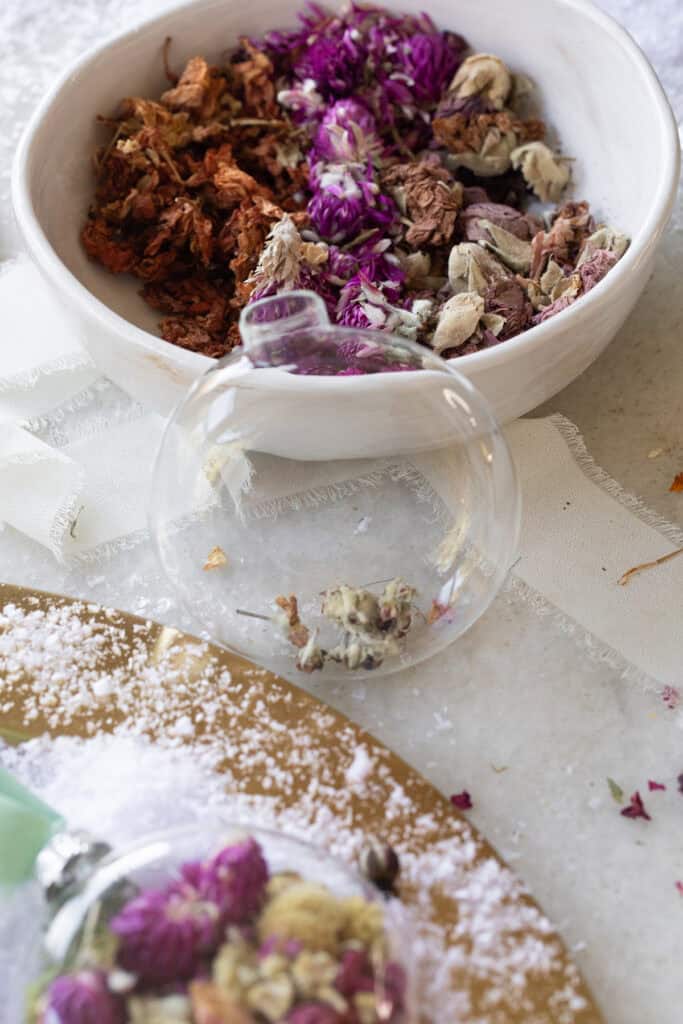
These ornaments are as simple as they are charming!
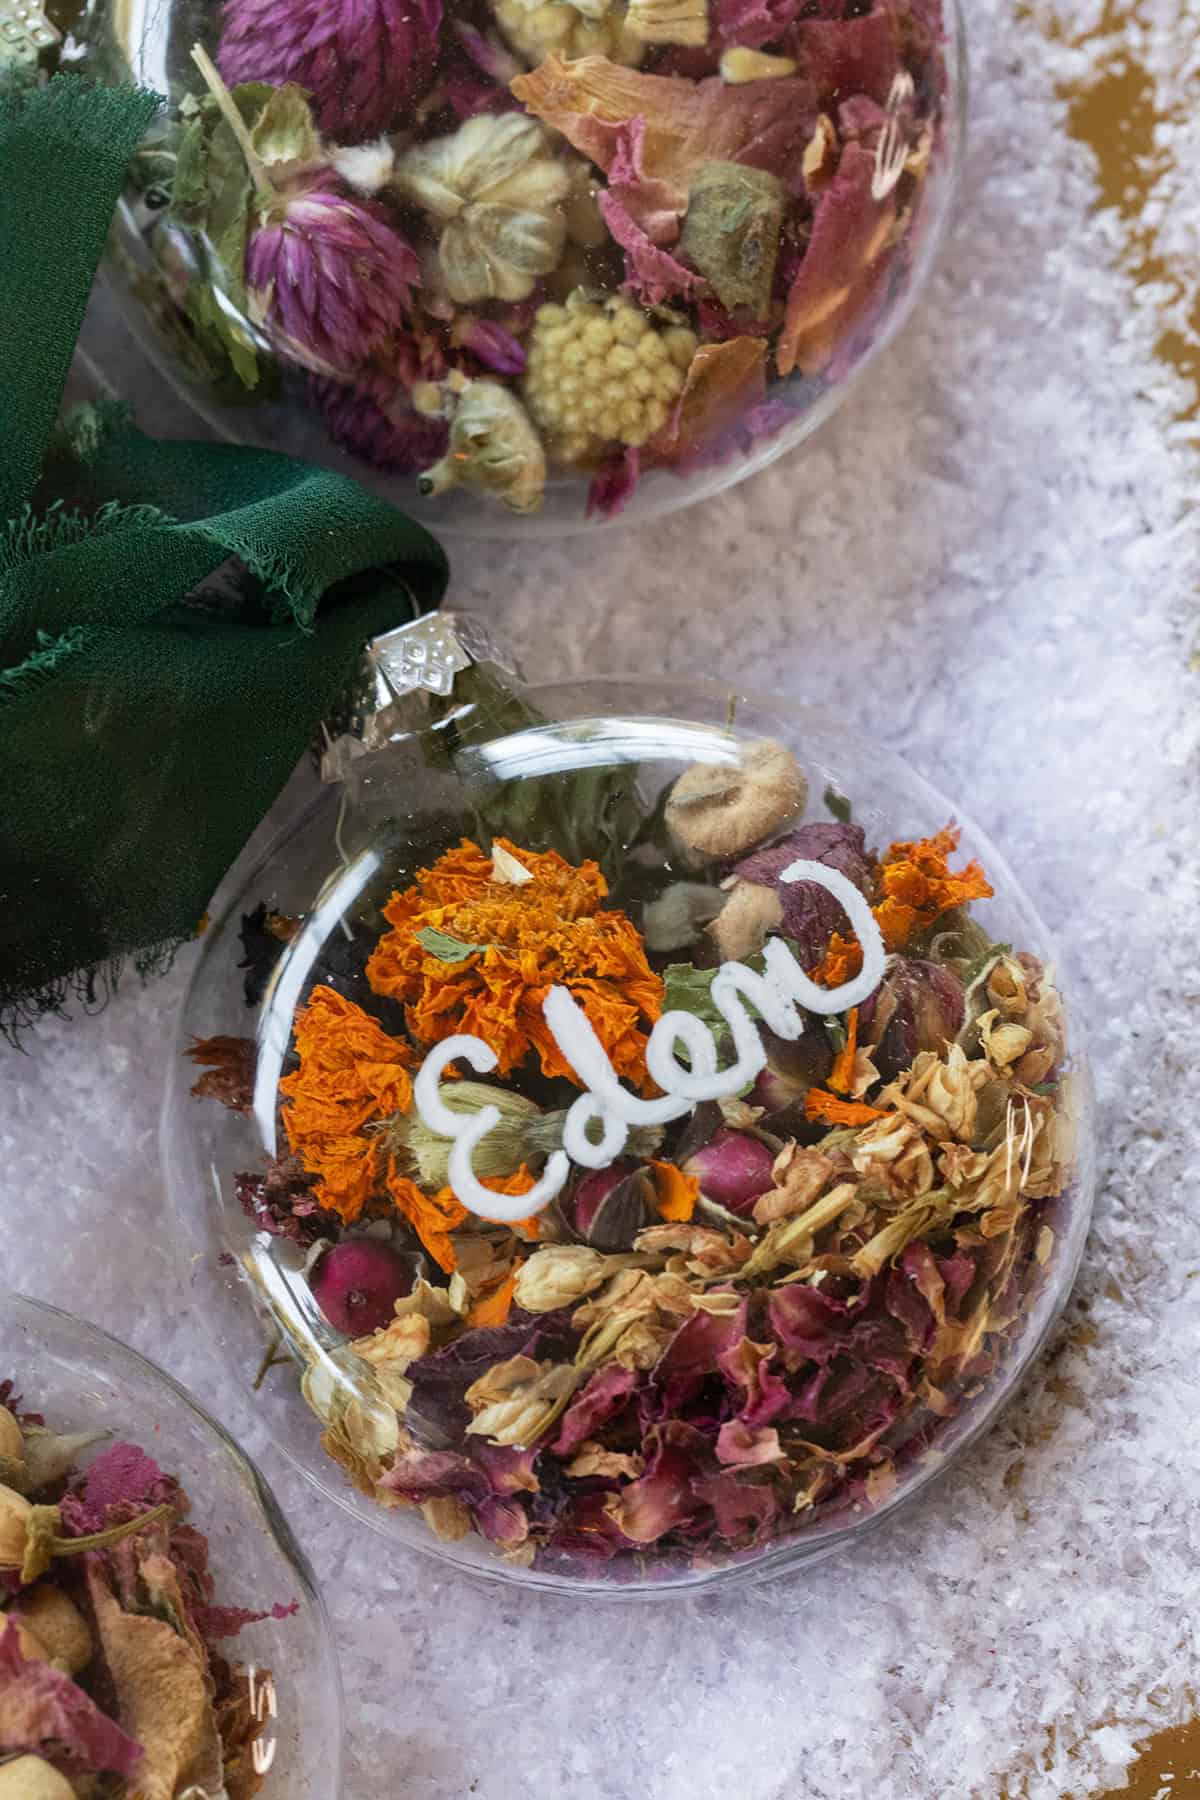
- Remove the top of the glass ornament.
- Gently fill the ornament with dried flowers.
- Replace the top of the ornament.
- Wrap ribbon around the top for a festive touch.
- Optional: Use a white marker to write names or designs on the ornament for personalization.
These make lovely tree decorations, unique place settings, or thoughtful gift toppers!
Decoupaged Dried Flowers
Add an elegant touch to your holiday decor with decoupaged ornaments. I love the look of decoupage; it’s such a versatile craft technique that you can use for many projects, like decorating Easter eggs or pumpkins!
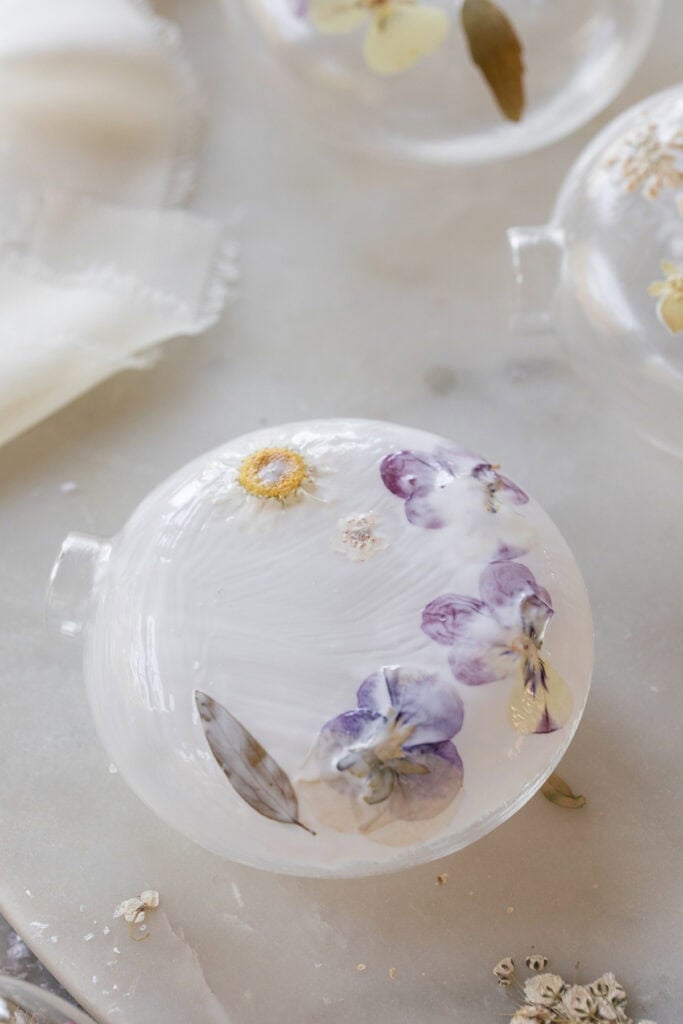
- Brush a layer of decoupage glue onto a clear glass ornament.
- Carefully press dried or pressed flowers onto the glued surface.
- Apply another layer of glue over the flowers to seal them in place.
- Allow the ornament to dry completely before hanging or gifting.
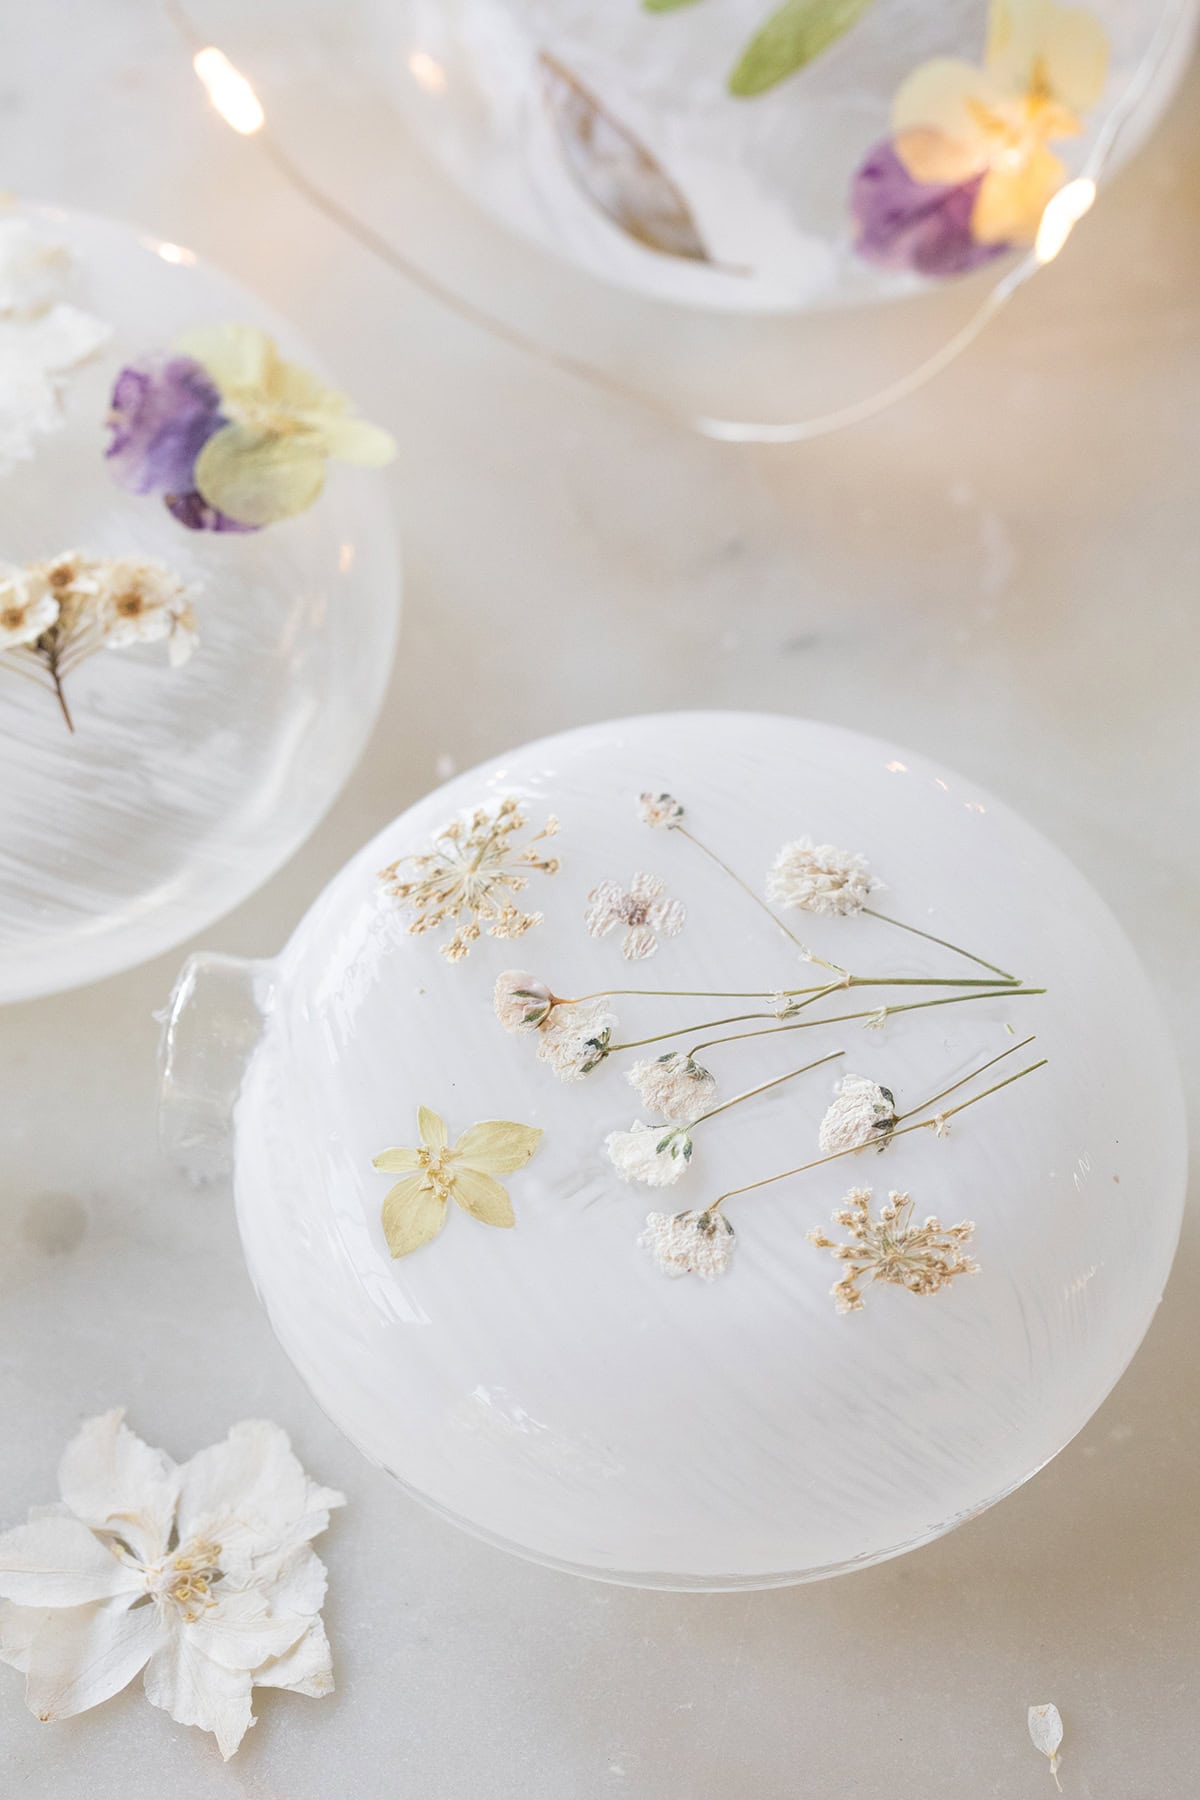
This method creates a delicate, handcrafted look that is perfect for an elevated holiday theme.
Ways to Use These DIY Christmas Ornaments
These dried flower ornaments are not only beautiful but also versatile! Here are some fun ways to use them:
- Holiday Tree Decor: Add a charming, rustic touch to your tree.
- Place Settings: Write your guests’ names on the ornaments as unique place cards for your holiday table.
- Gift Toppers: Tie them onto wrapped presents for a personal touch.
- Party Favors: Create a few extras to give to guests as memorable keepsakes.
- Craft Party Activity: Host a holiday crafting night where friends and family can make their own ornaments!
I love how these dried flower ornaments turn out elegant yet effortless and perfect for spreading holiday cheer. Whether you’re crafting them for your tree, as a gift, or as part of a holiday party, these ornaments will bring beauty and joy to the season.

Frequently Asked Questions
Yes! While glass ornaments have a more elegant look, plastic ornaments work well too and are a safer option if crafting with kids.
You can purchase dried flowers online from retailers like Amazon or Etsy, or you can dry your own flowers by pressing them in a book or using a flower press.
The drying time depends on the brand of glue you use, but most decoupage glue takes 1-2 hours to dry completely. For best results, let the ornaments dry overnight before hanging or gifting them.
More Holiday Crafts
Party DIY
How to Make Beautiful Oil Candles
Holidays
Gingerbread Tree
Holidays
DIY Pine Scented Soy Candle
Save this post for your next craft night, and try these simple DIY Christmas ornaments this year!
You can also FOLLOW ME on FACEBOOK, INSTAGRAM, and PINTEREST to see more delicious recipes, cocktails, desserts, and parties!


