This post may contain affiliate links. Please see our disclosure policy.
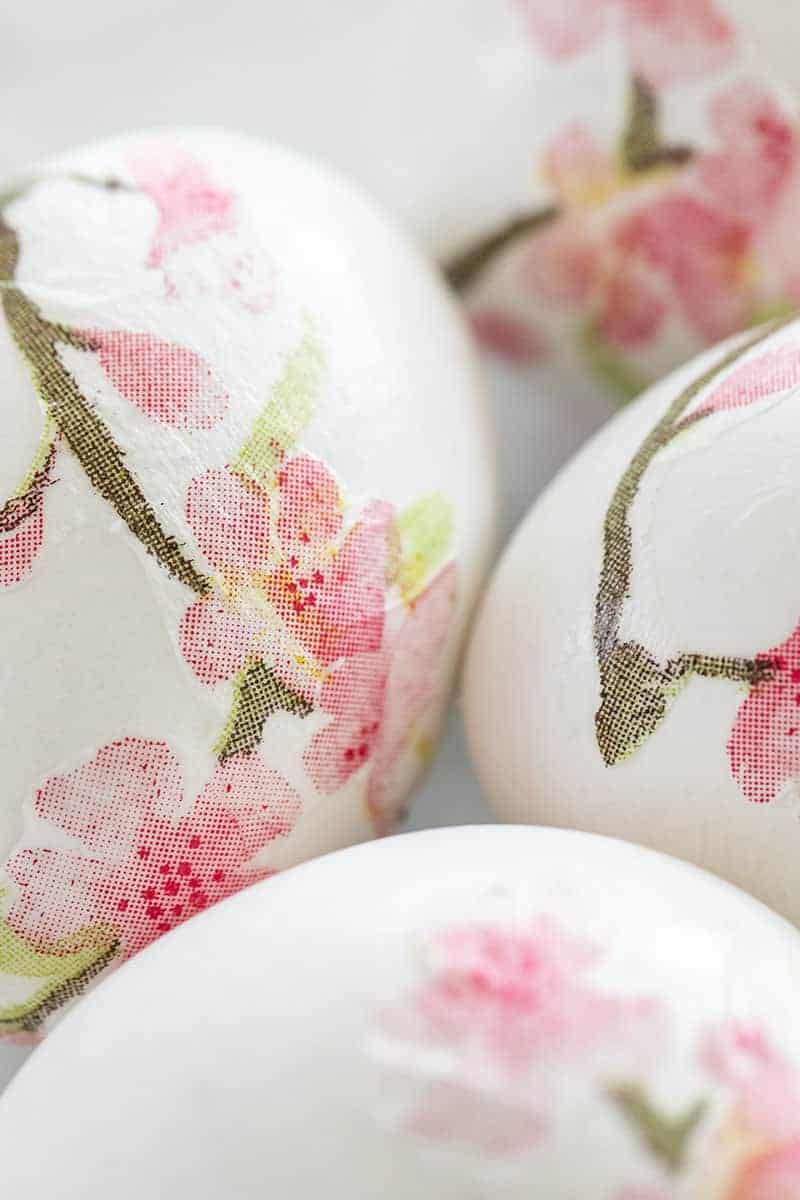
If you’re looking for a fun idea for decorating Easter eggs, try this simple decoupage Easter eggs DIY! Easy to make and there are hundreds of designs!
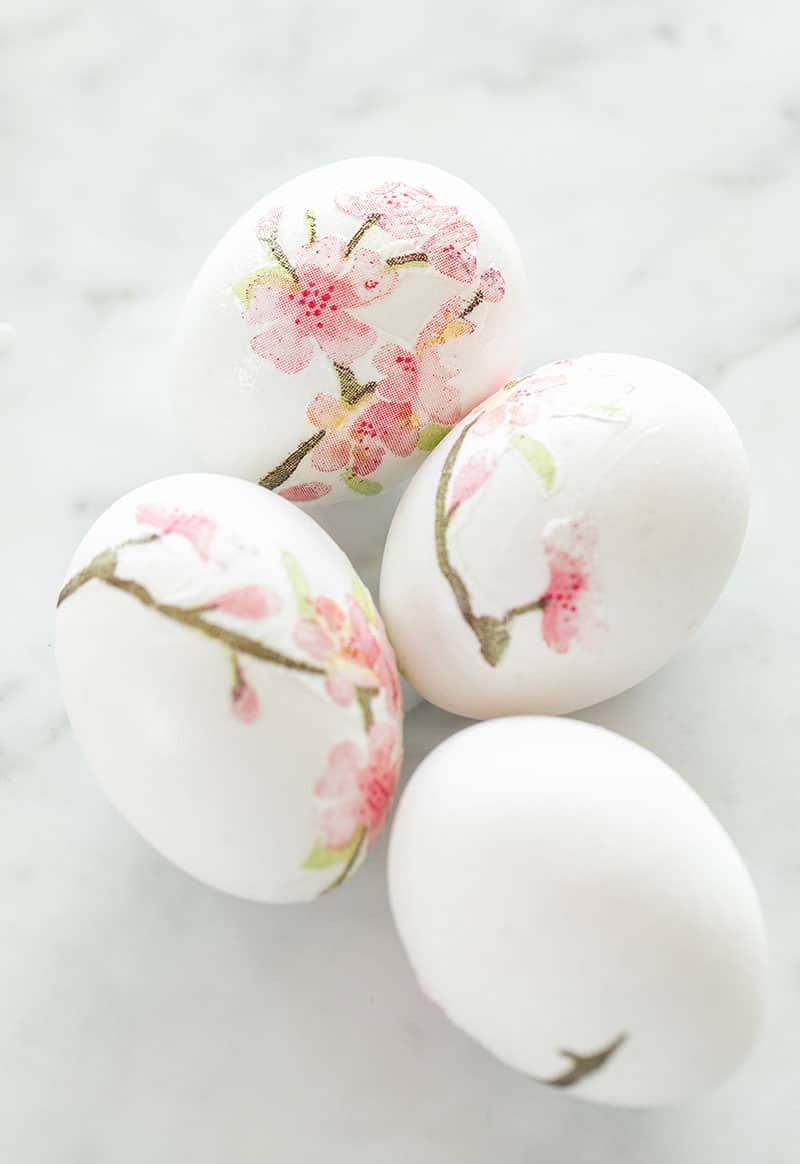
Pin this now to find it later
Pin ItWe’re all about coloring Easter eggs and using them as decor throughout our house for Easter. You can add them to vases, put them in a large decorative bowl or use them for an Easter egg hunt.
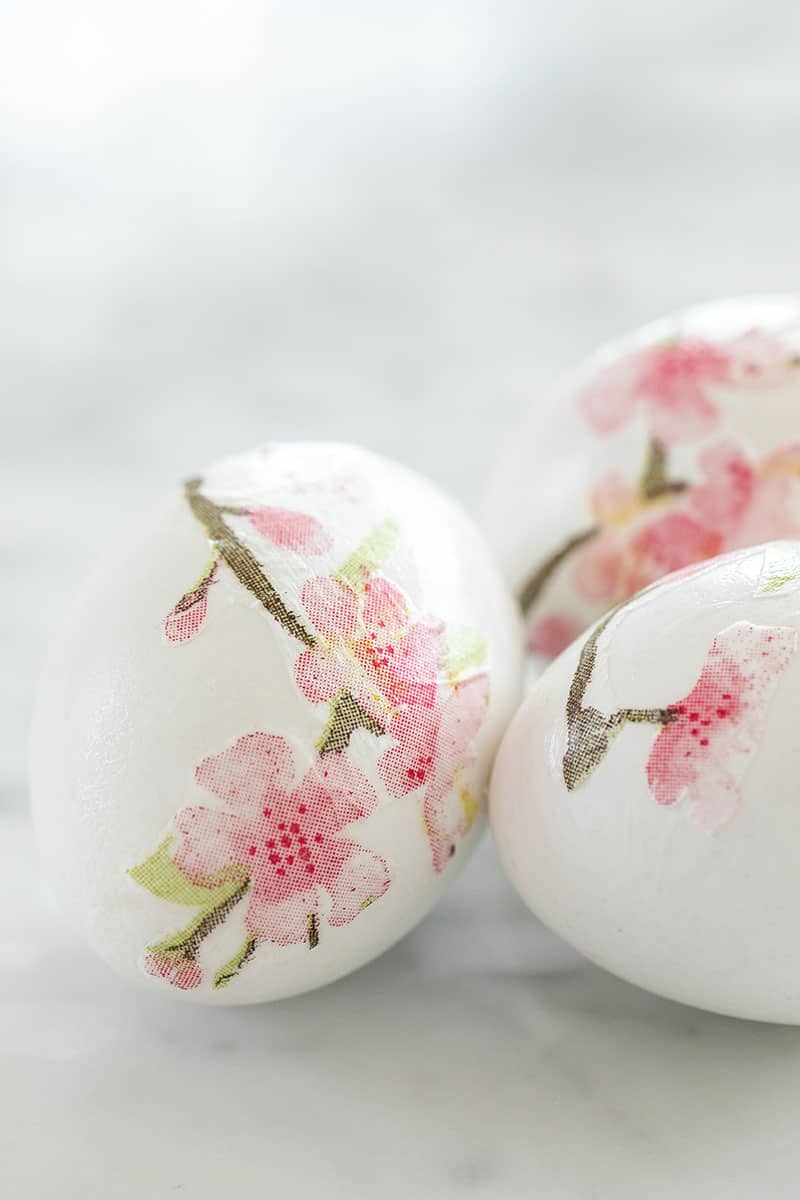
Furthermore, you can also dye the Easter eggs before you decoupage them! Check out our Ultimate Guide for Coloring and Dying Easter eggs.
How to Decoupage Easter Eggs Using Napkins
Here’s a list of supplies you’ll need to make decoupage Easter eggs. It’s not much and you can be creative with the napkins you have or use fabric too,
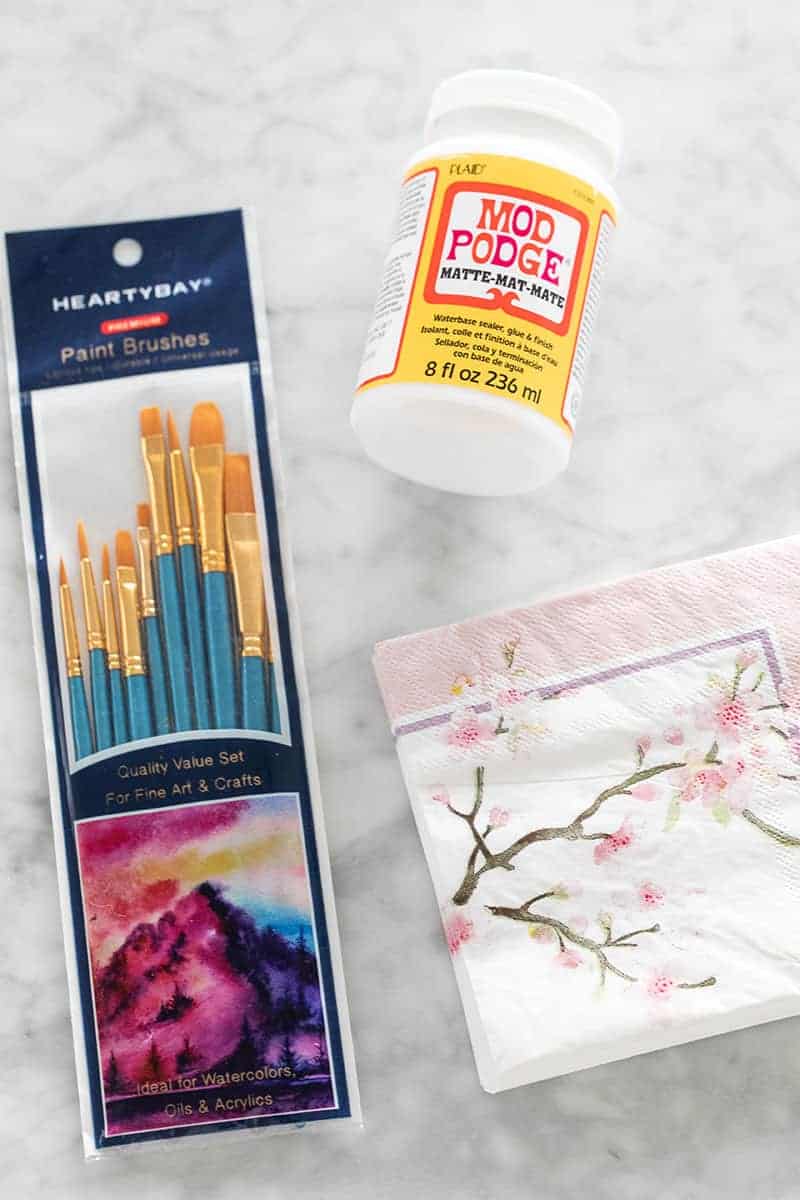
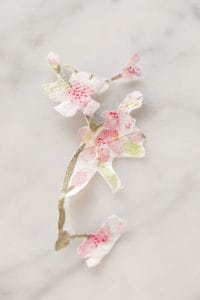
We chose a cherry blossoms design as they remind us so much of spring!
Supplies
- Paper Napkins or Fabric
- Paint Brushes
- Mod Podge Glue
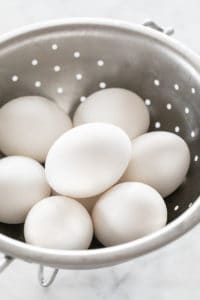
- Hard-Boiled Eggs
Directions
- Paper napkins with pretty designs are perfect for decoupage! Fabric works too. As well as dried flowers and herbs.
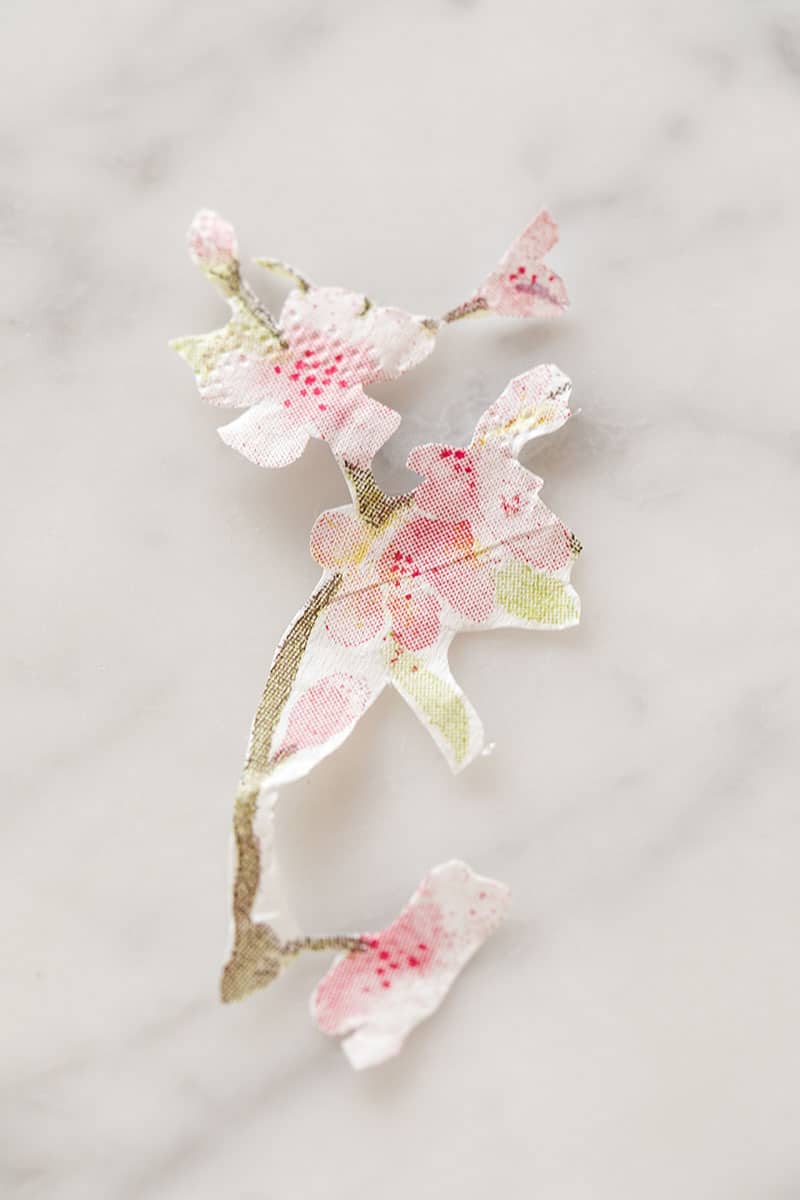
- Cut the design out, make sure they’re small enough to fit around the egg.
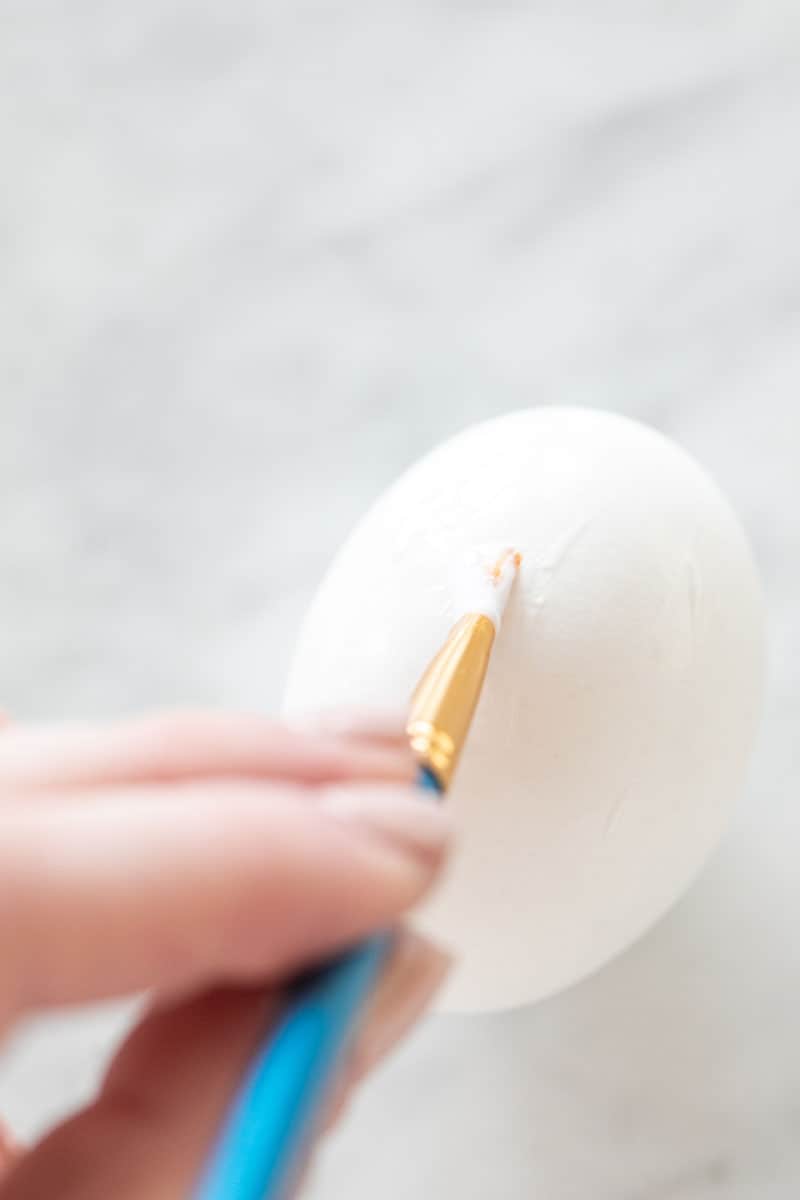
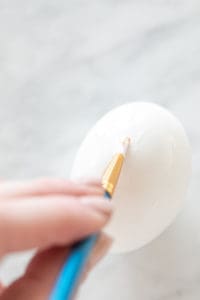
- Use a paintbrush to glue the designs onto the eggs.
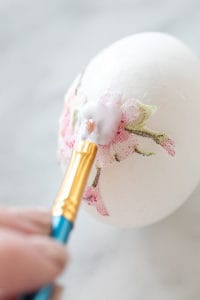
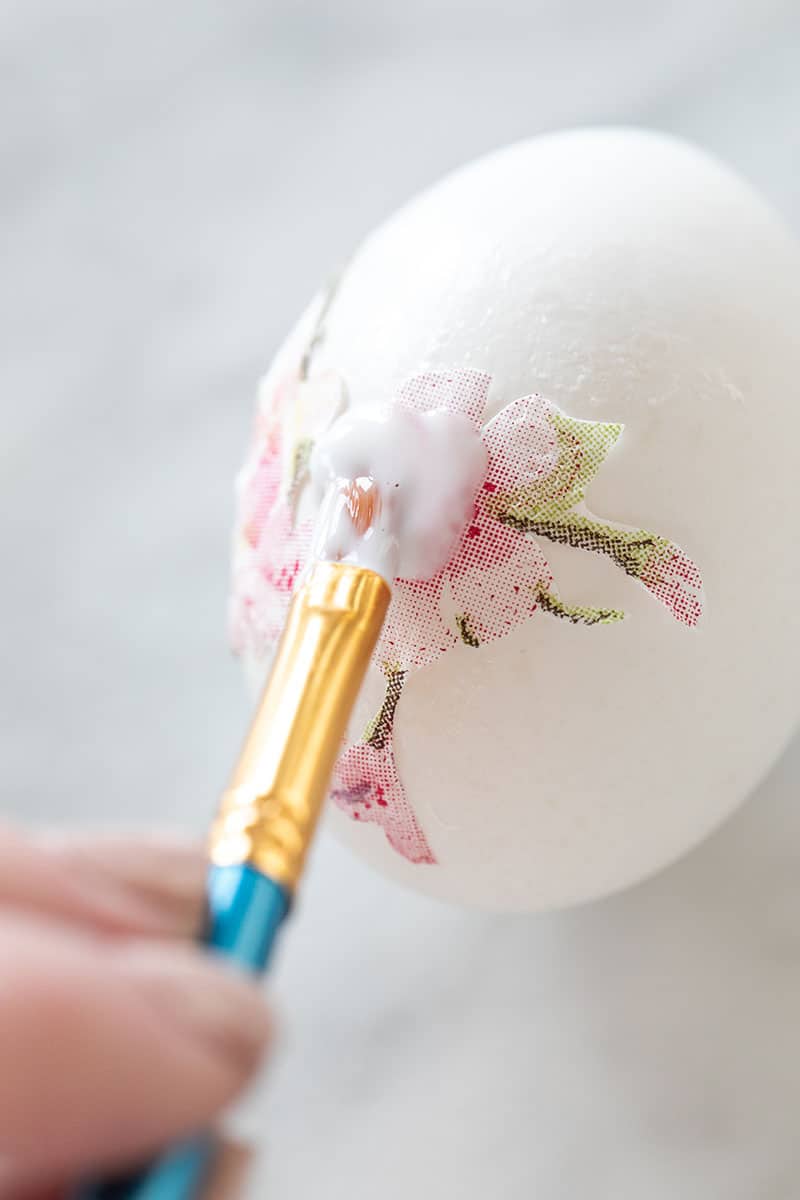
- Once they’re in place, cover the design with the decoupage glue. The glue dries clear! Make sure to coat the edges well so they stay glued to the egg.
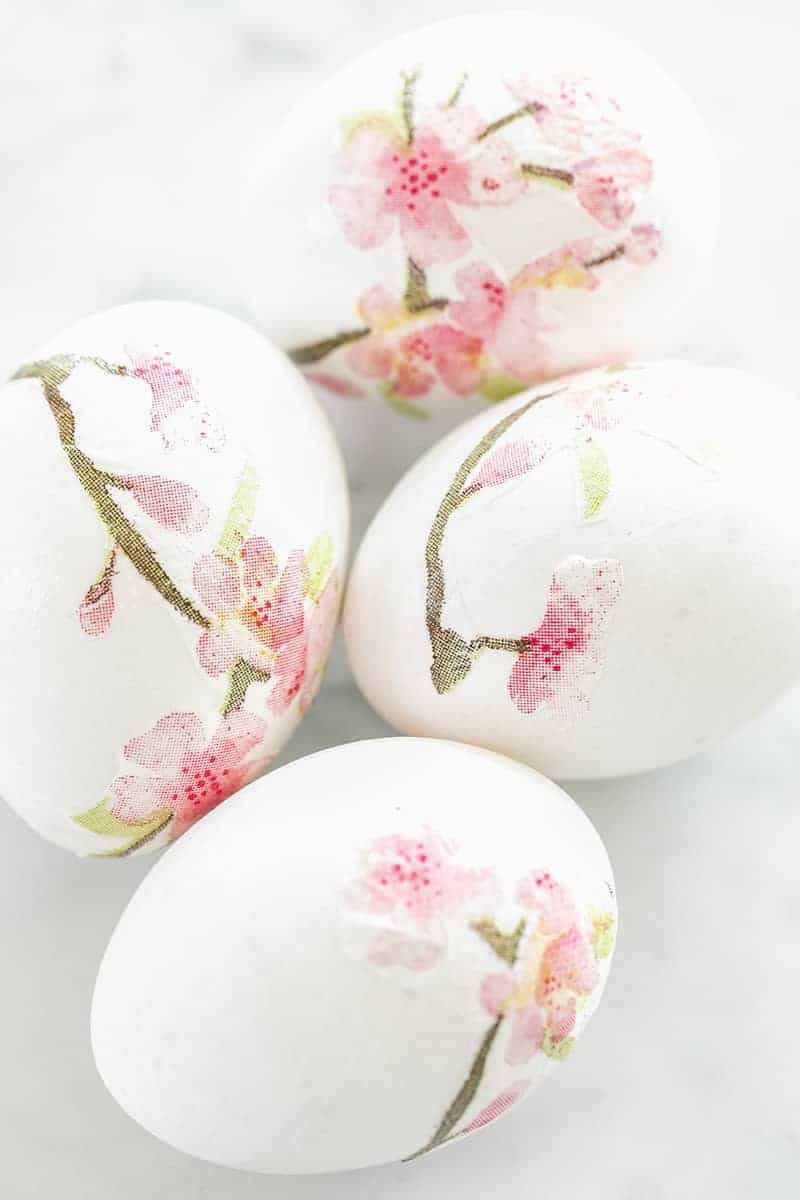
Let them dry for an hour and then you’re done!
Answering a few of your frequently asked questions about decorating eggs below!
Is decoupage and Mod Podge the same?
Decoupage is the art of making a project with paper and glue. Mod Podge is one of the glues that you can use for your decoupage art!
Should eggs be warm or cold for dying?
The answer to this is that it doesn’t matter. The other answer to this question is that eggs should always be refrigerated when you aren’t working with them.
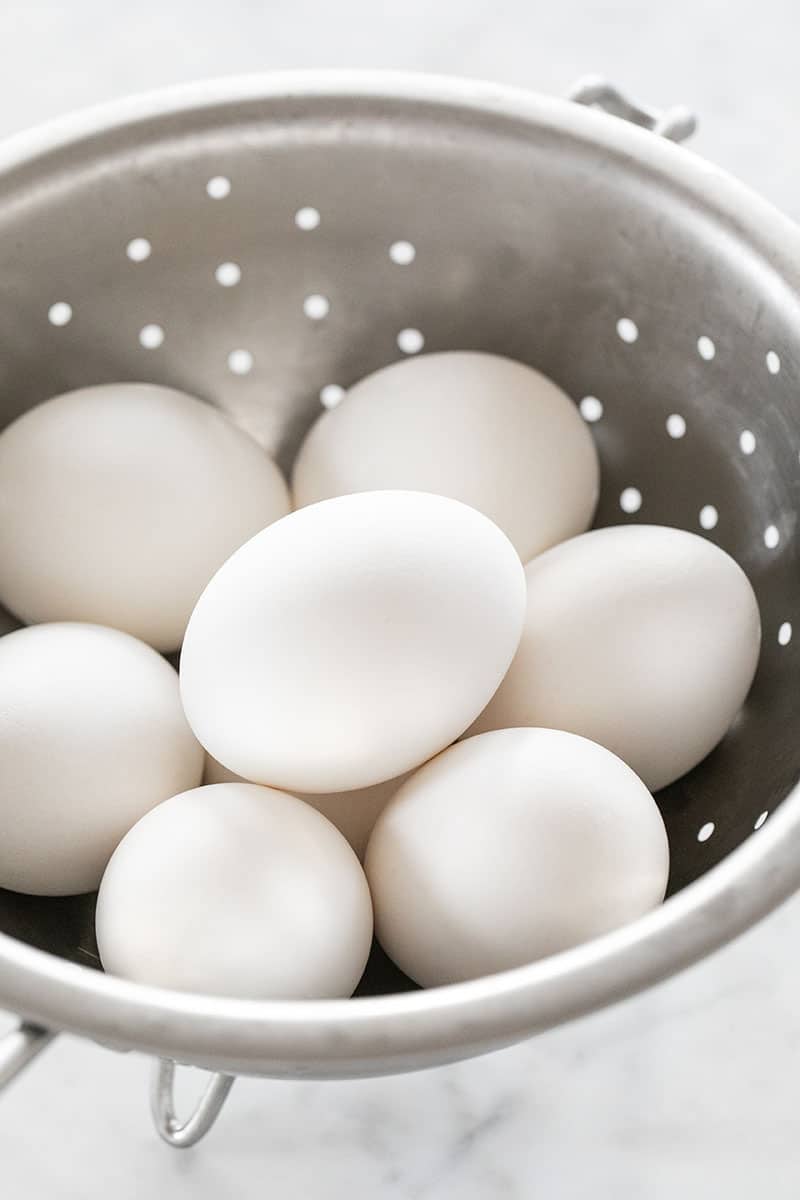
Should hard-boiled eggs be room temperature to color?
They should be easy to handle, and there shouldn’t be any risk of burning yourself. Letting them cool before coloring will prevent this from happening, but they can be warm or cold without problems.
Types of Eggs to Use
Any size of an egg can be decoupaged. If you want to go into more extensive patterning, it is easy to work with larger eggs.
White or brown eggs can be used, but keep in mind the color of the egg can impact the color the egg becomes. In general, large white eggs are the easiest to work with and color.
You can also so faux eggs for decoupaging. These will last all year!
More Easter Egg Decorating Ideas!
- Calligraphy Easter Eggs
- Mosaic Easter Eggs
- Gold Leaf Easter Eggs
- DIY Ombre Easter Eggs
- Watercolor Eggs
- DIY Handwoven Willow Wreath
Let us know if you make these fun Easter eggs by leaving a comment and review below! We’d also love to see your projects, so tag us @sugarandcharm on social so we can share!
Happy decorating!

Decoupage Easter Eggs
Ingredients
- 4 ounces Mod Podge Glue
- Pretty Napkins
- 12 Hard-Boiled Eggs
- 1 Scissors
- 1 Paint Brushes
Instructions
- Hard boil about 12 eggs, depending on how many you want to make.
- Let the eggs cool before decorating.
- Cut the design out, make sure they’re small enough to fit around the egg.
- Use a paintbrush to glue the designs onto the eggs.
- Once they’re in place, cover the design with the decoupage glue. The glue dries clear! Make sure to coat the edges well so they stay glued to the egg.
- Let them dry for an hour and then you’re done!

