
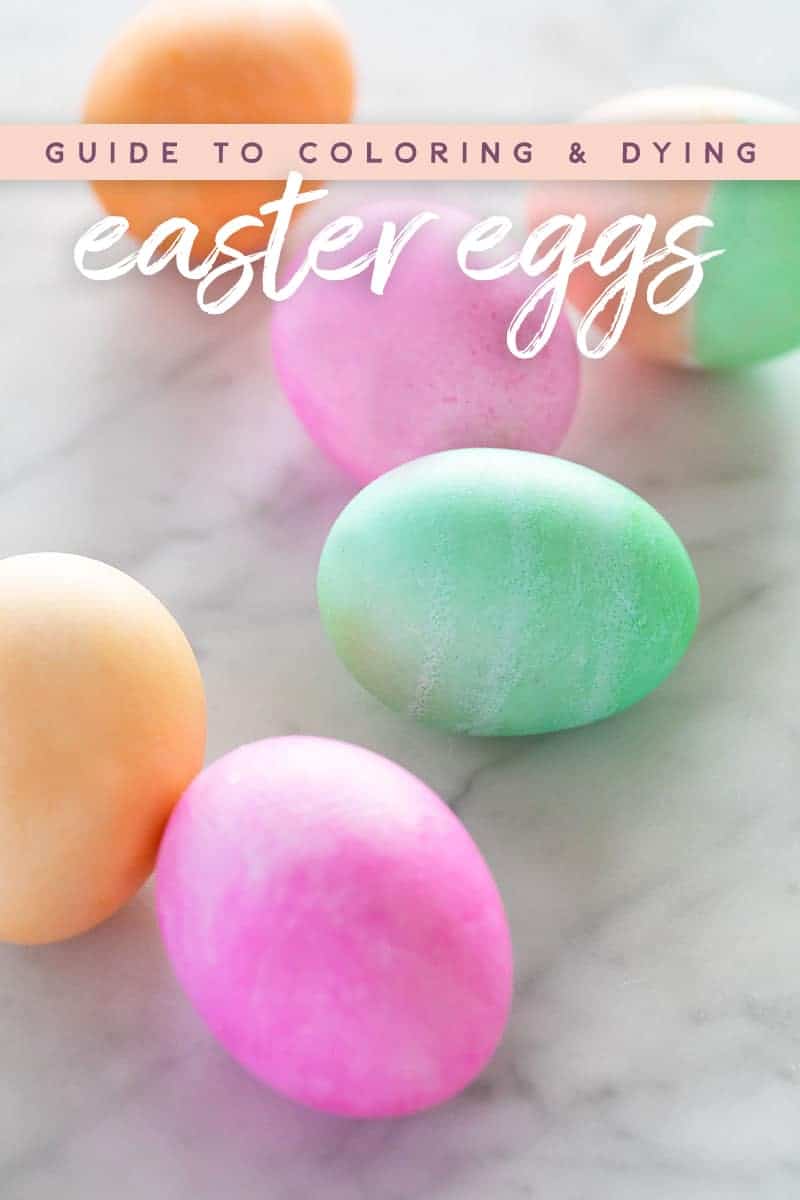
Ultimate Guide to Coloring and Dying Easter Eggs
Feb 14, 2024
This post may contain affiliate links. Please see our disclosure policy.
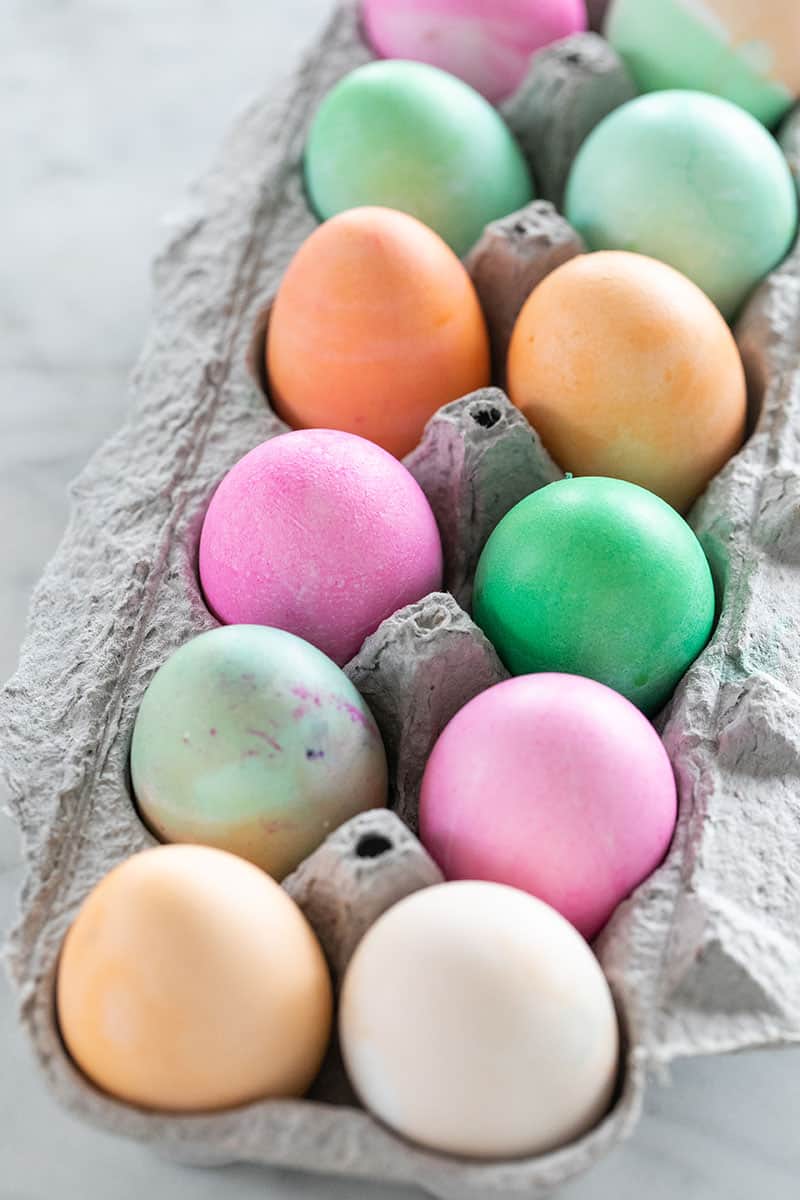
Learn everything there is to know about dying Easter eggs in this ultimate guide! Ideas, techniques and designs as well as all of your egg coloring questions answered. I love sharing my tips and tricks from decades of dying eggs!
Pin this now to find it later
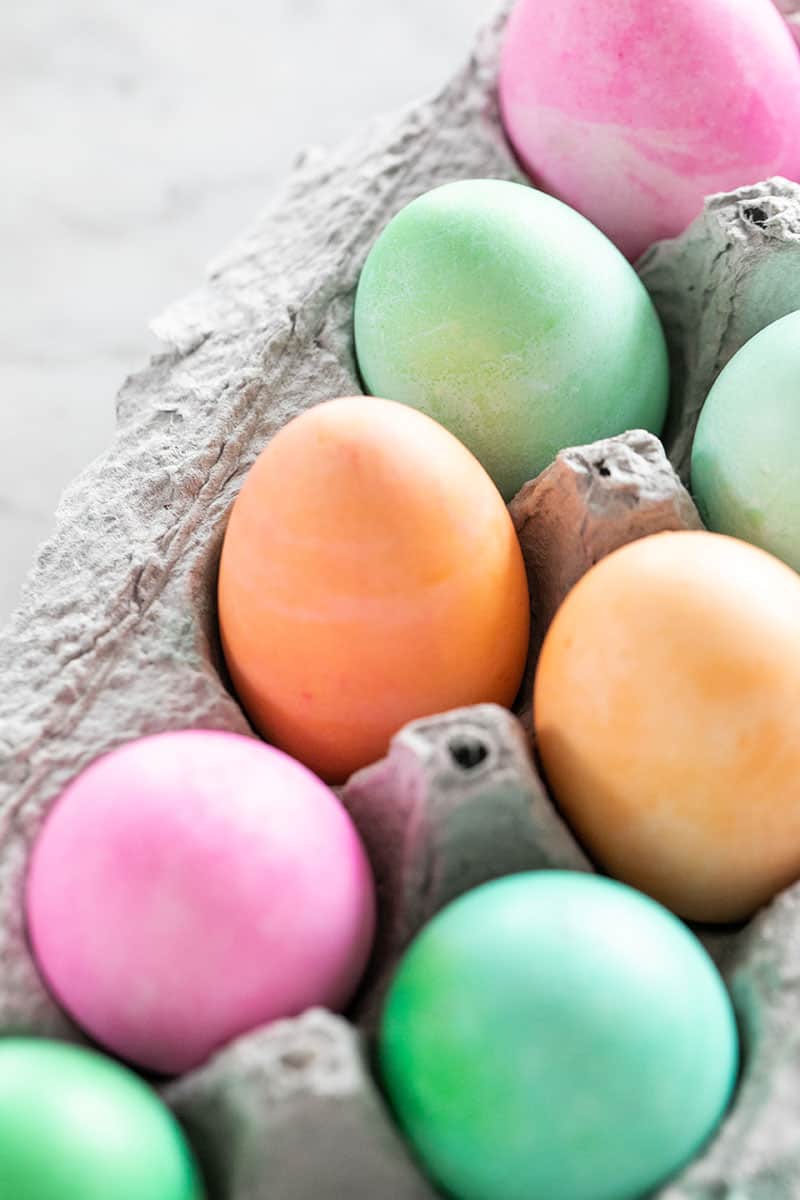
Pin ItDying Easter eggs is a time-honored Easter tradition that spans cultures and generations. As someone who enjoys crafting and celebrating Easter with color and creativity, I’ve gathered all my tips and tricks for the perfect egg-dyeing experience.
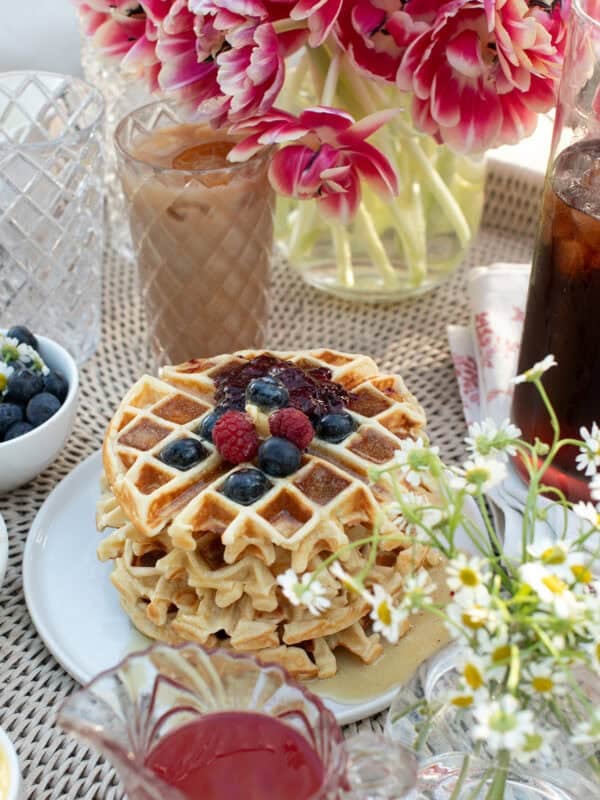
I find dying eggs a delightful DIY project that brings people together and a fun craft for an Easter brunch or even hosting an egg-dying party! Add these colorful dyed eggs to Easter baskets or use them for an Easter egg hunt.
Perfect hard-boiled eggs
Getting the perfect hard-boiled eggs is essential for a successful egg-dyeing experience. Here are three easy steps to follow for perfectly boiled eggs:
- Start with room-temperature eggs: Let them sit at room temperature for about 30 minutes before boiling them. This ensures that the eggs cook evenly and prevent cracking.
- Use a pot with a lid: Place your eggs in a single layer in a pot and add enough cold water to cover them by at least an inch. Bring the water to a rolling boil, immediately turn off the heat and cover the Pot with a lid.
- Let them sit for 12 minutes: After covering the Pot, let it sit for 12 minutes. This will give you perfectly cooked hard-boiled eggs with a vibrant yellow yolk and no green ring around it.
Additionally, you can add a splash of vinegar to the water, which helps prevent the eggshells from cracking while boiling. Once the 12 minutes are up, remove the eggs from the Pot and place them in an ice bath to stop the cooking process.
How to Dye Easter Eggs Perfectly in 6 Steps
Equipment Needed:
- Large bowls for the eggs to be submerged in, along with some spoons.
- Slotted spoons are ideal for removing the eggs from the dye without a mess.
- Newspaper or a plastic tablecloth to cover your workspace and prevent staining.
- Optional: white vinegar for richer, vibrant colors.
Step 1: Prepare The Workspace
- Protect your workspace by covering the surface with newspapers or paper towels to catch any dye drips and prevent stains. Alternatively, I use a plastic tablecloth that can be easily wiped down afterward.
Step 2: Hard Boil Eggs
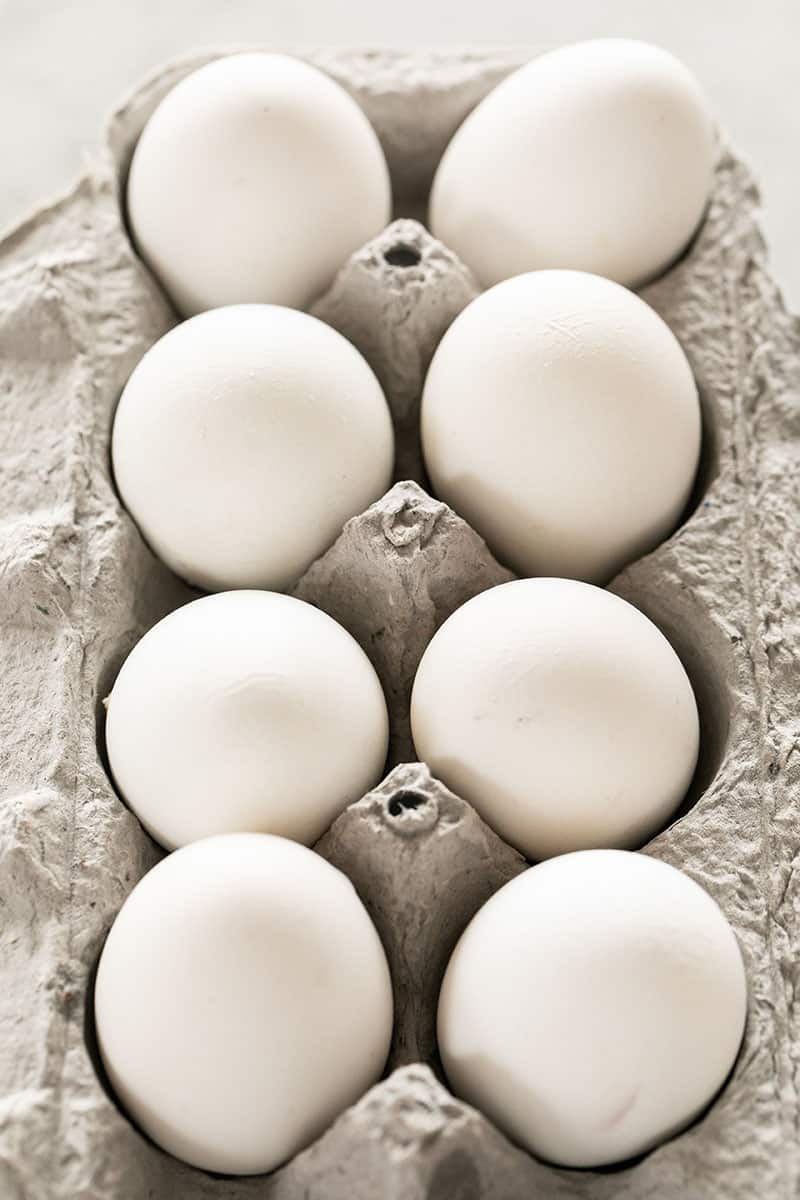
- Start with fresh eggs and place them in a saucepan. I typically choose large white eggs because they best absorb the dye colors. With the right eggs, I’m ready to begin the dyeing process.
- Cover the eggs with cold water about an inch above the eggs.
- Bring the water to a boil over high heat.
- Once boiling, reduce the heat and let the eggs simmer for 10-12 minutes.
- After simmering, remove the eggs from heat and place them in a bowl of ice water to cool.
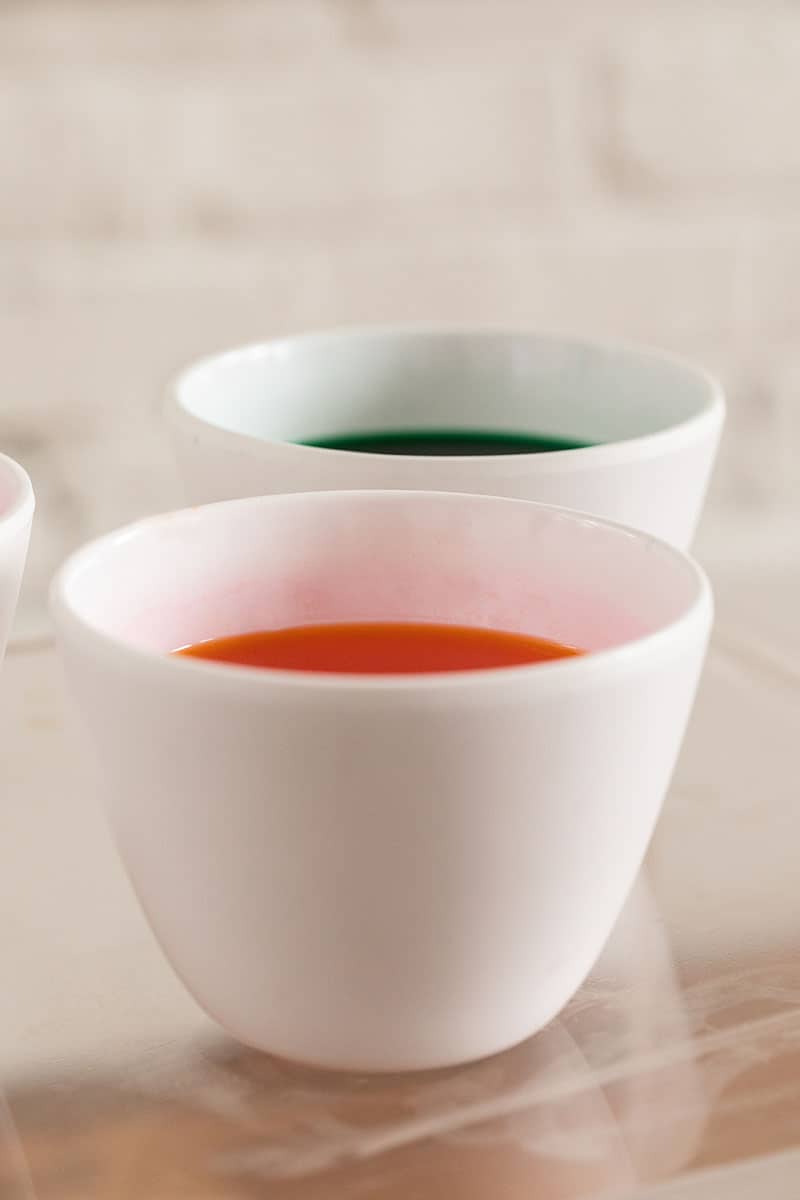
Step 3: Prepare the Dye
- Follow the instructions on your store-bought dye kit, or make your natural dyes using ingredients from your pantry.
- You can use a variety of fruits, vegetables, and spices to create vibrant colors. For example, turmeric makes a beautiful yellow color, while blueberries give off a rich blue hue.
- Add water and vinegar (if desired) to the dye according to the instructions on the package or recipe.
- Fill up a container with enough water to cover an egg for the dye. Add 1 teaspoon of white vinegar and roughly 20 drops of food coloring to achieve the desired shade.
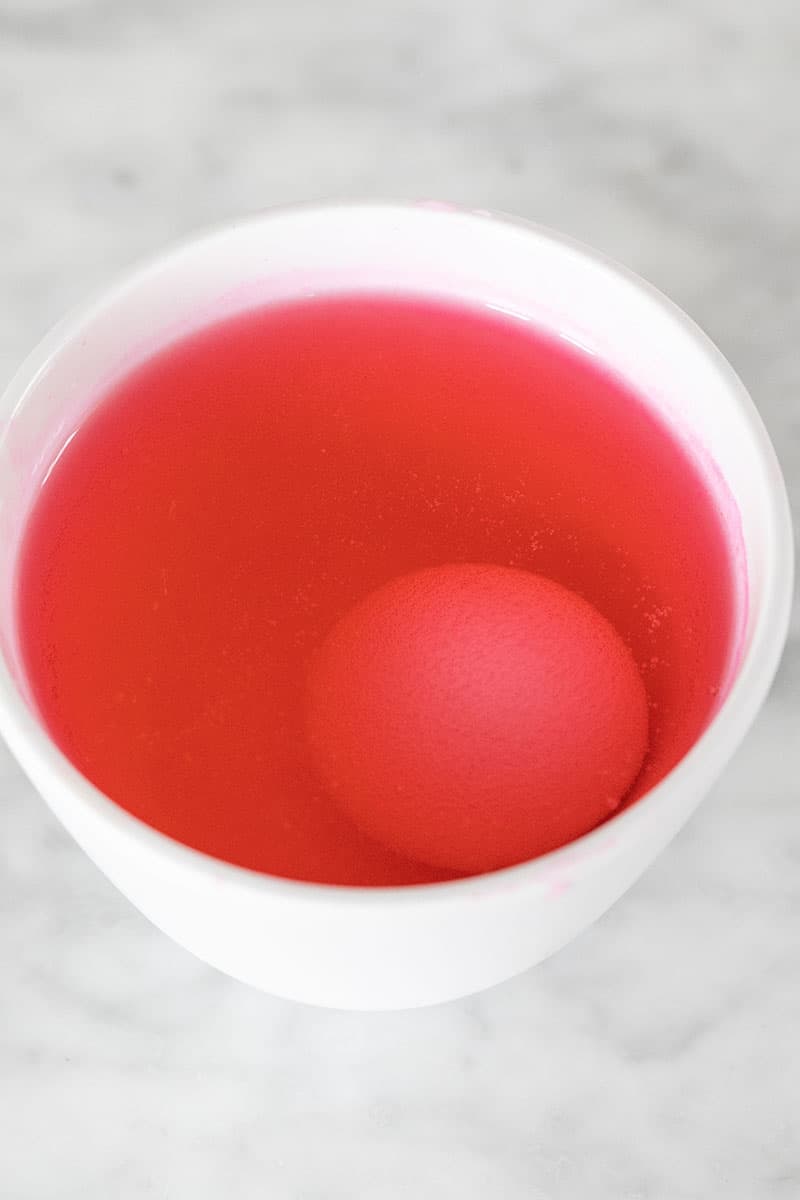
Step 4: Dip the Eggs
- Carefully lower your eggs into the dye using a spoon or slotted spoon and let them soak for at least 5 minutes.
Step 5: Remove and Dry
- Use a slotted spoon to remove the eggs from the dye and place them on a wire rack or paper towel to dry.
- Avoid handling the eggs too much, as this can smudge the color or remove any designs you may have created with cracked shells.
Step 6: Enhance Colors
- You can dip your dried eggs back into the dye for another round of coloring for more vibrant colors.
- You can also create patterns or designs using stickers, rubber bands, or wax crayons before dipping the eggs in dye for a more intricate look.
How to Dye Easter Eggs Without a Kit
Dyeing Easter eggs without a store-bought kit is surprisingly simple. It allows for a bit more creativity.
You can achieve beautiful colors using items in your pantry and around your home. Below is a straightforward method to add color to your Easter eggs using food coloring or natural dyes.
Materials Needed:
- Food coloring or natural dye sources (like turmeric or beet juice)
- White distilled vinegar
- Large Pot for boiling water
- Heat-resistant containers (such as mugs or bowls)
- Spoon or egg dippers
- Hard-boiled eggs
Food Coloring Method
Using food coloring is a great option for dying eggs. Here are the stpes:
Prepare the Dye Solution:
- Boiling water: 1/2 cup per color
- White vinegar: 1 teaspoon per color
- Liquid Food coloring: 10-20 drops per color
Dye the Eggs:
- Submerge the eggs in the dye solution.
- Leave them until they reach the desired color; depending on the desired shade, it can take a few to even 30 minutes, depending on the shade of color you want.

Natural Dye Method
To create natural easter egg dyes, simmer natural ingredients like red cabbage, beets, or onion skins in water to extract their colors.
Add vinegar to the natural dye to help the color adhere to the eggshells.
Soak the eggs in the dye bath longer than food coloring, potentially overnight, for vibrant colors and darker colors.
Here are some natural food ingredients you can use:
- Turmeric – yellow
- Red cabbage – blue/purple
- Beets – pink/red
- Onion skins – orange/brown
- Spinach leaves – green
- Blueberries – deep blue
- Paprika or chili powder – orange/red
- Blackberries – purple
- Hibiscus tea – dark pink
- Cranberries – pink
- Red onion skins – blue/purple
- Saffron threads – yellow/orange
Easter Egg Design Ideas
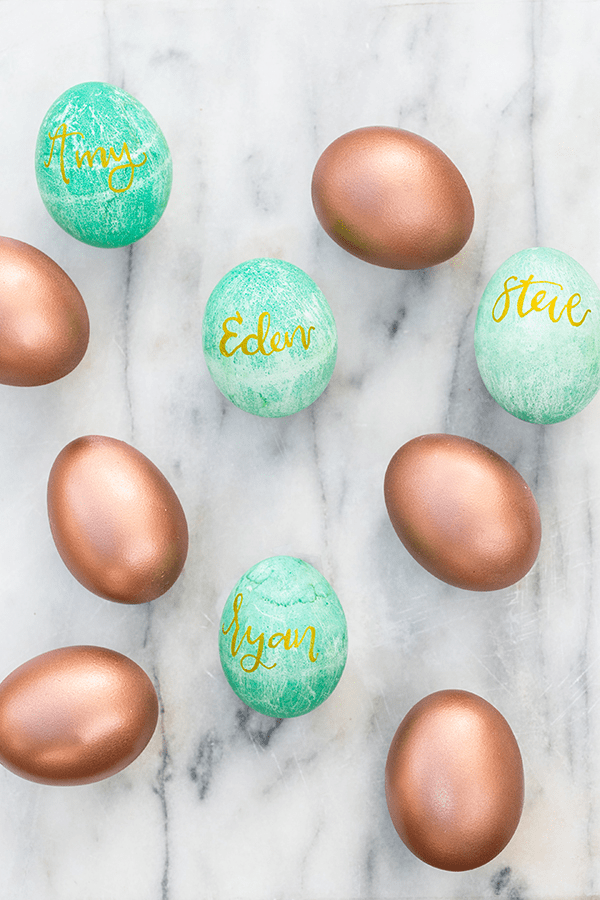
Before jumping into designs, I start with dyeing my eggs. This creates a fantastic canvas for additional details such as gold leaf accents or incorporating cracked shell designs. Some of my favorite methods to decorate Easter eggs include:
Colorful Calligraphy: Perfect for adding names or springtime messages. The tutorial on Sugar and charms really inspired me.
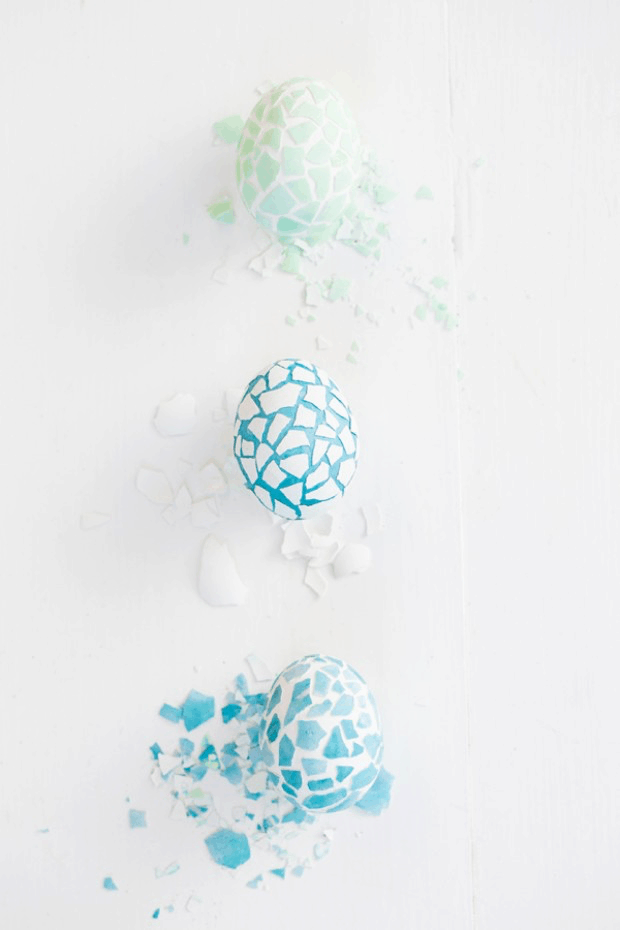
Mosaic Magic: Tiny, colored egg shell pieces create a stunning effect, as Sugar and Charm’s feature shows.
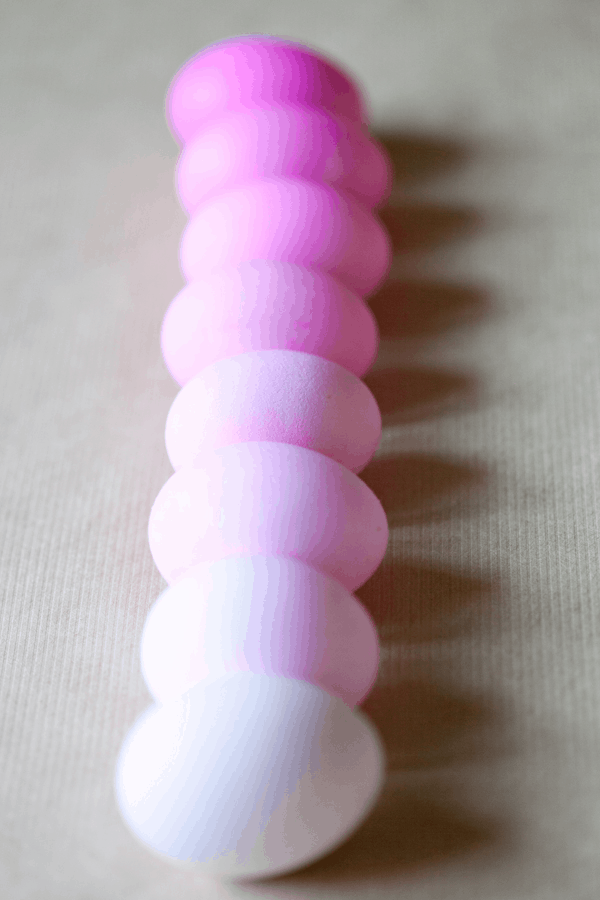
Ombre Elegance: Graduating colors offer a modern touch, and the DIY guide is relatively straightforward.
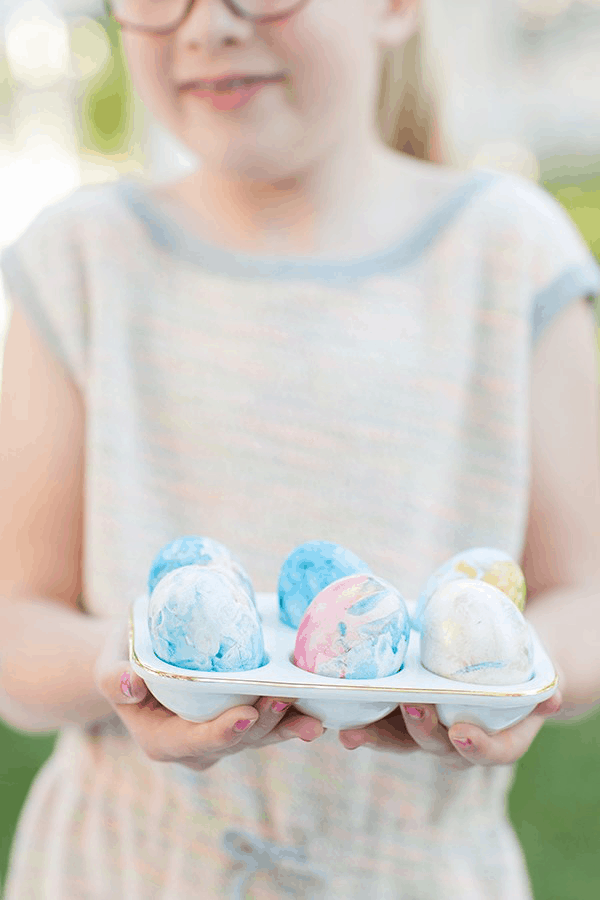
Shaving Cream Marbling: I follow this Good Housekeeping video for a swirly, dreamlike pattern.
Ombre Elegance: Graduating colors offer a modern touch, and the DIY guide is relatively straightforward.
Temporary tattoo designs: Temporary tattoos on eggs look so cool and work well! Press a damp cloth onto the backing paper of the temporary tattoo until it adheres to the egg.
Botanical Designs: Using herbs and flowers pressed onto eggs achieves a lovely, rustic vibe. I check Terrain for tips on achieving this with natural dyes.
Mosaic Eggs: Creating mosaic Easter eggs is a unique twist on the traditional egg-dying. Here’s my step-by-step approach to crafting these decorative pieces:
Decoupage Eggs: When I decorate eggs using the decoupage technique, I follow a series of steps to ensure each egg turns out beautifully and uniquely embellished. The method involves pasting layers of paper onto an egg with an adhesive that, when dried, becomes clear.
Embossed and Glittered Eggs
Embossing Powder: Adds detailed patterns.
Glitter Application: Apply after the dye dries to avoid smudging.
Monogram Designs: Personalize with glitter for a unique touch.
Surface Sparkle: A sprinkle of glitter enhances egg presentation.
Tip: Use a fine brush to control the glitter placement for a precise finish.
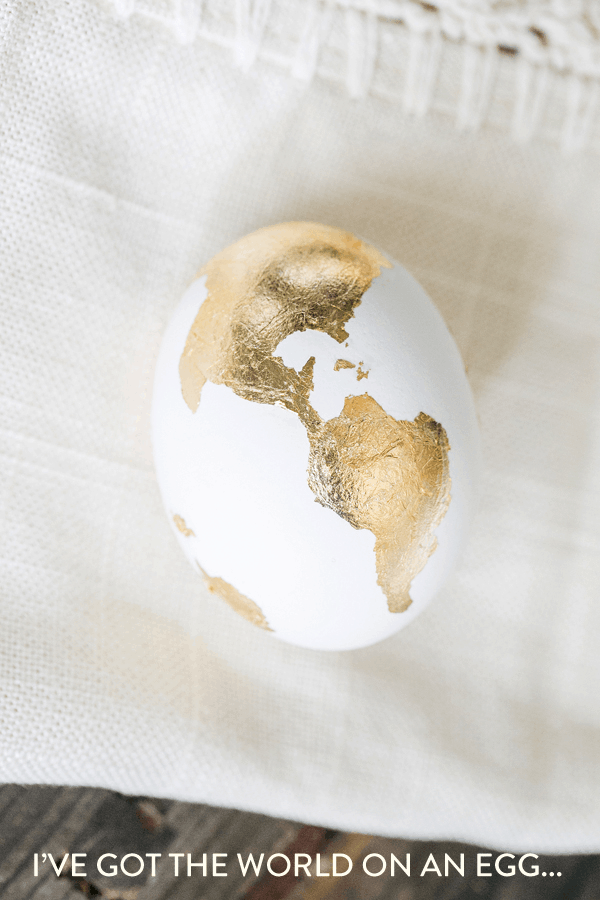
Gold Leaf Easter Eggs
When I want to create Easter eggs that have a touch of elegance, I often turn to the technique of applying gold leaf. Here’s a simple method that I use to create these beautiful decorations:
- Gold leaf: For the decorative gold finish
- Gold leaf adhesive To securely attach the gold leaf to the egg surface
- Small paintbrush: For applying adhesive and smoothing the gold leaf
- Clean, dry cloth To buff the gold and achieve a shiny finish
Apply adhesive: Using the paintbrush, I carefully coat the egg where I want the gold leaf to stick.
Lay the gold leaf: After the adhesive becomes tacky, I gently press the gold leaf onto the egg. It’s delicate, so patience is vital.
Smooth it out: I smooth the gold leaf onto the egg with a dry paintbrush or cloth, brushing away excess.
Frequently Asked Questions
The temperature of the eggs does not significantly affect the dyeing process. What matters is that they should be easy to handle. I recommend letting hard-boiled eggs cool for safety and ease.
Hard-boiled eggs should be cool enough to handle without the risk of burning. Approximately 15 minutes should suffice for cooling, or you can speed up the process by running them under cold water.
Yes, and many prefer refrigerated eggs for dyeing since they’re easier to handle and there’s no risk of burns.
Although possible, it’s practical to dye hard-boiled eggs, especially if you plan to use them for an Easter egg hunt or as edible decorations.
Vinegar aids in color adhesion to the eggshell, but it’s not mandatory. Lemon juice can serve as a substitute.
Absolutely food coloring is essentially what’s used for Easter eggs. Starting with about 20 drops in warm water will produce vibrant hues, and you can adjust for the desired color intensity.
For a personalized touch, try using stencils for patterns or create many colors beyond what’s available in standard dye kits. To dye eggs with any conceivable hue, use the corresponding food coloring, such as red, for fiery scarlet eggs.
After coloring eggs pink, the drying step is crucial for a smudge-free finish. Here’s how I ensure my eggs dry properly:
Air Drying Method: Carefully place the dyed eggs back in their original carton or on an egg rack to allow air to circulate and dry the shells naturally.
Towel Dabbing Technique: Dab the eggs with a paper towel to absorb excess dye. It’s important to be gentle not to rub off the dye.
More Easter Ideas
Dessert Ideas for Easter
I hope this guide helps you create beautifully dyed Easter eggs! Tag me @sugarandcharm on social to show me your creations!
You can also FOLLOW ME on FACEBOOK, INSTAGRAM, and PINTEREST to see more delicious recipes, cocktails, desserts, and parties!


Can someone advise, dyeing, can you boil, cool, add vinegar, then dye eggs later or next day; or can you refrigerate dye, take it out later to room temp and then dye.
Thank you
Yes you can dye the eggs the next day after boiling. Just leave them in the refrigerator and add the vinegar to the colored water.
Hi I’m in a bit of a dilemma as I have tried everything to dye some white boiled eggs for easter, I have now tried 25 eggs & none have dyed? What is it I am doing wrong? I have followed all instructions & none of my eggs are dying, the colour seems to be very deep in the glass but it is just rolling off the egg, I have used extra food colouring, hot water, warm water, 1 teaspoon of white vinegar, 2 spoons of vinegar even 3 all with same result, I am so disappointed as is my granddaughter who was sooo excited to try this for family members, any advice please help x
hi Connie – That is very odd.. your eggs should be dying with warm water, 20-40 drops of food coloring and a few tablespoons of vinegar. Maybe try leaving them in the mixture longer? Sorry we can’t help, that doesn’t seem right that they wouldn’t be dying!
Dying and coloring eggs for Easter day. It is superb idea.