
This post may contain affiliate links. Please see our disclosure policy.
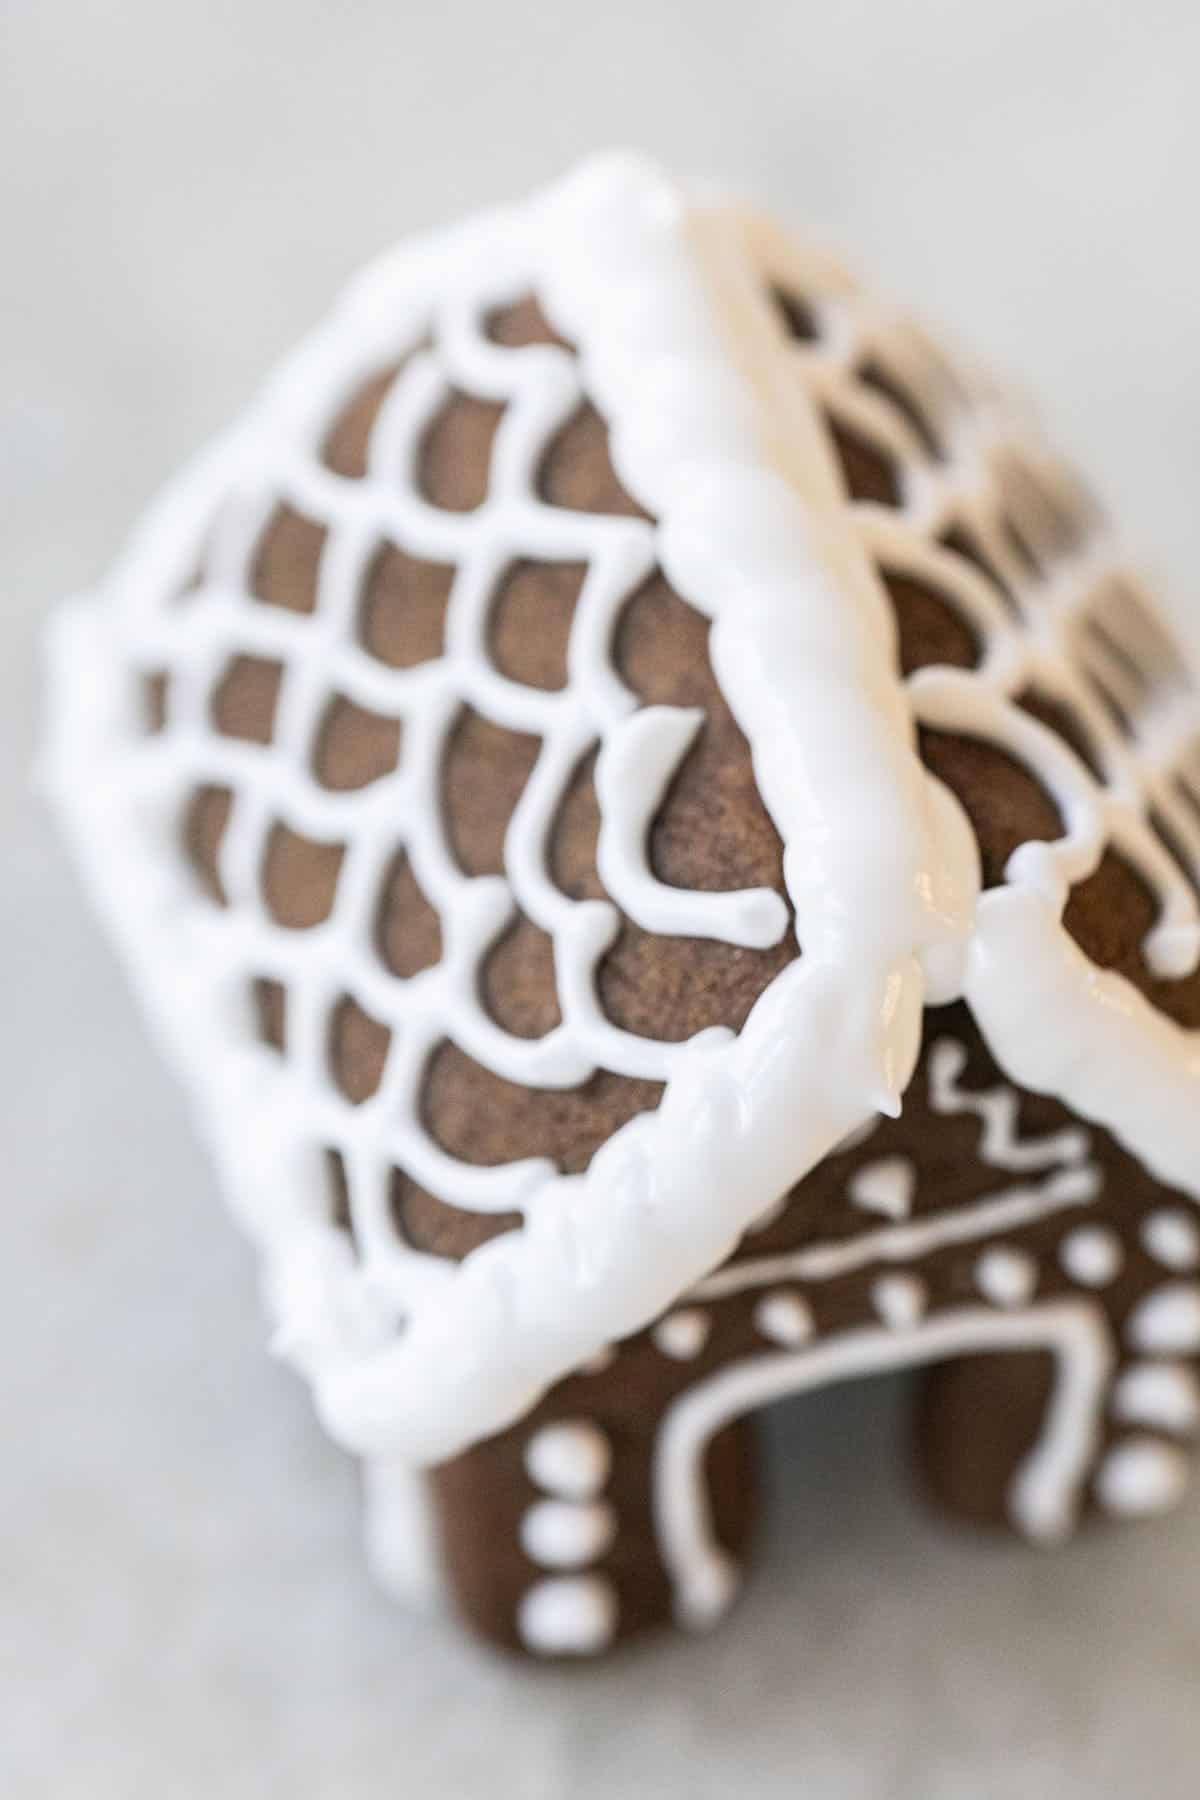
This fluffy gingerbread house icing is my go-to for building and decorating! I make it every single year and everyone asks for the recipe. It’s made with just three ingredients, it’s easy to pipe, dries fast, and actually holds your house together. No collapsing roofs here!
This icing is amazing for making gingerbread houses and adding decorations to gingerbread Christmas trees, mini gingerbread houses as well as gingerbread cookies.
Pin this now to find it later
Pin ItWhat Makes This the Best Gingerbread House Icing
Actually works like glue: I’ve used this icing for years, and it seriously holds everything together—walls, roofs, candy, you name it. No more collapsing houses halfway through!
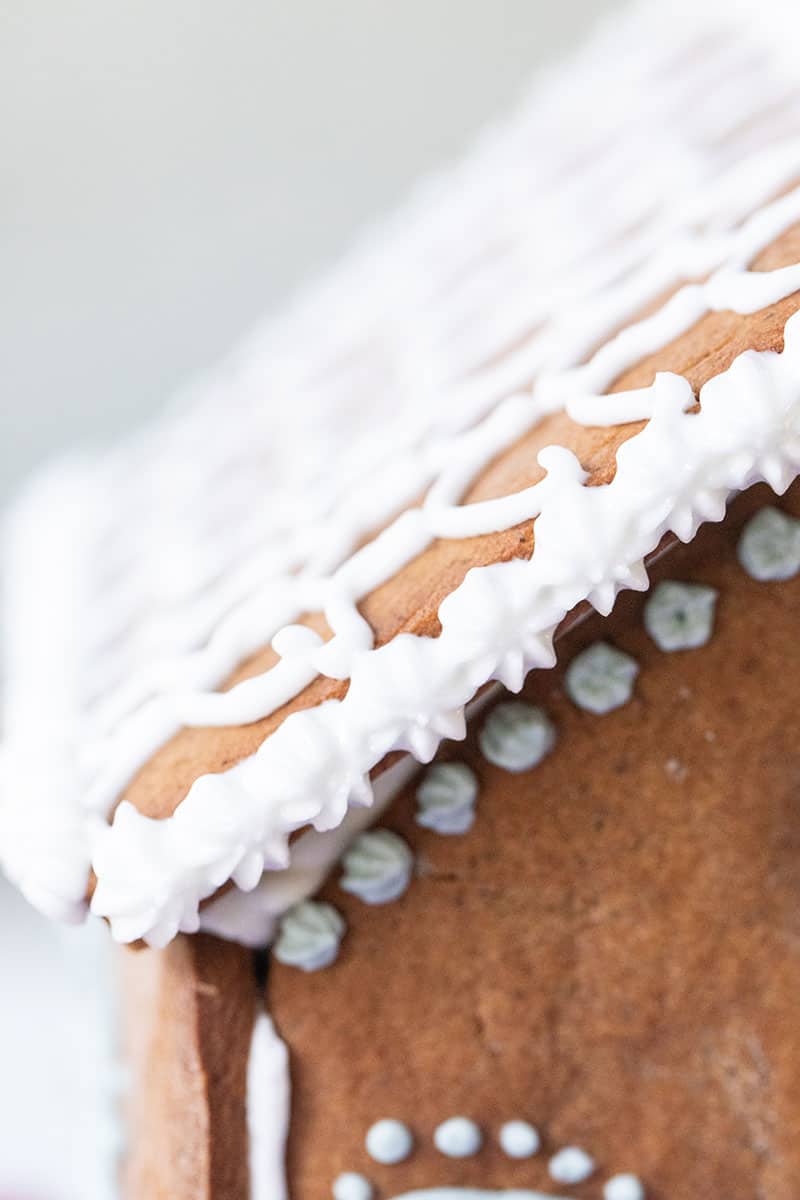
Fluffy but firm: It’s strong enough to support your house but still soft and fluffy when you pipe it. Perfect for snowy swirls and cute details.
Dries fast (hallelujah!): You don’t have to babysit your house while it dries. This icing sets quickly, which makes decorating way more fun and way less stressful.
Way better than store-bought: Honestly, toss the icing that comes in those kits. It’s stiff, hard to pipe, and just not fun to work with. This one is dreamy and smooth.
Totally customizable: Add a little gel food coloring or a drop of peppermint or almond extract for something festive. It’s such a fun way to personalize your house.
Gingerbread House Icing Ingredients
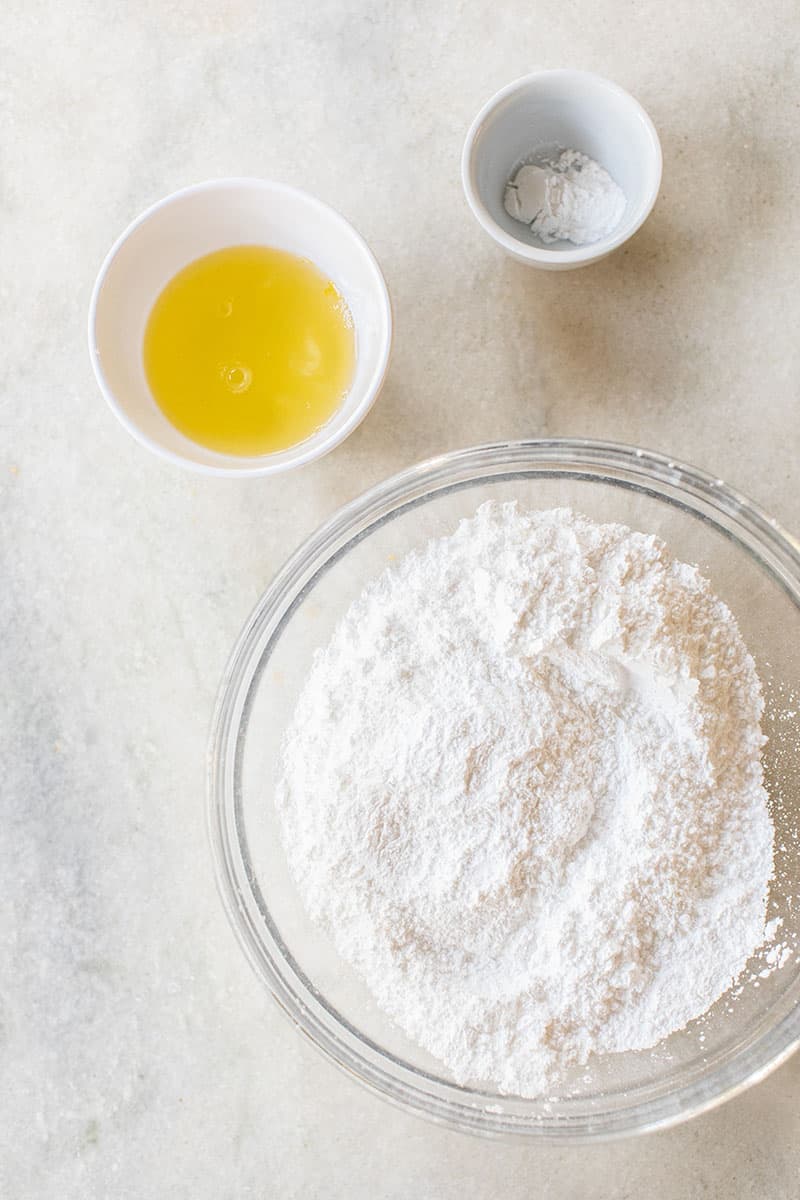
Confectioners’ Sugar: Also called powdered or icing sugar. It’s super fine and dissolves easily, making it perfect for smooth, pipeable icing.
Egg Whites: These give the icing structure and that glossy, fluffy texture. Use pasteurized egg whites if you’re working with raw eggs, safety first!
Cream of Tartar: This magical little ingredient keeps the egg whites stable and prevents them from deflating. Don’t skip it – it makes a big difference!


How to Make Gingerbread House Icing
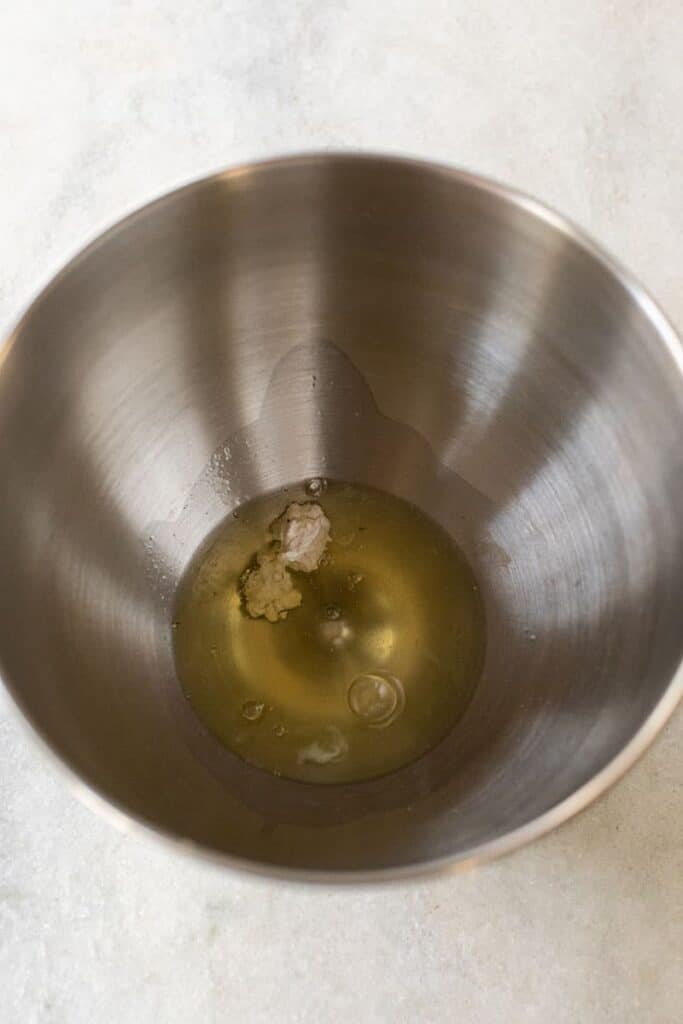
1. Beat the egg whites: In the bowl of a stand mixer, with the whisk attachment, beat egg whites and cream of tartar on high speed until stiff peaks form.
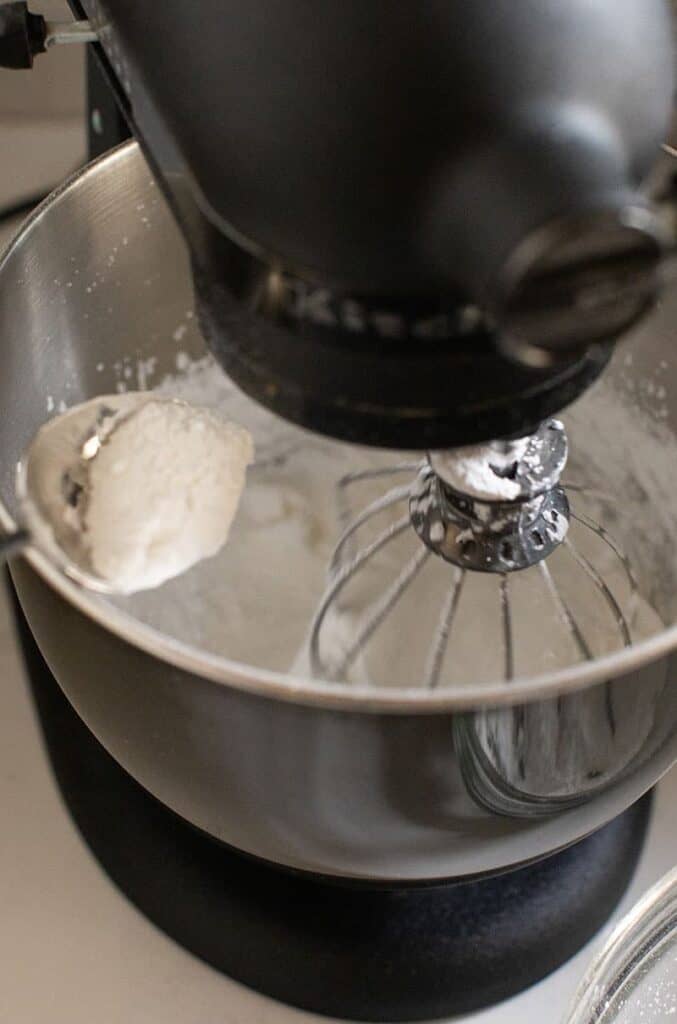
2. Add the sugar: Turn the mixer to low speed and add powdered sugar one spoonful at a time.
3. Finish the icing: Once all of the powdered sugar is in the mixer, turn it to high again and beat until the icing is fluffy.
Recipe Tips & Variations
Flavor It Up: Add a splash of vanilla, almond, or peppermint extract to give your icing a festive twist—I usually go peppermint because, well… Christmas!
Color Like a Pro: Use gel food coloring to get those vibrant reds, greens, and blues without messing up the texture. Liquid dye just doesn’t cut it.
Graham Cracker Hack: Skip the homemade gingerbread and use graham crackers for a super easy (and still adorable) gingerbread house base. Perfect for last-minute parties or impatient kids!
Fix the Consistency: If your icing’s too runny, add more powdered sugar a little at a time. Too thick? Add water by the tablespoon. It should be thick like glue but easy to pipe.
Party-Ready Tip: Wrap finished houses in clear cellophane bags tied with ribbon for the cutest party favor or gift. It’s a little detail that makes a big impression.
Storage
Freeze: Freeze for up to 3 months. Thaw in the fridge overnight, then bring to room temp and give it a quick whip if needed.
Refrigerate: Store icing in an airtight container or sealed piping bags and use within 24 hours. Let it come to room temp before using for easier piping.

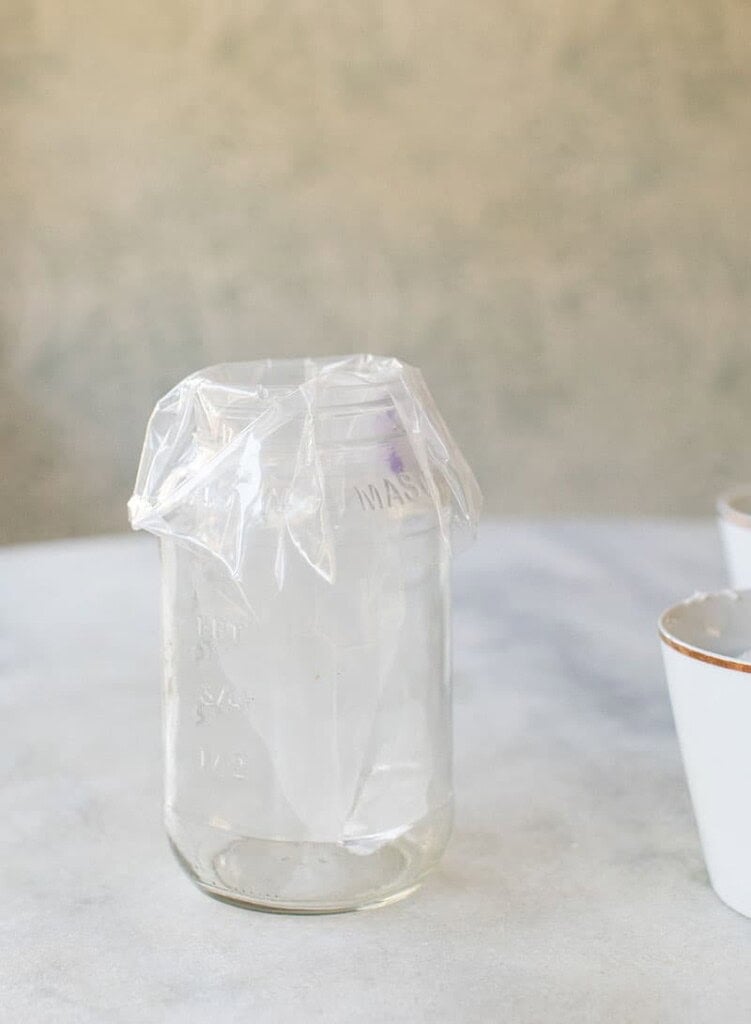
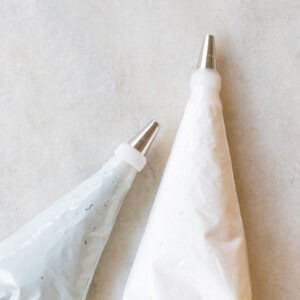
Easy Way to Fill a Piping Bag
A friend of mine taught me this trick years ago and I use it when filling a piping bag. It’s the easiest way to fill an icing bag without the mess.
- Grab a tall glass with a wide mouth.
- Place the piping bag inside and fold the edges over the rim.
- Spoon the icing into the bag, pushing it down as you go.
- Fill about 3/4 full, then remove the bag from the glass.
- Twist the top and secure it with a rubber band.
Gingerbread House Icing FAQ’s
Yes! This icing is made with powdered sugar, pasteurized egg whites or meringue powder, and cream of tartar—totally safe to eat and super tasty too.
It usually takes about 30 minutes to set completely, depending on the temperature and humidity in your home. Once it’s dry, your house will be sturdy and ready to decorate.
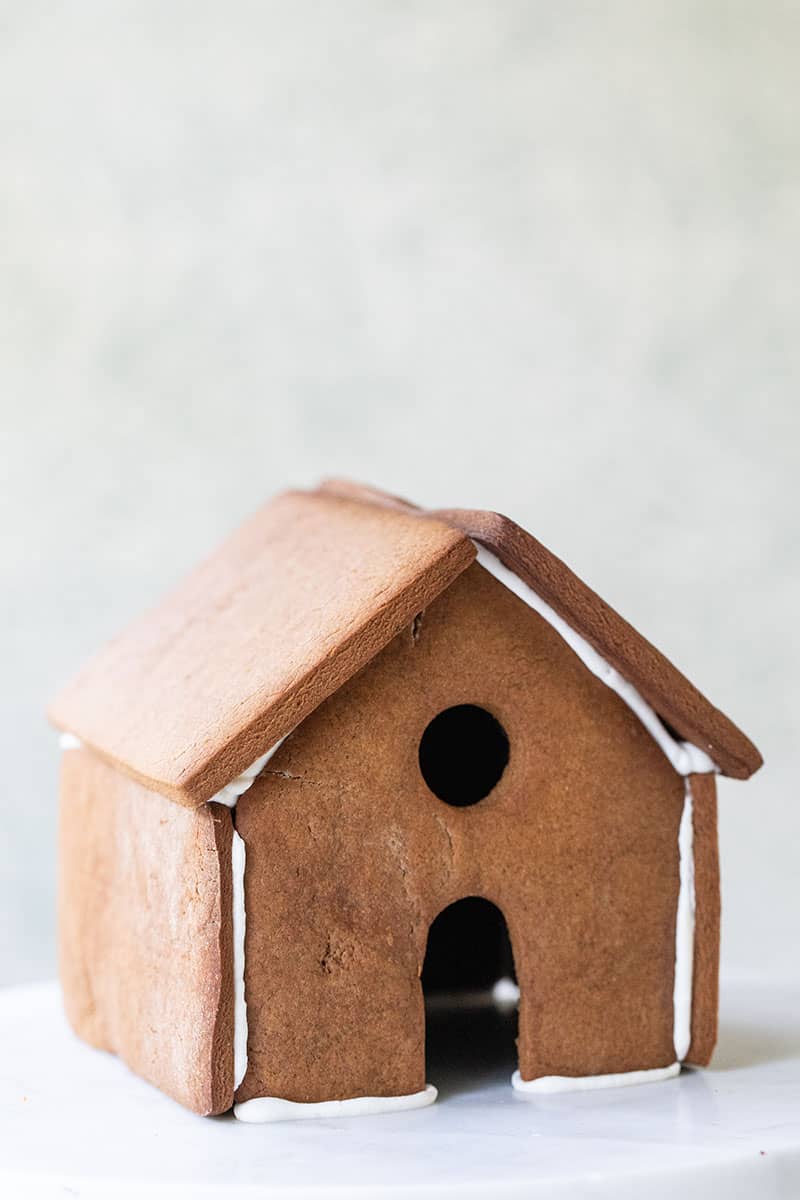
Use this icing! Just pipe it onto the edges of your gingerbread pieces, press them together, and hold for a few seconds. It’s strong, reliable, and dries fast.
Here’s what I always have on hand:
Gingerbread pieces (homemade or store-bought)
This icing recipe
Piping bags and tips
Candy (the more colorful, the better!)
A sturdy base like a cake stand, marble board, or a cute platter
Gingerbread Desserts

Holidays
Spritz Cookies Recipe
Holidays
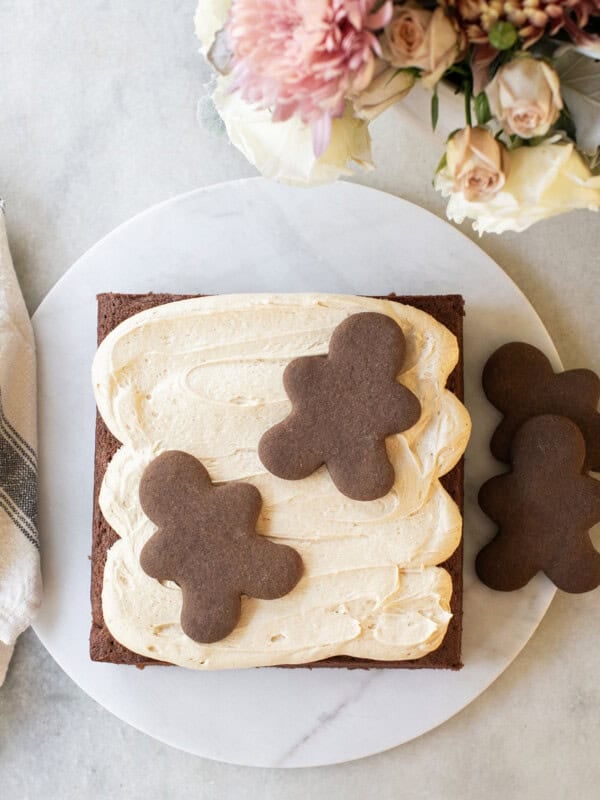
Fluffy Gingerbread Cake Recipe
Holidays
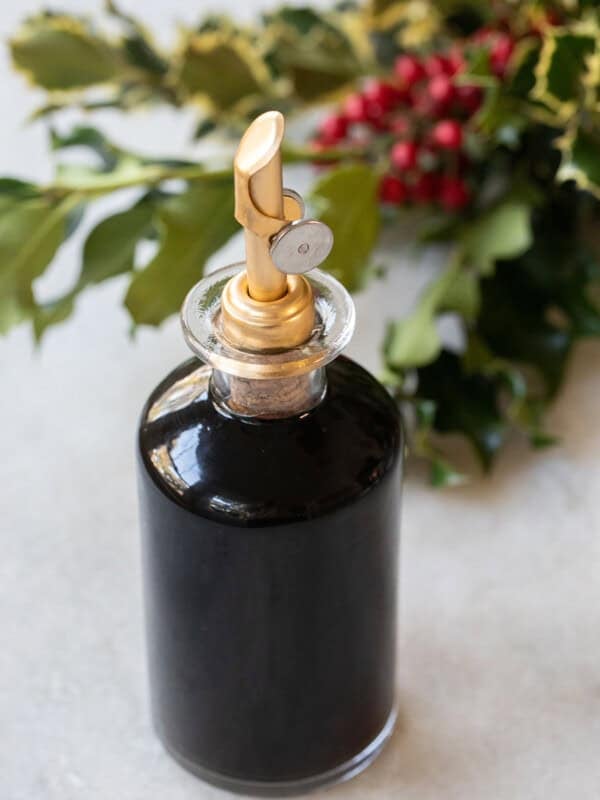
Homemade Gingerbread Syrup


My new Entertaining book is here! Order Now!
Gingerbread House Icing
Equipment
- Electric Mixer with Whisk Attachment
Ingredients
- 4 egg whites
- 1 tsp cream of tartar
- 4 1/2 cups powdered sugar , start with 4 cups and see how the texture is, then add the 1/2 cup.
- food coloring , if you want to make different colors.
Instructions
- In an electric mixer fitted with the whisk attachment, beat egg whites and cream of tartar together.
- When the egg whites are whipped to firm peaks, turn the mixer to low and spoon in the powdered sugar.
- Continue adding in the powdered sugar until it's gone, then turn the mixer on high to whip again.
- Once it becomes fluffy (only a few minutes) it's done. It should be sticky, fluffy and thick!
- Divide the frosting into different bowls and add the desired amount of food coloring to each bowl. Whatever colors you want.
Notes
Nutrition
Nutrition information is automatically calculated, so should only be used as an approximation.


Please disregard my previous review🙏
I now see all the measurements and instructions.
Wonderful recipe. Holds like superglue and looks great! Thank you so much ☺️
Can you put the icing in piping bags and put in refrigerator until ready to use?
It will harden, so I would leave it out OR if you do it the day before you can refrigerate but then it will need a few hours to come to room temp again.
Whipped up perfectly with hand beater and held the house together very well. A recipe worth saving and using again and again. Thanks for sharing this
My batch did not hold the house together, but worked for decorating. I am now concerned about the extra that I froze for use days later. Thinking after it thaws, I could add more powdered sugar to make it firmer? What do you suggest?
Yes maybe use more powdered sugar or make sure you beat the egg whites and cream and tartar until thick. I have never had this problem, mine holds like glue!
I used this recipe to decorate the house, it is great, exactly as described. However, I get the store kits and hot glue the house together before decorating. No one is going to actually eat the house, hot glue the bottom of the house to a base, usually a roasting pan or cookie sheet turned up side down and covered with foil. A hot glue gunned house base can withstand several children decorating it together without caving in.