
This post may contain affiliate links. Please see our disclosure policy.
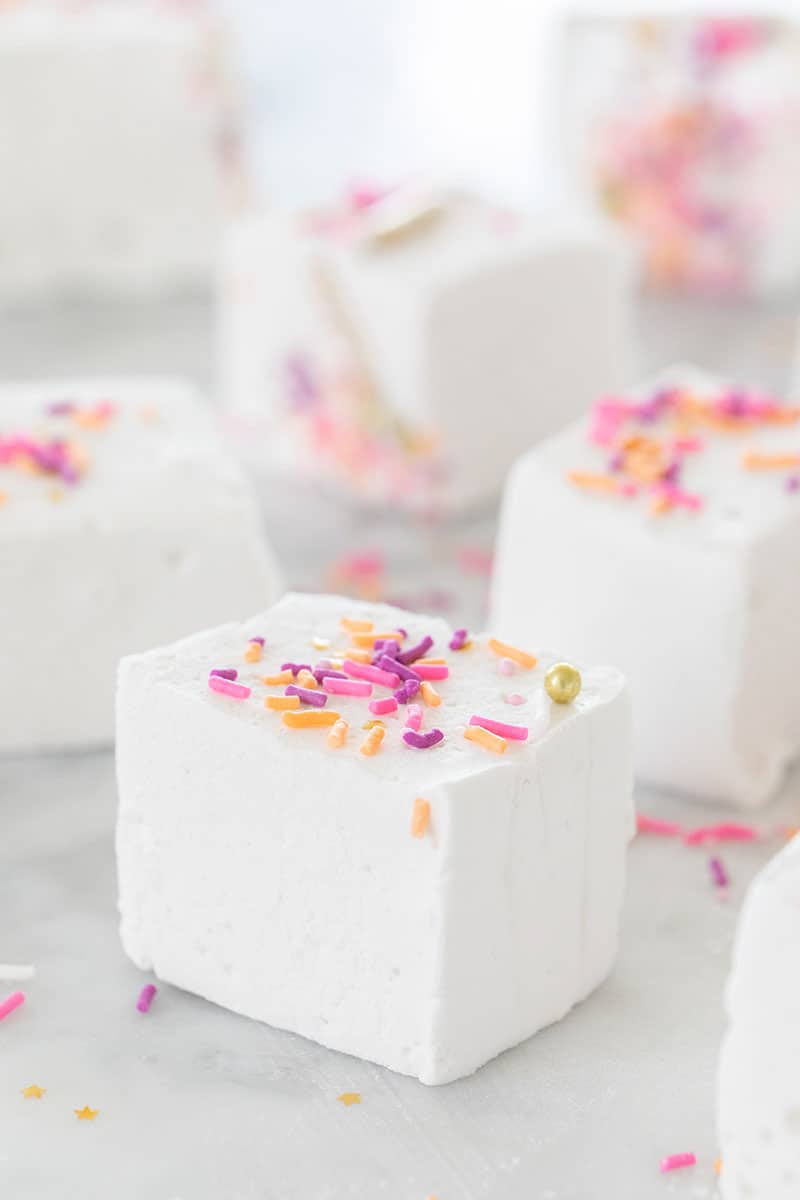
These homemade marshmallows are soft, fluffy, and surprisingly easy to make from scratch. I’ve been making this recipe for years, and it always turns out perfectly pillowy and better than anything you can buy at the store.

Pin this now to find it later
Pin It⭐️⭐️⭐️⭐️⭐️
These were so fun to make. My children loved the whole process. I subbed out half the corn syrup for local honey and the flavor was stunning. Thank you for posting!— Debbie
Why These Are the Best Homemade Marshmallows
After 16 years of professional recipe testing, I can tell you: there is no comparison to a fresh marshmallow. While store-bought brands can be rubbery, these are like biting into a cloud—pillowy, pure, and made with just 6 simple ingredients!
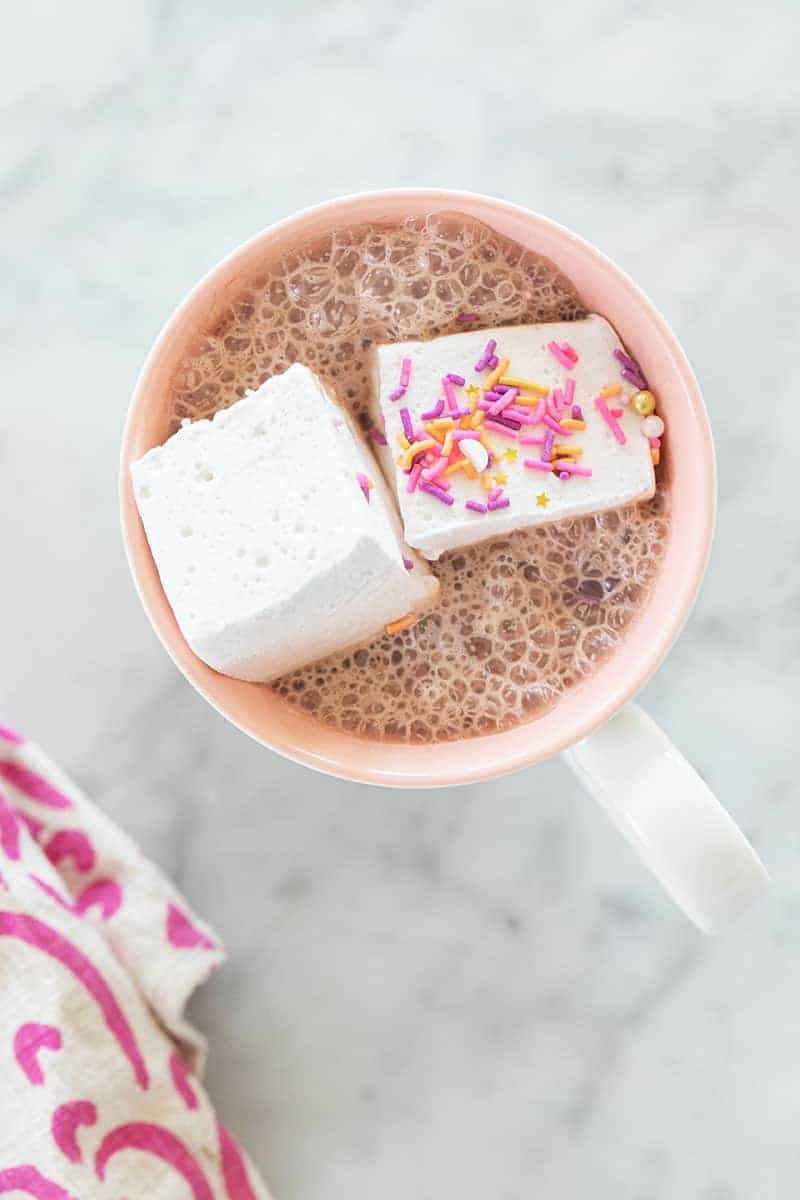
- They Melt Like a Dream: Because there are no chemical stabilizers, these melt instantly into a naturally dyed pink hot chocolate or on a hot chocolate charcuterie platter.
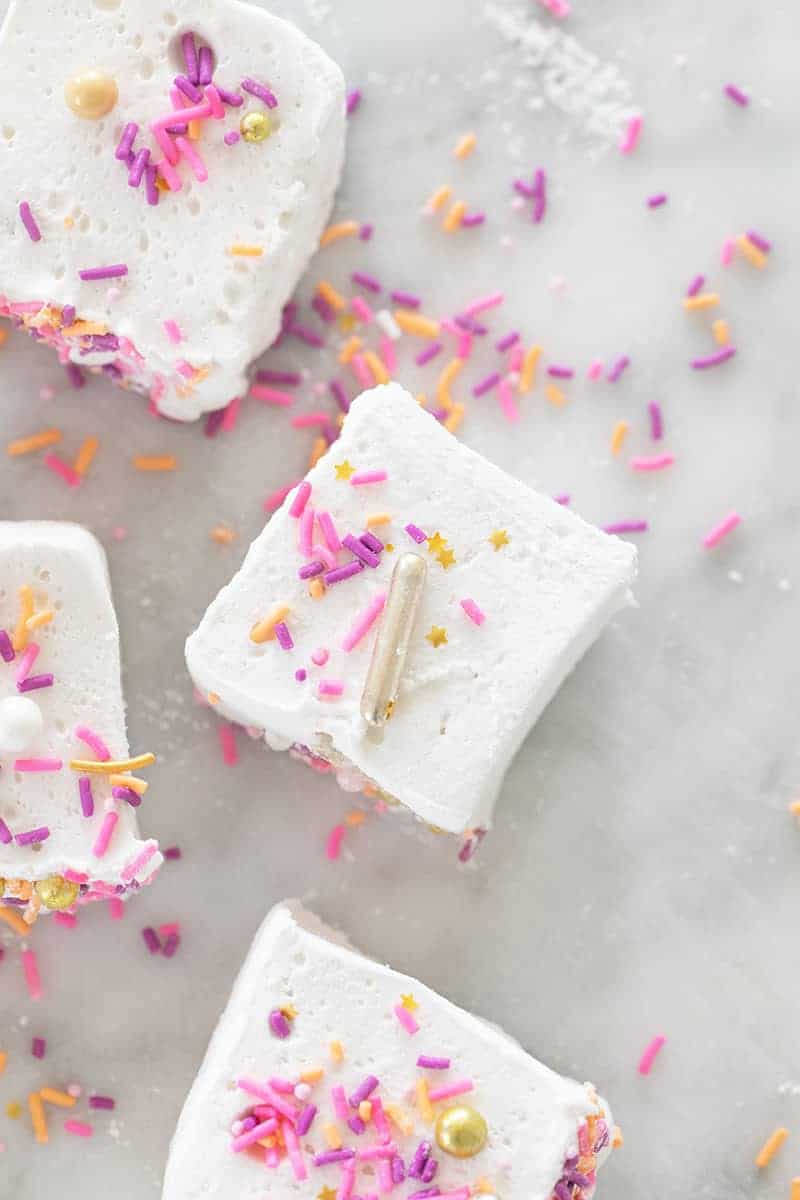
- Completely Customizable: You control the shape and size. I love cutting mine into large squares to fit perfectly on a graham cracker for next-level s’mores (try them with biscuit s’mores for a twist!).
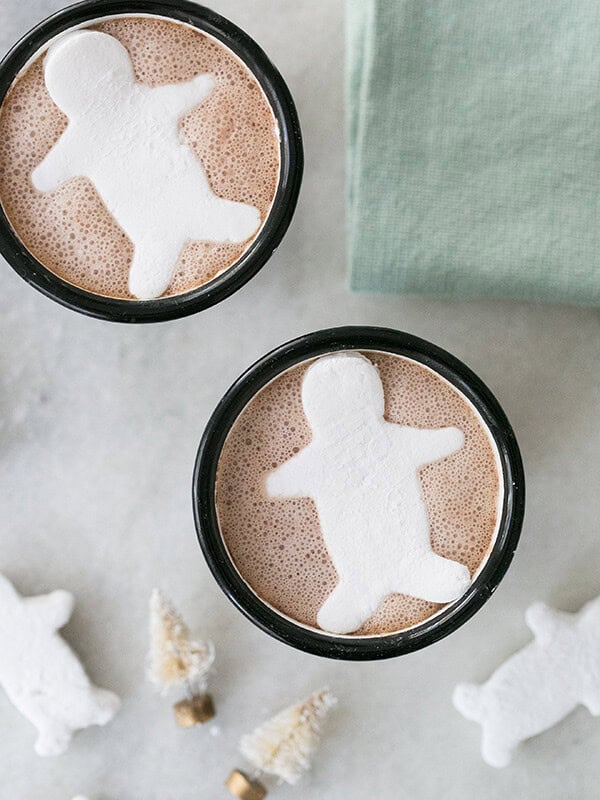
- Endless Variations: Once you master this base, you can dive into my maple syrup marshmallows, rose-flavored marshmallows, or even my healthy marshmallow recipe.
Homemade Marshmallow Ingredients

Granulated Sugar: The base of the recipe, providing sweetness and structure. Use white sugar for consistent results.
Light Corn Syrup: Prevents crystallization and stabilizes the sugar mixture. (Pro Tip: You can sub golden syrup or honey, but the flavor will be more “toasty.”)
Unflavored Gelatin: The magic for that bouncy “set.”
Vanilla Extract: Adds depth and aroma. Feel free to experiment with other extracts like peppermint, almond, or rose water.
Powdered Sugar or Cornstarch: A 50/50 blend of powdered sugar and cornstarch.
How to Make Marshmallows
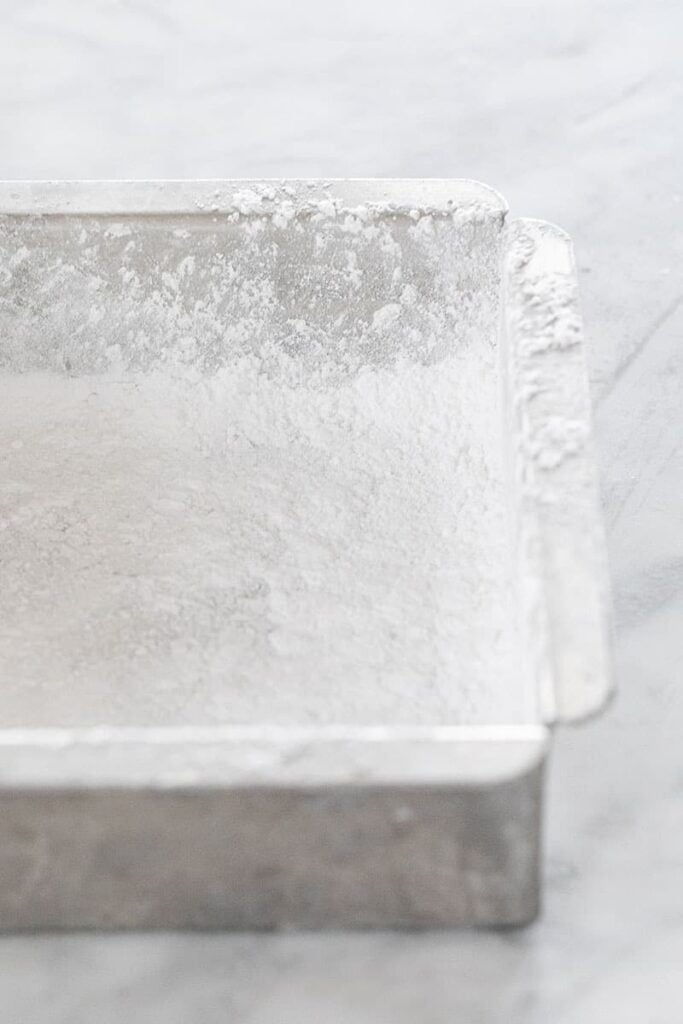


- Prepare the Pan: Grease a 9×9″ pan with vegetable oil. Dust heavily with your 50/50 powdered sugar/cornstarch mix.
- Make the Sugar Syrup: Combine sugar, syrup, and ½ cup water in a saucepan. Heat (without stirring) to exactly 240°F (Soft Ball Stage).
- Bloom the Gelatin: While the syrup heats, combine gelatin and ½ cup water in your stand mixer bowl. Let sit for 5 minutes.
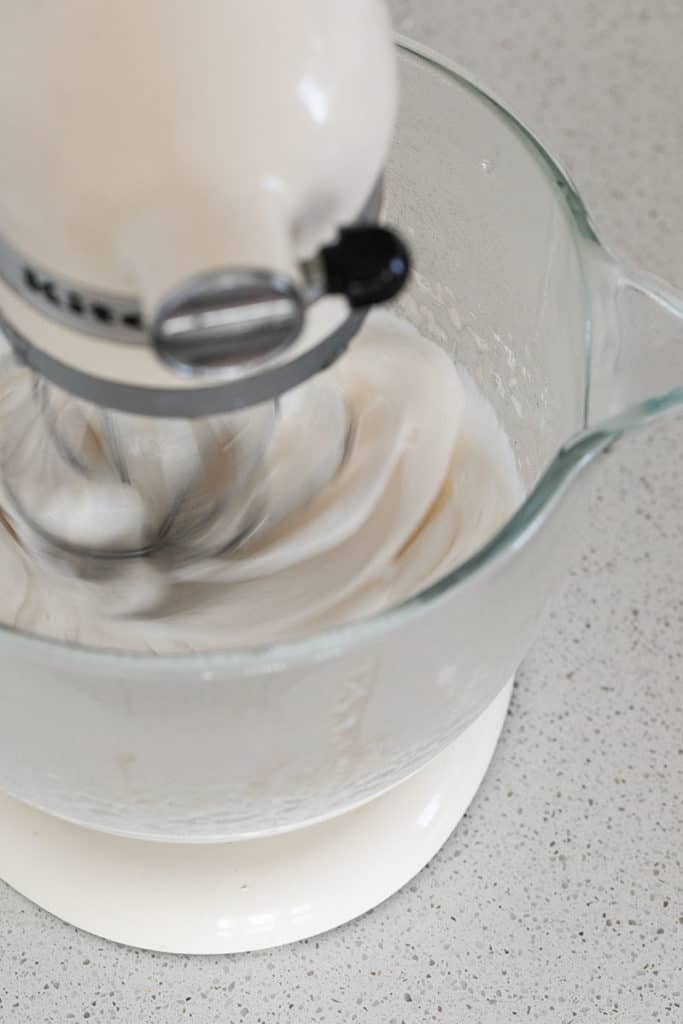
- Whip the Base: With the mixer on low, slowly pour in the hot syrup. Turn to high and whip for 10–12 minutes until thick and glossy. Add vanilla and salt in the final minute.
- Pour and Set: Grease a spatula and spread the mixture into your pan. Let it set uncovered at room temp for at least 6–8 hours.
- Cut and Coat: Oil a sharp knife, cut into squares, and roll each one in the dusting powder to prevent sticking.
These are perfect for adding to a dessert charcuterie board or serving alongside other easy party desserts.
Eden’s Pro Tips
Hit Exactly 240°F: Use a candy thermometer to reach the soft ball stage. Too low and they won’t set, too high and they’ll turn dense and chewy.
No Thermometer? Use the Soft Ball Test: Drop a little syrup into cold water. If it forms a soft, squishy ball that flattens when pressed, it’s ready.
Work Quickly: Once whipped, the marshmallow sets fast. Have your pan greased and ready before you start mixing.
Cut + Store Like a Pro: Oil your knife for clean cuts, then coat each marshmallow well. Store in an airtight container at room temperature for up to 3 weeks. Avoid refrigerating—they’ll get sticky and lose their texture.
Marshmallow Troubleshooting:
Too Sticky
Likely Cause: High humidity or not enough coating
Fix: Dust generously with the powdered sugar and cornstarch mixture
Won’t Set
Likely Cause: Sugar didn’t reach 240°F (soft ball stage)
Fix: Use a candy thermometer to ensure accuracy
Too Dense
Likely Cause: Over-whipped mixture or syrup too hot
Fix: Stop whipping once thick, glossy, and slightly warm
Grainy Texture
Likely Cause: Sugar crystals formed on the sides of the pan
Fix: Brush down the sides of the saucepan with a wet pastry brush
How to Make Marshmallows Without a Thermometer
- Fill a small bowl with cold water.
- Once the sugar syrup is boiling, drop a little into the cold water.
- If it forms a soft, squishy ball that flattens—it’s ready (this is the soft-ball stage, about 240°F).
- If it’s too runny, keep boiling and test again every minute.
- Don’t let it reach the firm-ball stage—that means it’s gone too far!
- Watch closely and act fast once it forms the soft ball—this is the perfect stage for marshmallows!
Ways to Use Homemade Marshmallows
- Add them to your favorite hot chocolate recipes or stir them into this rich and creamy peppermint hot chocolate.
- Use them for next-level biscuit s’mores or classic s’mores—they melt beautifully and taste incredible.
- Arrange them on a hot chocolate charcuterie board for a cozy, interactive dessert when hosting.
- Add them to a dessert charcuterie board with cookies, fruit, and chocolate for an easy entertaining idea.
- Package them up as sweet edible gifts for neighbors, teachers, or holiday hosting.
- Serve them year-round, from spring gatherings like Easter brunch to festive holiday dessert boards, and they always feel special.
FAQs
Sticky marshmallows usually mean they weren’t coated enough in powdered sugar or cornstarch. Be generous with the coating.
While possible, it’s very difficult to achieve the necessary volume and texture without a stand mixer. A hand mixer may work but will require more effort.
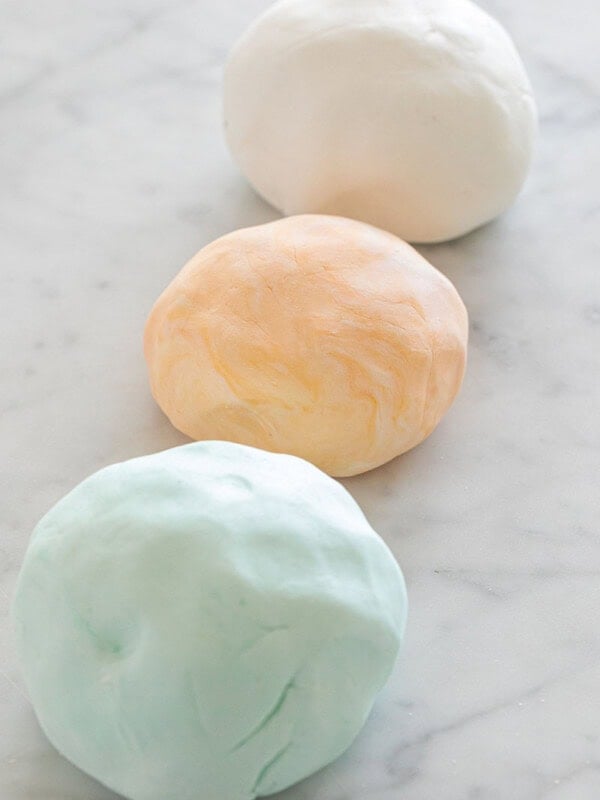
Add food coloring during the last minute of whipping for evenly tinted marshmallows. Swirl in a few drops for a marbled effect.
Yes, most marshmallows are naturally gluten-free. Always check ingredient labels to avoid cross-contamination.
More Marshmallow Recipes


Hope this guide helps you make the fluffiest marshmallows ever! Let me know what you think in the comments below!
My new Entertaining book is here! Order Now!

Homemade Marshmallows
Equipment
- Candy Thermometer
- Medium Saucepan
- Electric Mixer, Whisk Attachment
- 6×6 or 8×8 Baking Pan
Ingredients
- 1 1/2 cups sugar
- 1 cup water, divided into two 1/2 cups
- 1 cup light corn syrup
- 3/4 ounce unflavored gelatin, 3 packets
- 1/4 tsp salt
- 1 tbsp vanilla extract
Instructions
- Prepare the baking pan by rubbing a little vegetable oil on the bottom and sides.
- Sift a good amount of powdered sugar all over the bottom and sides until fully coated. At least 1/8 inch thick of powdered sugar coating.
- In a medium saucepan attached with a candy thermometer, add 1/2 cup of water, sugar cup sugar and 1 cup light corn syrup. Bring the mixture to a boil while stirring so it doesn't burn.
- The sugar needs to be at to 240-250 degrees (soft ball or firm ball) on a candy thermometer. Watch very carefully so it's exactly around 240 to 250 degrees. No less or no more. Once it reaches the temperature, turn the burner to a very low simmer.
- In a small bowl, whisk together gelatin and the other 1/2 cup water with a fork
- Using an electric mixer, with the whisk attachment and whisk the gelatin so it doesn't clump.
- Right away, carefully add in the very hot sugar mixture into the mixer while it's whisking.
- Beat on high for 10 minutes until thick, fluffy and white.
- After 10 minutes, add in the vanilla extract and salt. Continue to whisk for another minute.
- Pour the marshmallow mix into the prepared baking pan.
- If you want, add the sprinkles over the gooey marshmallow mixture and then let them sit uncovered for 6-8 hours or overnight.
- To remove the marshmallows, cut around the edge of the pan with a well-oiled knife, sprinkled with powdered sugar.
- Add powdered sugar to your hands and lift the marshmallows from the pan.
- Place the marshmallow sheet on a cutting board and cut the marshmallows with the same oiled, powdered sugared knife.
Video
Notes
Nutrition
Nutrition information is automatically calculated, so should only be used as an approximation.


Hi ,
Can you add a preservative and which one and how do you prevent then from getting moisture
These were so fun to make. My children loved the whole process. I subbed out half the corn syrup for local honey and the flavour was stunning. Thank you for posting.
Do these do well over the fire?