
This post may contain affiliate links. Please see our disclosure policy.
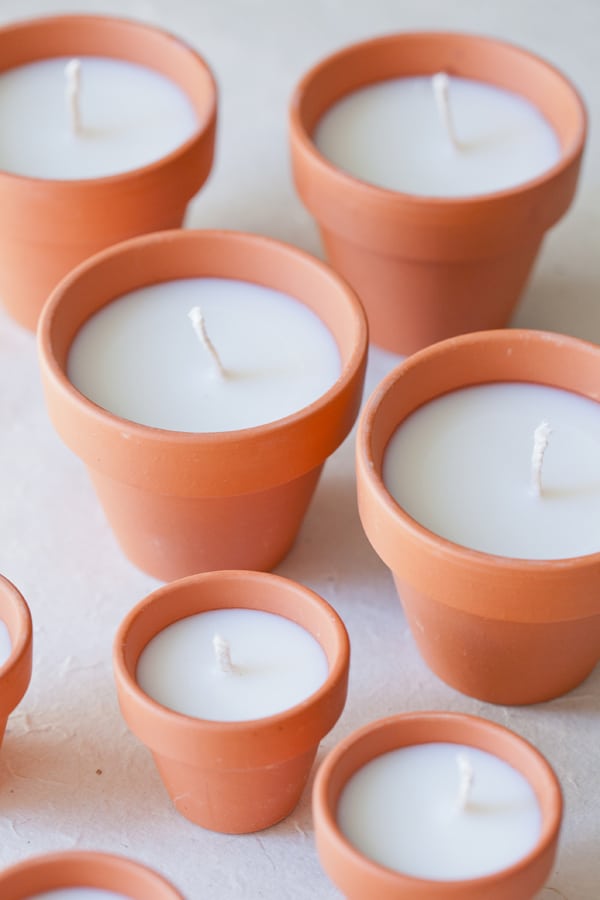
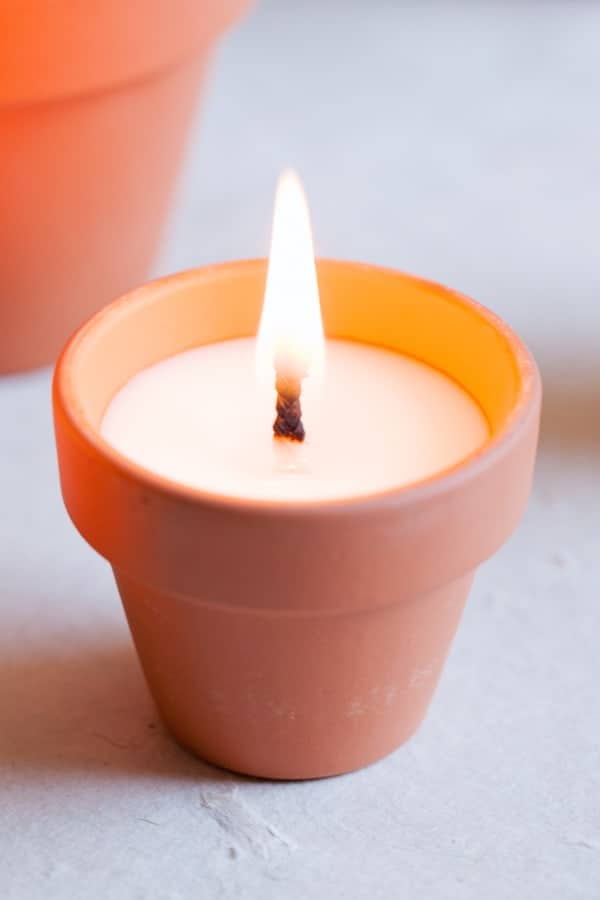
Create your own terracotta votives for a sweet, rustic touch to any table. They’re simple to make, endlessly versatile, and add the perfect dose of charm to gatherings year-round.
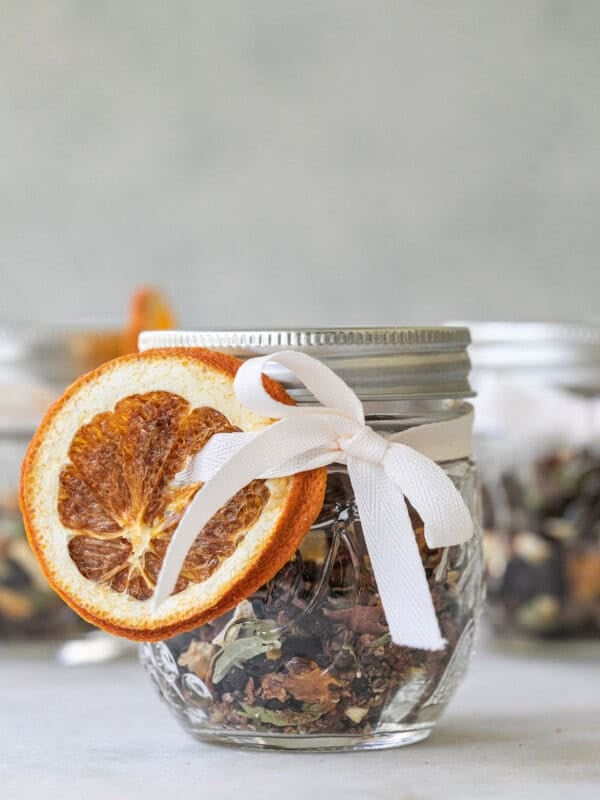
If you’re looking for more DIY candle projects try my beautiful oil candles and DIY tiki torch bottles.
Pin this now to find it later
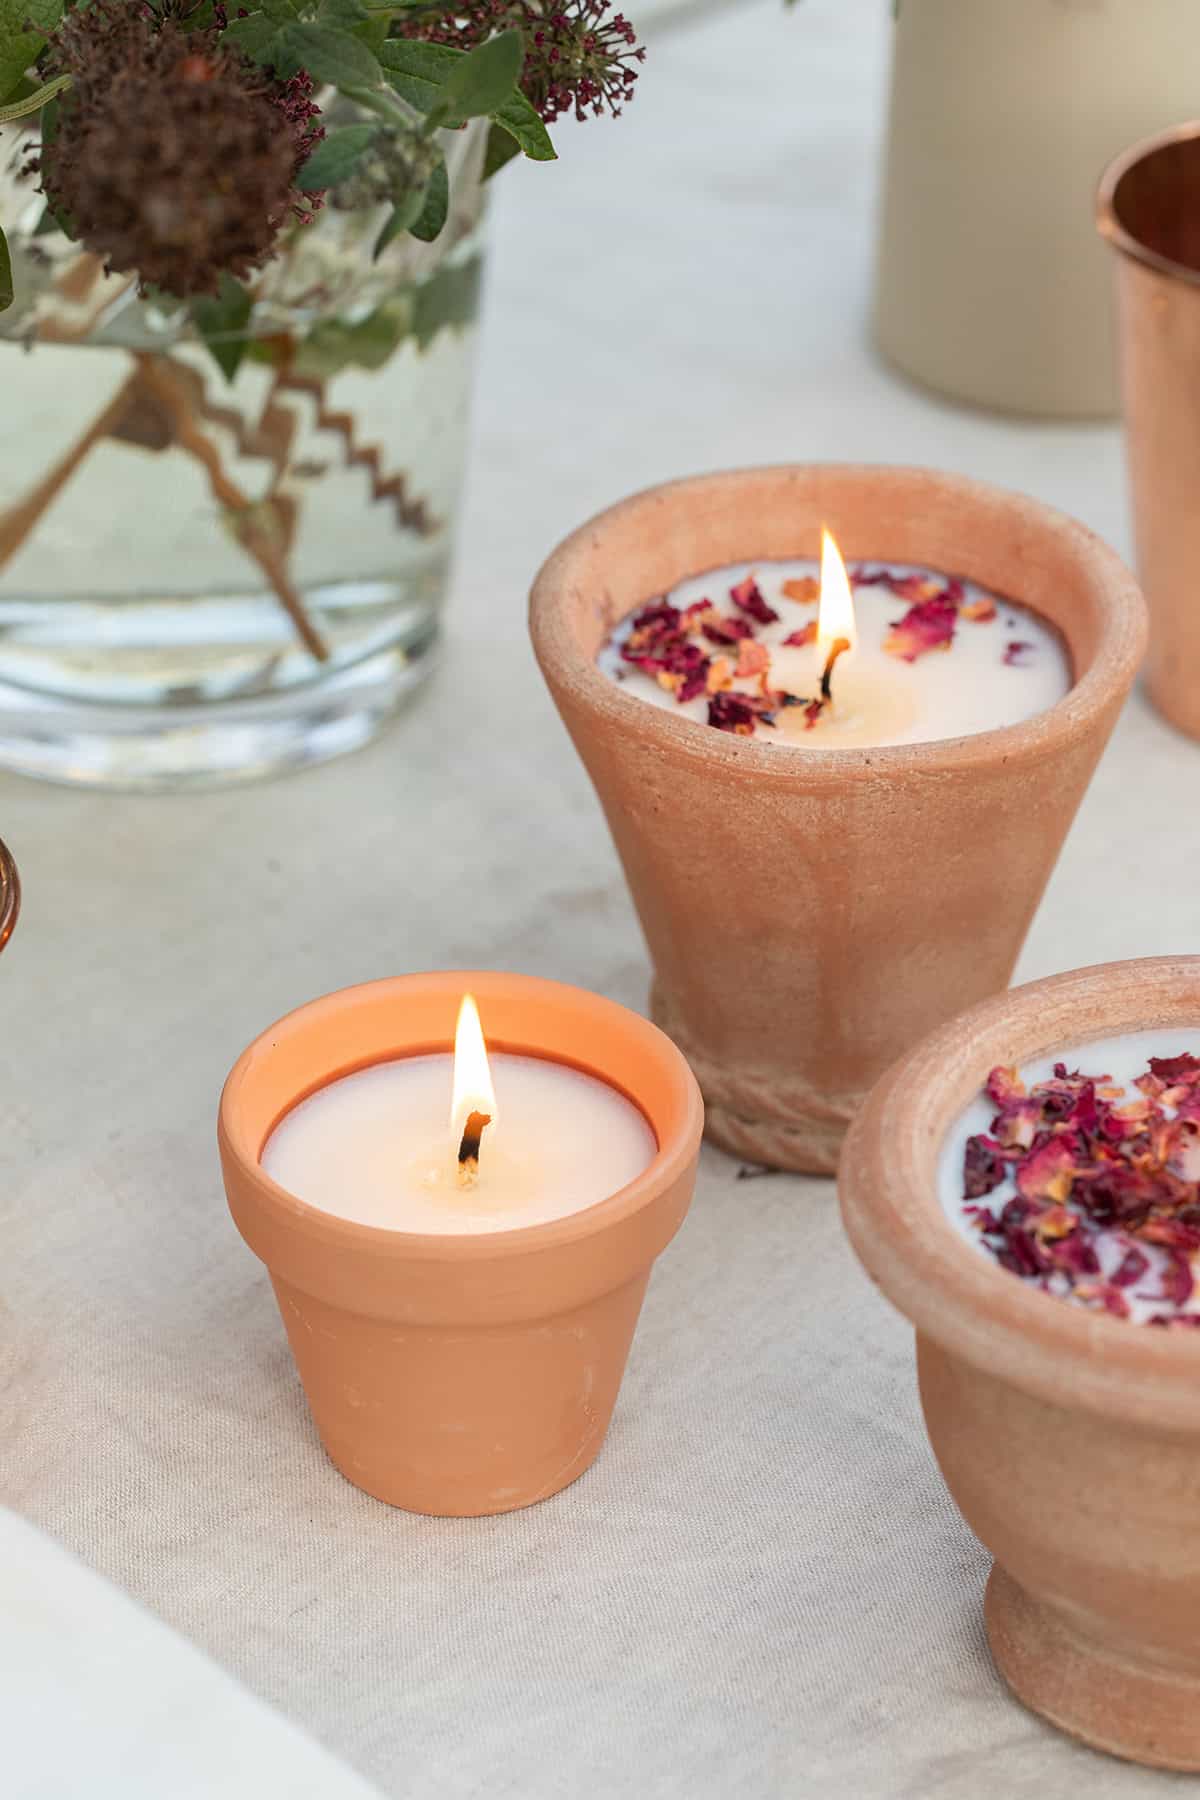
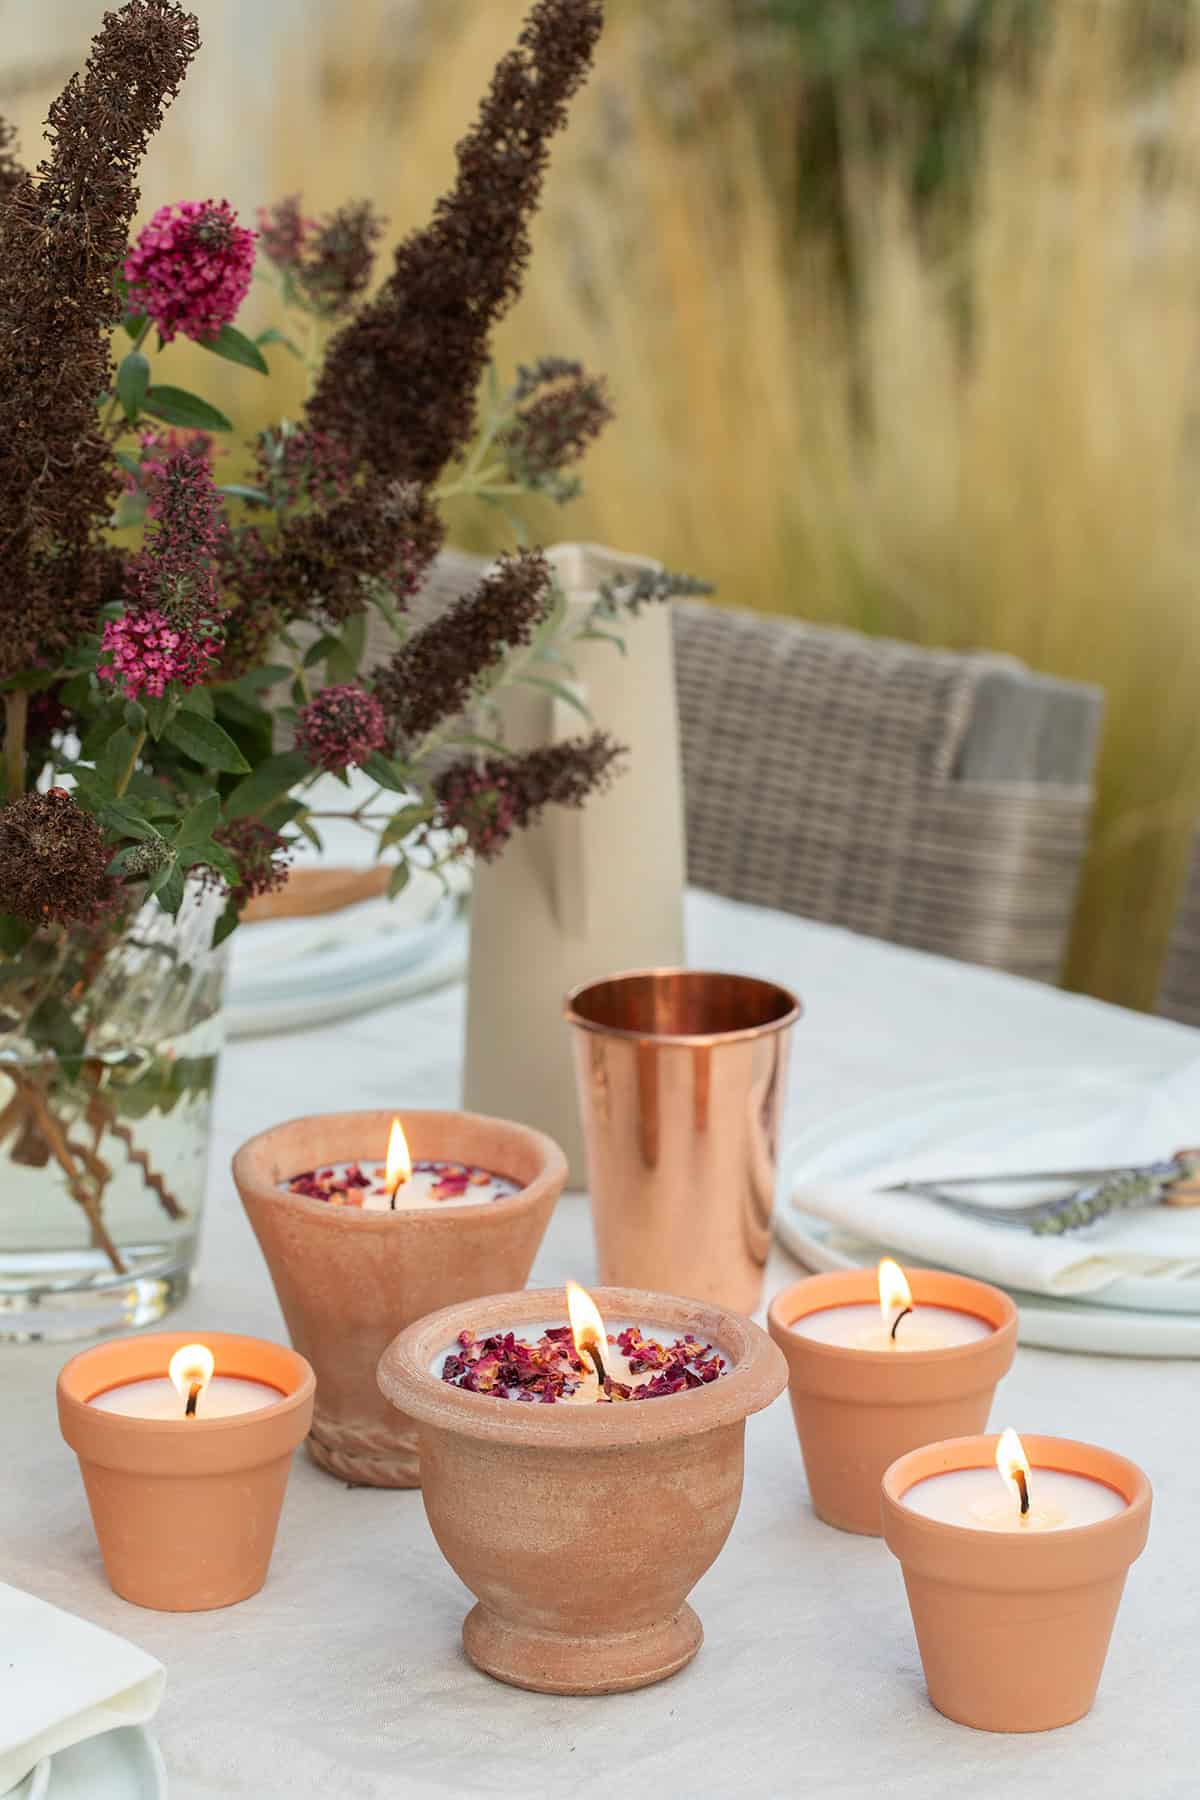
Pin ItMini terracotta votives! I mean… how adorable are these for fall or summer entertaining?! You can make them any size you want – even oversized ones for a glowing centerpiece or tiny ones for each place setting.
I love the idea of using the mini ones as wedding favors (you can even paint names on them!). They add such a cozy, flickering vibe outside and were so easy and affordable to make.
I grabbed all my supplies at Michaels, but I linked some online sources too in case you want to shop from home. I’m seriously obsessed!
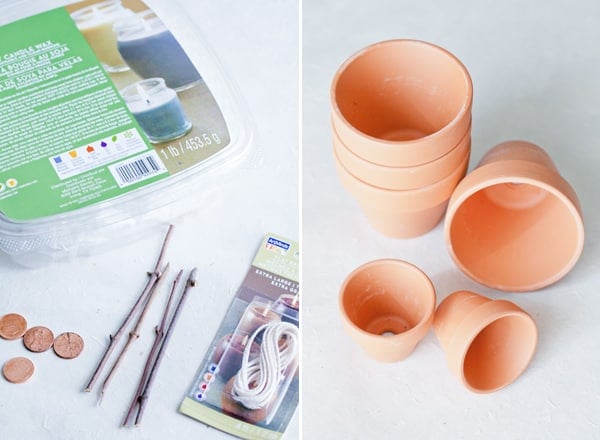
DIY Terracotta Votives Supplies
- Soy Wax: Clean-burning, natural wax that’s easy to melt and perfect for homemade candles
- Twigs (or chopsticks, skewers, pencils, or clothespins): Add a rustic touch or use to hold the wick upright while the wax sets.
- Wick: The heart of the candle, allowing it to burn evenly and beautifully
- Pennies: Drop one in the bottom of the pot to help with heat distribution and safety
- Mini Terracotta Planters: The cutest little vessels for your votives – earthy, charming, and heat-safe for candle-making

How to Make
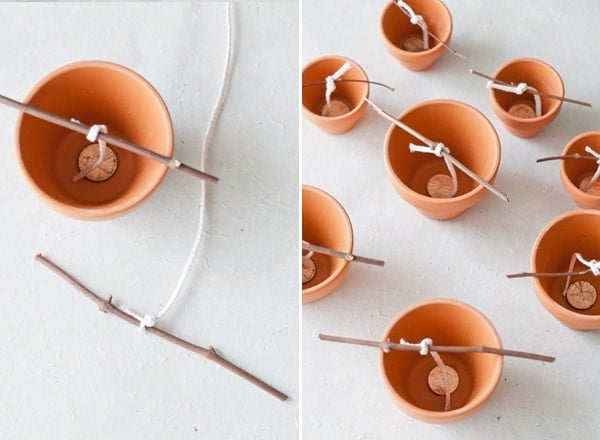
- Place a penny in the bottom to close the hole. With the wick, tie a loose knot around the twig and cut so it fits nicely in the terracotta planter.
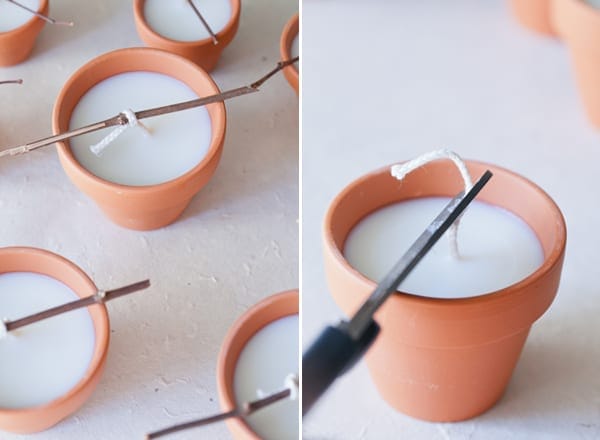
- Melt the wax and add any oils or scents you like. Pour into the planter. Make sure the wick is centered.
- Let the wax harden for an hour or so. Then remove the twigs and cut the wick down to around 1/4 inch.
- Light and watch the glow!
Frequently Asked Questions
If you’re considering terracotta pots for your candles, there are a few things to keep in mind. Terracotta is a porous material, which means it can absorb wax and fragrance oil. This can cause the pot to become discolored or even cracked.
Finally, keep in mind that terracotta pots are not water-tight, so they’re not ideal for use with floating candles.
Yes, you can burn candles in terracotta pots since they’re heat-resistant and have a charming, rustic look. Just be sure to seal the inside or use a liner, as terracotta is porous and can absorb wax.
Candle Making Tips
- After curing for a few hours, you can light one of these candles without fragrance.
- As these wicks are sized for tea lights, you don’t need to trim them.
- You can clean up by placing your candle pitcher back in the double boiler and allowing the wax to melt a bit more. With an old cloth or paper towel, remove it from the double boiler and wipe away any excess wax.
More DIY Projects You’ll Love
- Lavender Sachets with Photos
- Indoor Herb Garden with Printable Labels
- Essential Oil Candles
- DIY Citronella Candles
- Homemade Fire Starters
I hope you enjoy making these cute terracotta votives! Let me know what you think by leaving a review and comment below!
You can also FOLLOW ME on FACEBOOK, INSTAGRAM, and PINTEREST to see more delicious recipes, cocktails, desserts, and parties!

DIY Terracotta Votives
Ingredients
- 1 lb soy wax
- 6 wicks , small
- 6 pennies
- 6 twigs, small
- 6 mini terracotta planters
Instructions
- Place a penny in the bottom to close the hole. With the wick, tie a loose knot around the twig and cut so it fits nicely in the terracotta planter.
- Melt the wax and add any oils or scents you like. Pour into the planter. Make sure the wick is centered.
- Let the wax harden then remove the twigs and cut the wick down to around 1/4 inch.
- Let the wax harden before lighting the candle.


You recommended a heat-resistant liner but I don’t see one in the pictures. Are the liners really necessary?
What seal did you use to prevent a fire hazard?
Did the wax leak under the penny? Did you use hot glue to secure it?
It did not but yes you can also use hot glue to secure it.
These are cute. What size of wick do you use?
Thanks! You can use any size and cut it.
As in all of diy projects if in fact you are truly a diyer then you shall find an easy way to complete the art work. With sincere love and kindness have a happy holiday season ❤