
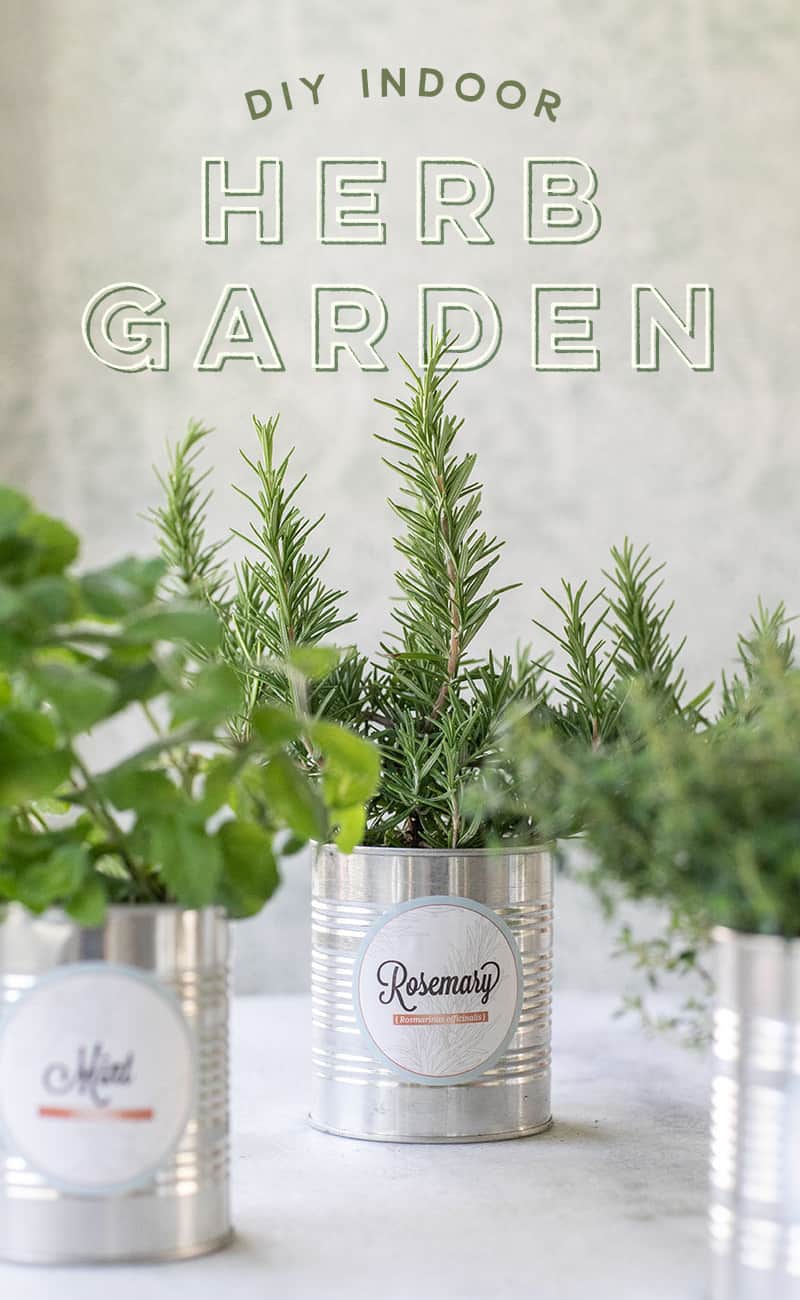
DIY Indoor Herb Garden
Sep 16, 2024, Updated Feb 26, 2025
This post may contain affiliate links. Please see our disclosure policy.
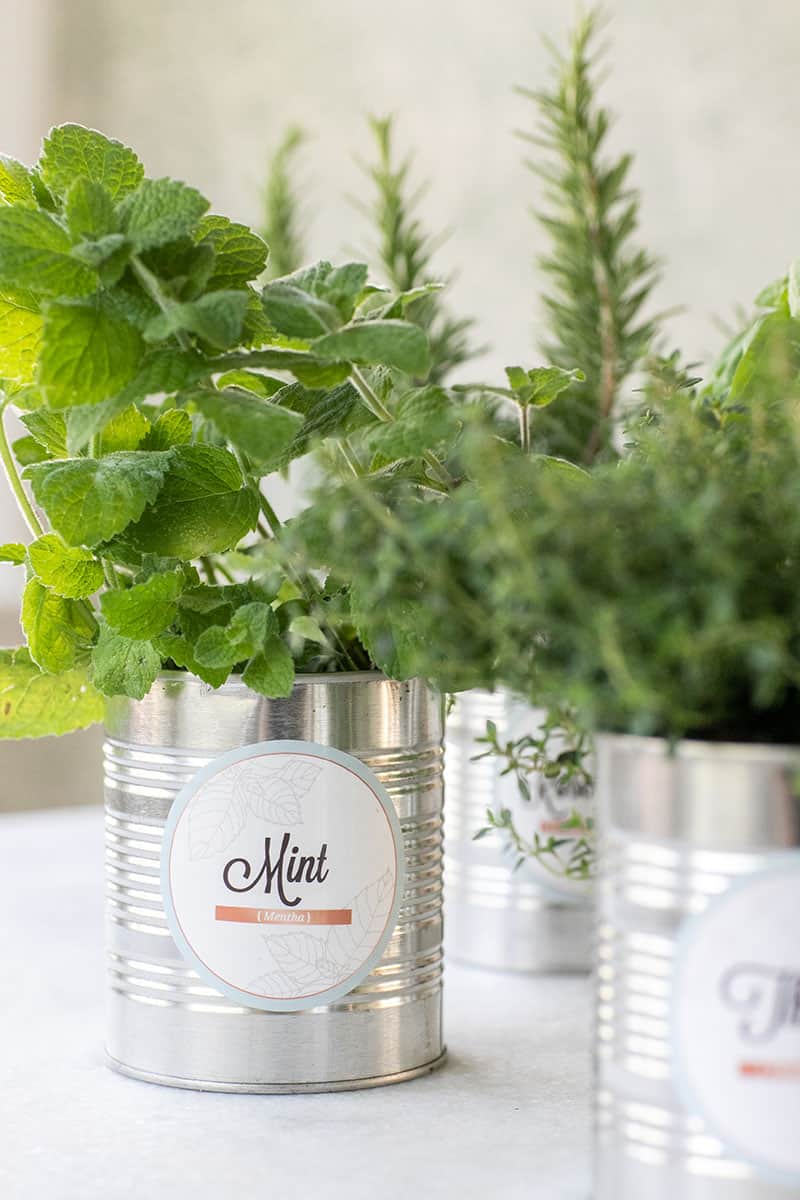
Set up a simple DIY indoor herb garden using food cans and charming labels (which you can download for free!). This project is a piece of cake, and you’ll love having herbs like basil and mint right at your fingertips, even in the middle of winter!
Pin this now to find it later
Pin ItWhy You’ll Love This DIY Indoor Herb Garden
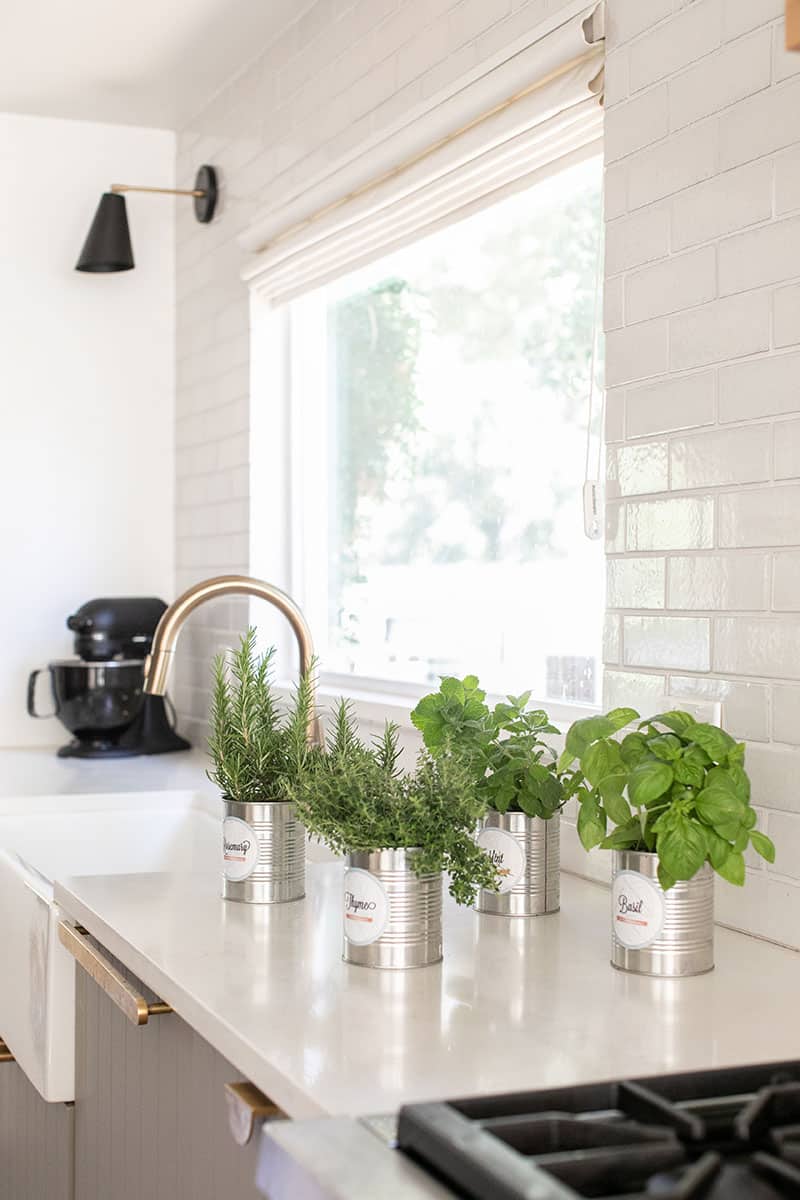
Picture this: fresh herbs at your fingertips, even when it’s snowing outside. You can still craft flavorful dishes and cocktails with basil, rosemary, or mint all year!
These herbs add magic to your holiday meals and gatherings; your cocktails will never taste better! I also use them to make fresh tea in the winter.
How to Start Your Indoor Herb Garden
If you want fresh herbs indoors, the best time to start is toward the end of summer. You can still grab herb plants from the nursery, which are much more accessible than growing from seeds.
Here’s what you need:
Water: Give your herbs a drink every few days, but don’t drown them. Let the soil dry out a bit between watering.
Planter with drainage: We use tin cans, but any planter works.
Organic soil: Keep it nice and light!
Good light: Place your herbs in an area with plenty of sunshine or grab a grow light.

Growing Your Indoor Herb Garden
There are three things to remember: light, soil, and water. Let’s break it down:
Water: Less is more here. Water the herbs in the sink, let them drain, and never leave them in soggy soil.
Light: Your herbs need at least 6 hours of sunlight daily, so a sunny window is perfect. You might want to invest in a grow light if you’re in a gloomy area. You can also rotate your plants occasionally to ensure both sides get their time in the sun!
Soil: Make sure your plants sit a little higher than the soil when you plant them. Organic soil is the way to go, and don’t compact it let those roots breathe!
The Best Herbs to Grow Indoors
When it comes to picking your herbs, think about what you love using most in the kitchen or what’s hard to find in the winter. Here are some herbs that grow great indoors:
- Basil
- Rosemary
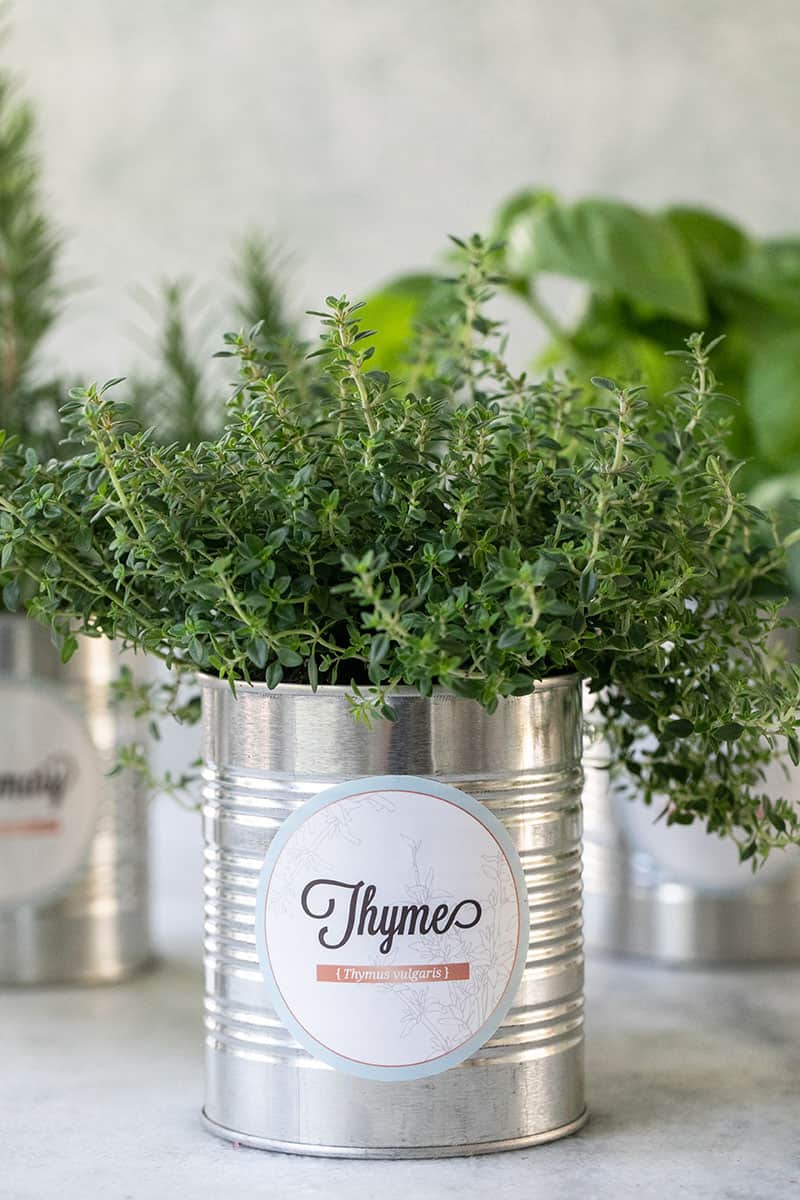
- Thyme
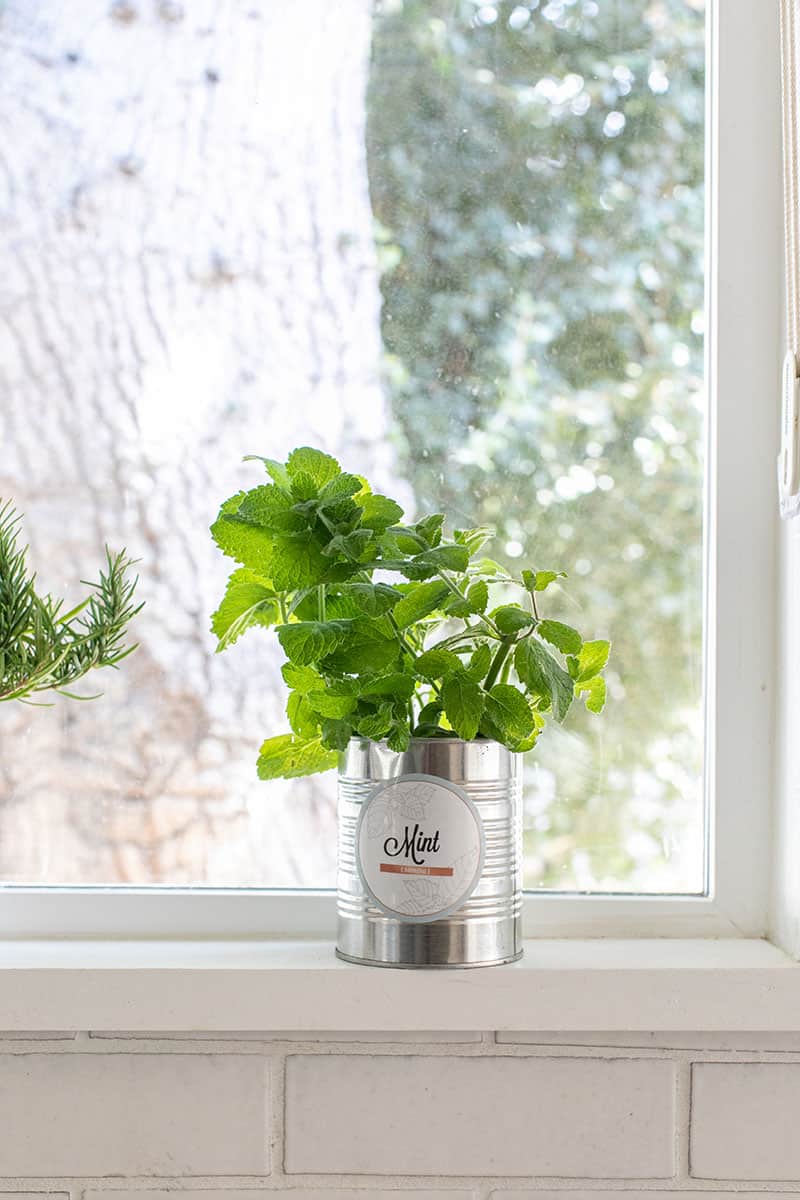
- Mint
- Parsley
- Chives
- Sage
- Dill
- Cilantro
- Oregano

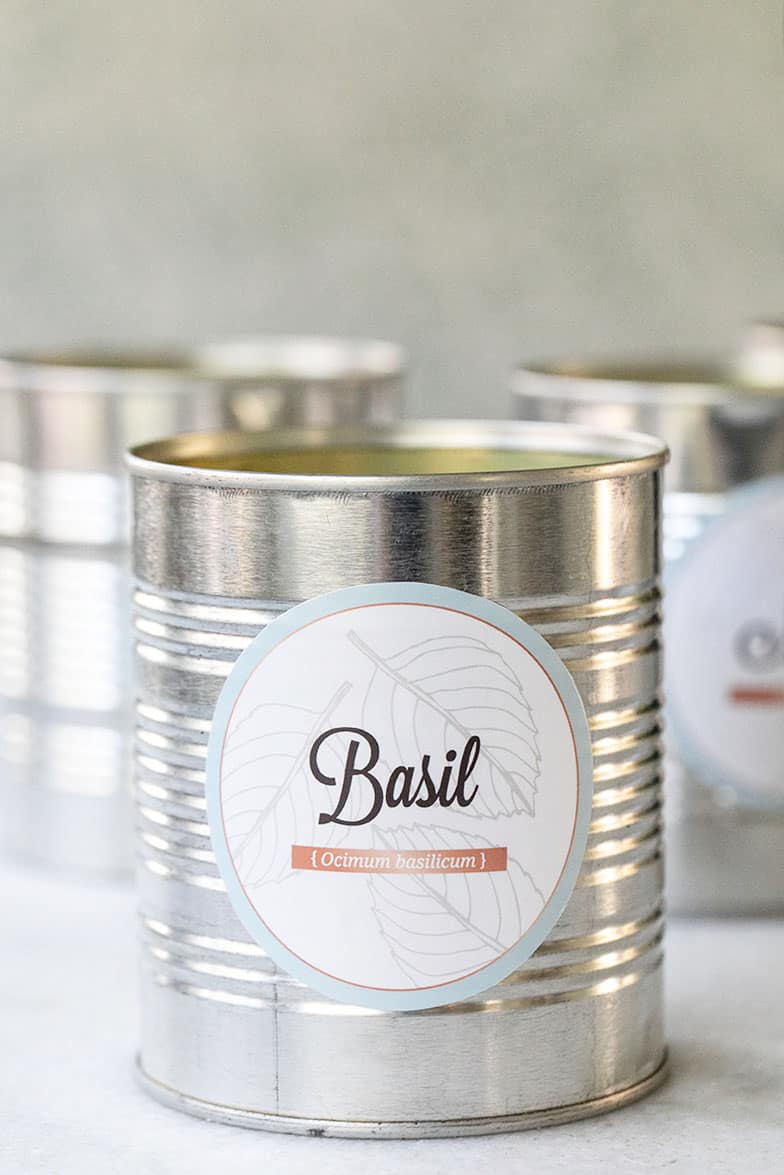
DIY Herb Planters (Yes, We’re Using Cans!)
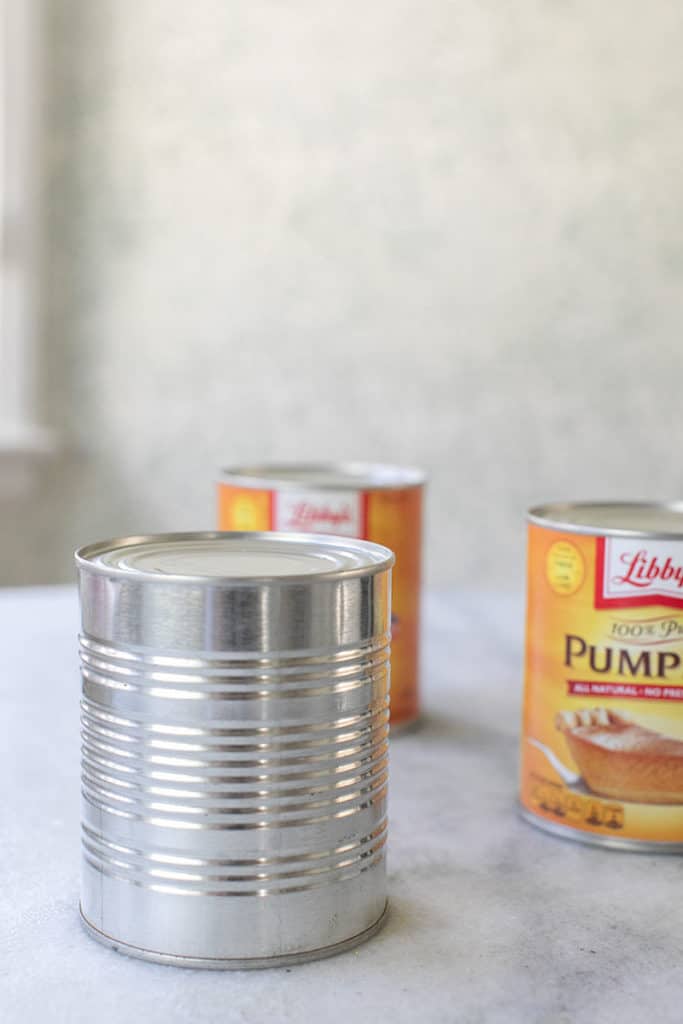
We’re all about upcycling, so grab those empty food cans from the pantry. Here’s how to turn them into planters:
- Clean your cans really well.
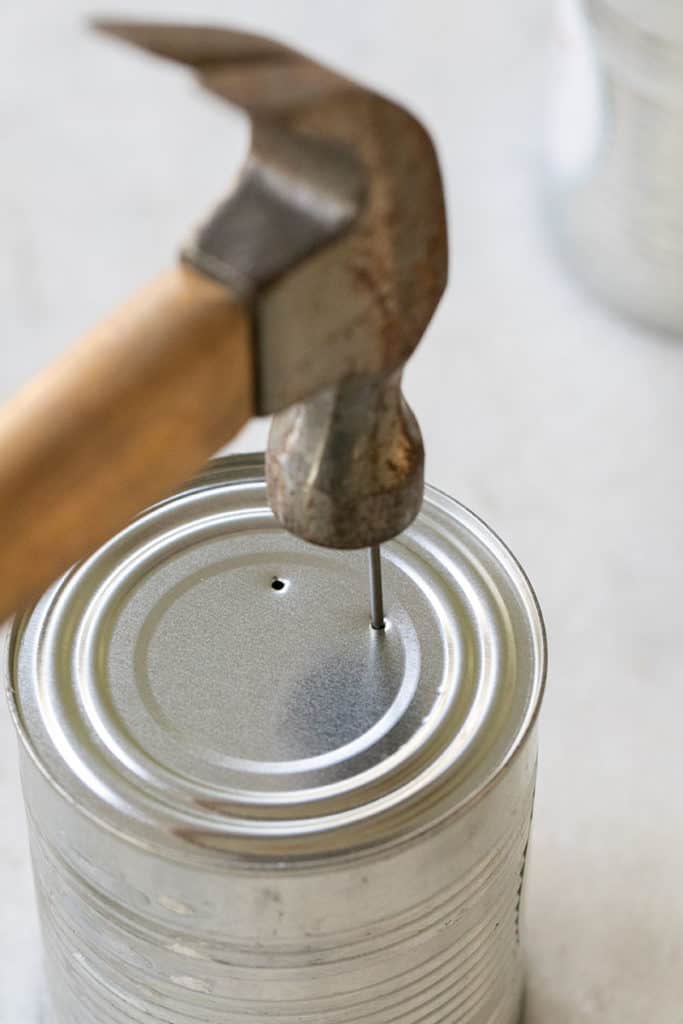
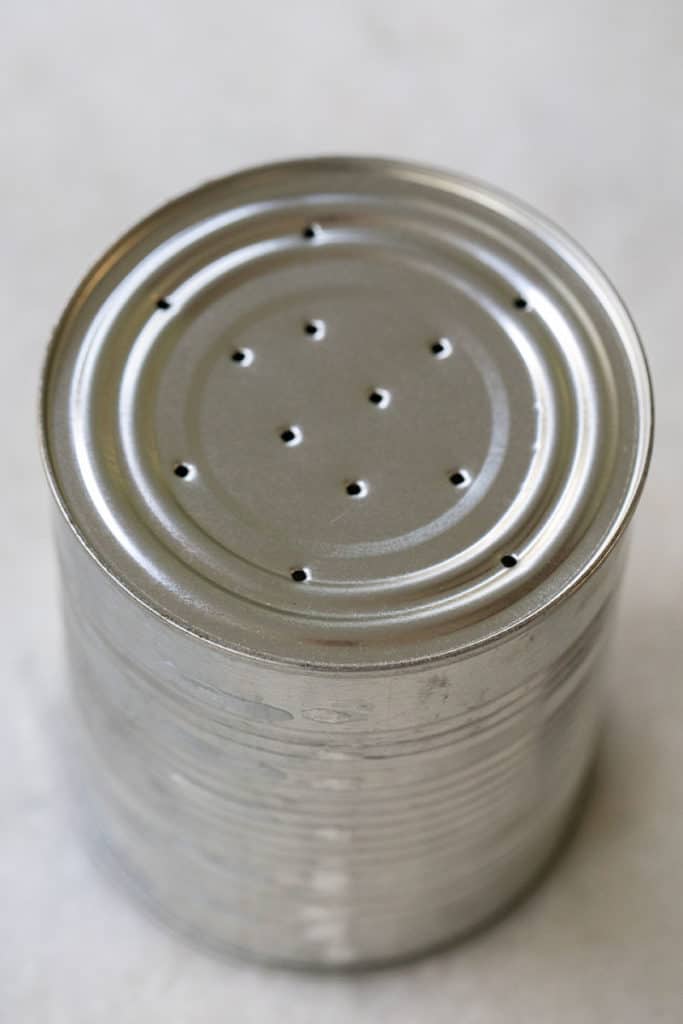
- Flip them over, and use a hammer and nail to make drainage holes—about 10 or more should do.
- Scoop in some organic soil, plant your herbs, and voilà!
Let’s Talk Indoor Herb Garden Lighting
Lighting is key, especially during those dreary winter months. You’ve got a few options for grow lights:
- Hang Anywhere Grow Light
- Miracle Plant Growing Bulb
- Hydrofarm Desktop Lamp
- Dual Head UV Plant Lights (so easy to clip on!)
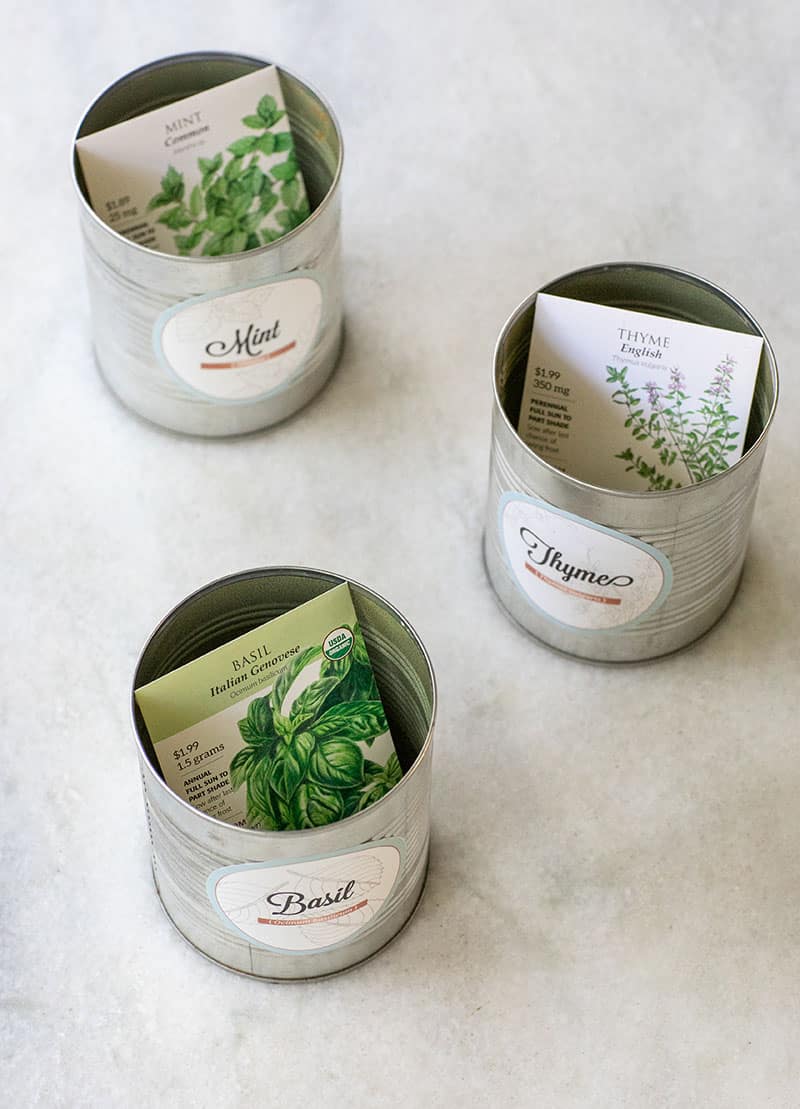
Make an Indoor Herb Garden Kit (Perfect for Gifting!)
This makes a thoughtful gift for anyone who loves to cook or garden. Here’s how to put together a charming herb garden kit:
Tie it up with a ribbon, and there you have it, a DIY herb garden kit! Garden planters with tins that we used for our pumpkin recipes! They work wonderfully for growing herbs! Here’s how you make them.
Set up the cans with the herbs.
Add a packet of seeds and instructions on how to care for the herbs.

Free Printable Herb Labels
We’ve created some super cute labels for your herb planters. Download them, print them on glossy sticker paper, cut them out, and slap them onto your cans. They’re water-resistant, too, so no worries if they get wet!
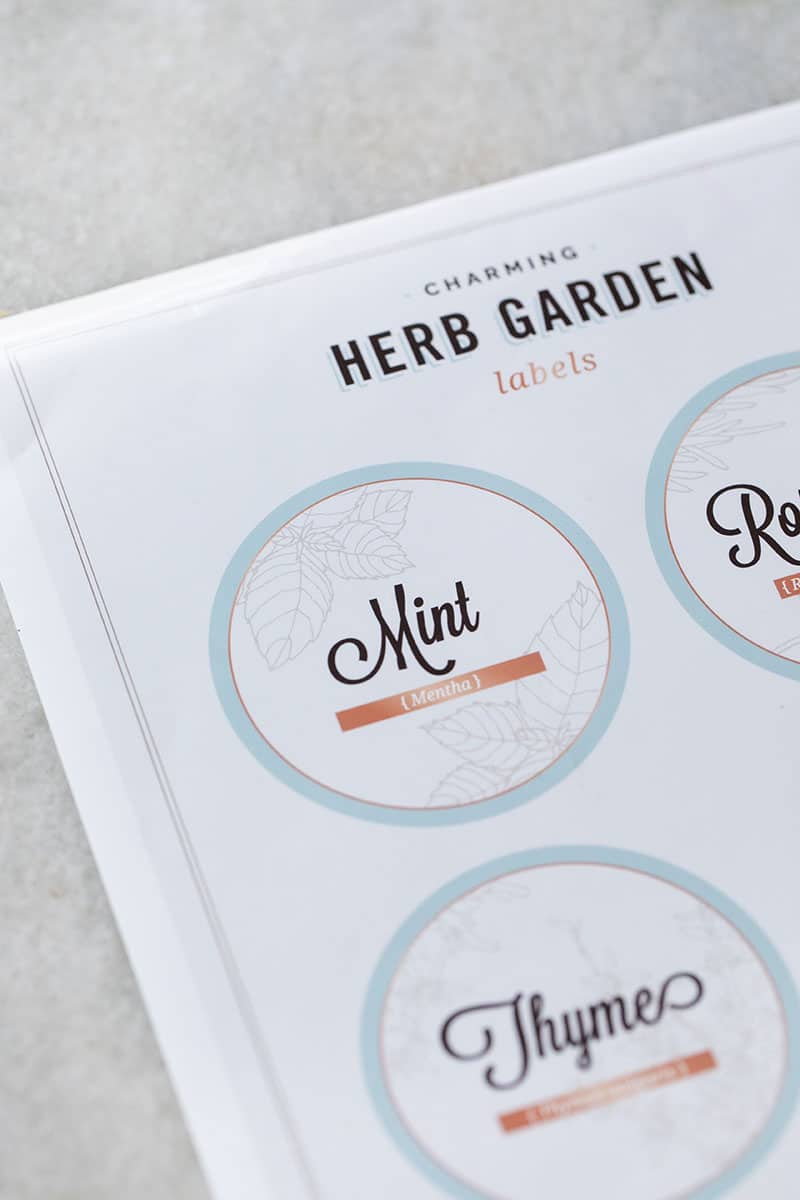
Click here to download my free printable indoor herb labels!
- Print them on glossy sticker paper. I like to keep this paper on hand because it not only prints beautifully, but it’s a sticker, so you just pull the paper right off! Getting water on the label won’t ruin it, either.
- Cut the labels out and pull the sticker paper off.
- Stick them on to your herb planter!
Indoor Herb Garden Kit
These make the most charming homemade gifts! Give them to teachers, coworkers, friends, and families. Here’s how you can make this a kit to give as a gift!
- Using the instructions above, create the cans and stick them on the labels.
- Add a charming pack of seeds and directions for creating the herb garden.
- Add a ribbon, and voila! A Charming herb garden kit!
So whether you’re looking for a fun and easy project to do with your kids over the weekend or you want to have fresh herbs on hand all year long, we hope you’ll give our indoor herb garden a try!
If you are a tea lover, check out my post about creating a tea garden.
Be sure to download our free printable labels to get started today. What are your favorite recipes that use fresh herbs?
More Charming DIY Garden Ideas!
- How to Create a Tea Garden
- DIY Edible Potted Floral Garden
- DIY Cement Planters
- Natural Bug Repellant
- How to Take Care of 15 of the Most Popular Indoor Plants
Let us know if you make this indoor herb garden or print our charming garden labels! We love to hear what you think.
You can also FOLLOW US on FACEBOOK, INSTAGRAM, and PINTEREST to see more indoor decor and garden ideas!


I love these but how do you keep the water from draining out of the can and all over the place? It doesn’t appear that you have the cans sitting on a dish or anything to capture water that may come out…
Hi Kate – I have watering days and I place them in the sink and give them a really good drink of water. I let them drain and then put them back. You can totally put a little dish under them as well! I’m sure you can find a galvanized plate to match.
I love this! You are right, these would make cute gifts too.
I am doing this ASAP! I love having fresh herbs available and it’s so pretty to look at too!
I love this idea! Not only is it very useful but so pretty to look at too.
Yes! They look so cute on the kitchen counter!
Love these labels so much .- so adorable!
Thank you Courtney!!
Just printed the labels. Now off to bake some pumpkin bread so I have empty cans. This is great!
Awe!! Yay! Thank you Aimee!! Pumpkin bread sounds so good!