
This post may contain affiliate links. Please see our disclosure policy.
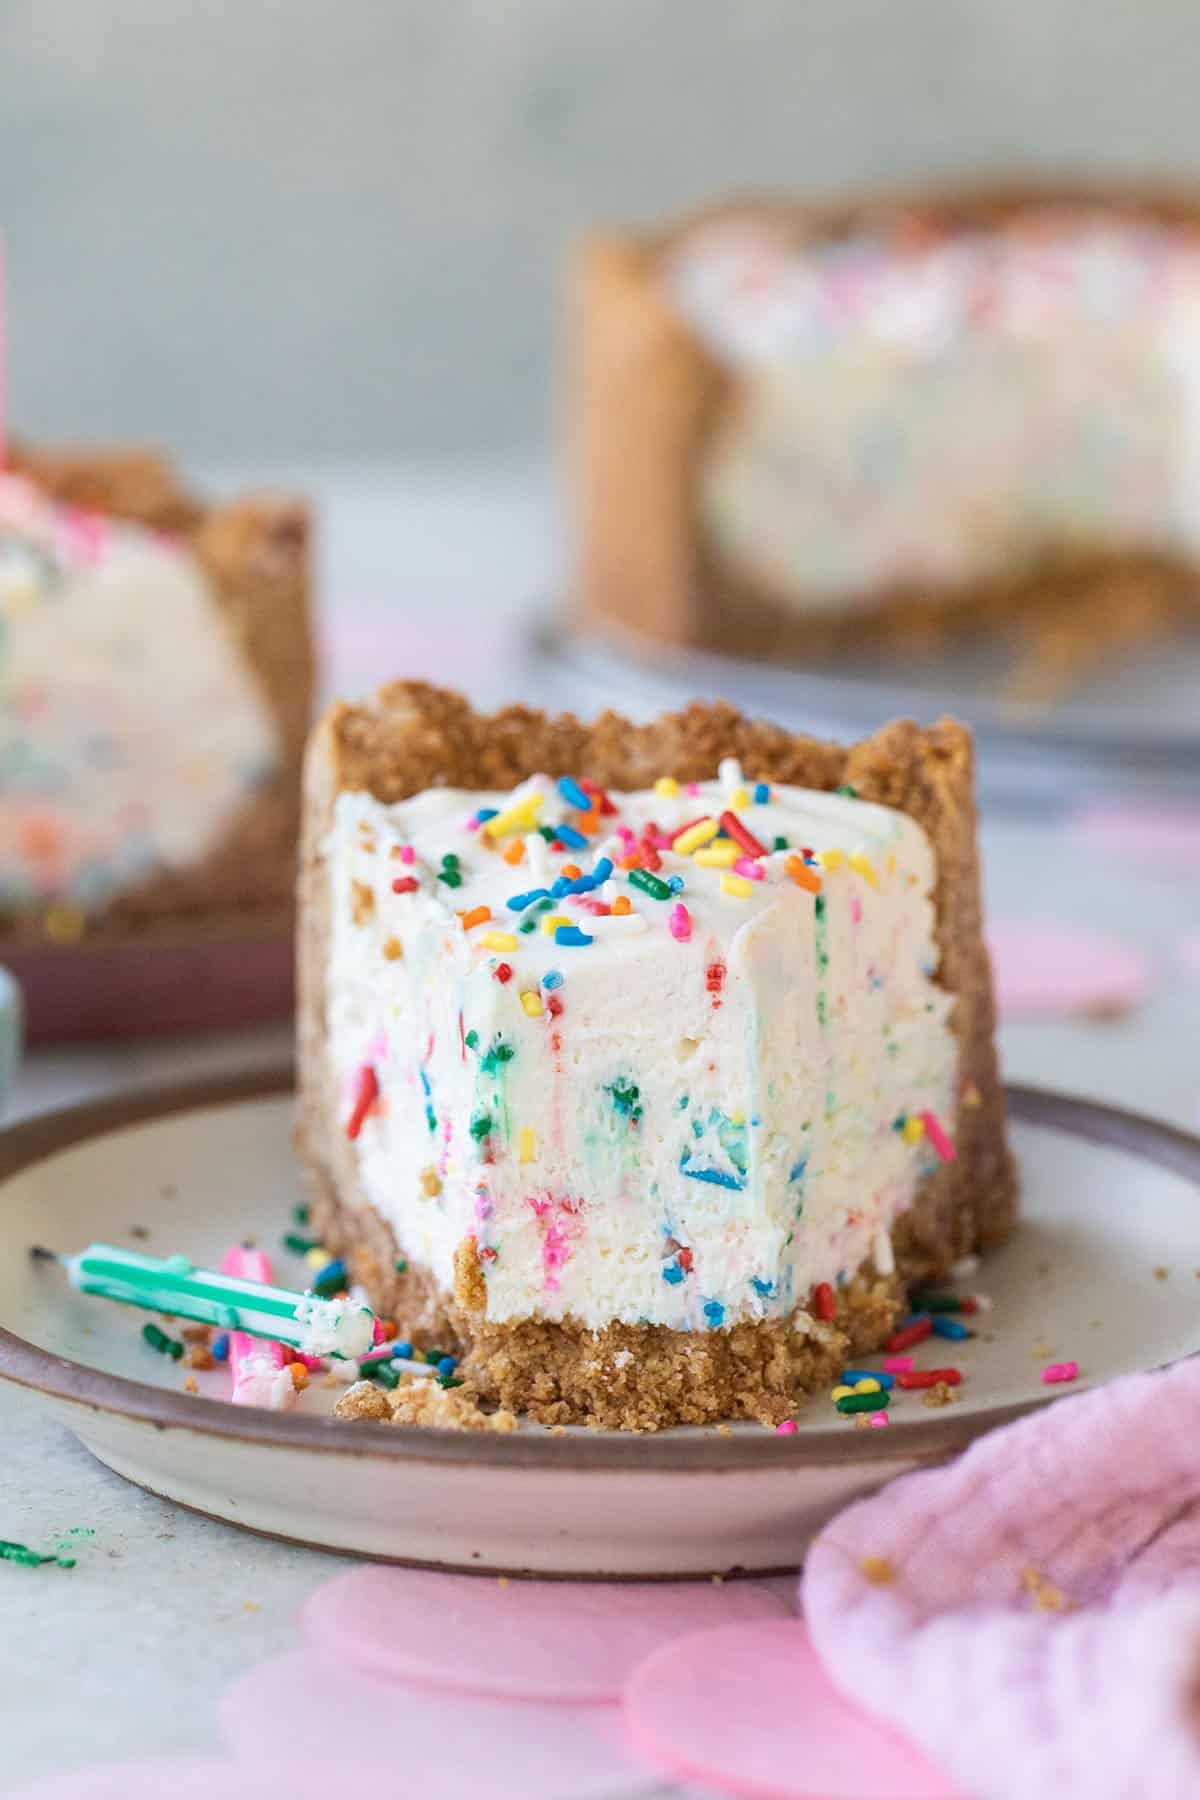
A buttery, homemade graham cracker crust recipe that’s simple, versatile, and perfect for pies and cheesecakes! With just four ingredients, this tried-and-true recipe has been our go-to for years. It’s quick, easy, and works like a charm for various desserts.
If you’re looking for other crust options, I also love experimenting with my classic pie crust and our popular shortbread crust recipe.
Pin this now to find it later
Pin ItGraham Cracker Crust
When it comes to pie and cheesecake bases, a graham cracker crust is my absolute favorite. It’s quick, straightforward, and incredibly versatile – perfect for any season.
This buttery, slightly sweet crust pairs beautifully with so many fillings, from creamy cheesecakes to refreshing fruit pies.

One of the best things about a graham cracker crust is how easy it is to customize. Want a richer, more indulgent flavor? Swap the classic graham crackers for chocolate ones. The possibilities are endless, making this crust a staple in my kitchen.
When I want something fast, flavorful, and reliable, this graham cracker crust is always my go-to.
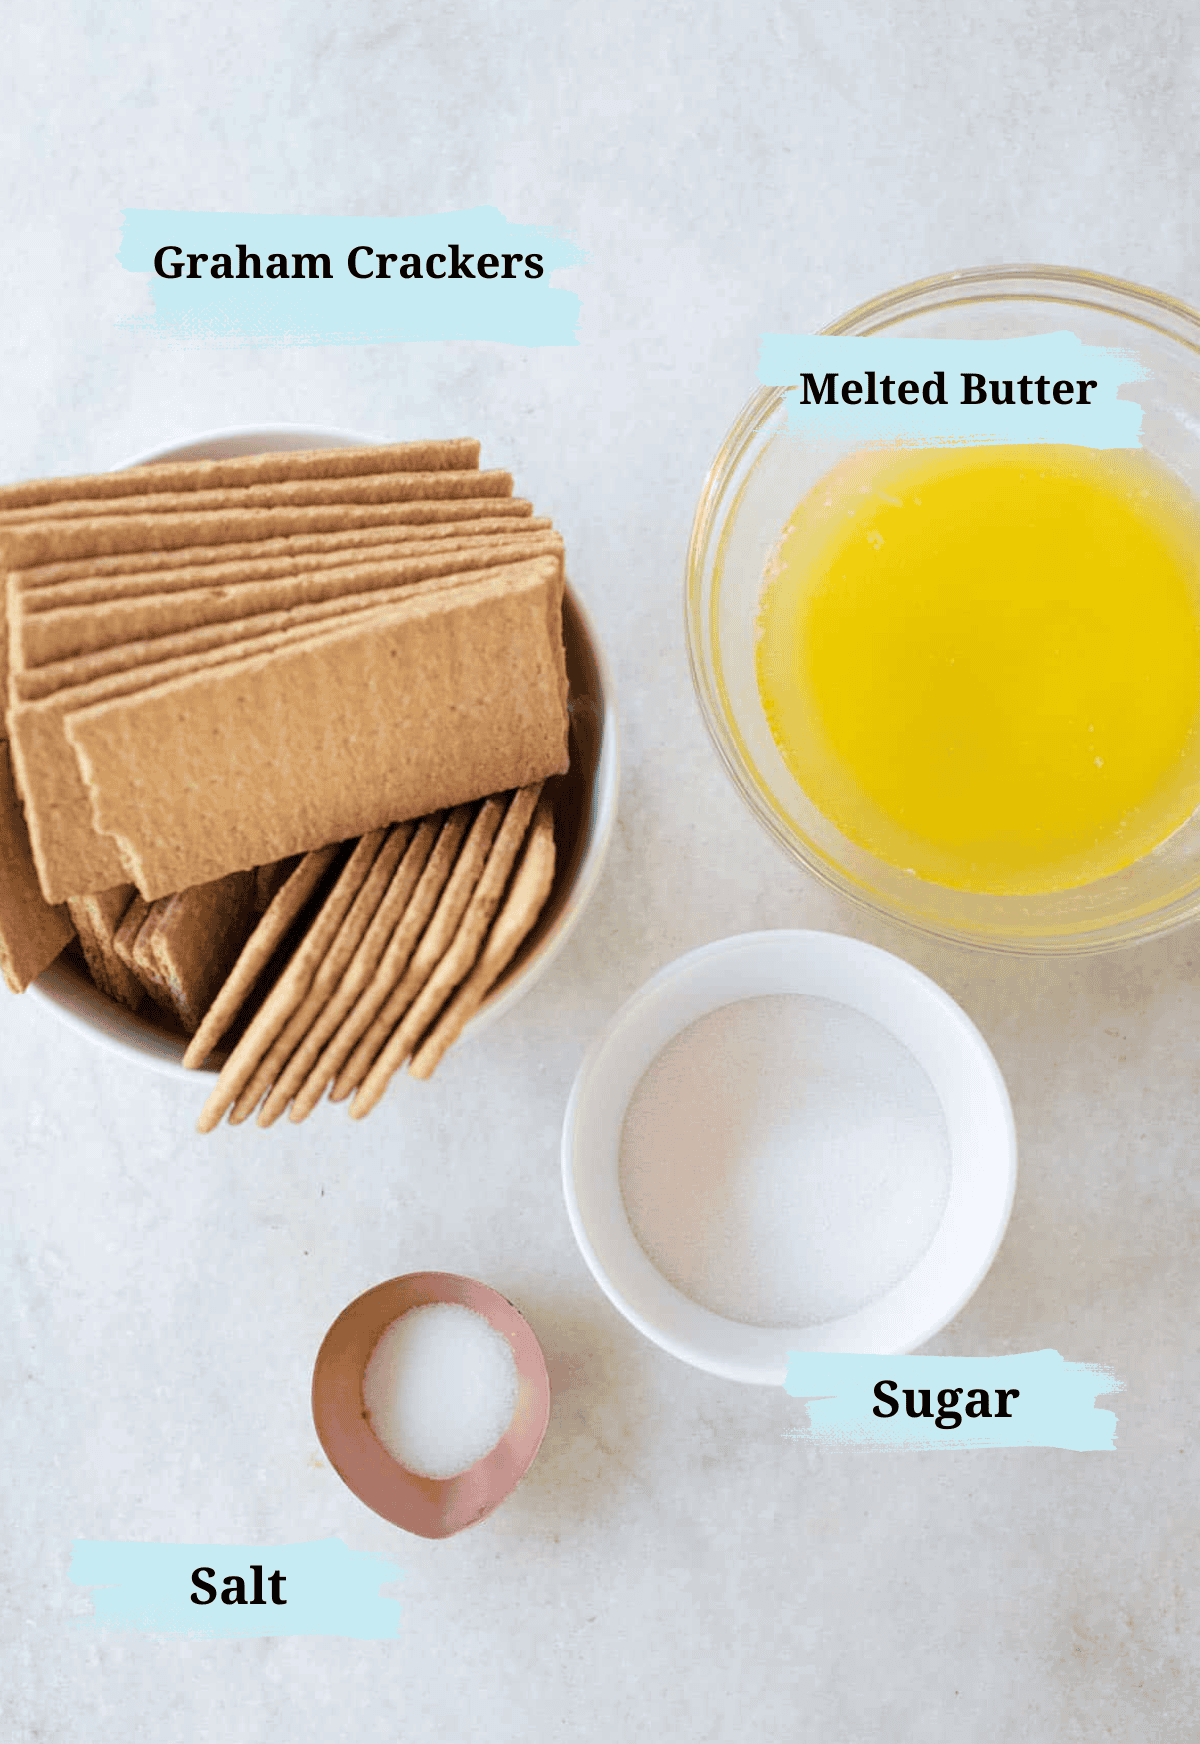
Graham Cracker Crust Ingredients
Graham Crackers: Honey Maid is my favorite brand to use for crust. You can buy pre-made crumbs or crush whole crackers yourself. To make 3 cups of graham cracker crumbs, you’ll need approximately 22–24 full sheets of graham crackers.
Butter: Unsalted, high-quality butter is essential for binding the crust and adding flavor.
Sugar: A touch of sweetness enhances the graham cracker’s natural flavor.
Salt: Just a pinch to bring out all the flavors.
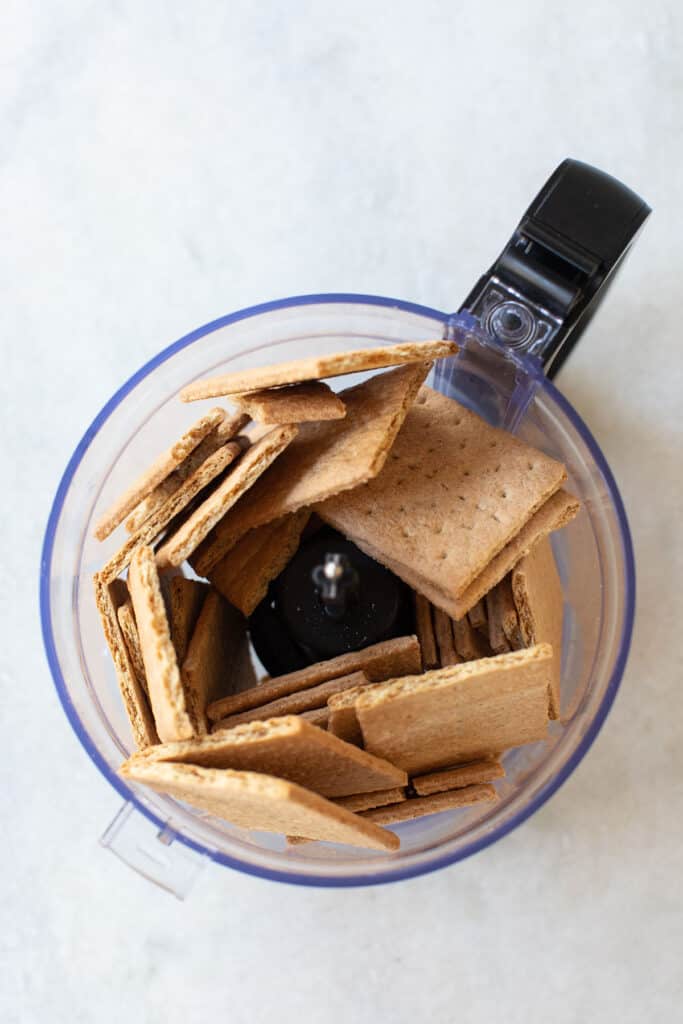


How to Make Graham Cracker Crumbs
Chill or bake, depending on your recipe.
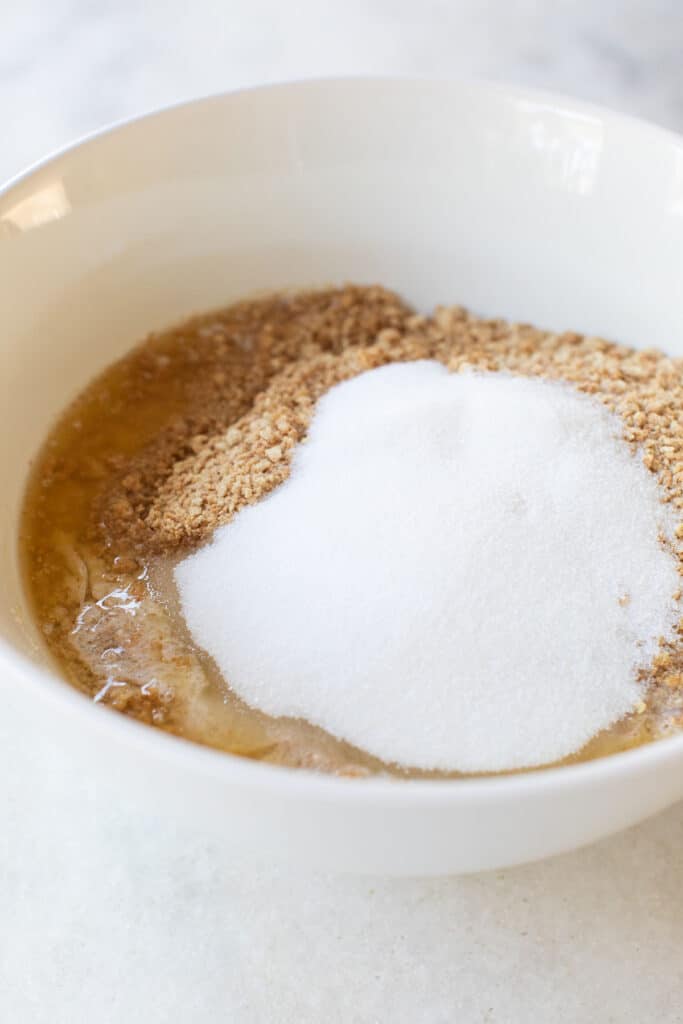
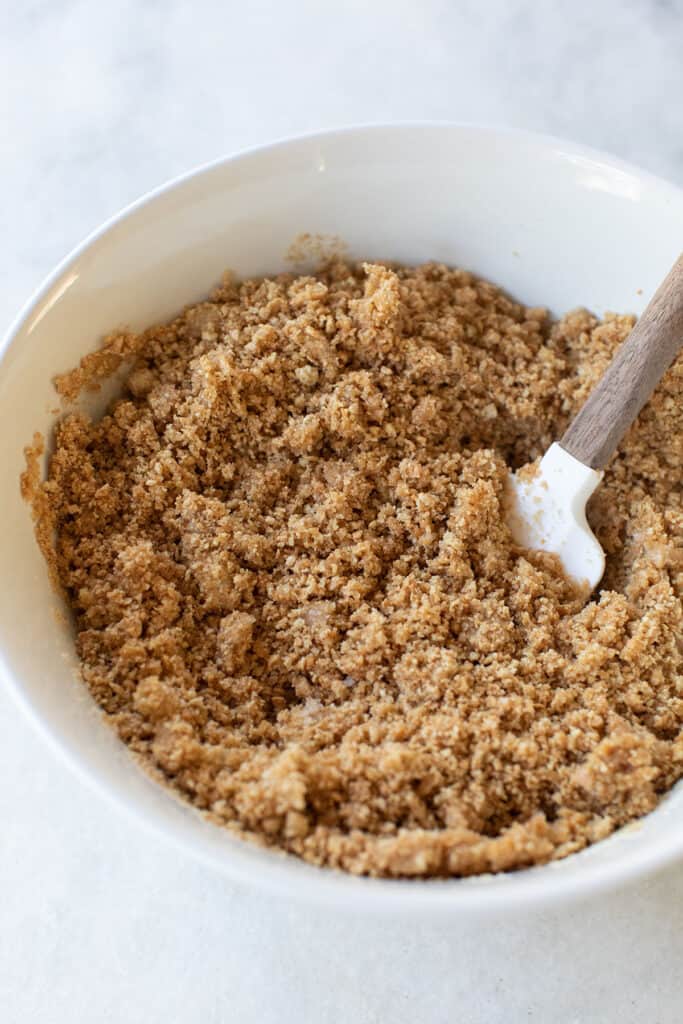
Combine graham cracker crumbs, melted butter, sugar, and salt in a bowl.
Mix with a spatula until fully incorporated.
Press the mixture evenly into a springform pan or pie dish.
How to Store
Refrigerator: A prepared crust can be stored in the fridge for up to 3 days. This is ideal for no-bake recipes or when you want to assemble your dessert later.
Freezer: If you’re not planning to use the crust within a few days, freeze it! Wrap the crust tightly in plastic wrap and then in aluminum foil, or place it in a freezer-safe bag. It will keep for up to 3 months.
Frequently Asked Questions
Yes, you absolutely can! Digestive biscuits are a fantastic alternative to graham crackers, especially if you’re outside the U.S. or just want to try something a little different.
Technically, you don’t have to bake a graham cracker crust—it can set beautifully in the refrigerator as the butter hardens. However, I personally like to prebake my crust, and here’s why:
Prebaking helps the crust hold its shape and prevents it from crumbling when you slice into your dessert. It also adds a slightly toasted flavor that makes the crust even more delicious. I’ve found that baking the crust for just 8-10 minutes before adding the filling ensures it stays firm and doesn’t fall apart.
A crumbly graham cracker crust is usually due to one of three things:
Crumbs too coarse – Make sure they’re finely crushed so they bind well.
Not enough butter – Butter holds it all together. If it feels dry, add a little more.
Too loose or soft – Press it firmly into the pan and either chill it (for no-bake) or pre-bake (for baked desserts) so it sets properly.

Perfect Pies for Graham Cracker Crust
- Chocolate Cream Pie
- Strawberry Lemonade Pie
- Key Lime Pie
- Blood Orange Cheesecake
- Whipped Ricotta Cheesecake
- The Best Cheesecake
- No-Bake Cheesecake
This crust is my secret weapon – it’s easy, buttery, and always a hit. Leave a comment and review when you make it!
FOLLOW ME on FACEBOOK, INSTAGRAM, and PINTEREST to see more delicious recipes, cocktails, desserts, and parties!
My new Entertaining book is here! Order Now!

Graham Cracker Crust
Ingredients
- 3 cups graham cracker crumbs
- 12 tbsp unsalted butter, melted
- 1/3 cup granulated sugar
- 1 tsp salt
Instructions
- In a bowl, combine garham cracker crumbs, melted butter, sugar and salt.
- Using a spatula, mix untilt the crumbs come together.
- Press the crumbs into a buttered spring form pan, up the sides and the bottom.
- Bake for 10 minutes in a preheated 350-degree oven.
- Let it cool completley before adding in the cheesecake mixture.
Notes
Recipe Tips
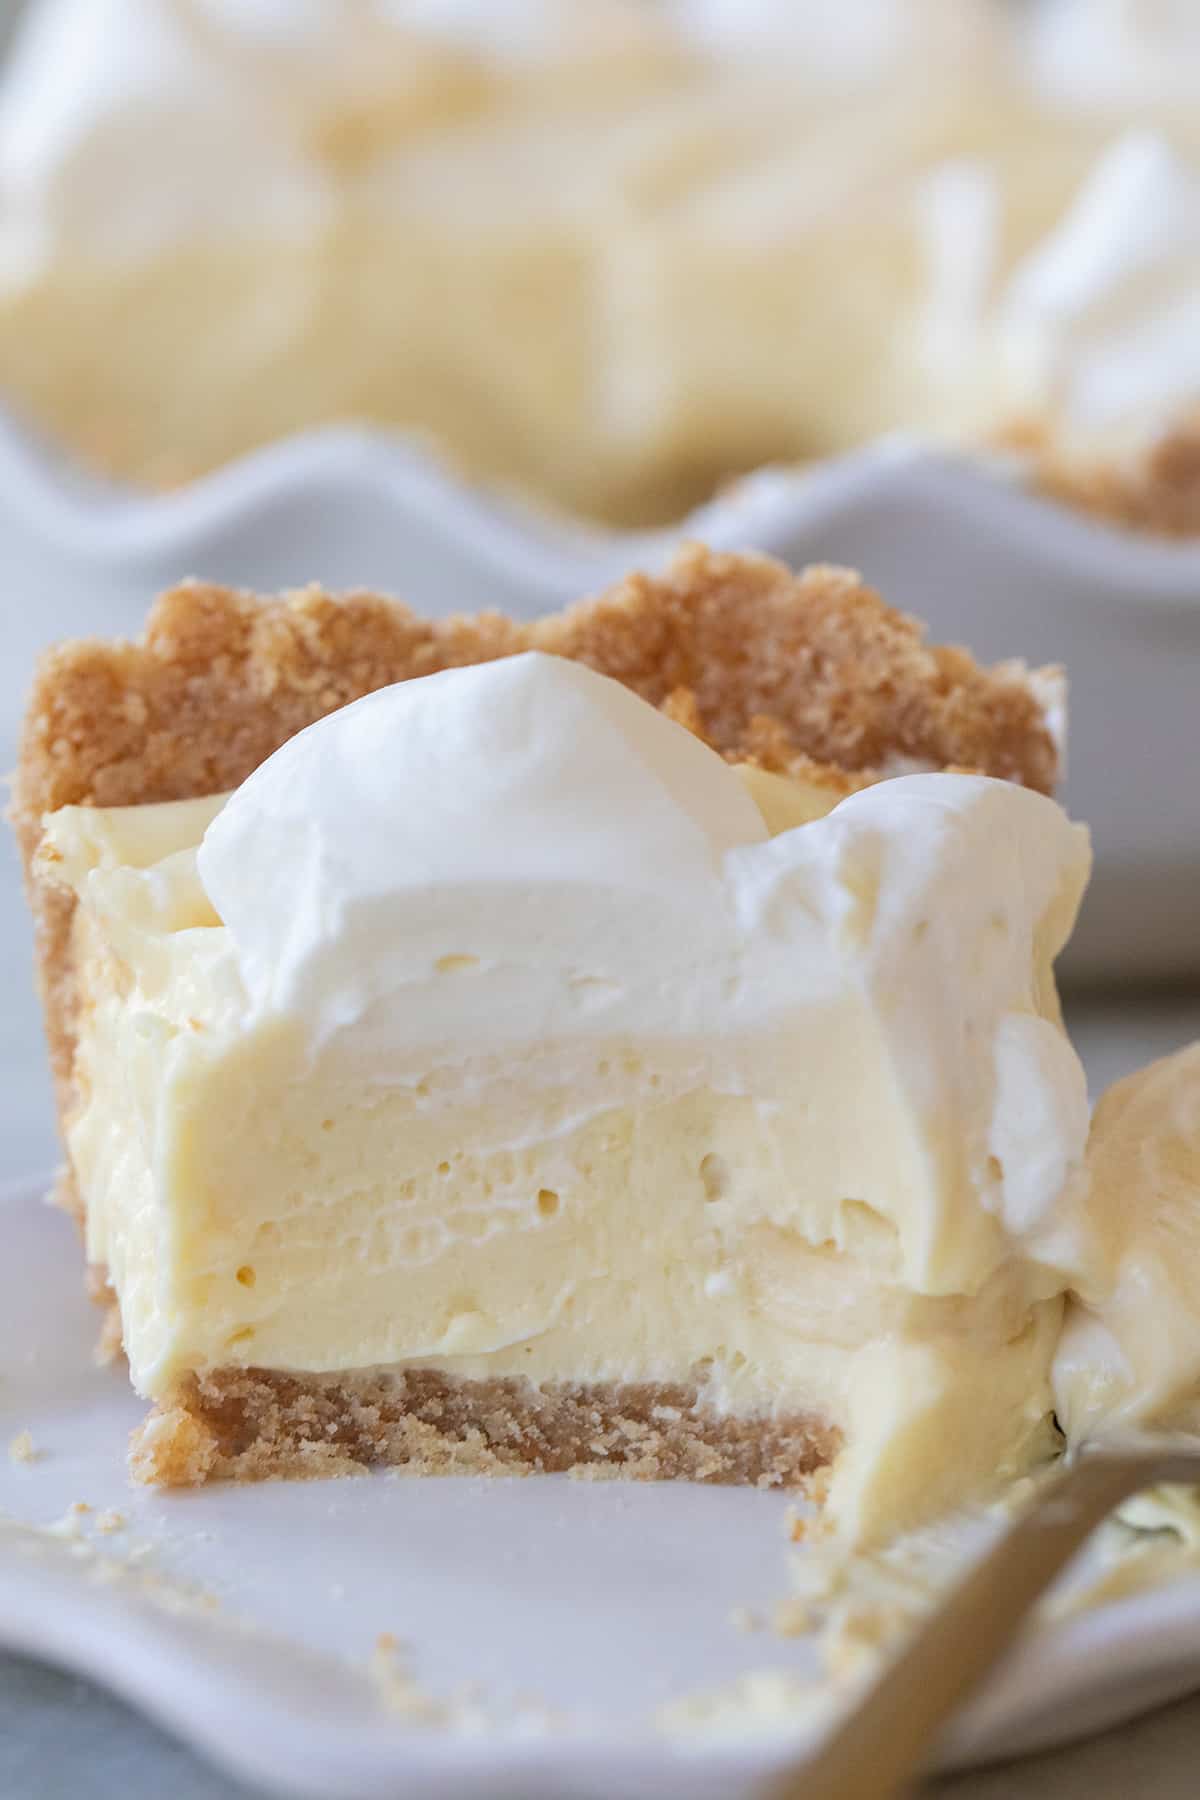
- This recipe is made for deep-dish pies or springform pans and creates a thick graham cracker crust.
- Cut the recipe in half if you’re making a standard pie or prefer a thinner crust.
- Some recipes call for crust up the sides, others don’t – you may have extra crust depending on the pan.
- Use finely crushed graham cracker crumbs for better binding.
- If the mixture feels too dry, add a bit more melted butter.
- Use high-quality ingredients for the best flavor and texture.
Nutrition
Nutrition information is automatically calculated, so should only be used as an approximation.


I struggled a bit with this recipe as it was really crumbly and hard to press into pie plate. I just added a bit more melted butter and that did the trick! I also used half graham crackers and half digestive biscuits as that was what I had on hand. Also I only had salted butter and should’ve cut back on adding extra salt. I didnt, and the crust ended up being fairly salty, but with the sweet filling it wasn’t very noticeable. Over all it was very easy, and baked up quite nicely!
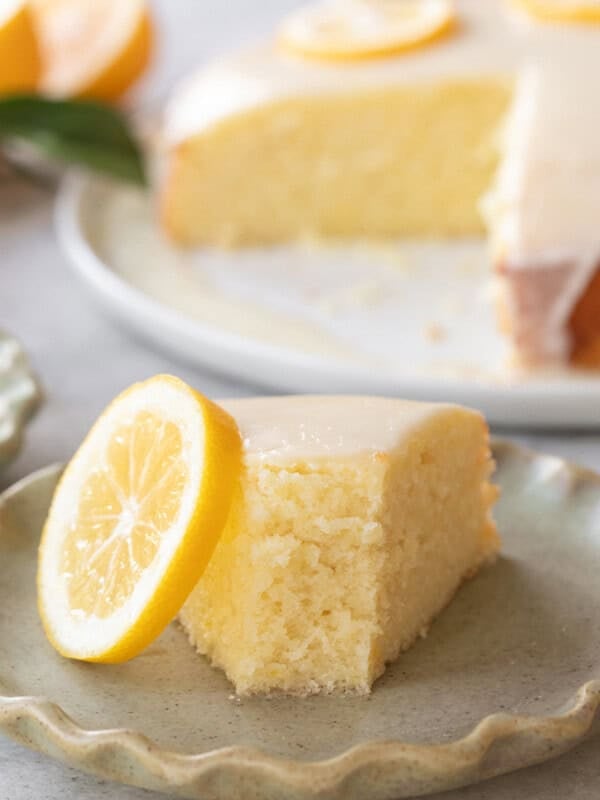
Whatever the crust is filled with in the first picture looks so good – what is it?
That is this recipe and graham cracker crust.