
DIY Tiki Torch Bottles
Aug 27, 2013, Updated Apr 28, 2026
This post may contain affiliate links. Please see our disclosure policy.
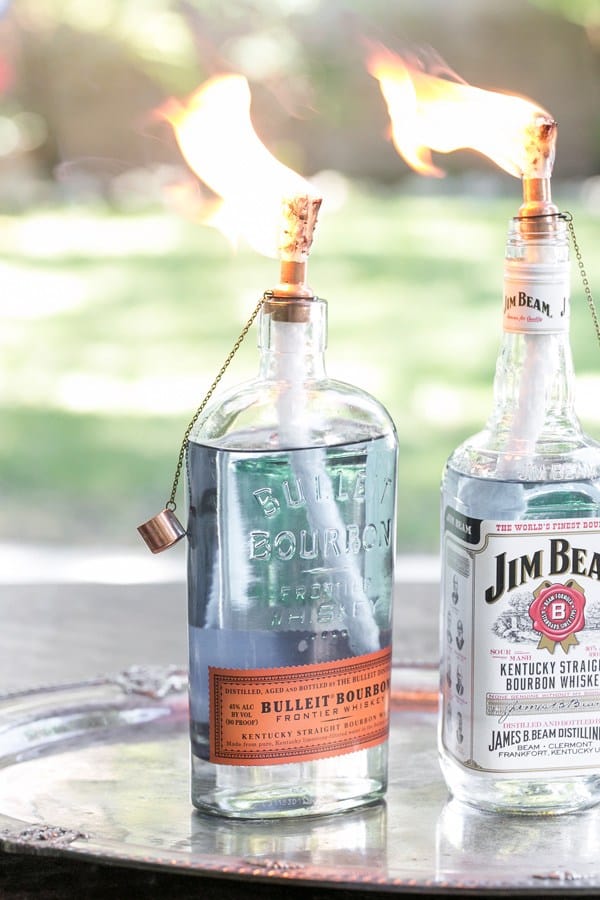
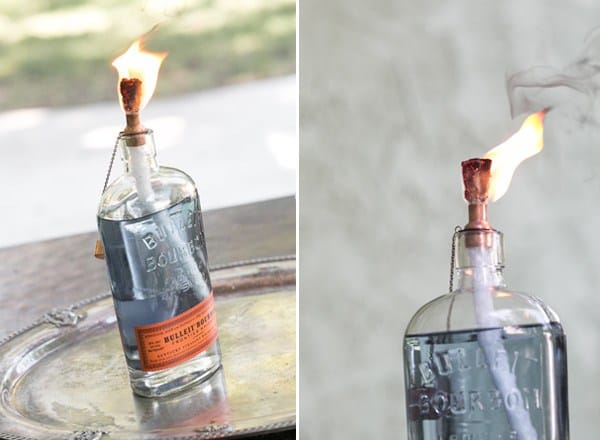
DIY Tiki Torch Bottles are a fun way to recycle glass bottles and use them to create a beautiful ambiance outside! You can turn any glass bottle into an outdoor tabletop tiki torch! Perfect for outdoor entertaining!
Pin this now to find it later
Pin ItWe’ve created DIY tiki torches out of classic American liquor bottles. I originally spotted this idea at my friend Todd’s fiesta party and being the party enthusiast I am, it was a “tell me how you did that right now or I won’t put out my desserts” situation…
To my surprise, they’re incredibly easy to make! There’s a wonderful shop on Etsy called Harvest Moon Shoppes that makes custom copper wick tips and caps.
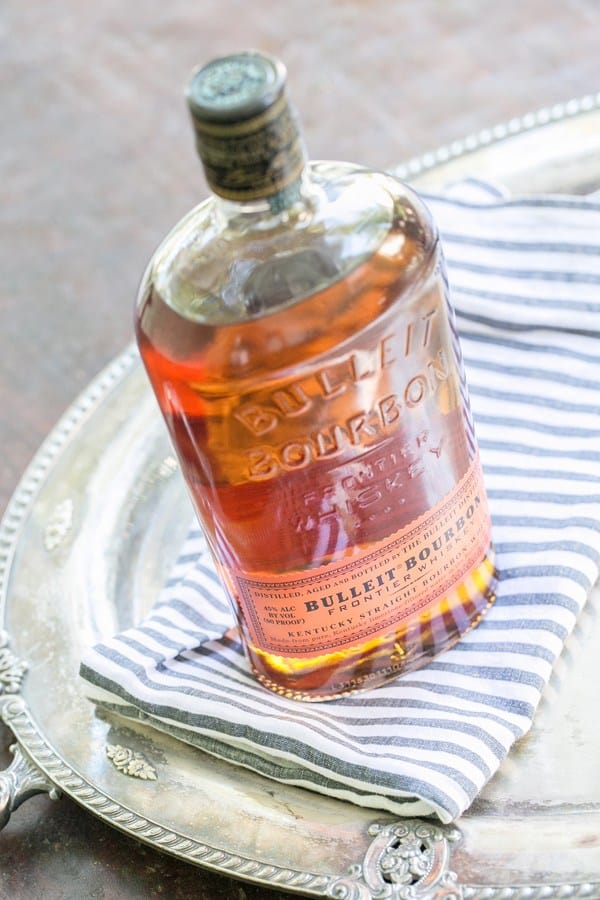
They’re only $12 for two so you can’t go wrong! I ordered four and then headed to the mart to find some classic Kentucky Bourbon Whiskey bottles that would make a statement and look beautiful sitting out.
The light and atmosphere they create is stunning. I’ve always been a fan of tiki torches, but now you can bring that perfect party lighting to any event… not just a luau!
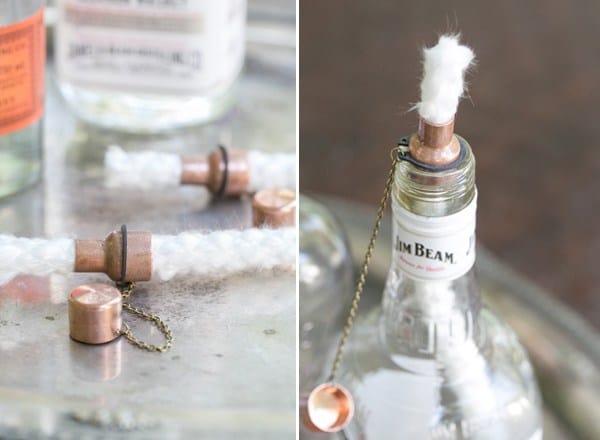
Table of Contents
Supplies for Tiki Bottles
- Two custom tiki torch wicks from Harvest Moon Shoppes.
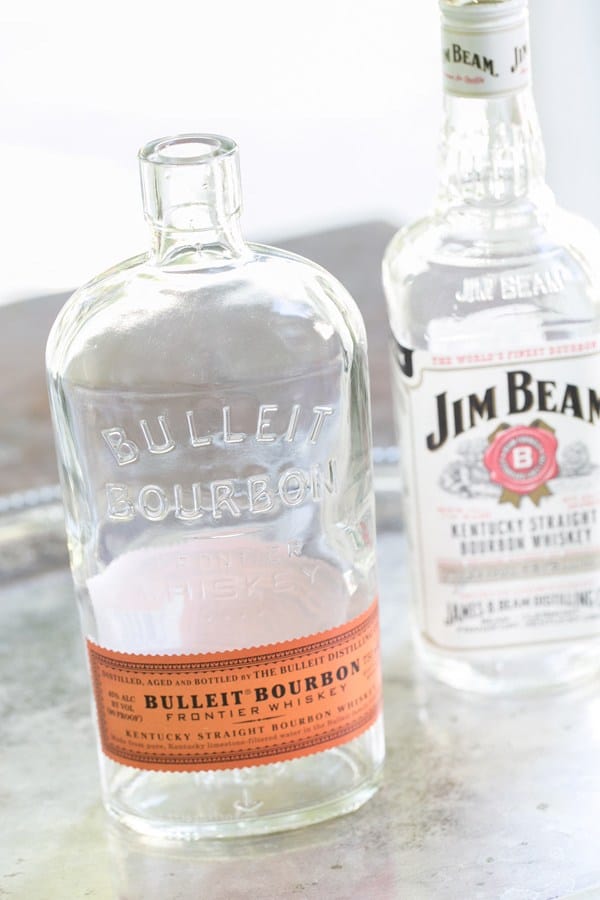
- Bottles with the same size opening as a beer or wine bottle.
- Tiki torch fluid
- Matches
Directions
- Since you’ll need the bottles empty, you can use a bottle that’s already been tapped into : ) or empty the alcohol into an airtight jar to keep it.
- Wash the bottles with water
- Fill the bottom of the bottle with water, just below the wick, don’t let the wick touch the water. The fuel will float on top of the water and reduces the amount of fuel needed and so the fuel doesn’t haven’t to travel as far up the wick.
- Then fill the bottle with tiki fluid
Drench the wick in tiki torch fluid and then place it back in the bottle
Light away from people, trees or anything else that may be hazardous
When you’re done, blow the flame out and then place the copper cap back on the wick
Tips for keeping the torch wick lit:
- Use high-quality torch fuel such as Tiki
- Saturate your wick with fuel prior to lighting
- Keep your bottle full of torch fuel
- Don’t allow the wick to become exposed to moisture
More Fun DIY Projects to Make!
- Homemade Oil Candles
- DIY Fire Starters
- Enamel Painted Vases – One of my most popular DIY’s!
- DIY Citronella Candles
- Terra Cotta Candles
- DIY Essential Oil Candles
Share a picture with us if you make these! I would love to see your creations! Tag us on Instagram @Sugarnadcharm.


These are very cool. What is the reason for putting the water in the bottom of the bottle?
The fuel will float on top of the water and reduces the amount of fuel needed and so the fuel doesn’t haven’t to travel as far up the wick.
Gefilmt vor Ort bei ein Art ein Ort, wo Lassen Sie persönlich welche Hunde! noch etwas bedeutet.
Lancel Roll’N Rock Tasche Rosa http://www.skoupy.net/lancel/lancel-rolln-rock-tasche-rosa-p-120.html
Where else can i purchase the copper stoppers and wicks? I am not a patient person with ordering. I prefer to go buy the stuff and start….any suggestions?
I can not find the tops on Etsy – can you give a link to where the tops can be bought.
This is so rad!
Makes for a fun Summer host gift too 😉
I love this idea
I am So. Intrigued. By this idea, would love to see more:
Pero no tienen nada más que muy buenas ideas los felicito.
Love this idea. Where do I get the cooper caps from?
Thank you so for your quick response Eden. I love this website, I found a lot GREAT ideas.
Hi,
These look fabulous. Just wondering though… Why do you need to put water in first?
Thanks.
Hello Gijo
The water is used to help conserve oil. You can fill the bottle with water up to the bottom of the wick and then fill the rest of the way with oil. The oil will float on top of the water.
Instead of water in the bottom can you substitute rocks or sand ?
We have never tried that! Not sure if that would work though…
I saw a project on pinterest where they use sand and shells and that’s how I’m gonna make mine. They used crown royal bottles and Patron.
Oh my gosh. I have like 50 empty whiskey bottles and have been trying to figure out what to do with them. This is perfect!
Maybe I can actually sell the bottles on craigslist now that I have a suggestion for use. Thanks for the post today!
Me too viv, I have a few bottle of wine that I think I need to finish as well. Very cool idea. FH