This post may contain affiliate links. Please see our disclosure policy.
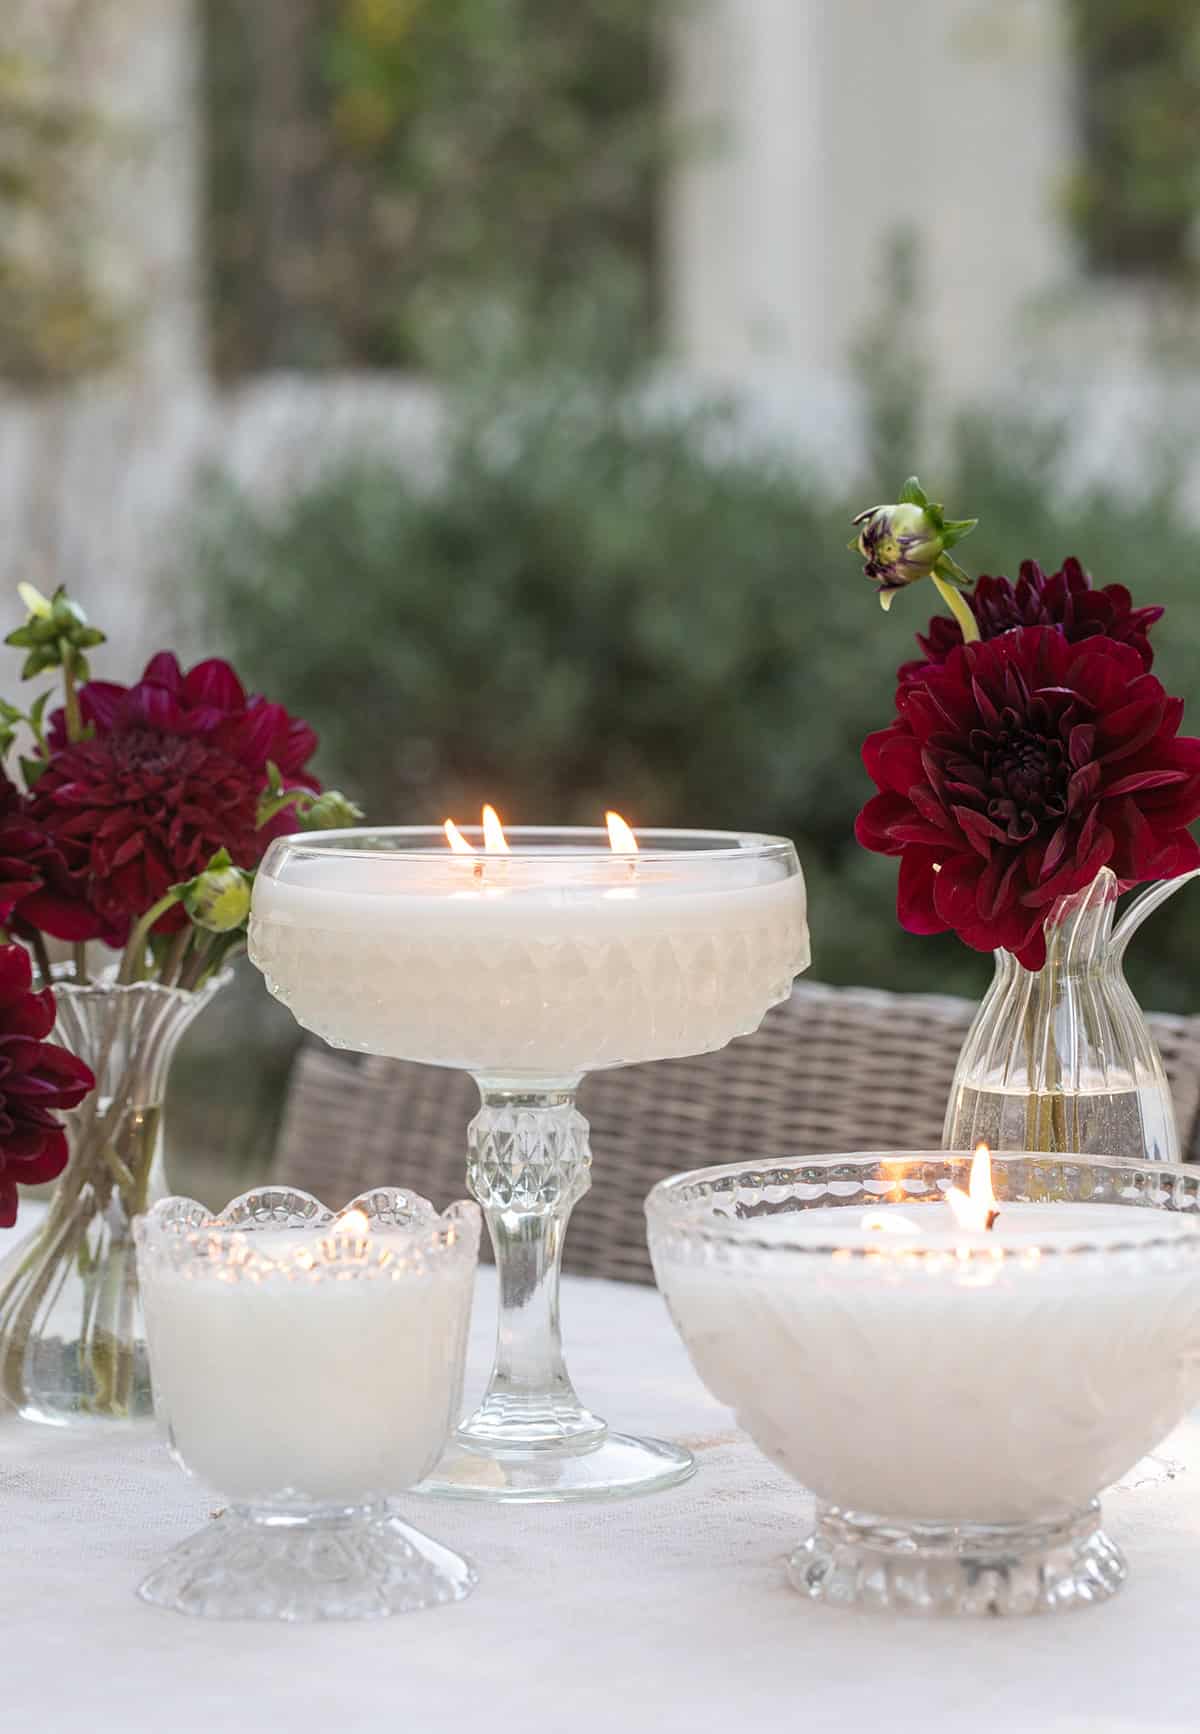
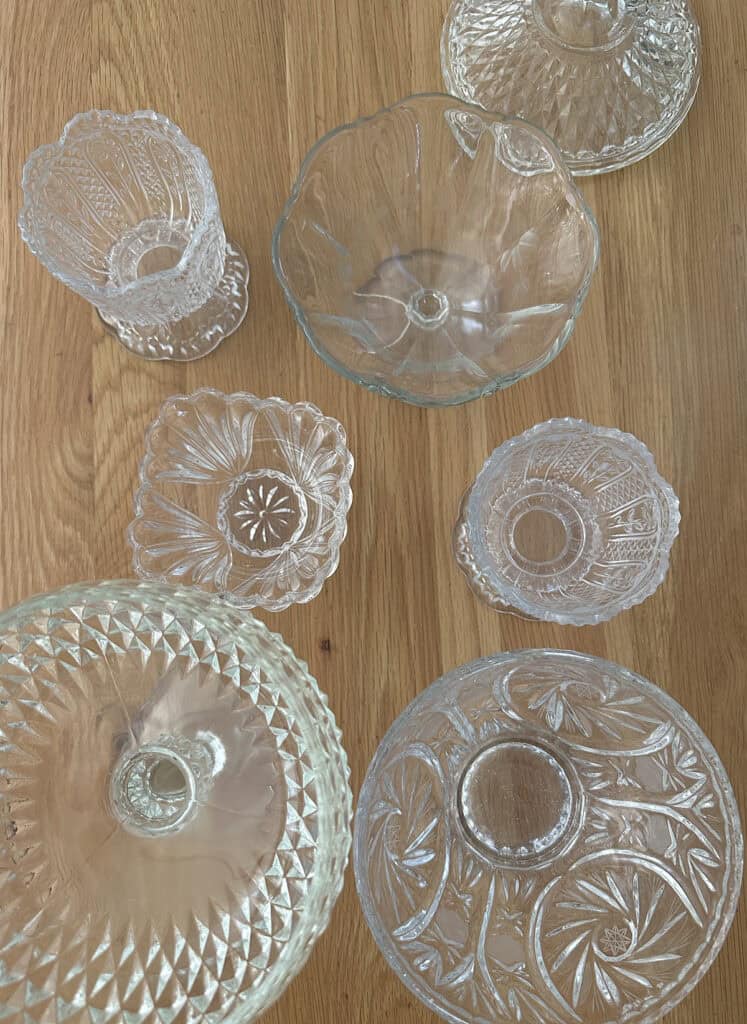
Making candles in vintage glassware started because I had all of these glass dishes and containers I’ve collected over the years for parties. I had no use for all of them, and I burn candles almost every single day! They’re everywhere at thrift stores and antique malls, sitting there looking beautiful and waiting to be turned into a beautiful candle!
It’s the prettiest way I know to give an old thing a second life, and honestly, they look more expensive than anything you can buy.
It’s the same instinct behind my oil candles and these little terracotta votives, which is that the container should be half the charm.
Pin this now to find it later
Pin ItHere’s What You Need to Know
Not every pretty dish can safely hold a candle, but there’s a ten-minute test that tells you. You want thick, heavy glass, and you want to skip crystal. Coconut apricot wax is my favorite for home candle making because it burns smoothly and never smells waxy.
Fragrance oils, not essential oils, if you want a candle you can smell from across the room. And blending your own scents is by far the best part.
About thirty minutes of work, then a few days of waiting, and you’re done.
Finding the Right Vintage Glass
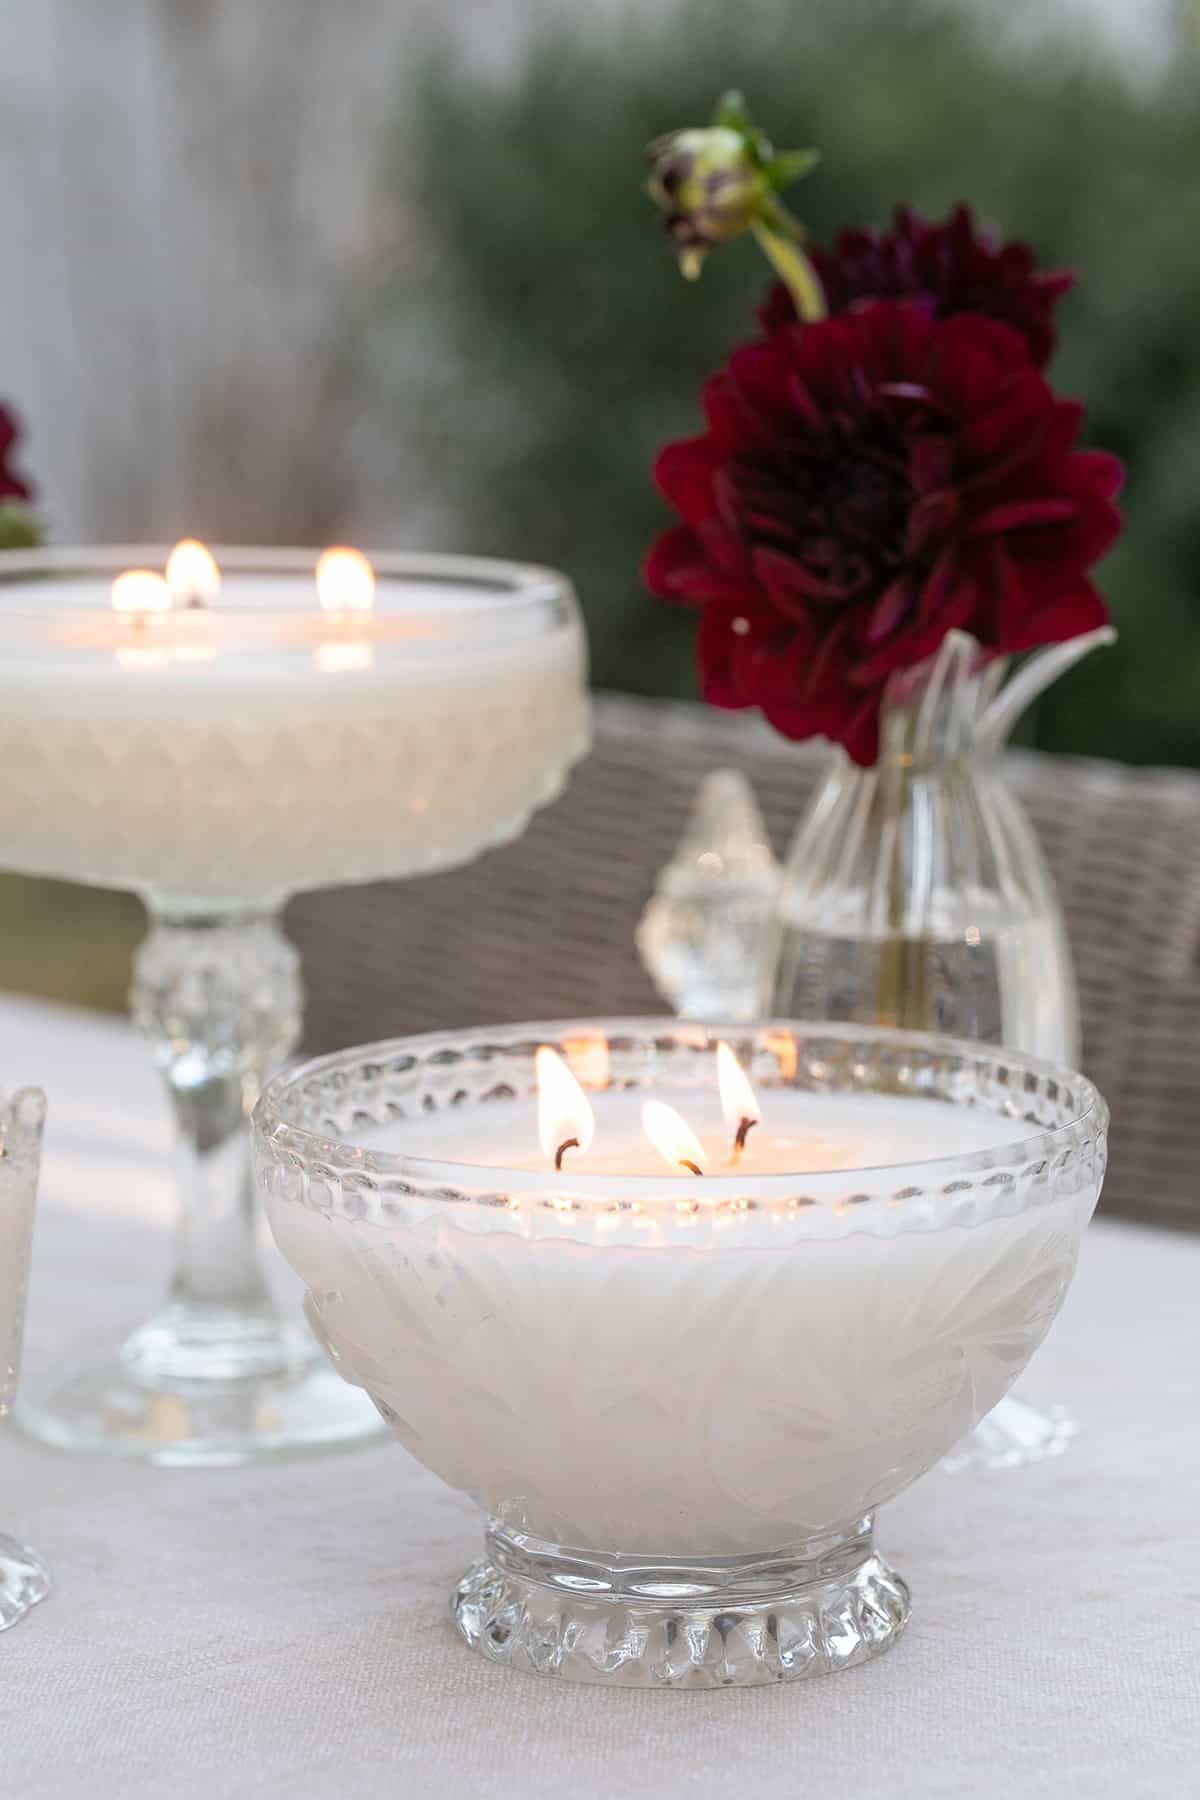
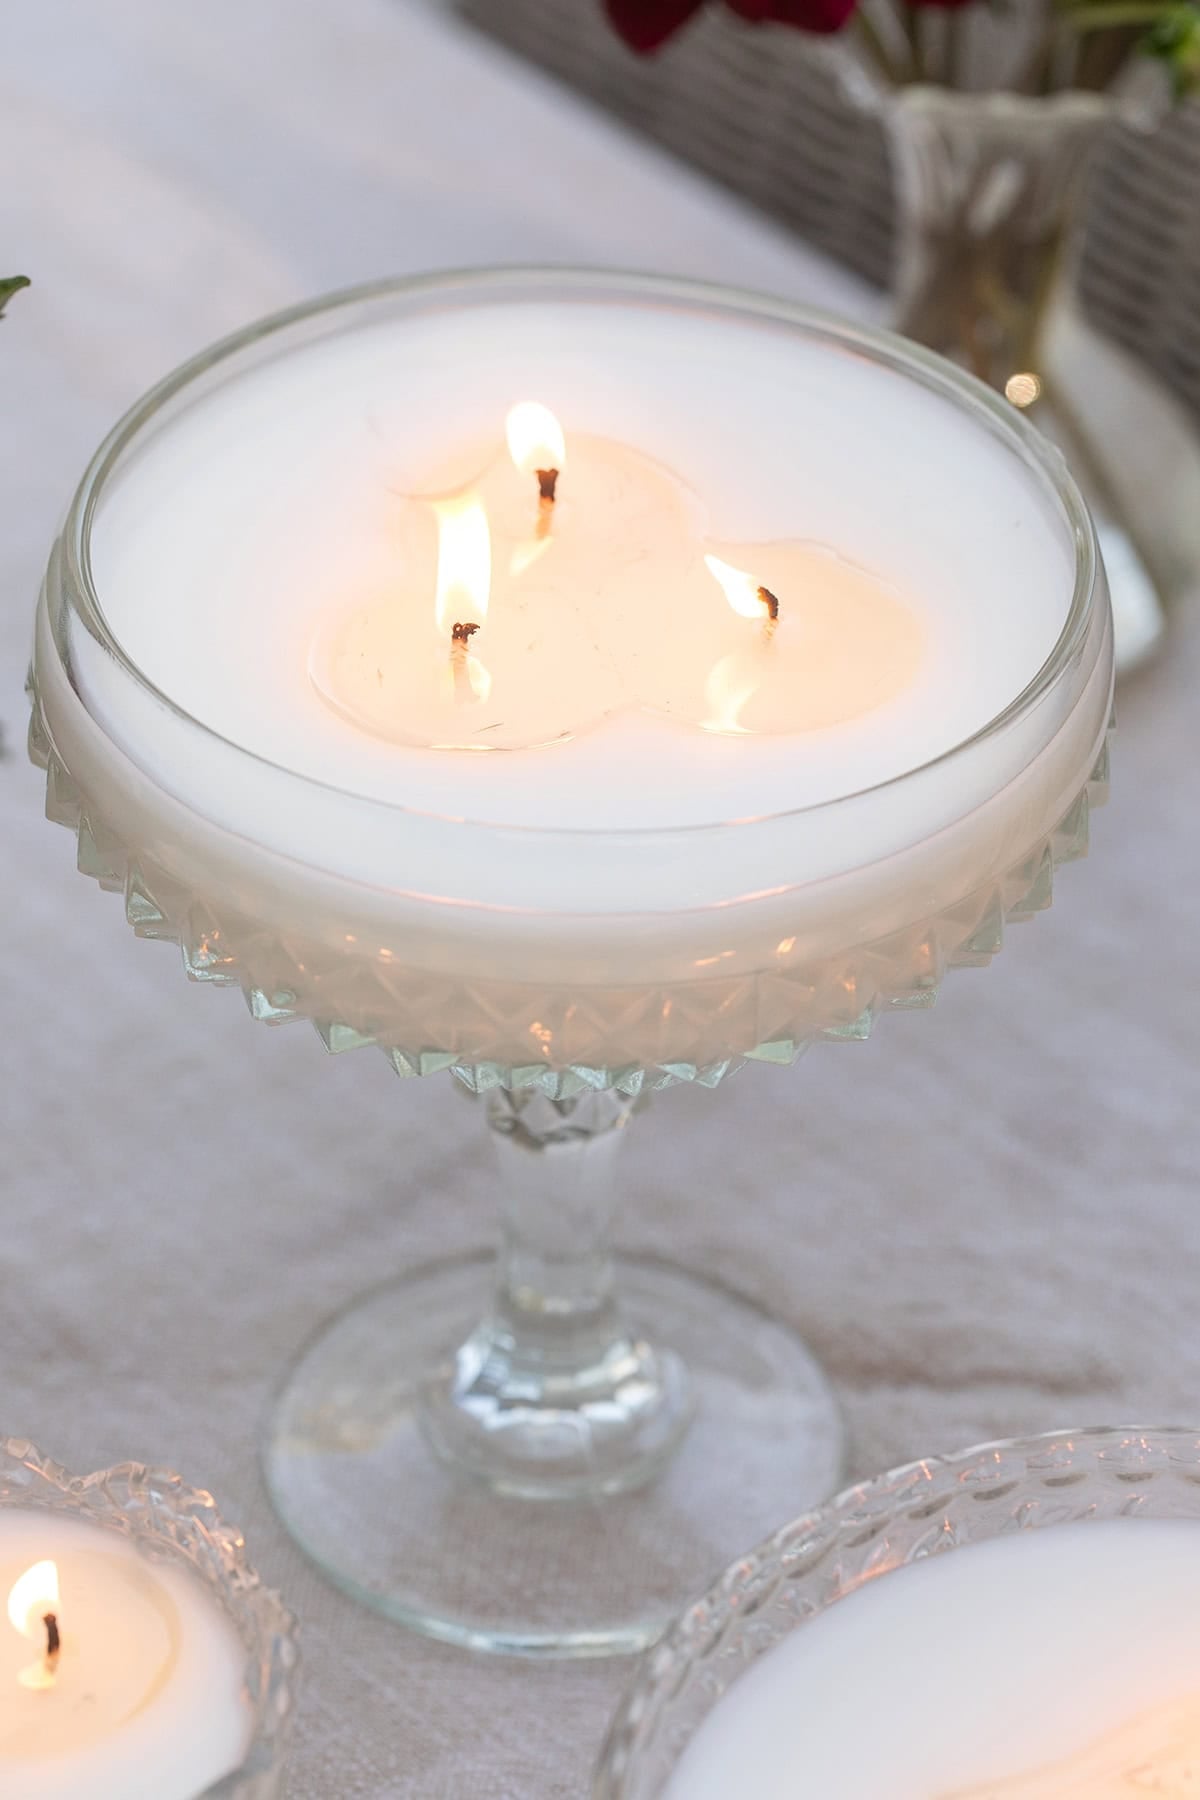
Look for pieces made of sturdy glass, like sugar bowls and candy dishes. Heavy pressed glass compotes. Anything with a lid, because a lidded candle looks gorgeous!
Pick it up before you buy it. If it feels substantial and heavy in your hand, that’s good. If it feels delicate, put it back. You want a shape that opens up rather than narrowing at the top, and at least a couple of inches of depth. Hold it to the light and turn it slowly to check for chips and hairline cracks.
What I skip: crystal and lead crystal, thin blown glass, anything painted or gilded on the inside, and anything so precious I’d cry if it broke. So don’t risk an heirloom because if it breaks and can’t hold the heat, you’ll be sad!
How-to Video
The Heat Test
This is the step everyone skips, and it’s the one that matters. Glass cracks from sudden temperature changes, and a burning candle puts steady heat into a vessel for hours. So before I pour anything, I put the glass through what I call a “shocking phase!”
Do this in the sink. Always. If it’s going to break, that’s where you want it to happen.
Set the clean, dry, room-temperature glass in the sink and fill it with water heated to 212°F. Let it sit for five to ten minutes, then pour it out and immediately run cold water over and into it to shock it. Look it over closely in good light. No cracks, no hairlines, nothing dull-sounding when you tap it, and it’s ready to be a candle.
If it cracks, you just saved yourself a mess and you’re out about four dollars.
This catches nearly everything, but no home test is a guarantee. Burn your candles on a heat-safe surface, never leave one unattended, and stop burning when about half an inch of wax is left.
What You’ll Need
I put everything I use in one shopping guide so you can see the exact wax, wicks, and fragrance oils!
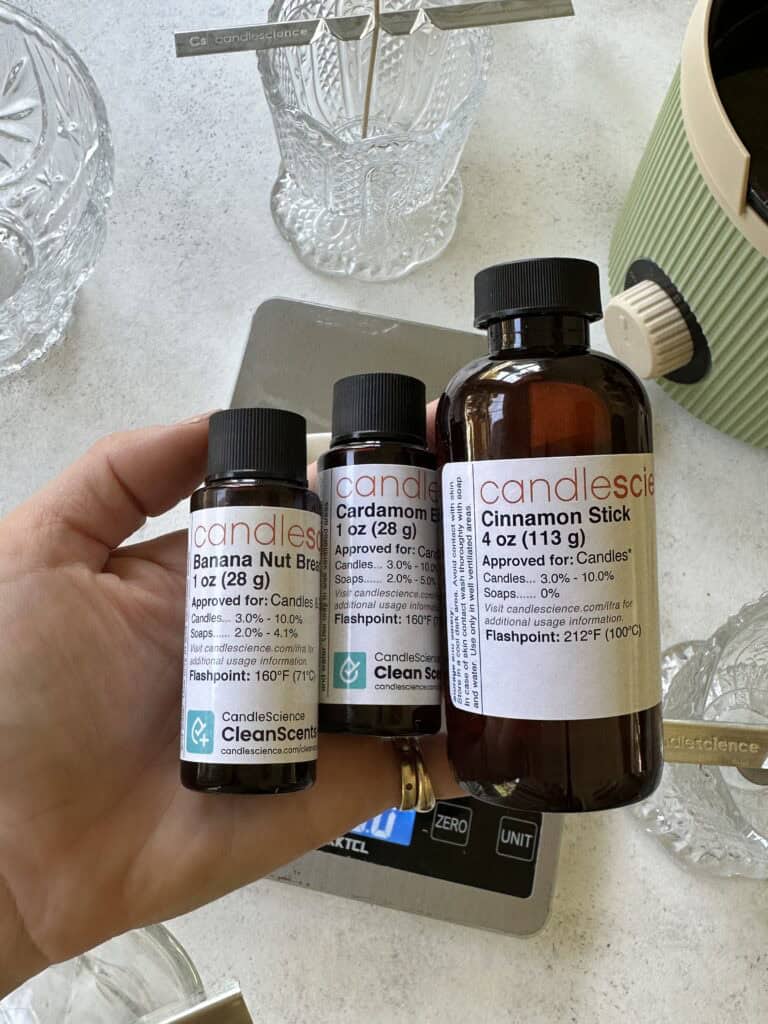
I get a lot of my supplies from CandleScience. They’re specific about what’s in their fragrance oils. Everything they sell is formulated without phthalates and without anything on California’s Prop 65 list, and their CleanScents oils go further and publish a full exclusion list you can actually read. The wax is a natural coconut apricot blend, and the wicks are cotton and lead-free.
- Vintage glass that’s passed the heat test
- Coconut apricot wax
- Cotton wicks, sized to the width of your vessel
- Wick stickers and wick bar/holders
- Fragrance oils
- Fragrance testing sticks
- A stack of small disposable cups
- A pouring pitcher, a thermometer, and a kitchen scale
Some notes: Coconut apricot wax burns evenly, holds fragrance beautifully, and doesn’t have that heavy waxy smell some soy blends have.
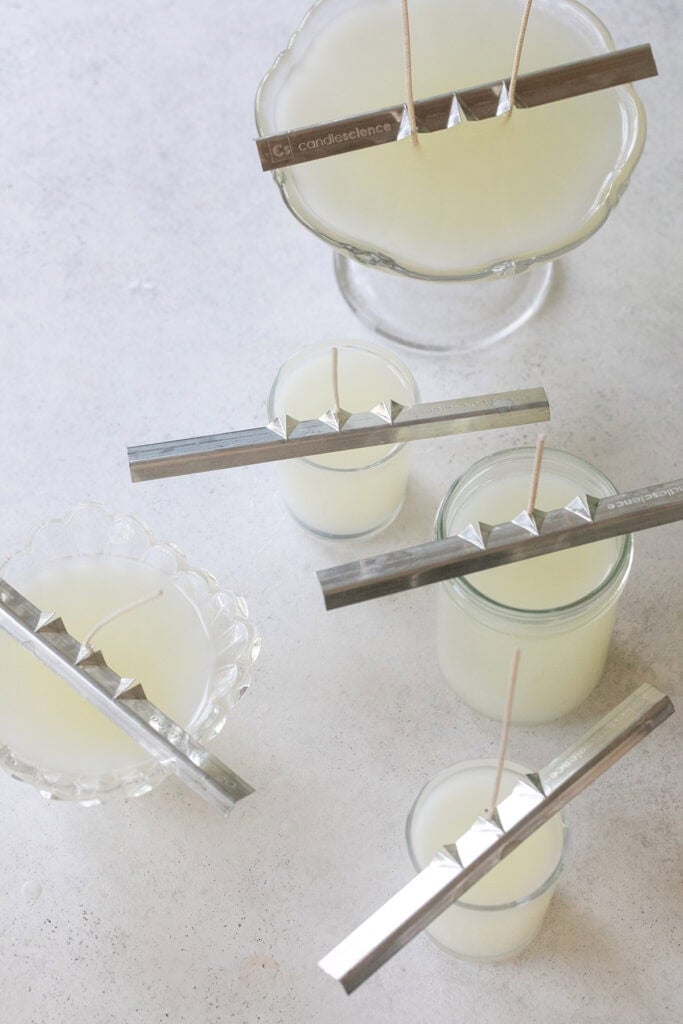
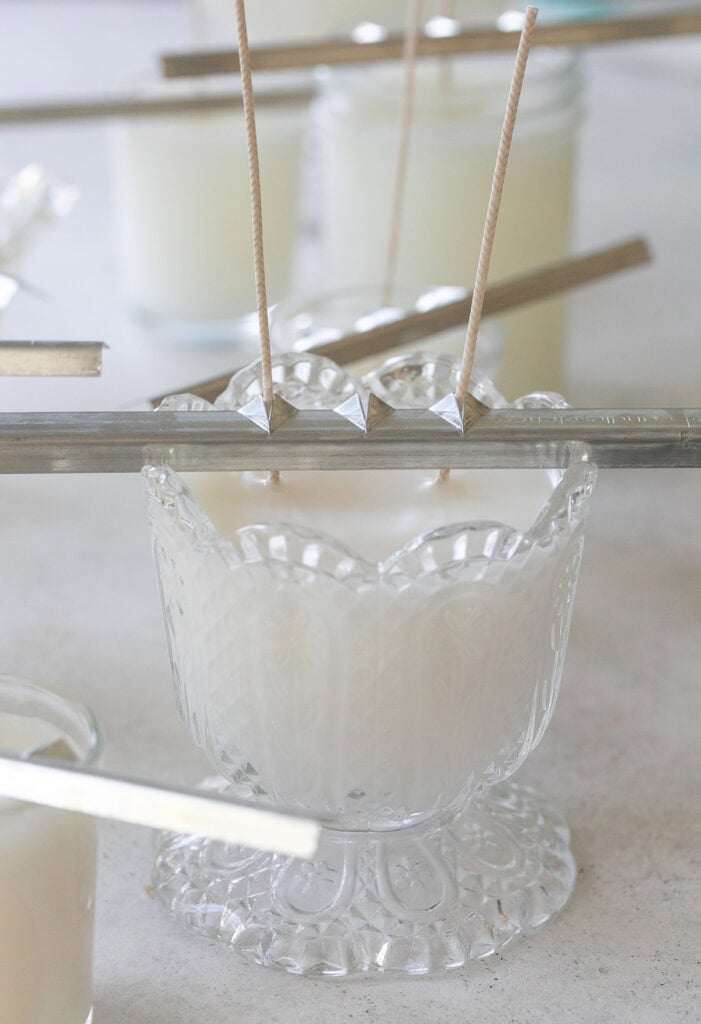
Wick stickers and wick holders are small and cheap and they take the fussiest part of this project down to about thirty seconds. The sticker anchors the wick to the bottom, the holder sits across the top and keeps it perfectly straight while the wax sets.
And fragrance testing sticks might be my favorite thing in the whole kit. You dip one into each oil, hold two or three together under your nose, and you know instantly whether a blend works. No wasted wax, no regret.
One more small thing that makes blending easier. Keep a stack of little disposable cups on hand, the tiny plastic condiment kind, and mix each blend in its own cup. You’re not rinsing anything between scents and nothing carries over into the next one. Use it, toss it, move on.
For wicks, it’s the width of your vessel that matters, not the height. Two and a half to three inches across usually takes one wick. Wider than three and a half, and you’ll want two.
Fragrance oils are what give you a scent you can smell from the next room. If you’d rather skip synthetic fragrance entirely, essential oil candles are soft and lovely and worth making; just know they’re more about ambiance. Citronella is the one essential oil strong enough to really carry, which is exactly why it goes in my citronella candle jars for the patio.
How to Make Vintage Glassware Candles
1. Wash and dry the glass completely. Old glass holds decades of dust, and any moisture left inside will cause wet spots later.
2. Run the heat test. In the sink, as above. Let the glass come back to room temperature and dry fully before you go on.
3. Measure your wax. Set the empty vessel on your scale and zero it out. Then fill it with water to about half an inch below the rim and note the ounces. That’s how much wax to use. You’ll end up with a little extra, which is exactly what you want, because running short mid-pour is miserable!
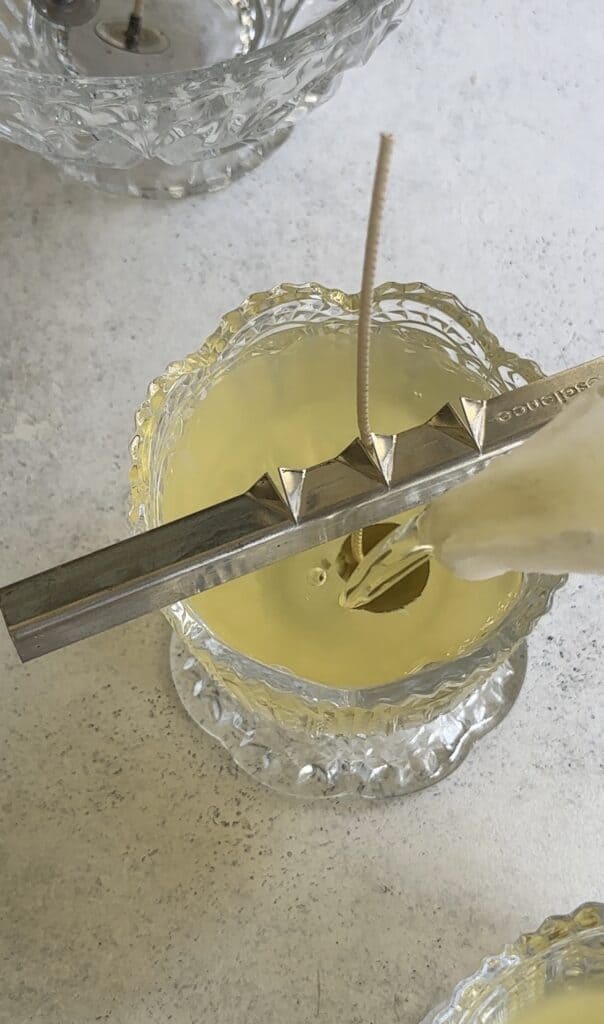
4. Set the wick. Press a wick sticker onto the tab and stick it to the center of the base, firmly. Then lay a wick holder across the top to keep it straight. An off center wick will tunnel forever, so take your time here.
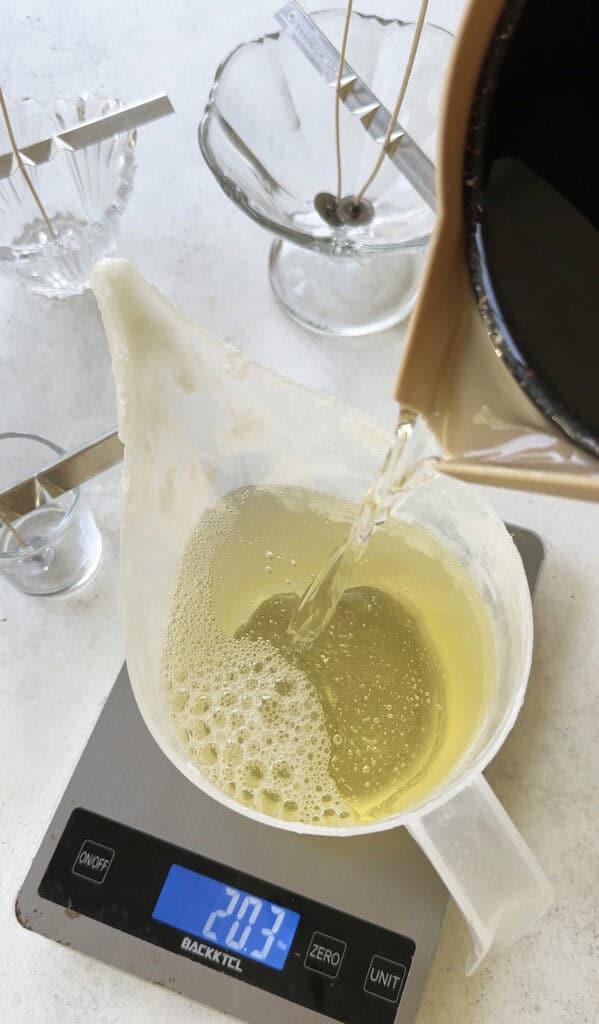
5. Melt the wax gently in a double boiler to about 185°F, stirring now and then. Check the instructions for your specific wax, since every blend is a little different. My melter holds the right temp, so I don’t check it much, but if you’re pouring by hand, watch for 170°F.
6. Add the fragrance. Off the heat, weigh in 1.5 ounces of fragrance oil for every 12 ounces of wax. Stir slowly for a full two minutes. Set a timer, because it feels long and it’s the single biggest reason a homemade candle ends up smelling like nothing.
7. Pour the coconut apricot wax blend at 170°F, give or take about five degrees. Pouring too cool is what causes shrinking and those wet spots where the wax pulls away from the glass. Pour the wax slowly and steadily, leaving half an inch at the rim. Add a wick bar if you need help positioning the wick.
8. Leave them alone somewhere flat and away from drafts for 24 hours. Don’t move them, don’t refrigerate them.
9. Trim the wick to a quarter inch once everything is fully set.
10. Cure before you burn. Give them a few days. The wax settles, and the fragrance binds into it properly. This is the hardest step because it’s just waiting!
A Few Favorite Blends
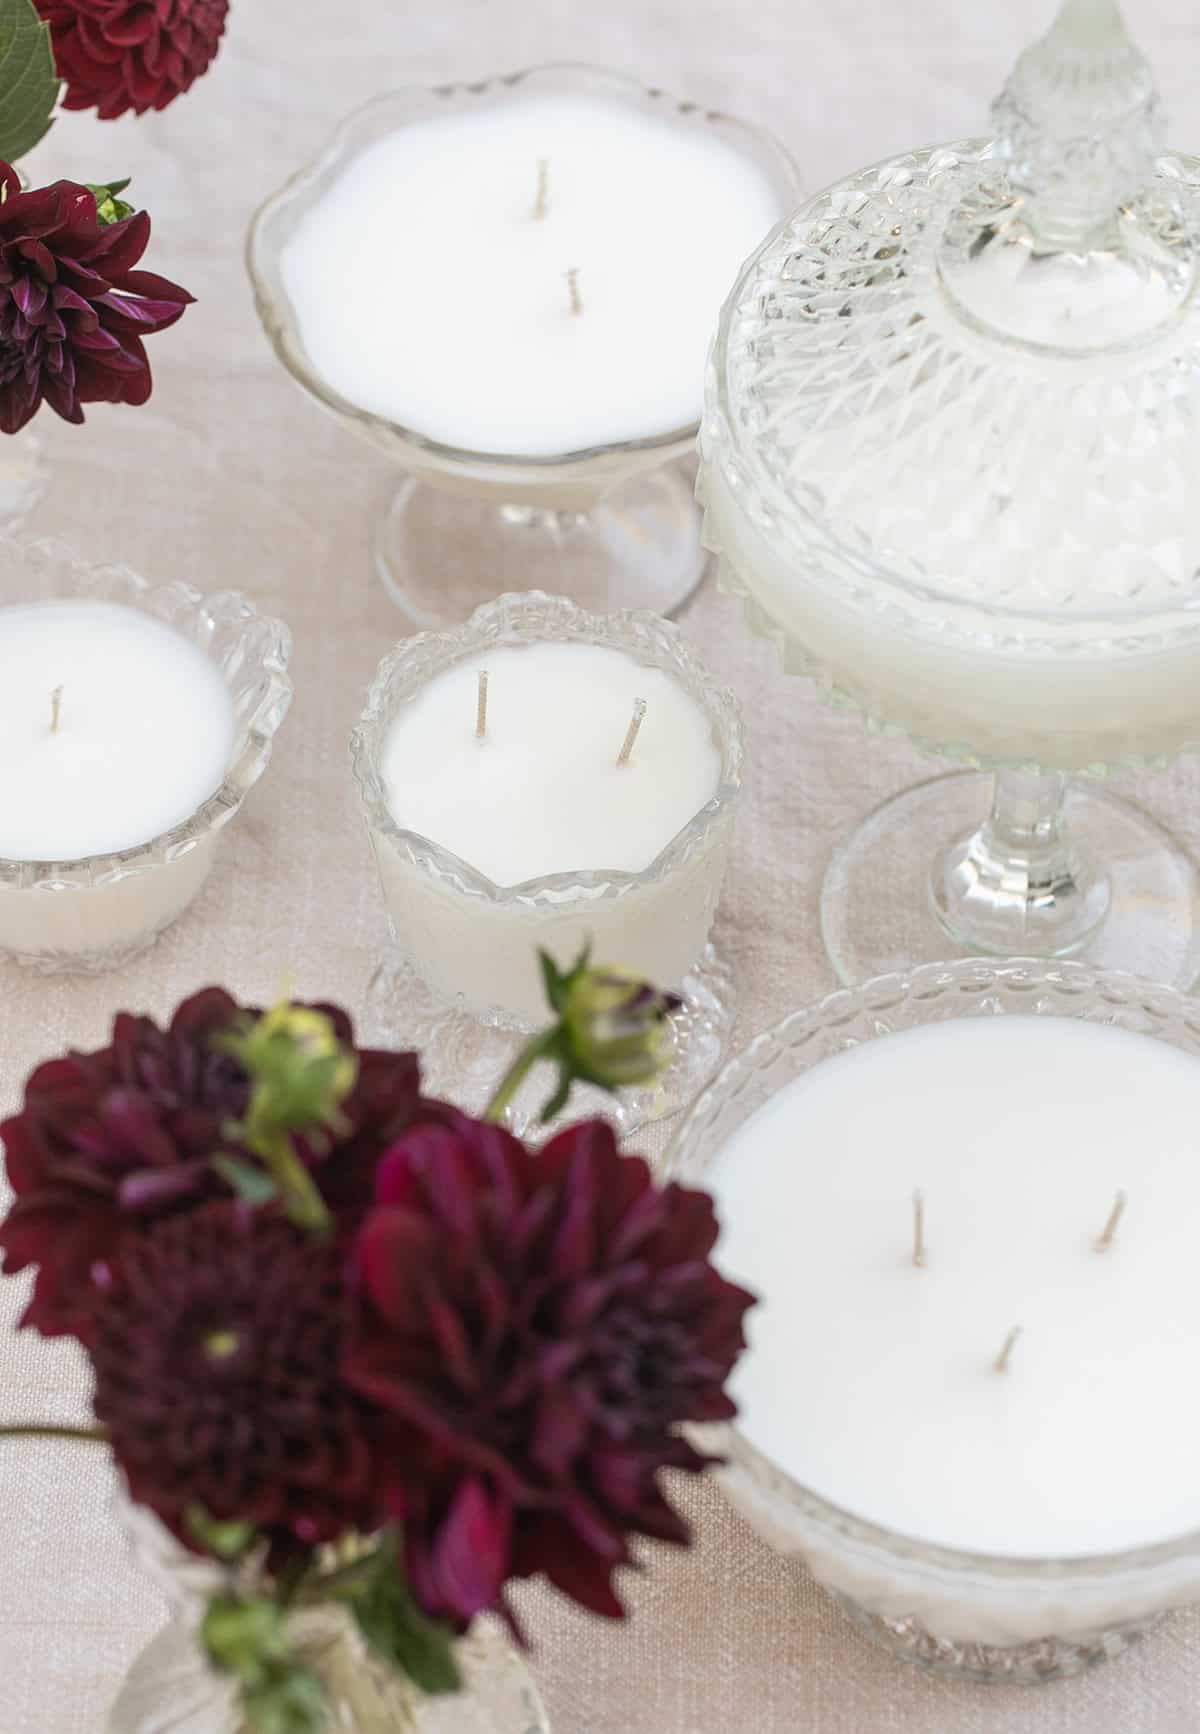
Mixing two or three fragrances is how you end up with something nobody else has, and the three I made were Blue Spruce with Fraser Fir, Garden Mint with rosemary, sage, orange blossom, and jasmine, and Banana Nut Bread with cardamom and cinnamon. That last one is the same warm, spiced feeling as my mulling spices, just in wax.
Eden’s Tips
Do the heat test in the sink before pouring wax. Test your blend on fragrance sticks before you commit a whole batch of wax to it.
Weigh your fragrance instead of guessing. A little scale changes everything.
Wait a few days for the candle to cure before burning it.
Let the first burn go until the melted wax reaches the edges all the way around, usually two to three hours. If you blow it out early, it will tunnel for the rest of its life.
Trim to a quarter inch before every burn. That’s what stops the soot and the flickering.
When it’s finished, pour boiling water in to melt out the last of the wax, wash it, and pour again. I do the same thing with store-bought candle jars once they’ve burned down.
Vintage Glassware Candle FAQs
I don’t. Crystal is thinner and more brittle than pressed glass, and vintage lead crystal adds a question I’d rather not answer. There are gorgeous heavy pressed pieces out there for a few dollars.
You can, and they’re lovely, but know what you’re getting. Essential oils are delicate, and most of the scent burns off, so an essential oil candle is softly fragranced and more about ambiance than filling a room. Citronella is the exception, which is why it works so well outdoors. If you’d rather not have synthetic fragrance in your home at all, they’re the right choice, and my essential oil candle tutorial is here.
Yes, if it’s thick porcelain with no cracks and it passes the heat test. Teacups are made to hold boiling water so they usually do beautifully. Just skip anything with gold or metallic paint.
Almost always one of three things. Not enough fragrance by weight, not enough stirring, or not enough cure time. Fix all three and it changes completely.
Usually, the wax was poured too cool, or it cooled too fast in a chilly room. Warm the top with a hairdryer, and it will smooth right out.
It depends on the wax, so check the bag or the supplier’s page before you start. As a general guide, soy pours around 135 to 145°F, straight coconut wax runs warmer at 150 to 170, beeswax wants 145 to 155 because it sets fast, and paraffin sits around 150 to 160. Coconut apricot blends vary a lot by brand, so those are especially worth looking up rather than guessing.
The coconut apricot blend, without question. It’s creamy, it dries to the prettiest off-white, and it burns so smoothly. Best of all, it doesn’t have that waxy smell some blends have, which matters when you’re burning candles as often as I do.
More DIY Projects

Outdoors & Garden
Homemade Fire Starters

Entertaining
Repurposing Candle Jars

Entertaining
DIY Citronella Candle Jars to Keep Bugs Away

Party DIY
How to Make Beautiful Oil Candles
You can also check out these fun projects if you’re looking for more information!