
This post may contain affiliate links. Please see our disclosure policy.
Dehydrated orange slices are one of my favorite things to make, I use them all the time for cocktails, desserts, gifts, and more. Here’s how to easily make them using the oven method.
For more edible garnishes, check out my dried pineapple flowers, apple and pear chips and edible sugared flowers!
Pin this now to find it later
Pin ItWhy You Should Make Your Own Dried Orange Slices
Dehydrating oranges is an easy way to capture their essence and enjoy their flavor beyond their season. I couldn’t believe how straightforward creating these sweet snacks in my oven was!
I use these for SO many things, from garnishing food to making crafts; I always have them on hand. They are great in trail mix, perfect for topping desserts like my orange ricotta cake, as mulling spice, or as a cocktail garnish.
Not to mention, these slices are especially great for the holiday season, too. You can make garlands and ornaments out of them.
Dehydrated Orange Slice Ingredients
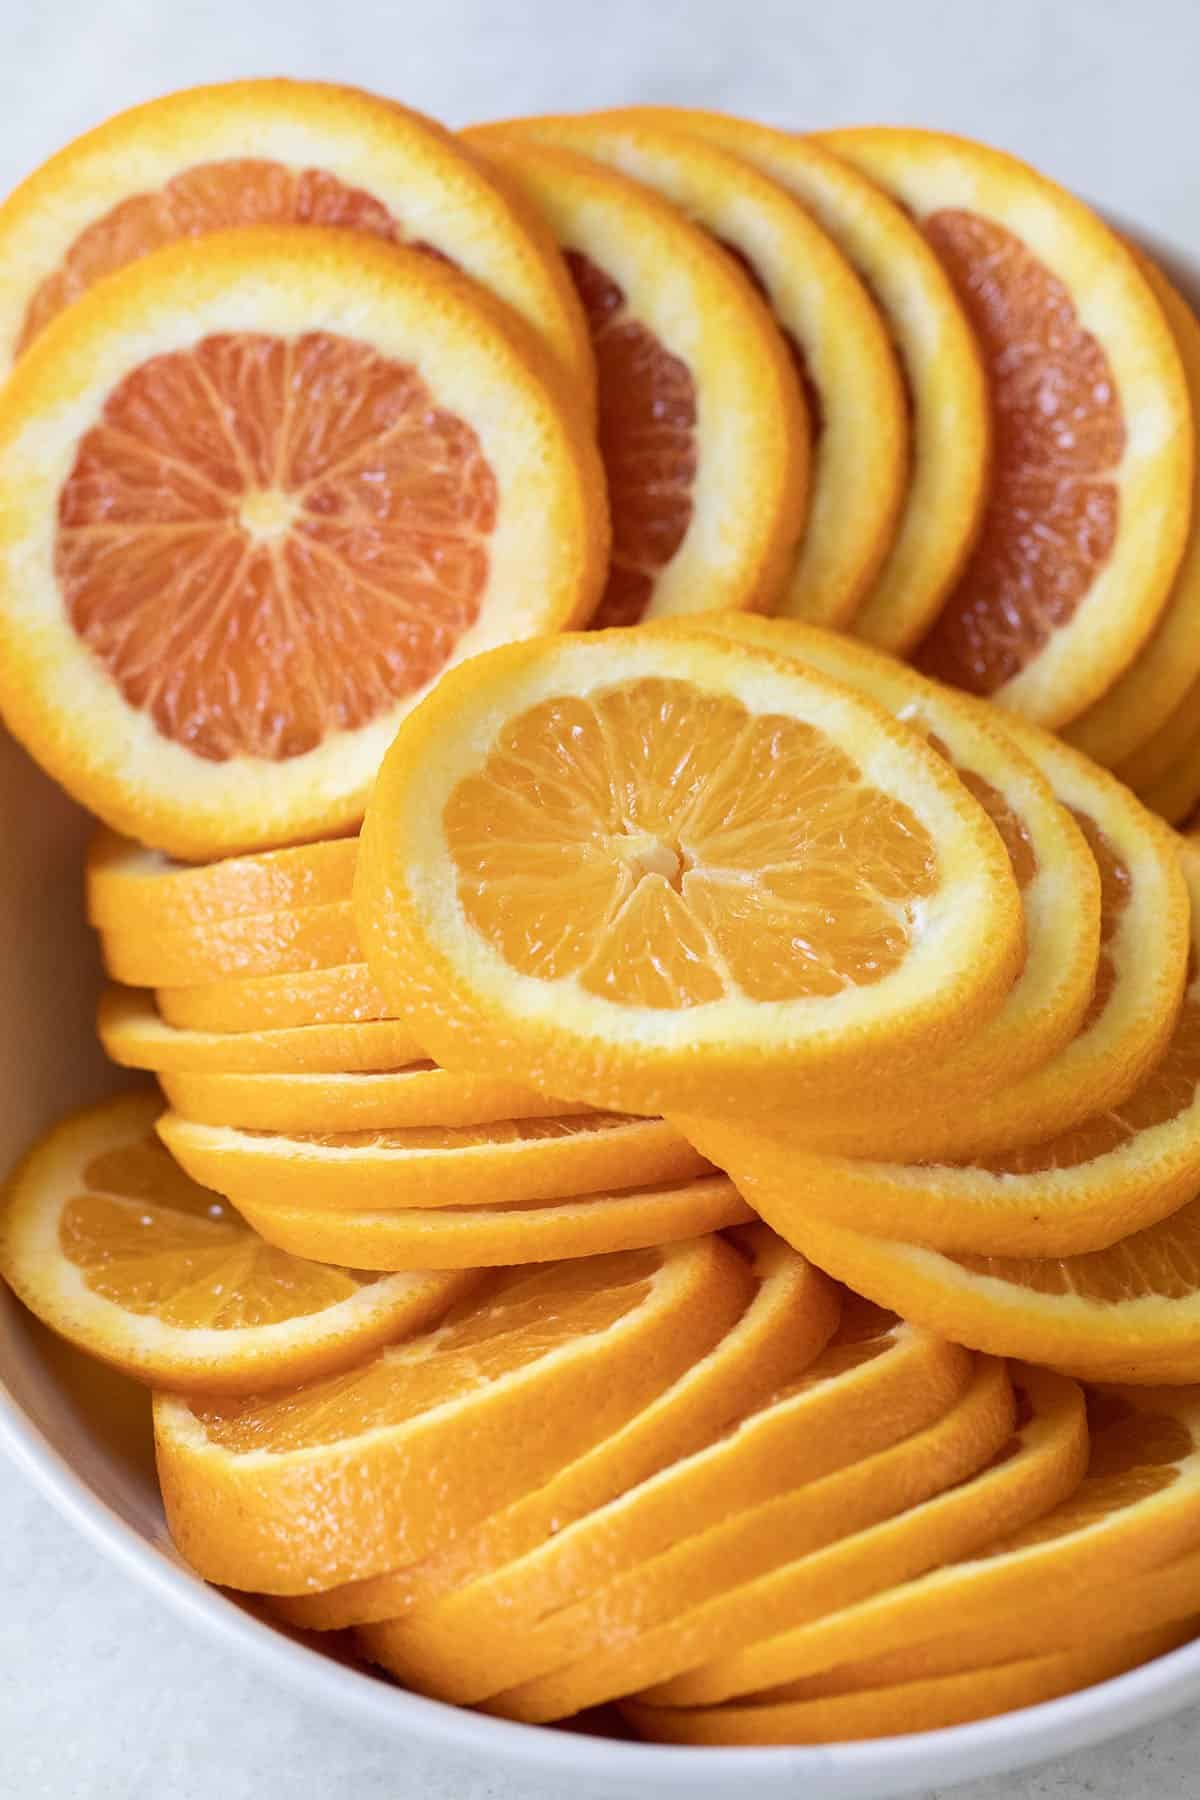
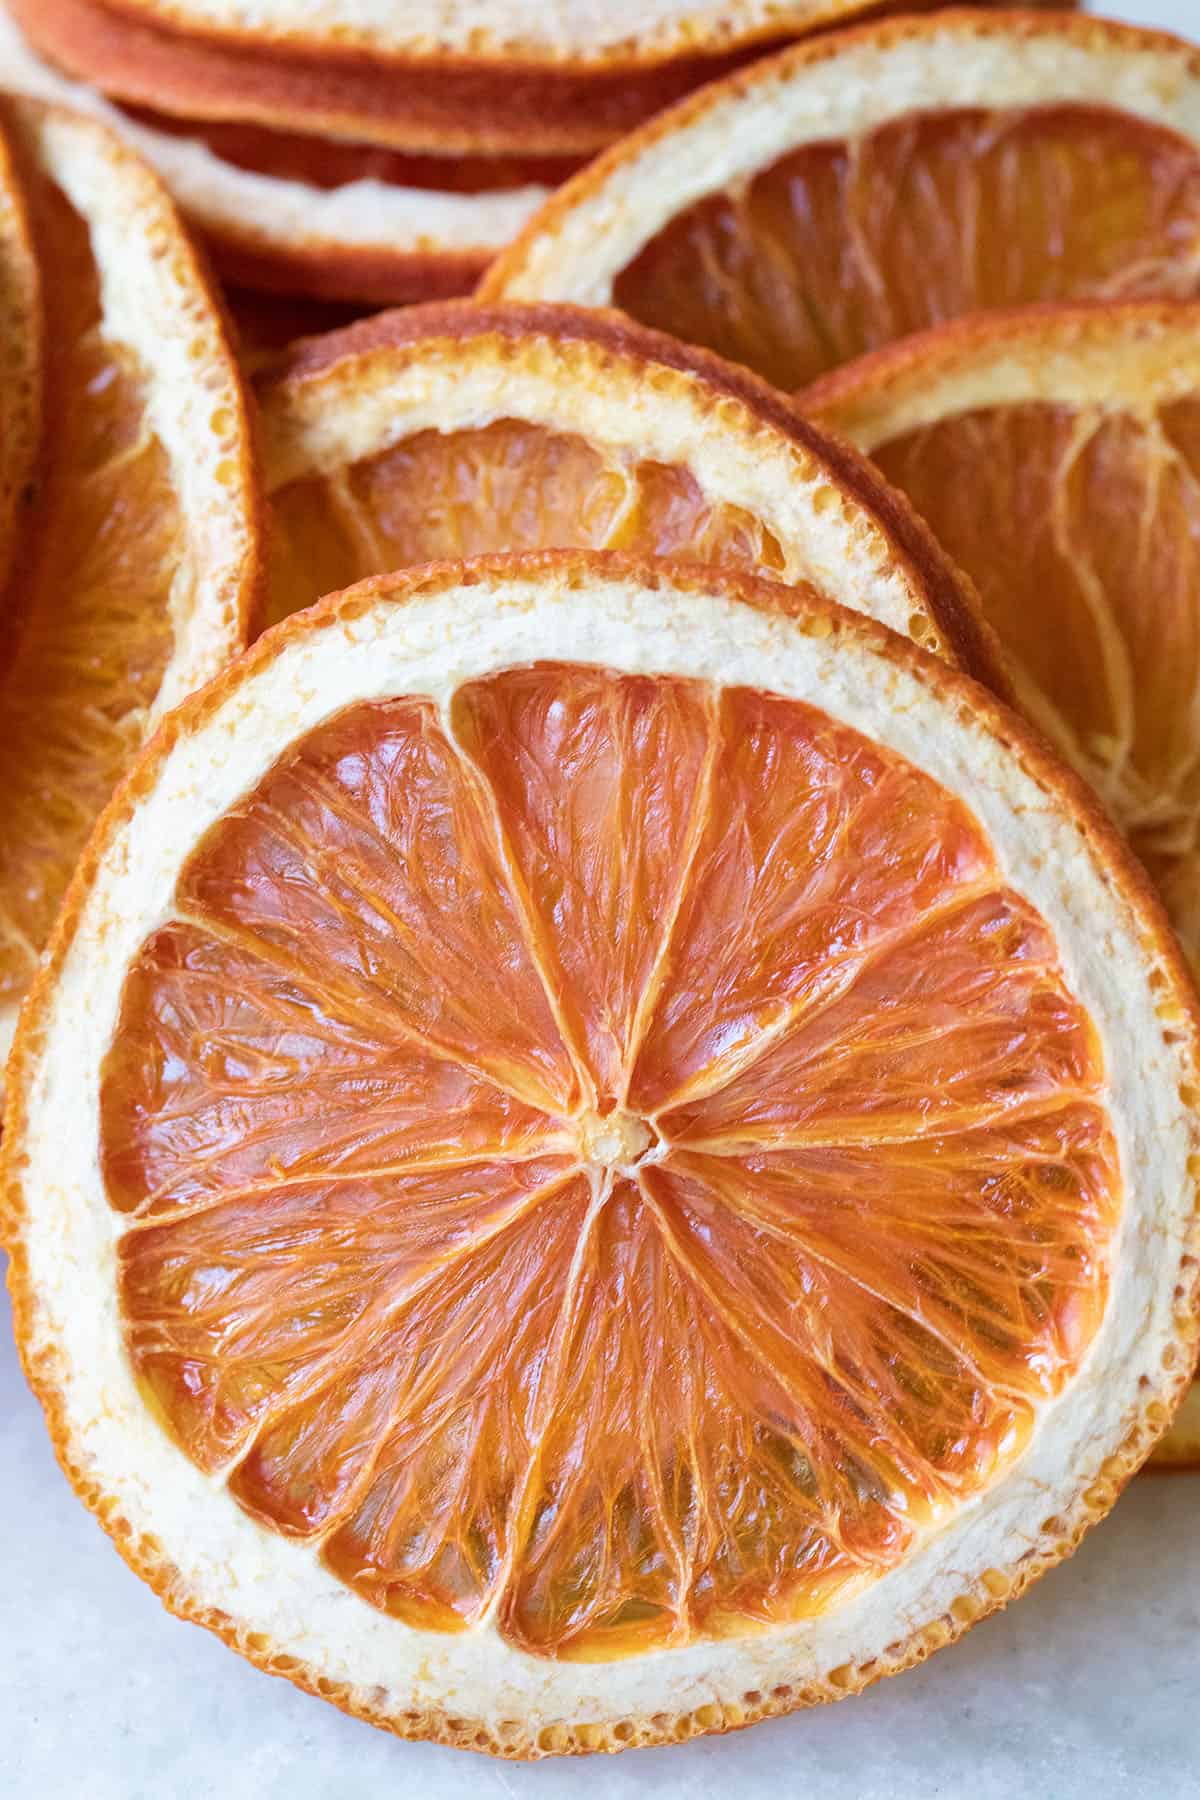
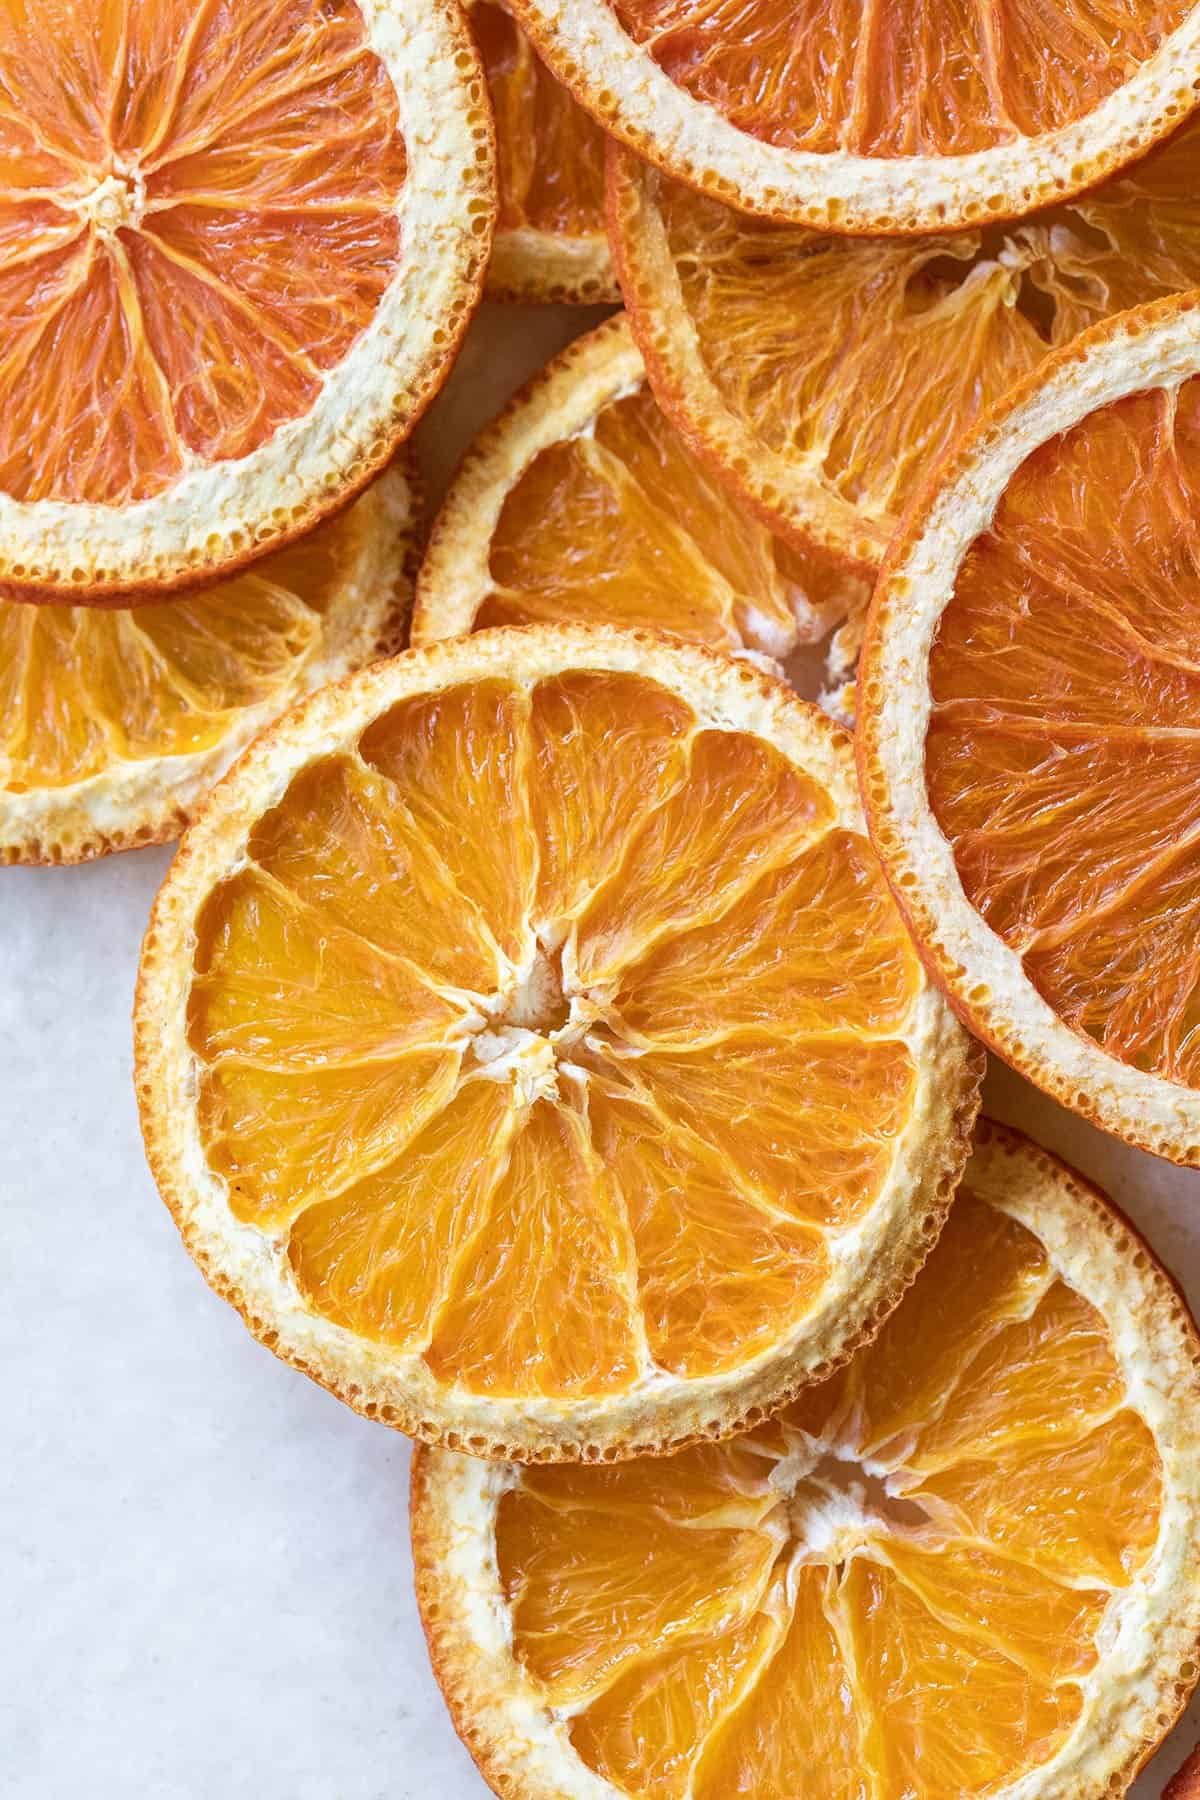
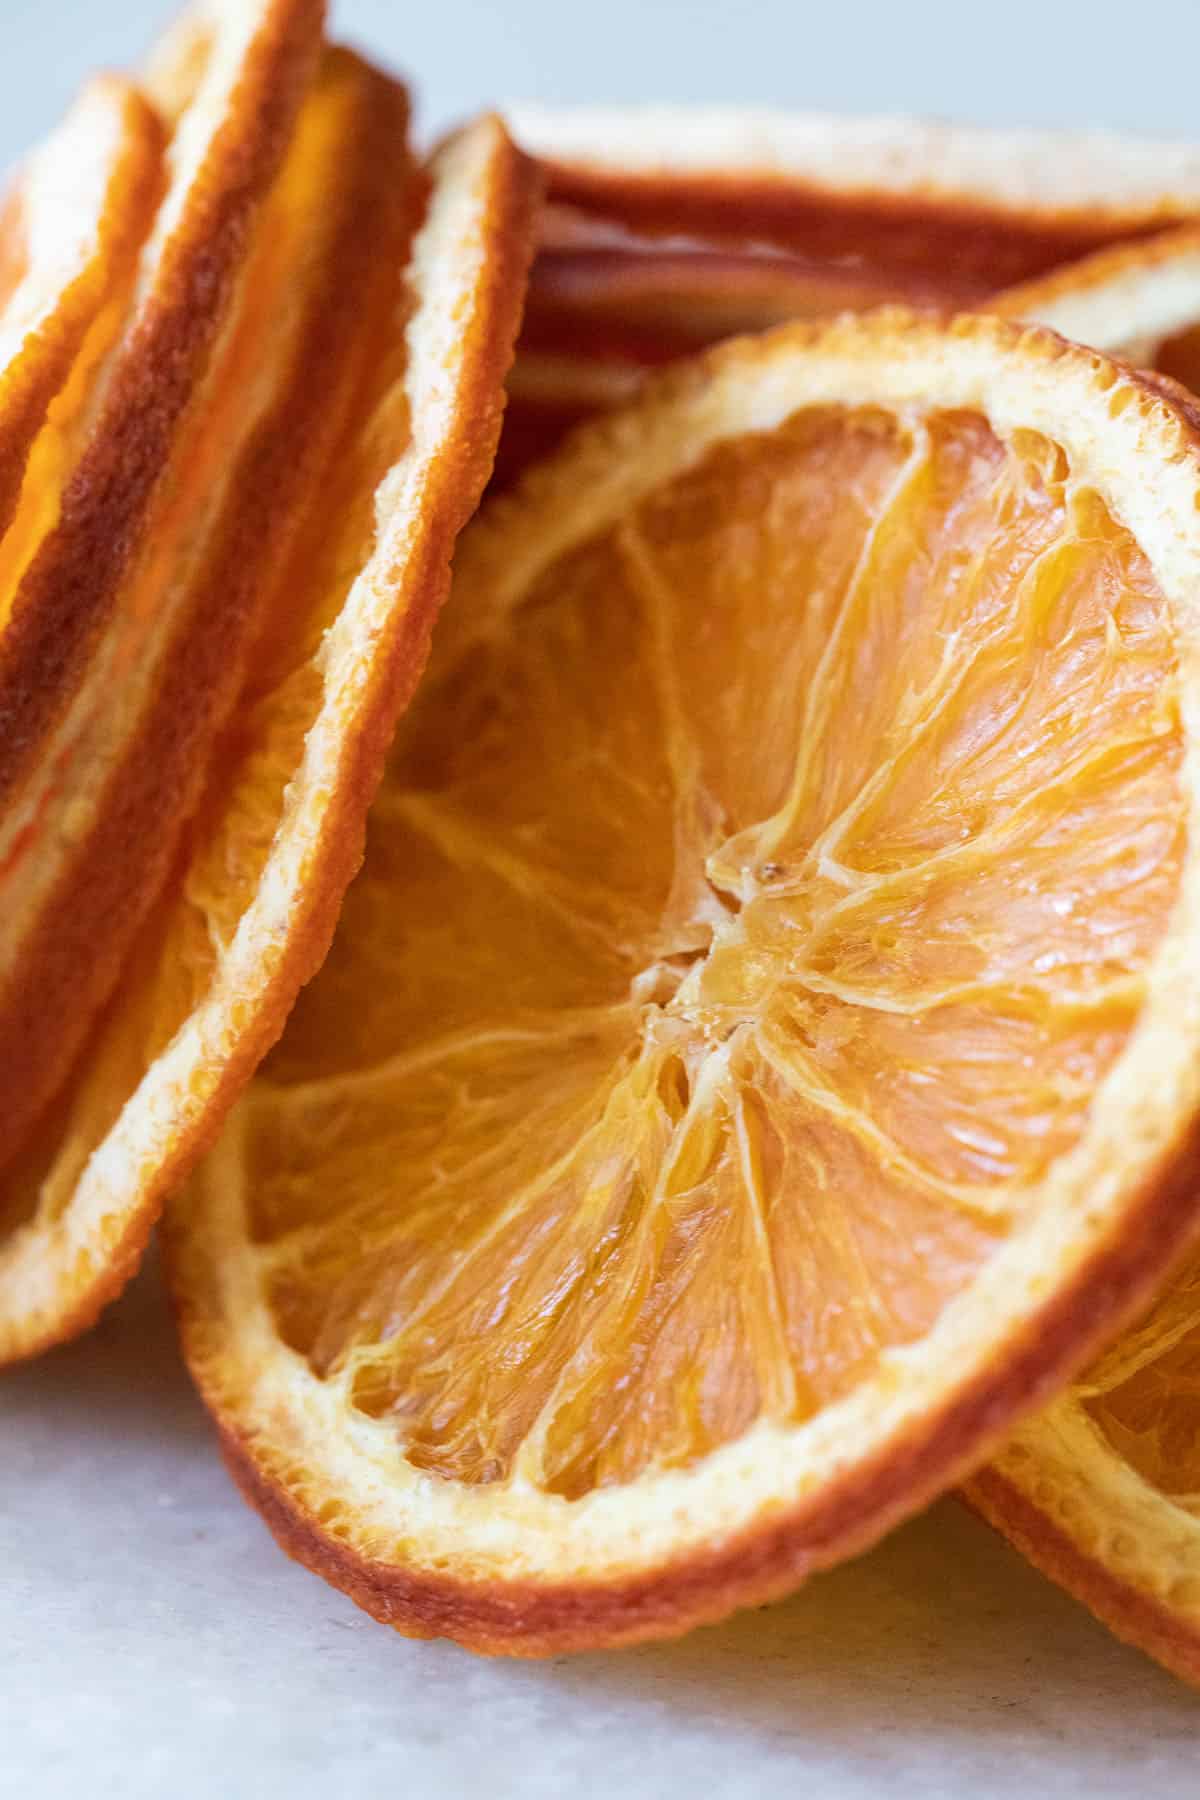
Oranges: I prefer to use firm oranges ensure they hold up better during dehydration. Something like Valencia, Cara Cara oranges or navel oranges will work. I usually slice the fresh oranges using a sharp knife or a mandoline slicer for uniform thickness, which is crucial for even drying.
Safety tip: I always handle my mandoline carefully, as it’s pretty sharp.
Sugar (Optional): Occasionally, I like adding sparkle to my dehydrated oranges. Dipping the slices in granulated sugar gives them a darker, shimmering, candied look, while coconut sugar adds a richer hue. Of course, skipping the sugar works, too, especially if you want a more natural flavor profile.
How to Dehydrate Orange Slices


What I love about this method is that it’s easy to make; it requires just a bit of my attention at the start, and then it’s all hands-off. It’s a delightful way to preserve the sunny essence of oranges!
Clean oranges well – Ensure the oranges are clean by washing and patting them dry.
Slice – Use a Mandoline slicer to cut the oranges into even slices, aiming for about 1/4″ thickness. You can also do this with a very sharp knife. Uniformity is essential here; it affects how they’ll dry. Pat them dry with a paper towel to remove excess moisture.
Spread on baking sheet – Line baking trays with parchment paper (aluminum foil isn’t recommended) to prevent sticking. Arrange the orange slices in a single layer, ensuring they don’t touch.
Bake – Set the oven to 200 degrees Fahrenheit and let the oranges dehydrate peacefully for about 4-5 hours, flipping every hour. Using a food dehydrator would work, too, if I had one. The drying process takes patience—rushing this step won’t do!
Storage Tips
To keep your dried oranges fresh, store them in an airtight container like a mason jar. Place the jar in a cool, dry place away from direct sunlight and moisture.
When stored properly, dehydrated oranges can last 1–3 years. Always check for signs of spoilage, like mold or an off smell, and discard immediately if you notice any.

What to Do With Dehydrated Orange Slices
- Garnishes – Add one to any cocktail (or mocktail!) or even on cakes for instant charm and color. They’re especially gorgeous with orange juice cocktails.
- Christmas Decor – Thread with string and hang on your tree or tuck into a modern holiday wreath.
- Orange Garland – String them up to make festive dried orange garlands. They pair perfectly with popcorn garlands, too!
- Homemade Potpourri – Add slices to a jar with cinnamon sticks, spices, and a few drops of essential oil.
- Entertaining – Use them on cheese platters, fruit platters, or place settings to add color and charm at gatherings.
- Gifts – Package the prettiest slices in a mason jar with ribbon and a tag. Share ideas for using them in cocktails, food, or garlands—it’s a simple, thoughtful DIY present.
Dehydrated Oranges FAQ’s
Of course! They make a chewy and flavorful snack and are the perfect edible garnish for a cocktail or dessert.
For safety, make sure the oranges are thoroughly dried to prevent mold growth.
If properly stored in an airtight container, they can last for up to 1 year! For the best flavor, I recommend using them within the first year.
A traditional dehydrator is an especially handy tool for dehydrating oranges. The process will take longer than it does in the oven, but these appliances use less energy than the oven, and won’t heat up your whole kitchen. To use the dehydrator, thinly slice your oranges as you would for preparing them in the oven. Set the dehydrator to 135 and dehydrate for 6 to 12 hours, checking periodically.
Dehydrating orange slices in an air fryer works just like it does in the oven or in a food dehydrator. Be sure to cut thin, uniform slices and lay them in a single layer. Be sure not to crowd the slices in the air fryer, since it needs proper air flow for even cooking.
A traditional dehydrator is an especially handy tool for dehydrating oranges. The process will take longer than it does in the oven, but these appliances use less energy than the oven, and won’t heat up your whole kitchen. To use the dehydrator, thinly slice your oranges as you would for preparing them in the oven. Set the dehydrator to 135 and dehydrate for 6 to 12 hours, checking periodically.
When dehydrating oranges in the oven, slowly bake them at a low temperature for about 4 hours. This will also depend on the thickness of the orange slices. If they’re thicker, they will take longer.
You can enhance your dehydrated orange wheels by coating them in sugar for extra sweetness. Here’s my quick method:
Prepare Sugar: Lay a bed of granulated sugar or coconut sugar in a dish.
Coat the Oranges: Each slice gets a generous dip, ensuring an even coat.
Flavor Twist: Occasionally, I’ll sprinkle a pinch of sea salt for contrast.
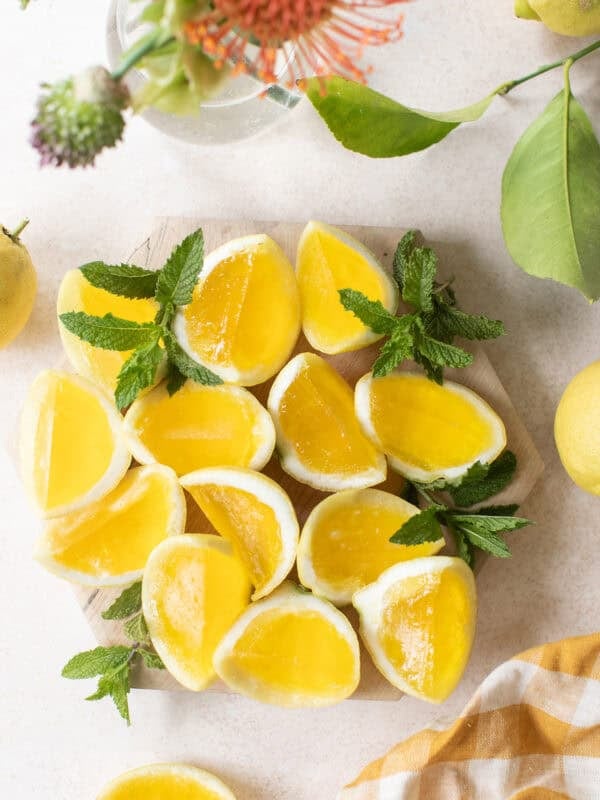
Cocktails with Citrus Wheels


Let me know if you make these beautiful citrus slices. I want to see your creations, so tag @sugarandcharm on social!

My new Entertaining book is here! Order Now!

Dehydrated Orange Slices
Equipment
- 2 Cookie Sheets
- Parchment Paper
Ingredients
- 5 large oranges, sliced
- 1/4 cup coconut sugar, optional, if you want the darker candied dried oranges.
Instructions
- I make sure to thoroughly wash my oranges before starting. Once they're clean, I pat them dry with paper towels.
- Slice the oranges to about 1/4″ thickness, ensuring that all slices are even. This can vary slightly based on preference, from 1/8″ to 1/4″.
- Next, I line my cookie sheets with parchment paper.
- Preheat the oven to 200 degrees Fahrenheit and then arrange the slices on the prepared sheets.
- The slices must bake in the center for 4-5 hours until fully dehydrated.
- After baking, I let them cool before transferring them to an airtight container for storage.
Notes
- Dried oranges have a long shelf life; they stay fresh for at least a year and a half.
- These can be created for use in cocktails or as decorations.
- Experimenting with blood oranges, limes, or lemons can yield tasty results.
- It’s essential to store them at room temperature in a sealed container for up to a year.
Nutrition
Nutrition information is automatically calculated, so should only be used as an approximation.


I had never thought to use coconut sugar for this and I’m so glad I tried it! It made these oranges PERFECT! Thank you!
This was exactly what I was looking for. Super helpful, thank you!
This is great! Love the idea of using home dehydrated oranges and other citrus in all sorts of recipes and potpourri! Super easy instructions. Love it!