
How to Make Dried Pineapple Flowers

Aug 24, 2015, Updated Aug 17, 2026
This post may contain affiliate links. Please see our disclosure policy.
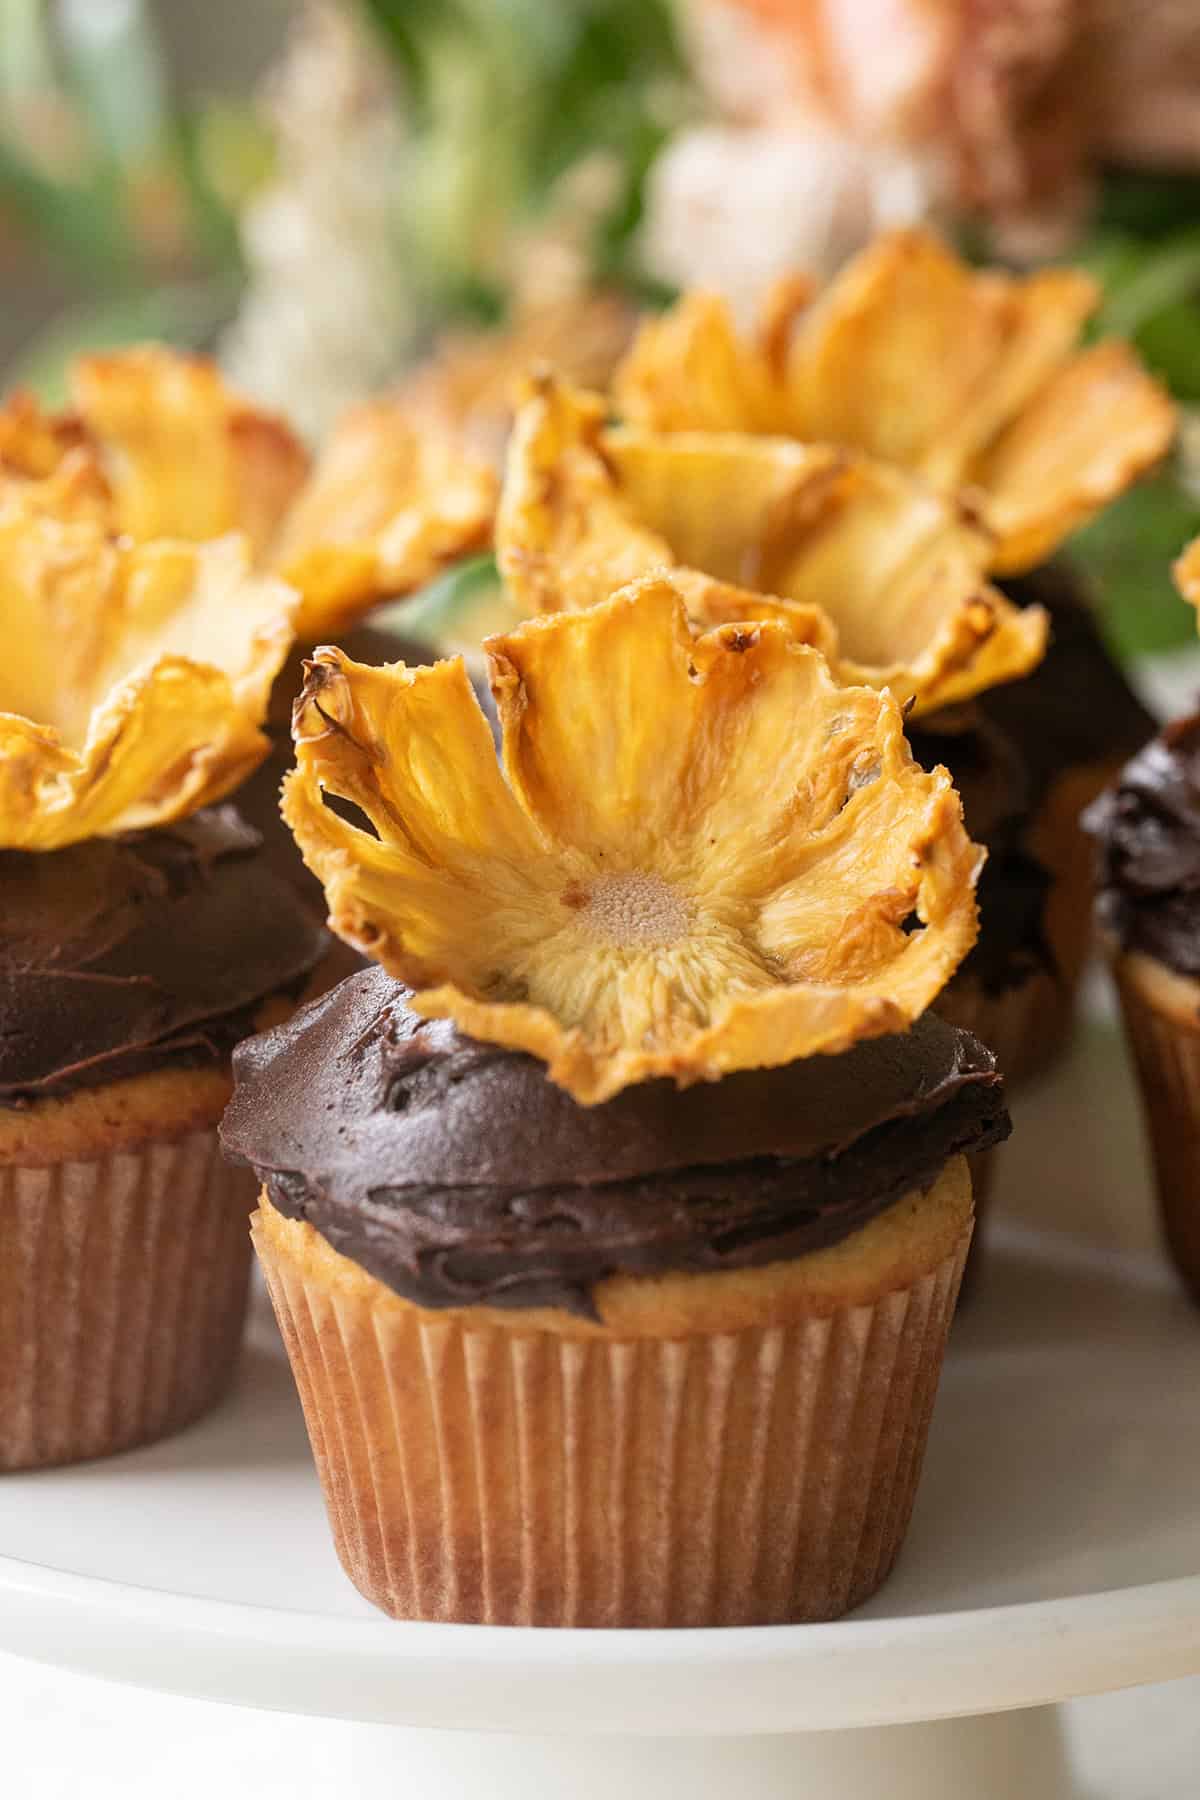
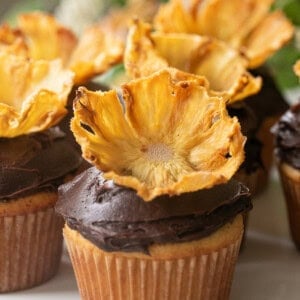
Dried pineapple flowers are the prettiest edible garnish I make, and they come from exactly one ingredient. A pineapple, that’s it! You slice it thin, dry it low and slow, and press the warm slices into a muffin tin until they curl into little blossoms.
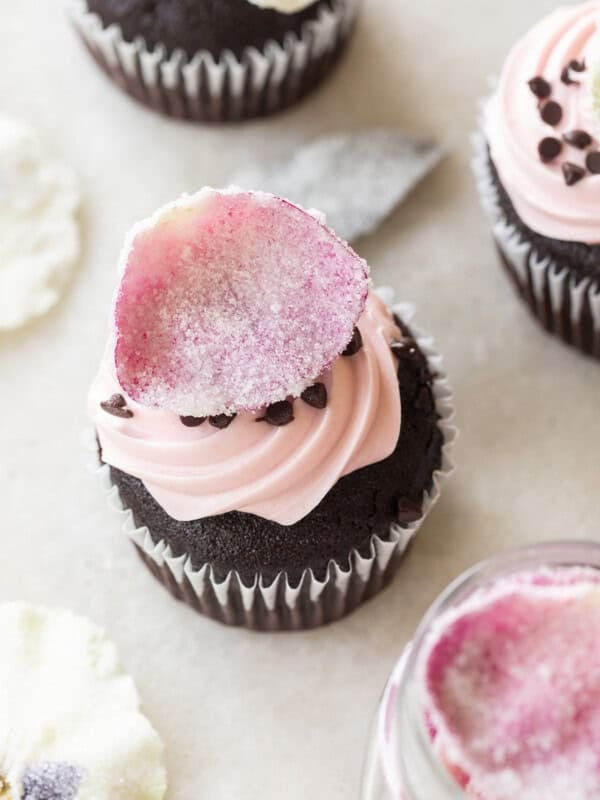
If you love a pretty garnish as much as I do, my dehydrated orange slices and edible sugared flowers are the other two I keep on repeat.
Pin this now to find it later
Pin ItTable of Contents
What Makes Dried Pineapple Flowers the Prettiest Garnish
I first made these in 2015 and I have not stopped. They look like something you’d pay a bakery for, and they cost about four dollars.
One pineapple gives you around eighteen flowers, and no two come out the same. Some curl tight. Some open wide and flat like a daisy. That variation is the whole charm of them, and it’s the reason they look handmade instead of store-bought.
There is nothing to measure and nothing to ruin. If a slice tears, you have seventeen more. They’re gorgeous on cakes and cupcakes, floating on a pineapple crush cocktail, or scattered across a cheese board. And they’re make-ahead, which is the only kind of garnish I’m interested in when I’m hosting.

Dried Pineapple Flowers Ingredients

1 fresh pineapple!
Pick one that’s slightly underripe if you can. A firmer pineapple holds together on the mandoline and carries less juice, so it dries faster and browns less. A super-ripe, super-juicy one still works. It just takes longer, and the edges go darker.
Skip the pre-cut pineapple at the store. You need the whole fruit with the core intact because the core is what holds the center of the flower together. And skip canned. It’s packed in syrup, and it will never dry properly.
How to Make Dried Pineapple Flowers


1. Heat the oven. Set it to 200°F (95°C) and line two baking sheets with parchment paper.
2. Peel the pineapple. Cut off the top and the bottom so it sits flat. Slice down the sides to take off the rind. Then go back with the tip of your knife and dig out any eyes that are left.
3. Slice it thin. Use a mandoline on the thinnest setting, or a very sharp knife. You want about 1/16 inch, thin enough to see light through. Keep the core in every slice.
4. Blot them dry. If your pineapple is juicy, press paper towels over the slices on both sides. The drier they go in, the better they come out.
5. Bake low and slow. Lay the slices flat on the parchment in a single layer, no overlapping. Bake 1 hour and 15 minutes. Flip every slice. Bake another 1 hour and 15 minutes. They’re done when they look dry and lightly golden with edges that have started to curl on their own. Keep an eye on them near the end so they don’t scorch.
6. Shape them while they’re warm. Work fast. Press each hot slice down into a muffin tin cup, standard or mini, and push your finger gently into the center to open the petals.
7. Let them sit overnight. Leave them in the tin at room temperature for about 8 hours. This is what sets the shape and finishes drying the centers. Skip it and they’ll relax flat on you.
8. Take them out of the tin. After the 8 hours, lift a flower out. It should feel light and dry and hold its curve on its own with no drooping. If it softens or opens up once it’s out, it needs more time, so put it back in the cup and give it a few more hours. Once they’re set, they stay set.

Eden’s Tips
A mandoline is worth it here. Even slices dry at the same rate, and hand-cutting a pineapple this thin is genuinely hard. Use the guard.
Mini muffin tins give you tighter, more sculptural flowers. Standard tins give you wide open blossoms. I make some of each and use the little ones on cupcakes and the big ones on cocktails.
Don’t crowd the pan. Slices that touch will steam instead of dry, and you’ll get soft spots.
If a few slices are drying faster than the rest, pull those out and leave the rest in. They will not all finish at the same moment and that is normal.
Want deeper golden color? Give them another five or ten minutes. Just stay near the oven, because they go from golden to brown quickly.
How to Store Dried Pineapple Flowers
Once they’re completely cool and completely dry, store them in an airtight container at room temperature. They’ll hold their shape and their crispness for up to 3 days.
Here’s the part nobody tells you. If your flowers go floppy, they were not fully dry when you put them away. Any moisture left in the center will work its way back out and soften the whole thing. When in doubt, give them another twenty minutes in the oven before you store them.
Don’t refrigerate them. The fridge is humid and it will undo everything.
One more thing worth knowing. Once a flower sits on a frosted cake it starts pulling moisture from the frosting. Put them on right before you serve, not the night before.

Ways to Use Dried Pineapple Flowers
On cakes and cupcakes. They’re made for a hummingbird cake, and they’re beautiful on my coconut loaf cake. One flower per cupcake, or a cluster of three on top of a layer cake.
On cocktails. Rest one on the rim or float it right on top of a pineapple vodka cocktail or a rum punch.
On a cheese board. Tuck a few around the edges of a cheese platter. They’re sweet, they’re pretty, and people eat them.
On a fruit platter. Scatter them over a fruit platter for something that looks arranged without being fussy.
On their own. Pile them in a little bowl. They’re dried pineapple, so they’re a genuinely good snack.
Dried Pineapple Flowers FAQs
Yes, and you’ll get more even color with no browning. Run it around 135°F for 8 to 10 hours. The catch is that dehydrated slices come out pliable rather than crisp, so they hold a softer shape. I use the oven because the dry heat crisps the edges, and crisp edges are what make them look like petals.
After about 8 hours, or the next morning if you shaped them at night. Lift one out and check it. A finished flower feels light and dry and keeps its curve with no help. If it sags or opens flat the second it leaves the cup, it isn’t done, so set it back in and give it a few more hours. There’s no rush and there’s no harm in leaving them in the tin longer.
They weren’t dry enough. Every time. Either they came out of the oven early, or they went into a container before the centers finished drying overnight. Humidity in your kitchen makes it worse. Put them back in a 200°F oven for another twenty minutes and try again.
No. Canned pineapple is packed in syrup, and it’s already lost its structure. It won’t dry to a shape that holds. You need a whole fresh pineapple.
Please don’t. The core is the center of the flower and it’s what keeps the petals attached. It softens as it bakes and you won’t notice it.
About eighteen, depending on the size of your pineapple and how thin you slice. Assume a few won’t survive the shaping, so plan on a couple extra.
Not strictly, but it makes a real difference. Even thickness means everything dries at the same rate. If you’re using a knife, make it a sharp one and take your time.
Up to three days, stored airtight at room temperature. I usually make them two days before a party and leave them in the muffin tin until the morning of.
You can, and you should. They’re just dried pineapple. Chewy in the middle, crisp at the edges, and the flavor concentrates as they dry. I always make an extra pan because they disappear before they ever reach the cake.
More Garnish Recipes


If you make these dried pineapple flowers, I would love to know how they turned out. Leave a comment and a 5-star rating below. Your reviews help other people find this recipe, and they honestly make my day.
FOLLOW ME on FACEBOOK, INSTAGRAM, and PINTEREST to see more recipes, cocktails, desserts, and parties!
My new Entertaining book is here! Order Now!
Dried Pineapple Flowers
Equipment
- `1 Mandoline slicer
- 2 Baking sheets
- 2 Muffin tin (standard or mini)
Ingredients
- 1 Pineapple, thinly sliced
Instructions
- Preheat the oven to 200°F (95°C) and line two baking sheets with parchment paper.
- Cut the top and bottom off the pineapple. Slice down the sides to remove the rind, then use the tip of your knife to dig out any remaining eyes.
- Using a mandoline on the thinnest setting or a very sharp knife, cut the pineapple crosswise into slices about 1/16 inch thick. Leave the core in.
- If the pineapple is juicy, blot both sides of each slice with paper towels.
- Lay the slices flat on the prepared baking sheets in a single layer with no overlapping.
- Bake for 1 hour and 15 minutes. Flip each slice over and bake for another 1 hour and 15 minutes, until the slices are dry and lightly golden with curling edges. Watch them closely near the end so they don't burn.
- Working quickly while the slices are still warm and pliable, press each one into a muffin tin cup and push gently into the center to open the petals.
- Leave them in the muffin tin at room temperature for about 8 hours, or overnight, to finish drying and set their shape.
- Lift the flowers out of the tin. They should feel dry and hold their shape. If any droop or flatten after you remove them, return them to the cups for a few more hours.
Video
Notes
Nutrition
Nutrition information is automatically calculated, so should only be used as an approximation.















This was so easy!
The prettiest garnish to add to cocktails or cupcakes! The video was so helpful too!
Ok I’m not really a crafty person but your directions were so easy to follow!! Thanks for making me feel like a Pinterest mom 🤣
These are so beautiful, and I love that they are all-natural!
xx Hannah // http://www.HomemadeBanana.com
Thanks Hannah!!!