This post may contain affiliate links. Please see our disclosure policy.
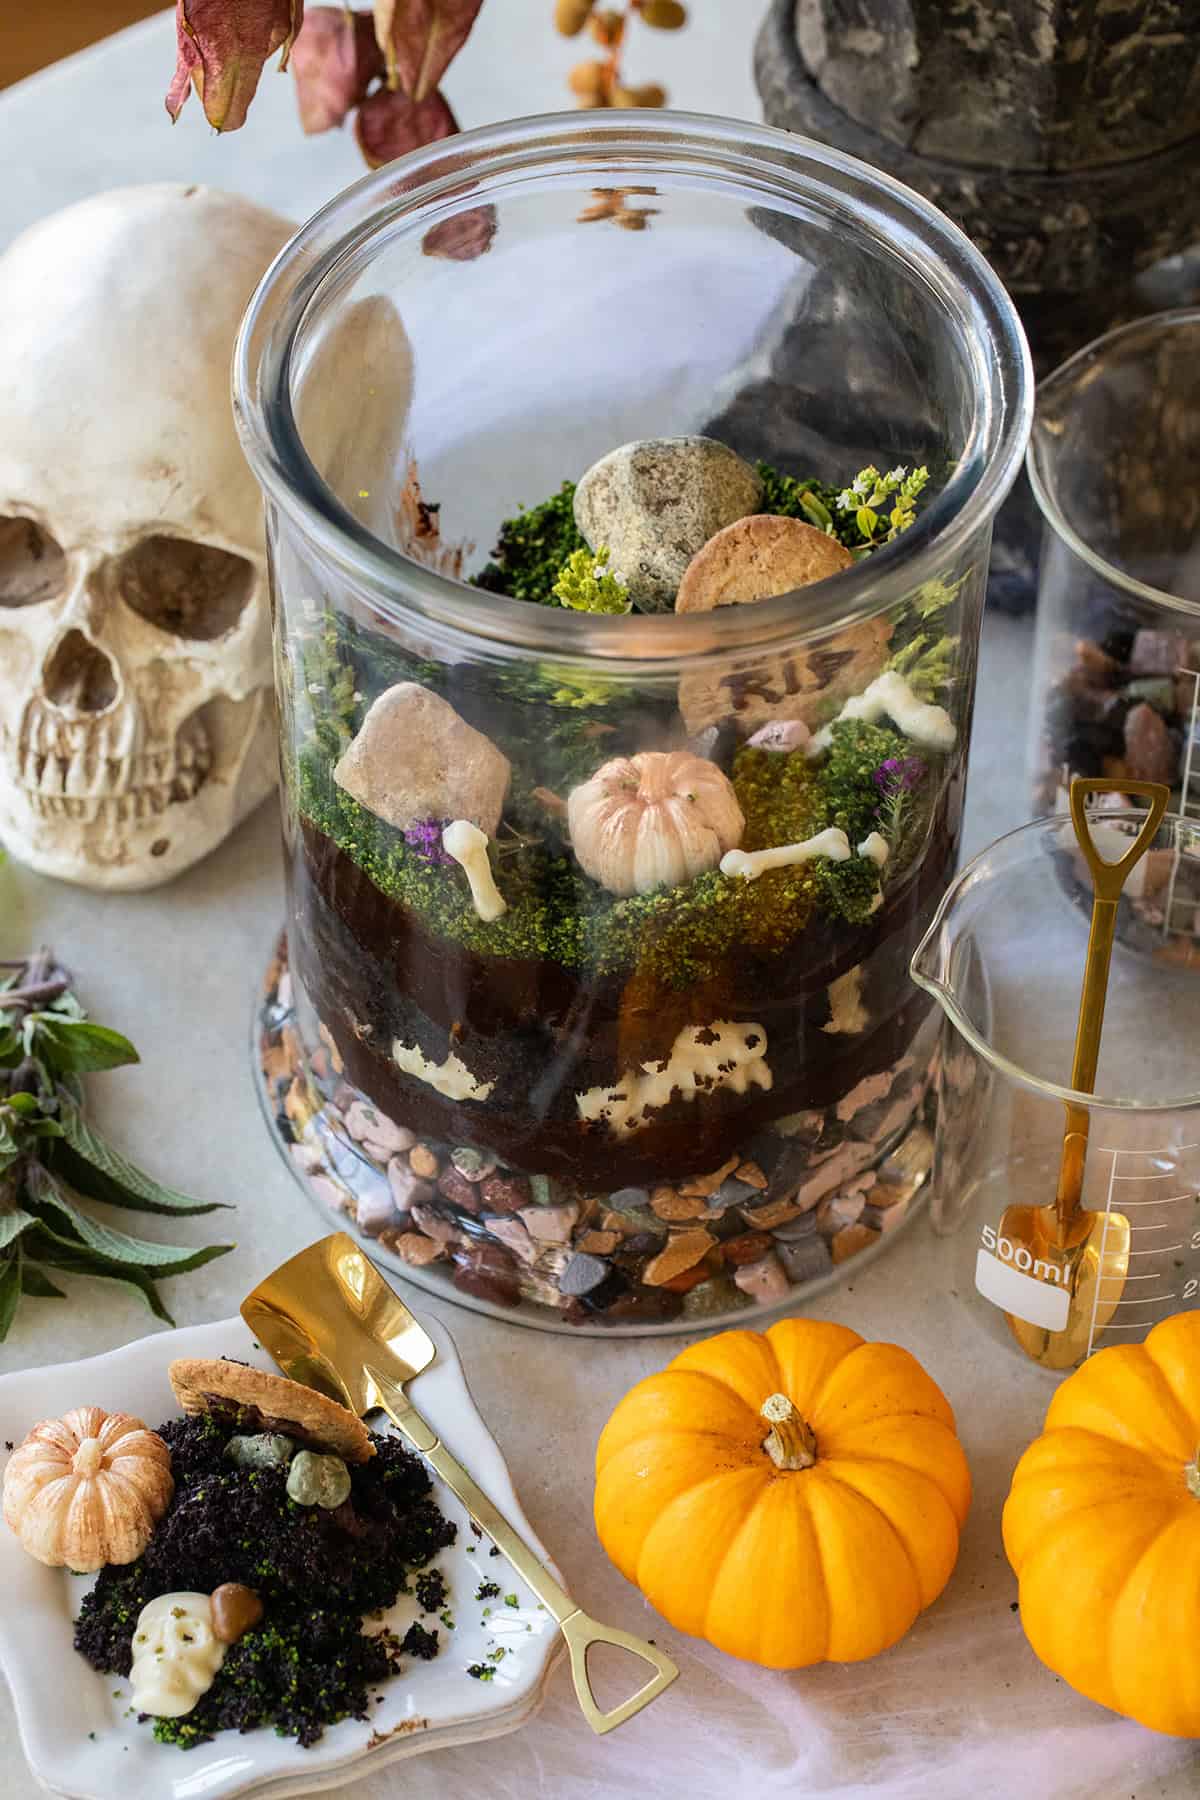
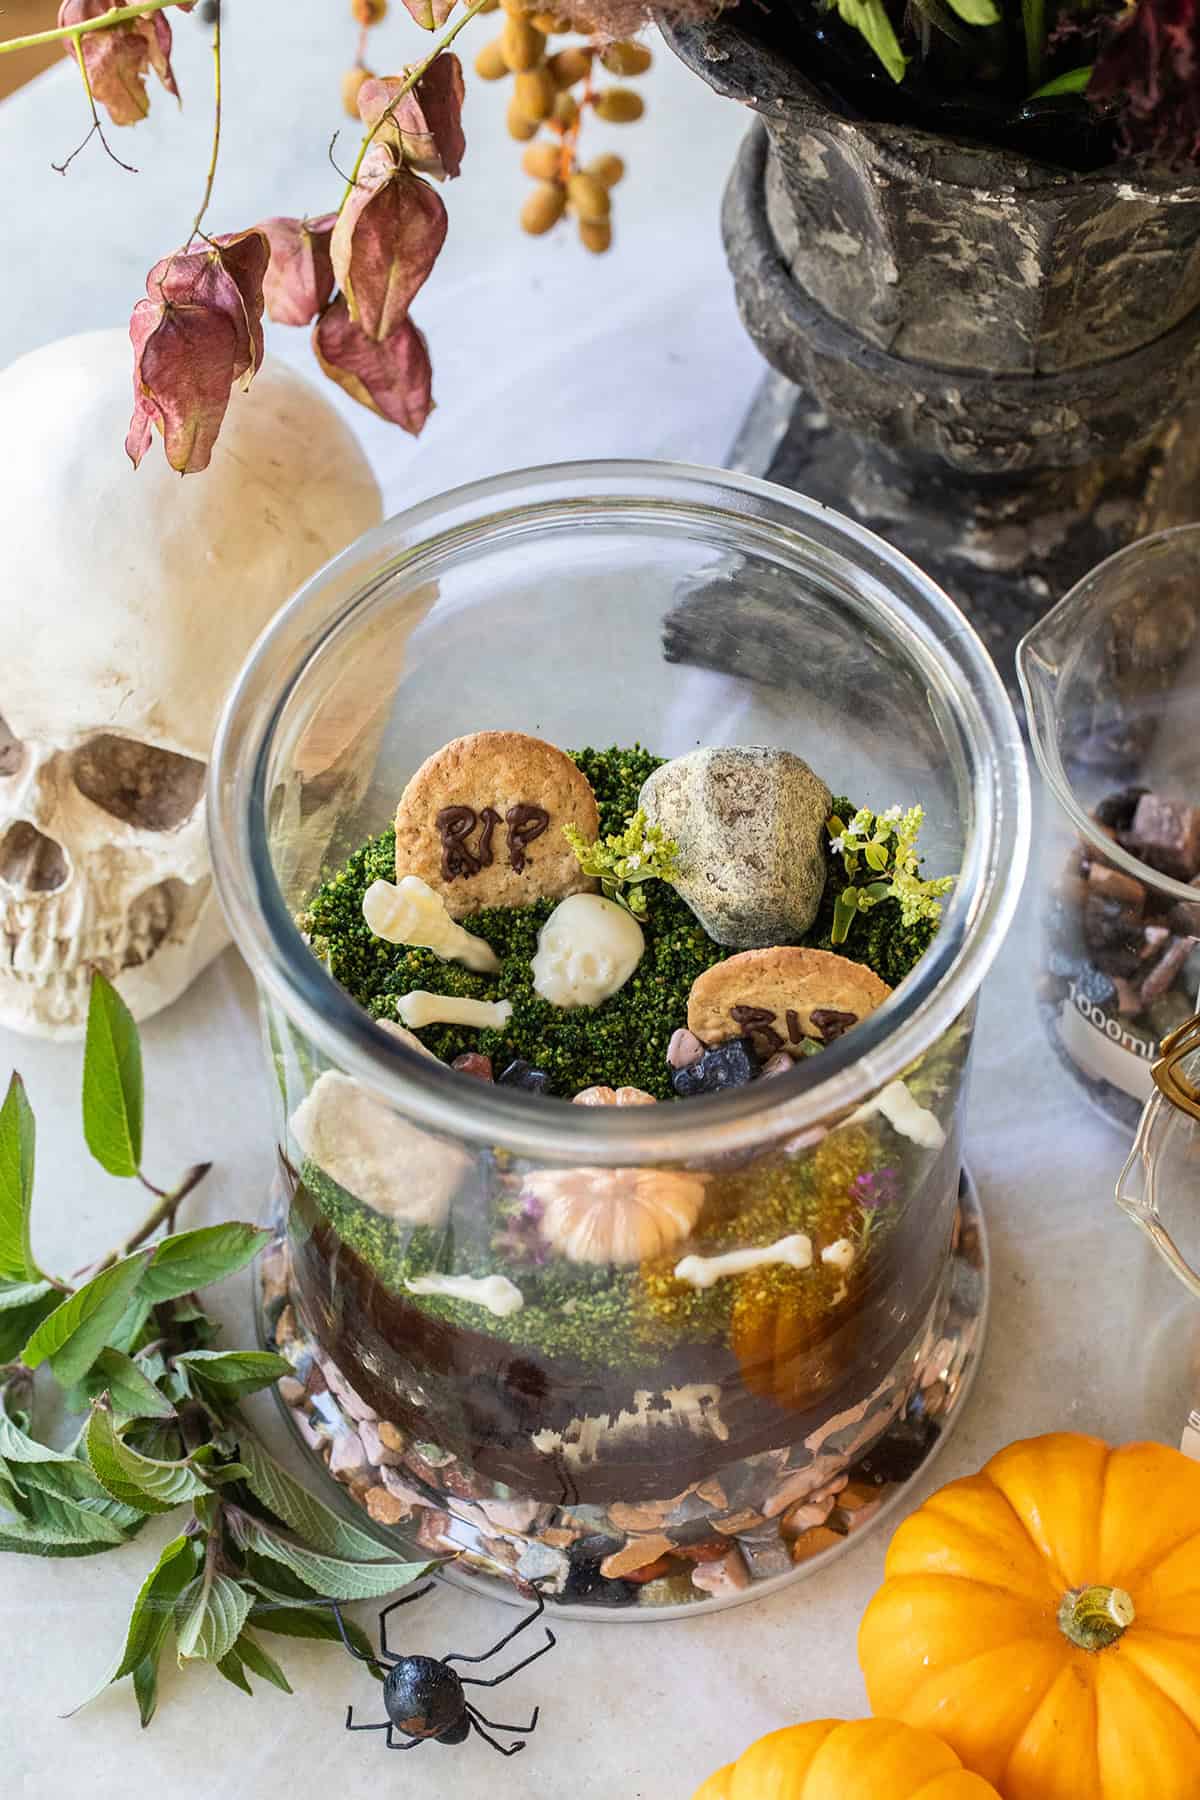
This edible Halloween terrarium is an unforgettable Halloween centerpiece and perfect for large gatherings! It captures the eerie charm of a haunted landscape with layers of crumbled chocolate cake, candy rocks, and green-dyed cookie moss. It mimics a spooky cemetery scene with gravestones and hidden edible bones.
Pin this now to find it later
Pin ItNot only does it look incredible with candy rocks, chocolate cake crumbles, and edible gravestones, but it’s also 100% edible and feeds up to 18 people! Plus, it’s a great conversation starter for any Halloween gathering.
I like to make my favorite homemade chocolate cake and layer it with the best sour cream frosting. To make it easier, you can use boxed cake and frosting. Digging in and serving on little plates is fun; it all tastes so good together! I served it with gold shovel spoons, and everyone went crazy for them.
Why This Terrarium is Perfect for Halloween
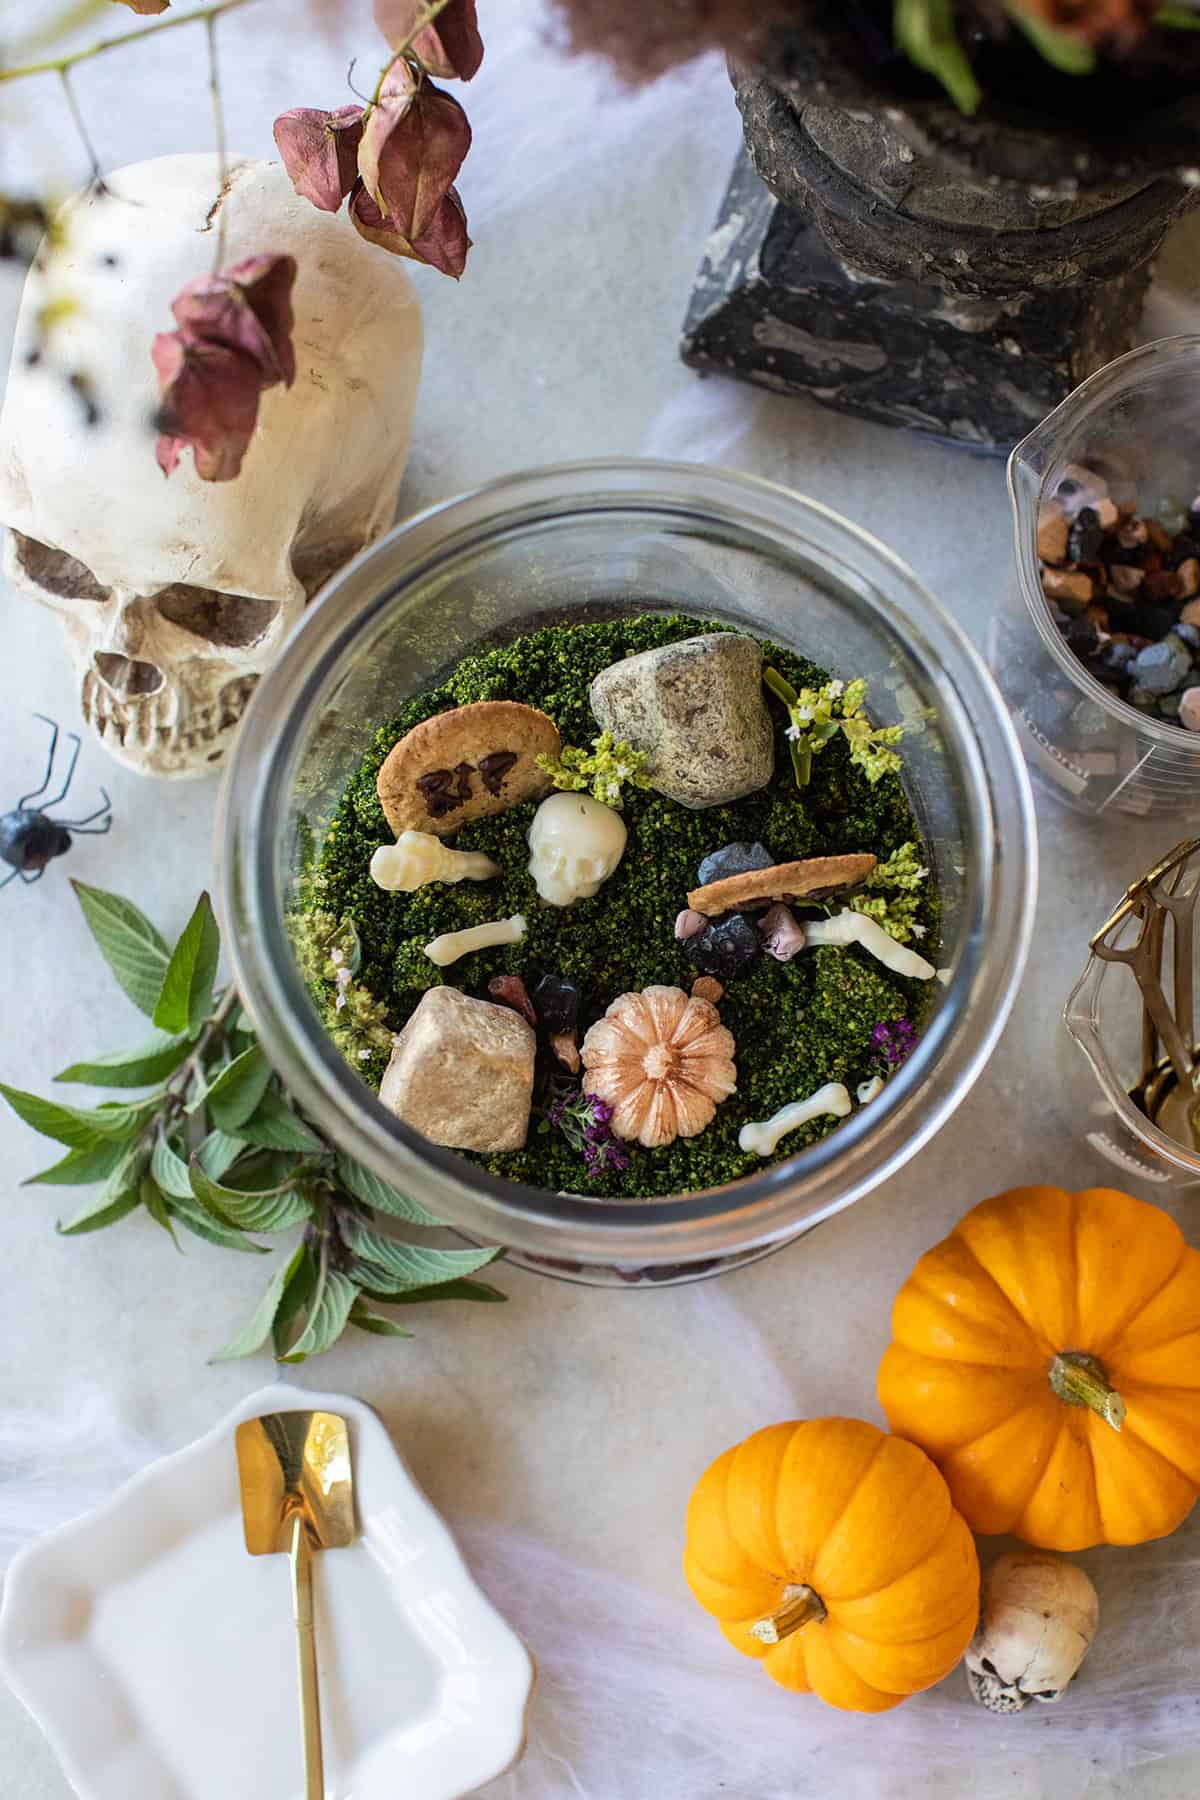
This Halloween dessert doubles as a show-stopping treat that feeds a crowd.
It’s the perfect combination of decoration and dessert, making it an unforgettable addition to the Halloween party.
The textures and flavors, from crunchy candy rocks to moist chocolate cake, will have everyone returning for seconds!
Halloween Terrarium Ingredients
Chocolate Candy Rocks + Boulders
These small chocolate candies look like natural pebbles and stones. They form the base of your terrarium, mimicking gravel or rocky soil and adding a crunchy texture.
One 9-by-13-inch Chocolate Cake (crumbled)
The chocolate cake is crumbled to resemble soil or dirt in the terrarium. It adds a deliciously moist texture to the dessert and is the central edible “landscape.”
One Package Digestive Biscuits
These cookies are crumbled and dyed with green food coloring to create a moss-like texture for the terrarium, adding a realistic and colorful layer to the dessert.
Neon Green Food Coloring
Food coloring tints the crumbled digestive biscuits, giving them the appearance of moss or algae in your edible landscape.
Ladyfinger Cookies (for Gravestones)
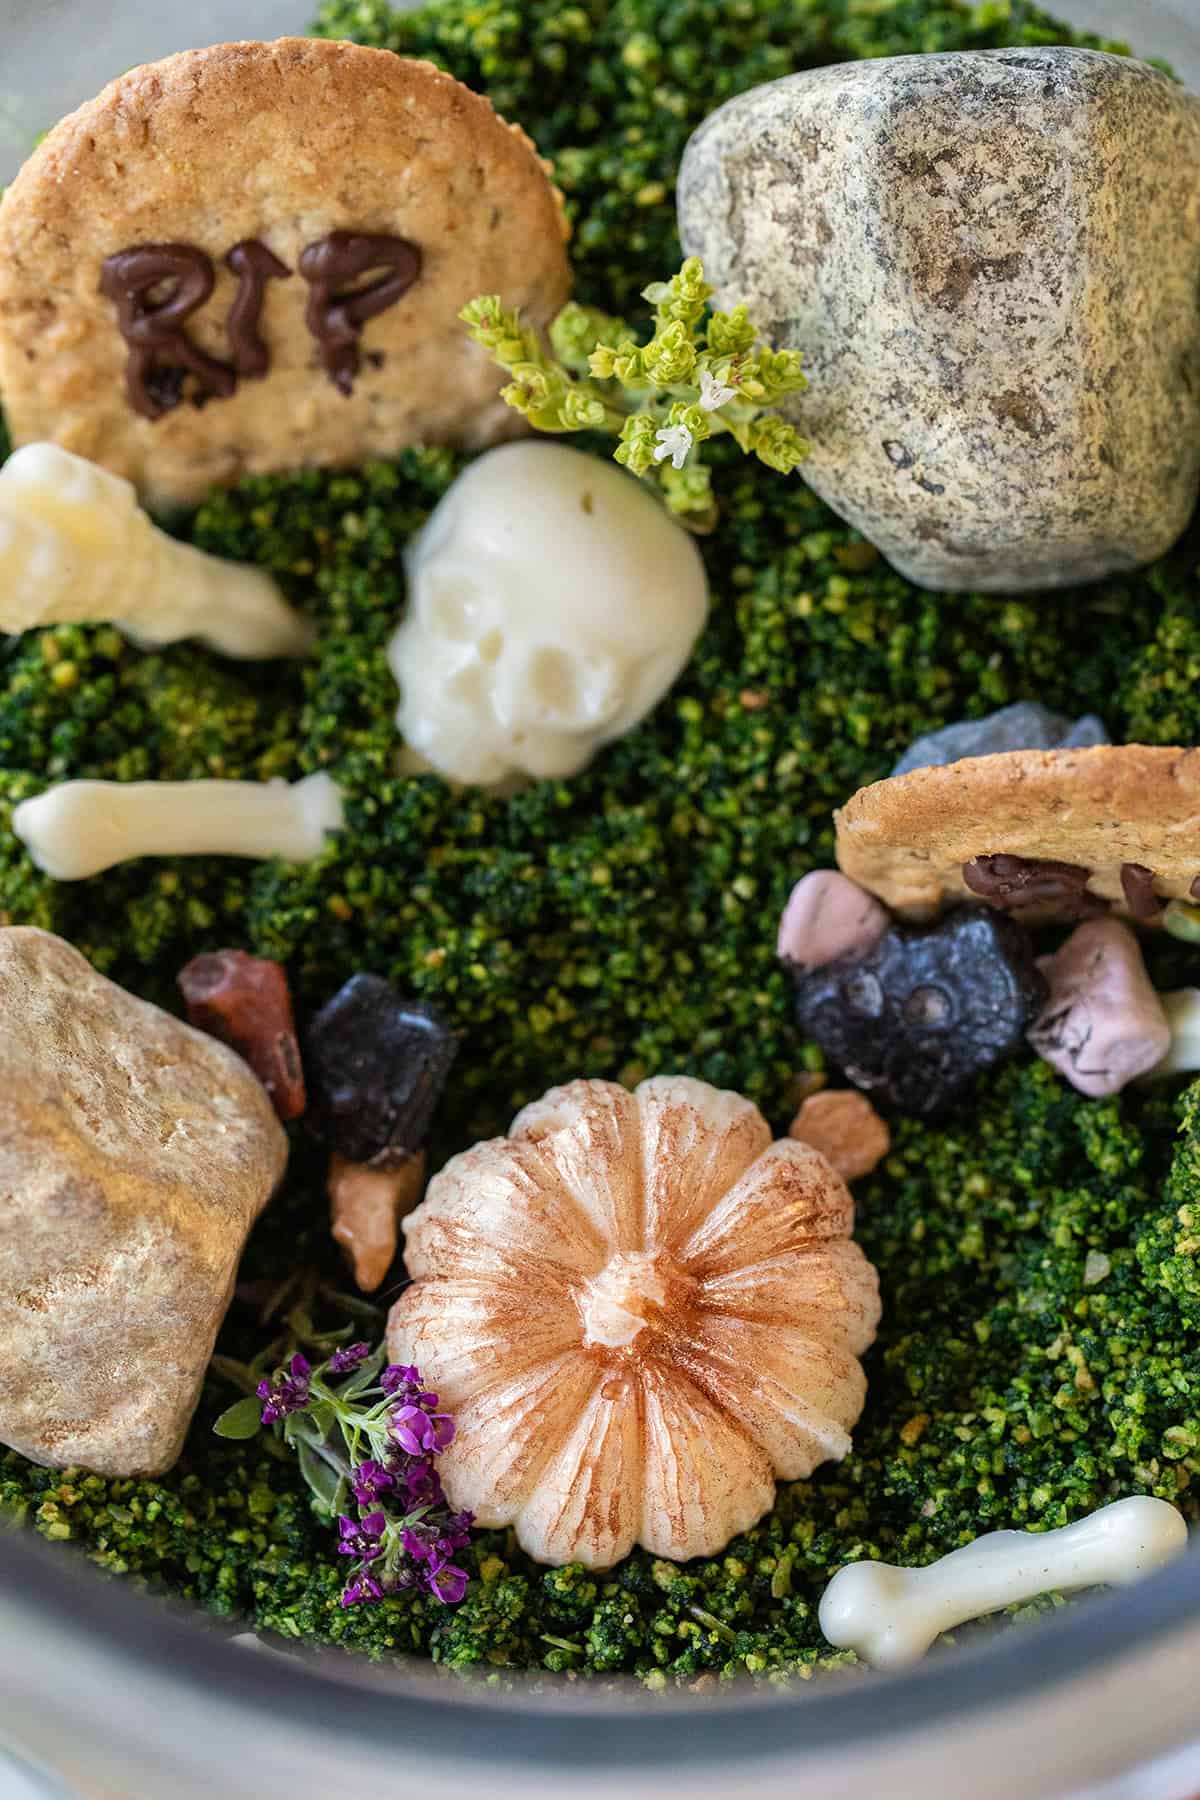
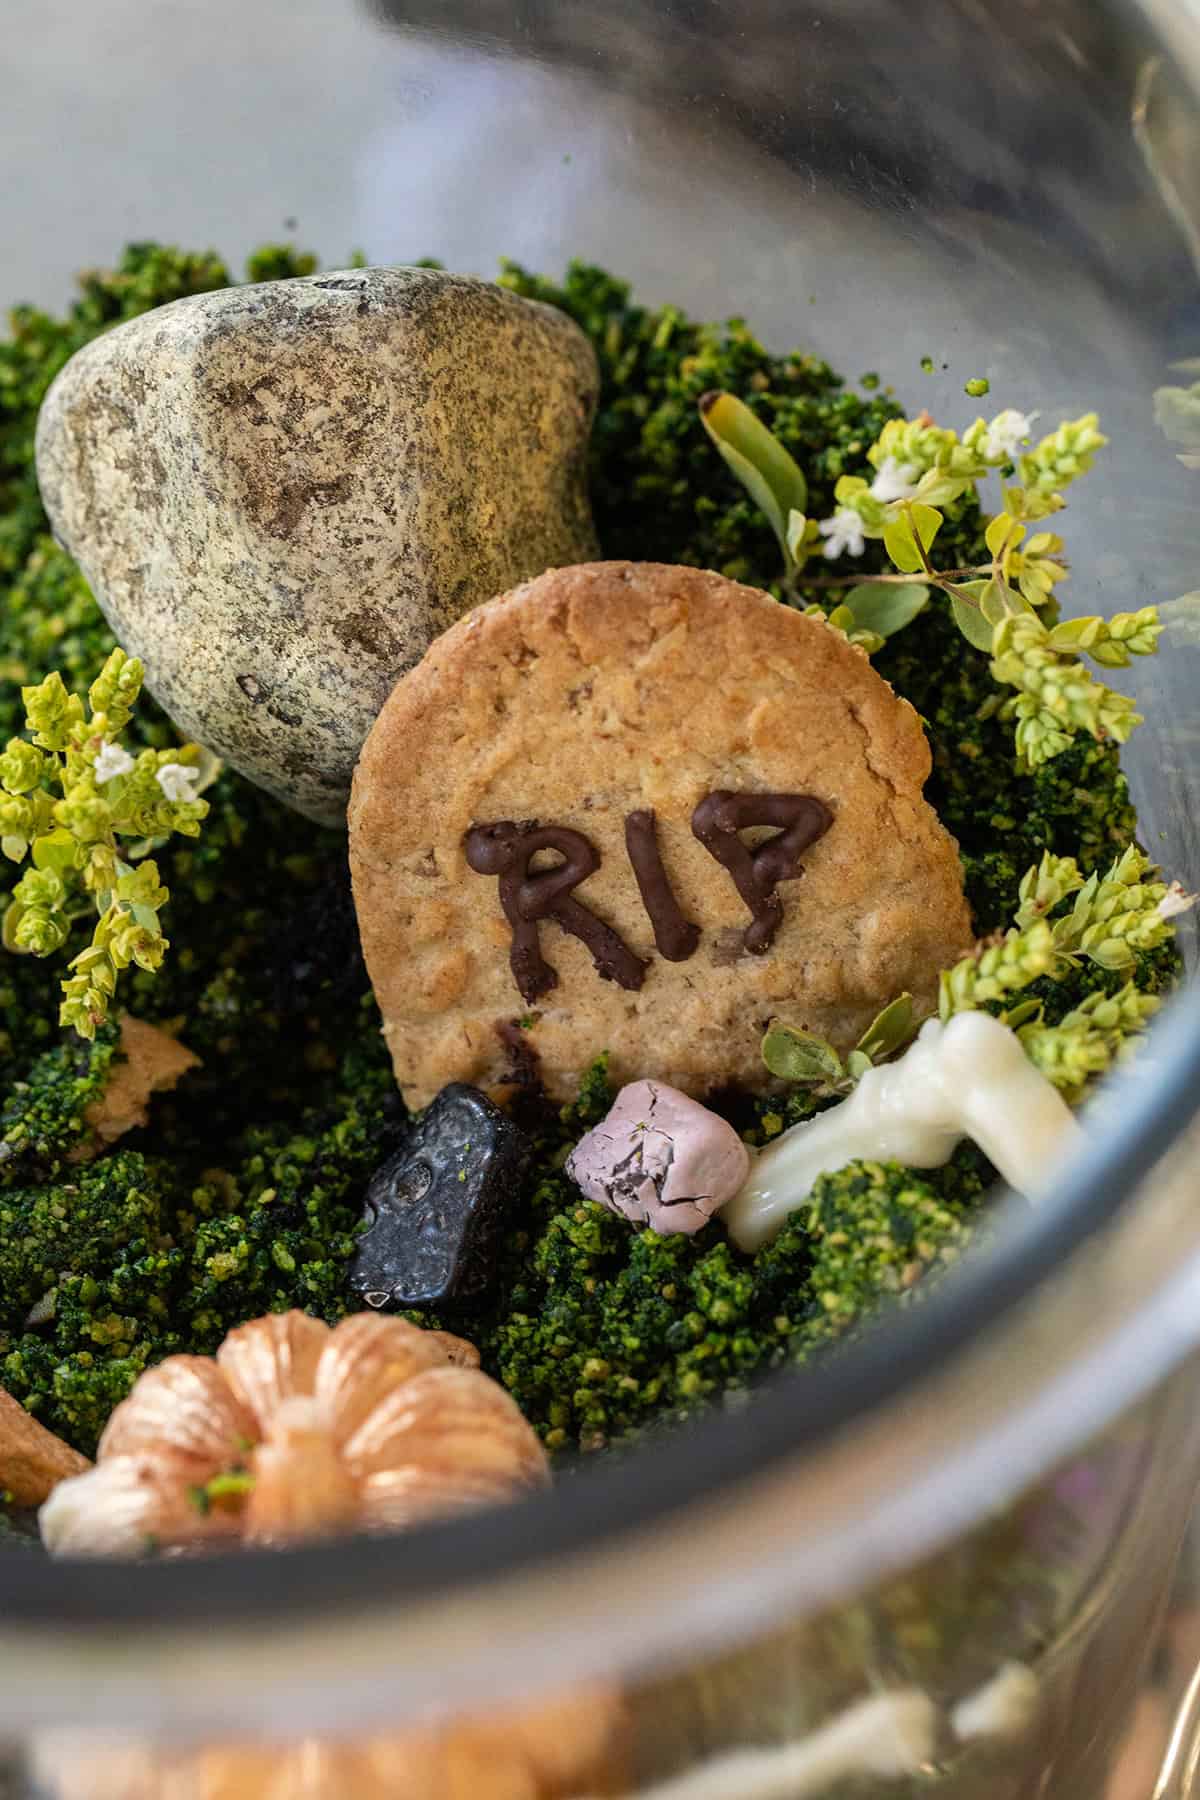
These cookies serve as edible gravestones. You can write “RIP” on them using icing or chocolate frosting, then stand them up in the terrarium to create a creepy cemetery vibe.
Edible Rocks and Boulders
These add a rugged, natural look to your terrarium. They help enhance the rocky terrain, making it look more like an authentic outdoor scene while adding a fun, crunchy element.
Chocolate Frosting
The frosting is layered between the crumbled cake to add richness and flavor. It also helps hold the layers together, creating a more stable terrarium structure.
Chocolate Pumpkins (Store-bought or Homemade)
These festive pumpkins add a fall-themed touch to your edible terrarium. They can be placed around the “cemetery” for decoration and provide a sweet, chocolatey flavor.
White Candy Melts + Skeleton Bones
Candy melts, or white chocolate is used to make bones from skeleton bones. I used a mold similar to this one. The candy melts and hardens pretty quickly, which is nice.
Fresh Herbs (like Thyme or Rosemary)
These herbs create a spooky, forest-like atmosphere in your terrarium. They resemble tiny trees or bushes and add a subtle earthy aroma to the display.
Expert Tips
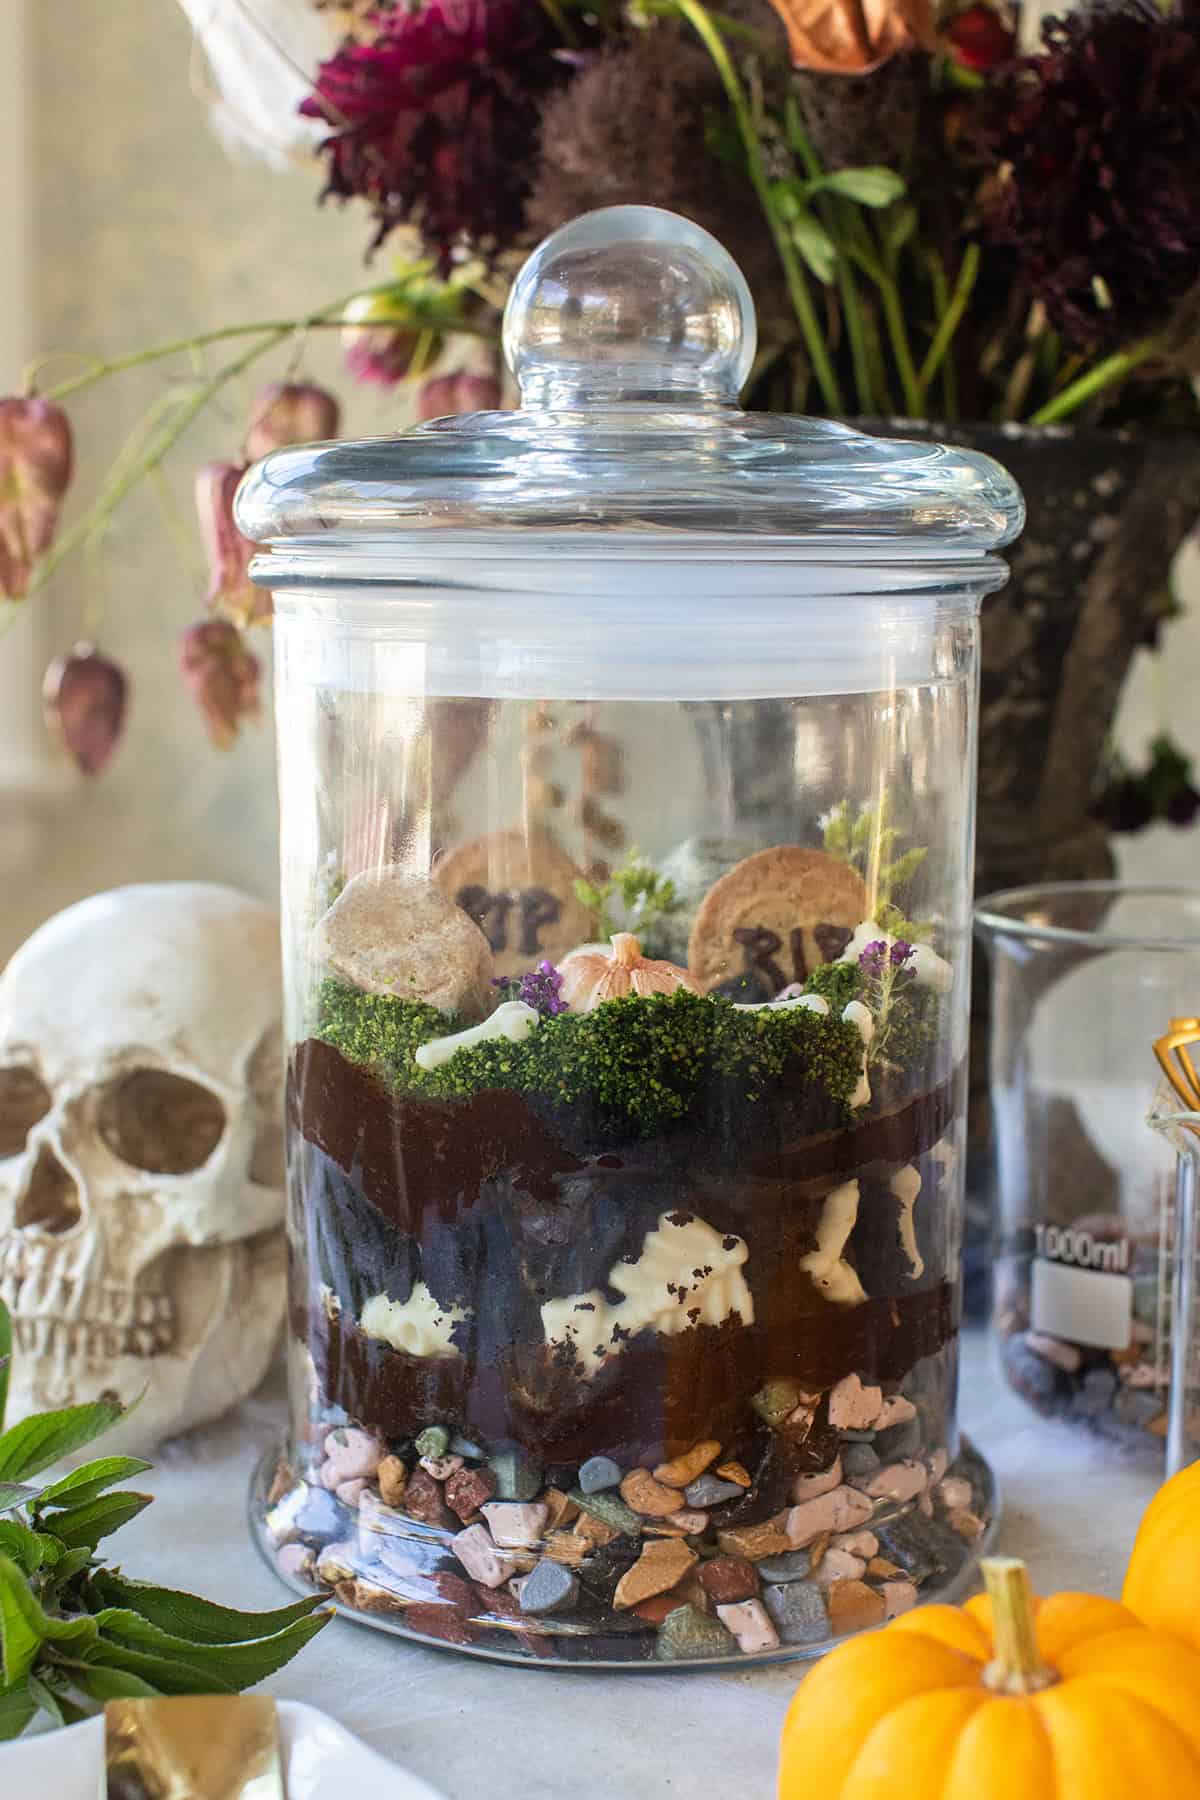
- Jar Size: Use a large, tall glass jar or terrarium to ensure plenty of space for layering and decorating. You want your terrarium to be visible from all angles.
- Add Layers: For extra flair, you can add additional layers of frosting between the candy rocks and cake for a richer taste.
- Custom Decor: For a touch of magic, feel free to customize your terrarium with other edible decorations, like gummy worms, candy spiders, or edible glitter.
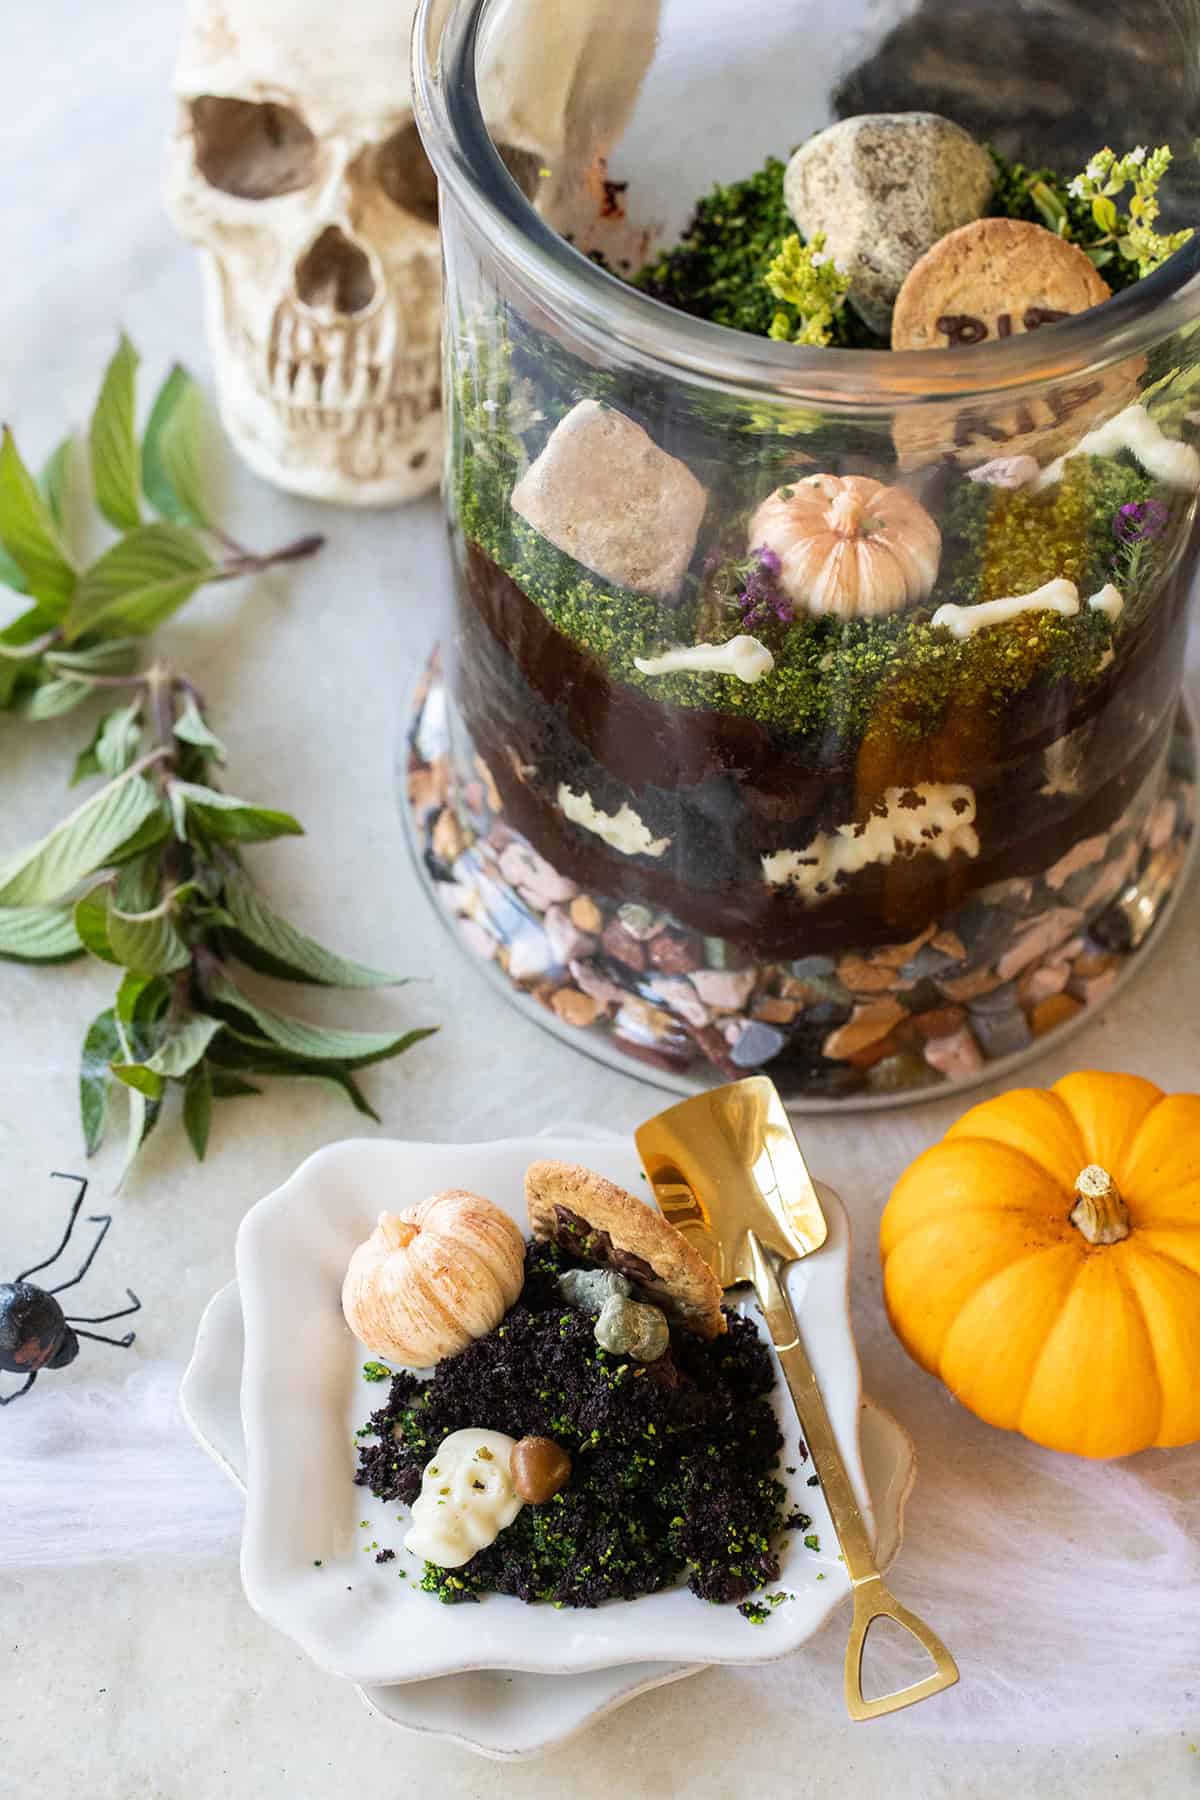
How to Make An Edible Halloween Terrarium
Bake the Chocolate Cake
Start by baking your 9-by-13-inch chocolate cake. You can either use a boxed mix or your favorite homemade recipe. A great tip is to bake the cake a few days ahead and freeze it to save prep time. Once you’re ready to assemble the terrarium, let the cake thaw thoroughly, then crumble it into pie crust. The crumbles will serve as the “dirt” for your terrarium.
Make the White Chocolate Candy Bones
While your cake bakes or thaws, melt some white chocolate to make candy bones. Pour the melted chocolate into a bone-shaped silicone mold and allow it to harden completely. These bones will be perfect for adding a spooky element to your edible cemetery scene.
Prepare All Ingredients for Quick Layering
Before assembling your terrarium, gather and prepare all the ingredients to make the process smooth. This includes crumbling the cake, crushing the cookies, making the chocolate bones, and organizing decorations like candy rocks and gravestones. It’s best to have everything on hand for fast layering.
Start the Base Layer with Candy Rocks. In the terrarium, add 3 cups of chocolate candy rocks to the bottom of your tall glass jar. This will act as the foundation and create a gravel-like effect at the base.
Layer Chocolate Cake and Frosting
Next, add a generous layer of crumbled chocolate cake over the candy rocks. Press it down lightly to create a firm layer, and then spread a layer of chocolate frosting on top of the cake crumbles for extra flavor and texture.
Insert White Chocolate Bones
Take the white chocolate bones you made earlier and carefully slide them into the cake “dirt” near the glass edges. Position them so they’re visible from outside the terrarium, creating a creepy effect as if bones are peeking through the soil.
Add More Layers of Cake and Frosting
After positioning the bones, add another layer of crumbled chocolate cake, followed by another layer of chocolate frosting. The multiple layers will look impressive and taste decadent when served.
Make the “Moss”
Combine the digestive biscuits (or Belvita cookies, if you prefer) with a few drops of neon green food coloring in a food processor. Pulse the mixture until the cookies are finely crumbled and resemble moss in texture. This will add a realistic and eerie green layer to your terrarium.
Top with Moss, Gravestones, and Decorations
Once you’ve created the moss, sprinkle it over the top layer of chocolate cake and frosting. Next, insert your RIP gravestone cookies from ladyfingers into the moss layer. Add a few more candy rocks, chocolate bones, and fresh herbs like thyme or rosemary to create a miniature cemetery scene. The herbs will mimic spooky little trees and complete the Halloween look.
Now, your edible Halloween terrarium is ready to be displayed! The layers of candy rocks, chocolate cake, and eerie decorations will look stunning and taste incredible when guests dig in.
More Halloween Desserts You’ll Love
If you love this dessert, try more of my Halloween treats!
Let me know if you make this fun Halloween dessert by leaving a comment below!
You can also FOLLOW ME on FACEBOOK, INSTAGRAM, and PINTEREST to see more delicious recipes, cocktails, desserts, and parties!

Edible Halloween Terrarium
Ingredients
- 3 cups chocolate candy rocks
- 1 9×13 chocolate cake
- 14 ounces digestive biscuits, or ladyfinger cookies
- 1 1/2 cups chocolate frosting
- 4 ounces white chocolate, or white candy melts
- 2 tbsp neon green food coloring
- fresh herbs
- candy pumpkins
Instructions
- Start by baking your 9-by-13-inch chocolate cake. You can either use a boxed mix or your favorite homemade recipe. A great tip is to bake the cake a few days ahead of time and freeze it to save prep time.
- While your cake bakes or thaws, melt some white chocolate to make candy bones. Pour the melted chocolate into a bone-shaped silicone mold and allow it to harden completely.
- In a food processor, combine the digestive biscuits (or Belvita cookies, if you prefer) with a few drops of neon green food coloring. Pulse the mixture until the cookies are finely crumbled and resemble moss in texture. This will add a realistic and eerie green layer to your terrarium.
- Before you begin assembling your terrarium, gather and prepare all the ingredients to make the process smooth. This includes crumbling the cake, crushing the cookies, making the chocolate bones, and organizing your decorations like candy rocks and gravestones. It’s best to have everything on hand for fast layering.
- Begin the terrarium by adding some chocolate candy rocks to the bottom of your tall glass jar. This will act as the foundation and create a gravel-like effect at the base.
- Next, add a generous layer of crumbled chocolate cake over the candy rocks. Press it down lightly to create a firm layer, and then spread a layer of chocolate frosting on top of the cake crumbles for extra flavor and texture.
- Take the white chocolate bones you made earlier and carefully slide them into the cake "dirt" near the glass edges. Position them so they’re visible from outside the terrarium, creating a creepy effect as if bones are peeking through the soil.
- After positioning the bones, add another layer of crumbled chocolate cake, followed by another layer of chocolate frosting. The multiple layers will not only look impressive but also taste decadent when served.
- Sprinkle the "moss" over the top layer of chocolate cake and frosting. Press it down slightly to ensure it sticks. Next, insert your RIP gravestone cookies from ladyfingers into the moss layer. Add a few more candy rocks, chocolate bones, and fresh herbs like thyme or rosemary to create a miniature cemetery scene. The herbs will mimic spooky little trees and complete the Halloween look.
Notes
Nutrition
Nutrition information is automatically calculated, so should only be used as an approximation.



Literally obsessed with this!!