This post may contain affiliate links. Please see our disclosure policy.
If you’re dreaming of a golden-brown, perfectly juicy turkey as the centerpiece of your Thanksgiving feast, this is your ultimate guide to cooking a turkey in the oven. From timing to tips for locking in flavor and moisture, this guide has everything you need to confidently roast the perfect turkey.
Pin this now to find it later
Pin ItHalloween festivities are over, and that can mean only one thing. We’re about to replace those mounds of candy with platters of the best easy Thanksgiving stuffing, cranberry sauce, gravy, and of course, a lot of juicy, decadent turkey!
If you’re haunted by the turkey fails of November’s past, don’t be! This step-by-step guide will teach you the easiest way to make the perfect Thanksgiving turkey. It’s my foolproof method that works every time!
10 Steps for Cooking a Turkey
1. How to Thaw A Turkey
If you buy a frozen turkey, remember to thaw it out by sticking it in the refrigerator a few days beforehand. You can only roast a thawed turkey and you’ll need to allow enough time for it to thaw. The safest way to thaw a turkey is in the refrigerator.
Plan on allowing about 24 hours for every 4-5 pounds of turkey. For example, a 16-pound turkey will take about 4 days to thaw in the fridge.
2. Gather Your Tools
When you’re ready to cook the turkey, you don’t need a bunch of fancy gadgets or a long list of ingredients.
The most important factor is the size of your roasting pan. Make sure it’s wide and deep enough to comfortably nestle your turkey inside of it without touching the edges. If you have a roasting rack, we recommend using that inside the roasting pan.
In addition to the pan, you’ll also need your simple
- Stuffing ingredients
- Along with kitchen twine
- Meat thermometer
Next, you will dry brine the turkey. This can be done two days before you cook it!
3. Clean Your Turkey
Before you can brine your turkey, you’ll need to clean it. First, discard the bag of innards with the bird.
- Remove the giblets in the bottom of the turkey as well as the neck of the turkey. Don’t forget to take the bag out of the neck area. This can be easily forgotten!
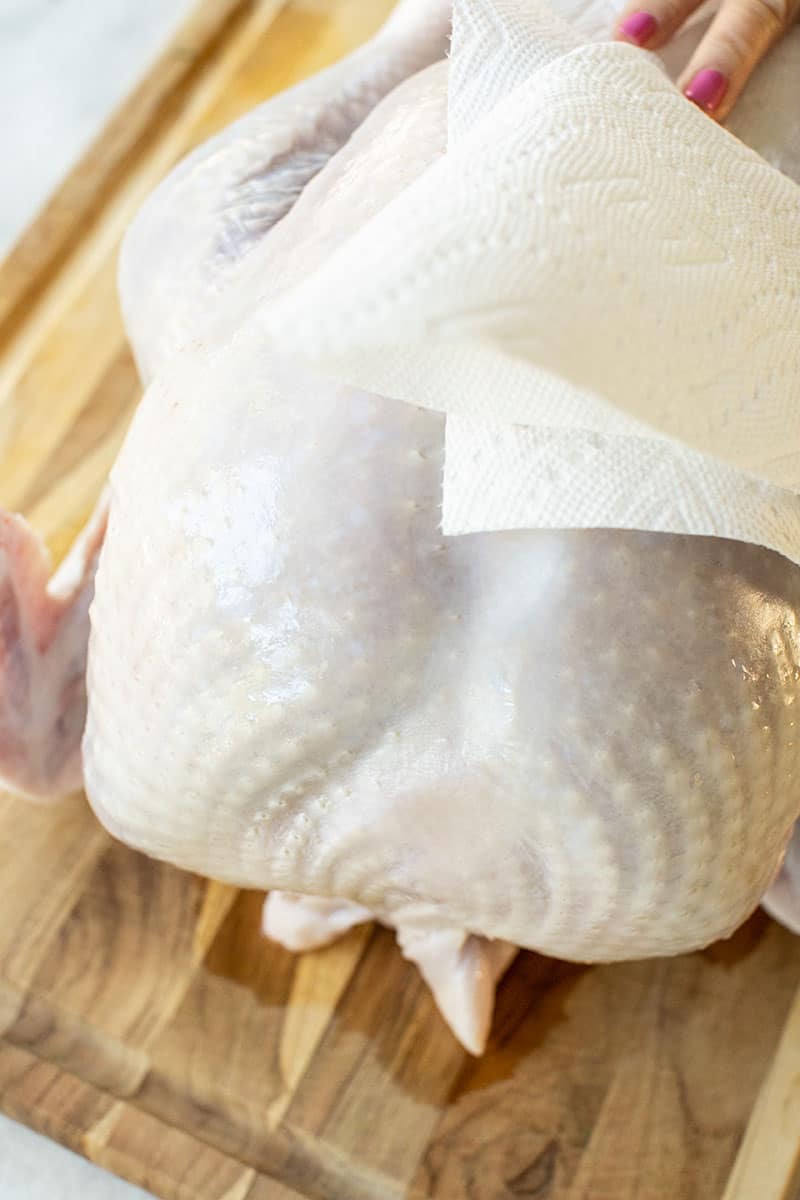
- Dry the meat thoroughly with paper towels for extra-crispy skin.
- Then, pull the wing tips forward and tuck them under the breasts to keep them from burning.
4. Dry Brine
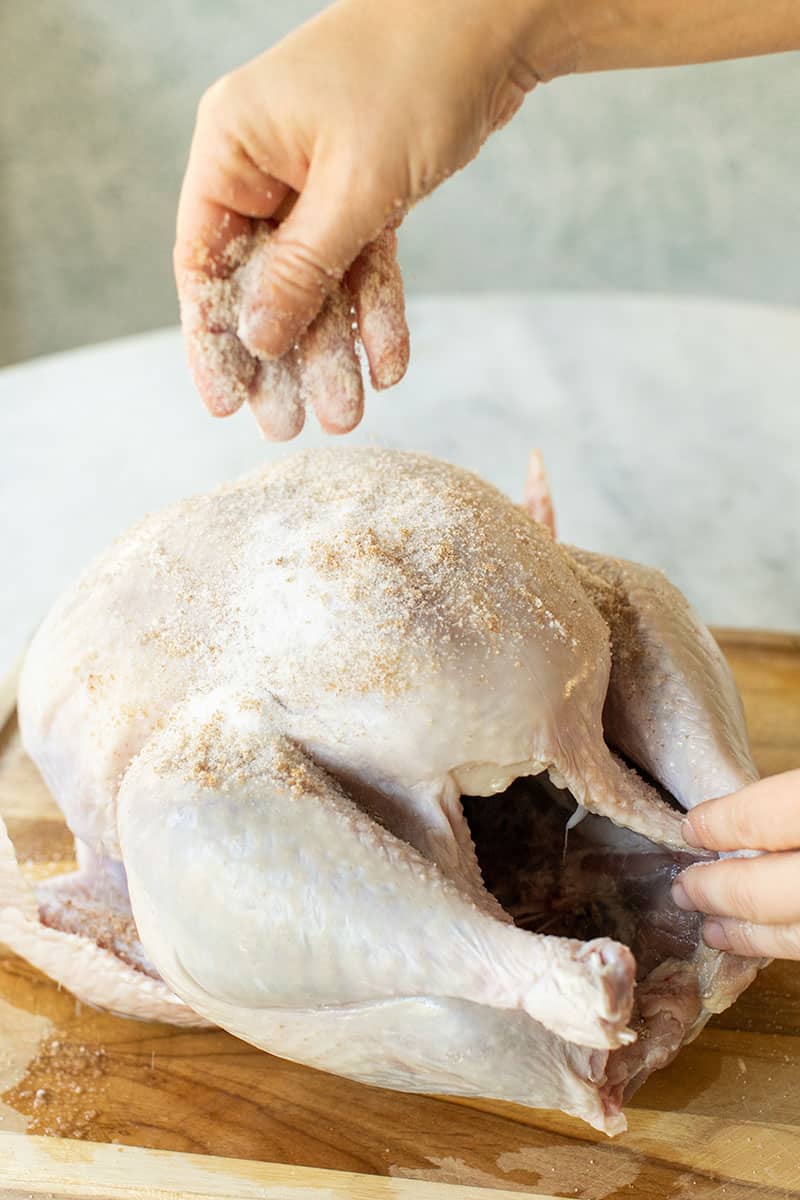
Mix 1/2 cup salt, 1 tbsp baking powder (for extra crispy skin) and 1 tablespoons of brown sugar in a bowl.
Rub the dry brine all over the cleaned and dried turkey.
Make sure to get the wings, inside the turkey and under the skin.
To get under the skin, you’ll have to use your fingers to separate the skin from the bird.
Cover the turkey and place it in the refrigerator for up to 2 nights! You can also do this the night before, but 2 days is best.
Before you cook, take the turkey out of the refrigerator and let it come to room temperature.
To get an extra-juicy turkey, season the meat as well as the skin. Use your fingers or a thin silicone spatula to separate the breast meat from the skin. Stop once you reach about 2/3 of the way down the breastbone.
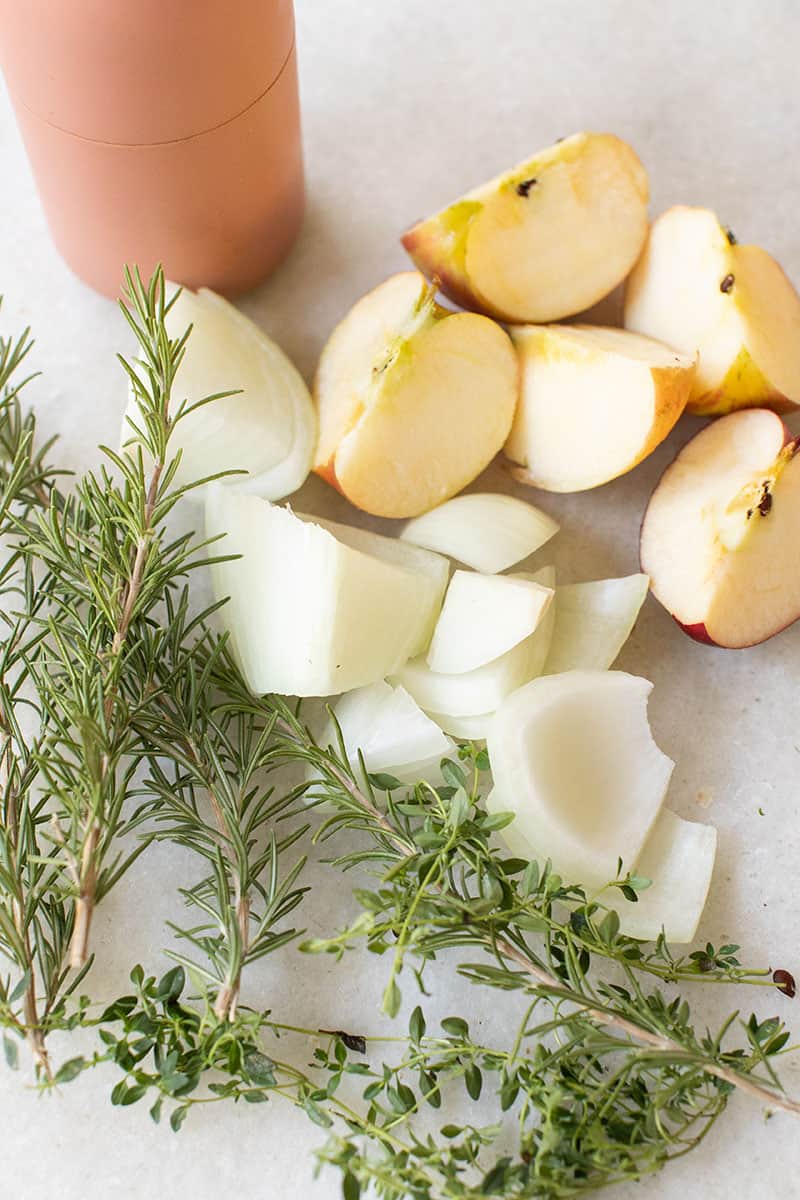
5. Fill the Bird with Vegetables
If you’re making a 12-pound to 15-pound turkey, gather these ingredients for your filling:
- 1 large onion, cut into 4
- 1 large apple, cut into 4 (you can use 1 1/2 apples if you have room)
- Tablespoon black pepper
- 4 sprigs of fresh thyme
- 4 sprigs of fresh rosemary
Fill the middle of the bird with all of the above ingredients. Lots of fresh pepper!
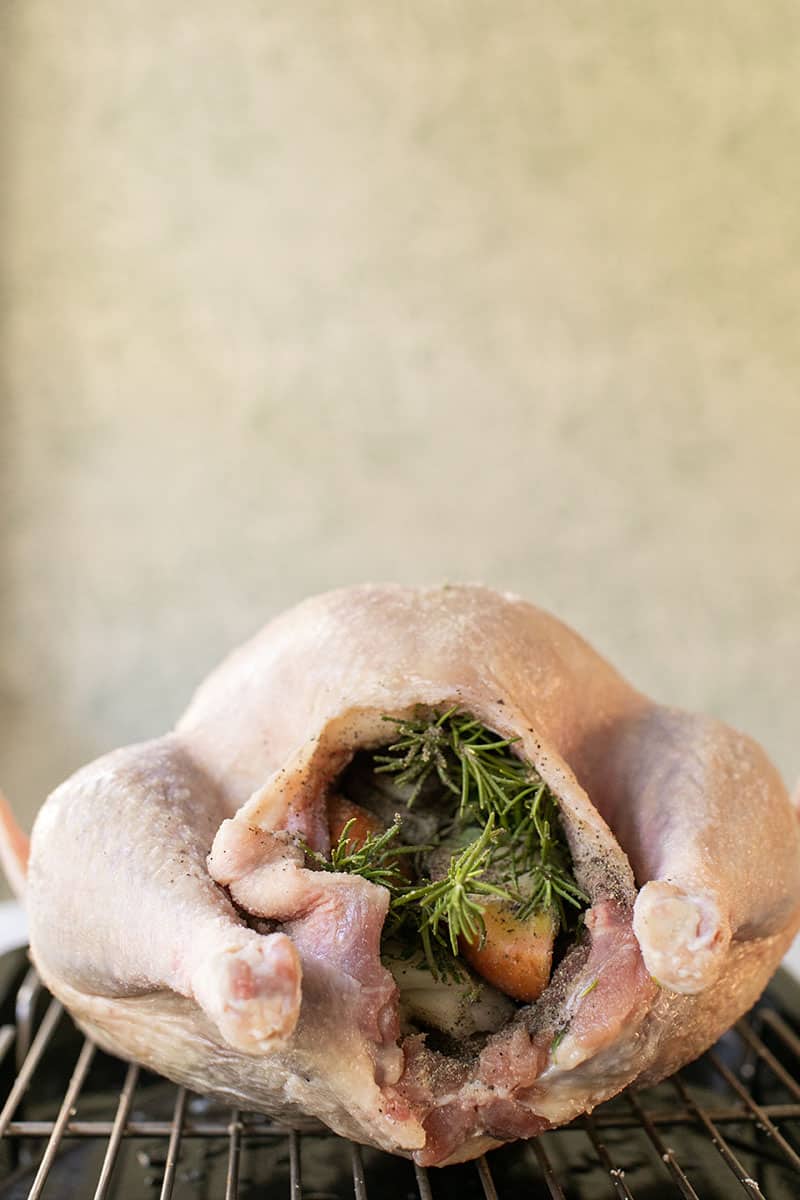
6. Butter the Bird
In our house, the more butter the better! Use 1 1/4 sticks of unsalted grass-fed butter to rub all over the turkey. Make sure it’s room temperature so you can easily spread the butter all around.
Place the butter under the skin, the wings, and even some inside the turkey.
Don’t worry if there are chunks of butter all over the turkey. This will all melt and be delicious when it’s cooked.
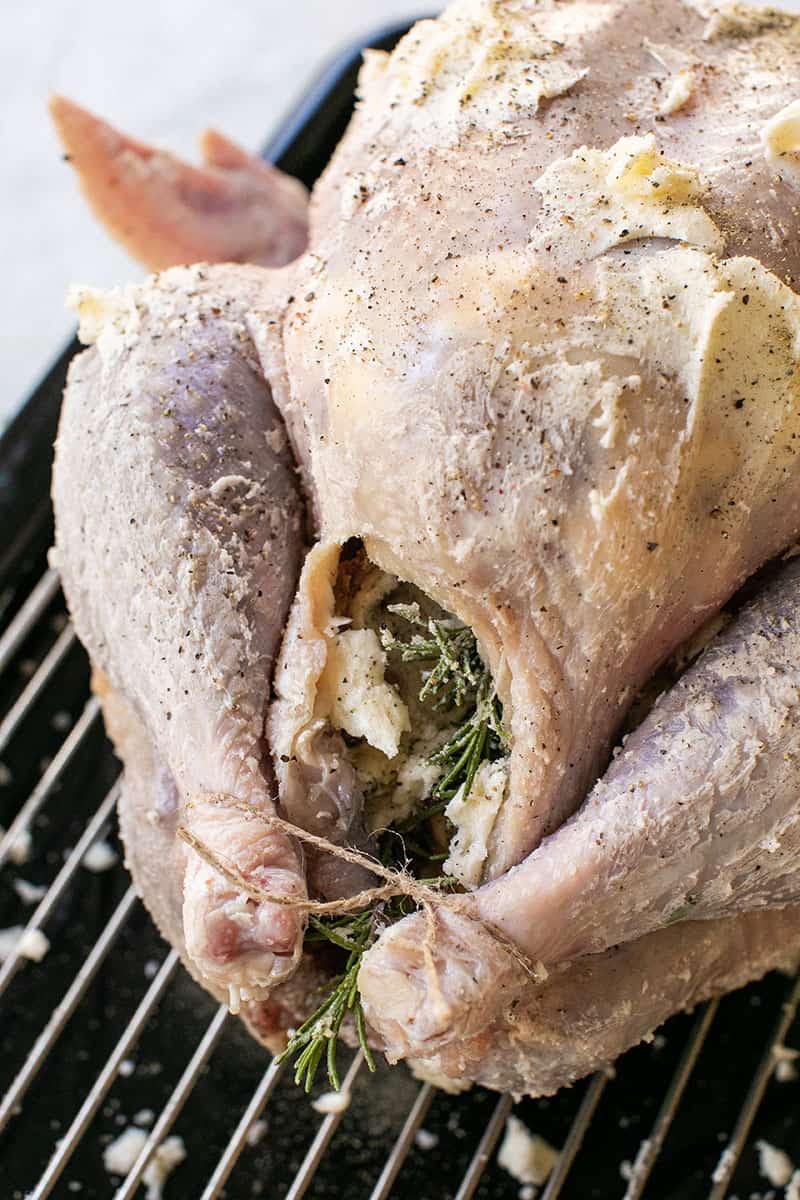
7. Truss Your Turkey
This sounds like a fancy step, but it isn’t. Trussing a turkey just means tying its legs together. Use kitchen twine to perform this step. You’ll use coking twine to tie it.
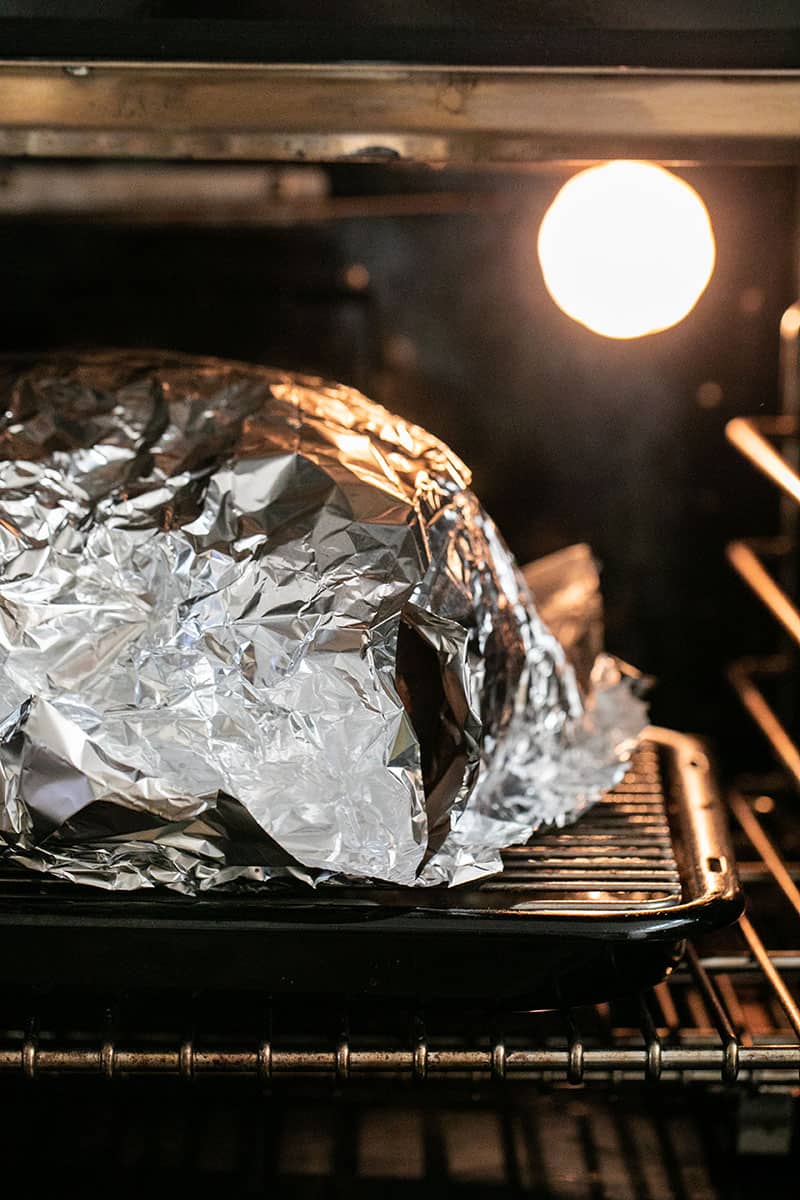
8. Roasting
Now you’re ready to roast! The turkey should be on a roasting rack, breast side up, with the roasting pan under it. Most racks sit nicely in the roasting pan.
Place the turkey in a preheated 450-degree oven for 30 minutes. The skin will get nice and brown, which is what you want.
Next, cover the top of the whole turkey in aluminum foil.
During the cooking process, check the bottom of the rack and see if it needs more liquid. You can add more chicken broth if needed.
Turn the oven to 350 degrees to cook the turkey for 2 hours.
Cooking times vary depending on the size of the turkey. See more below for how long to cook a turkey.
9. Add Liquid
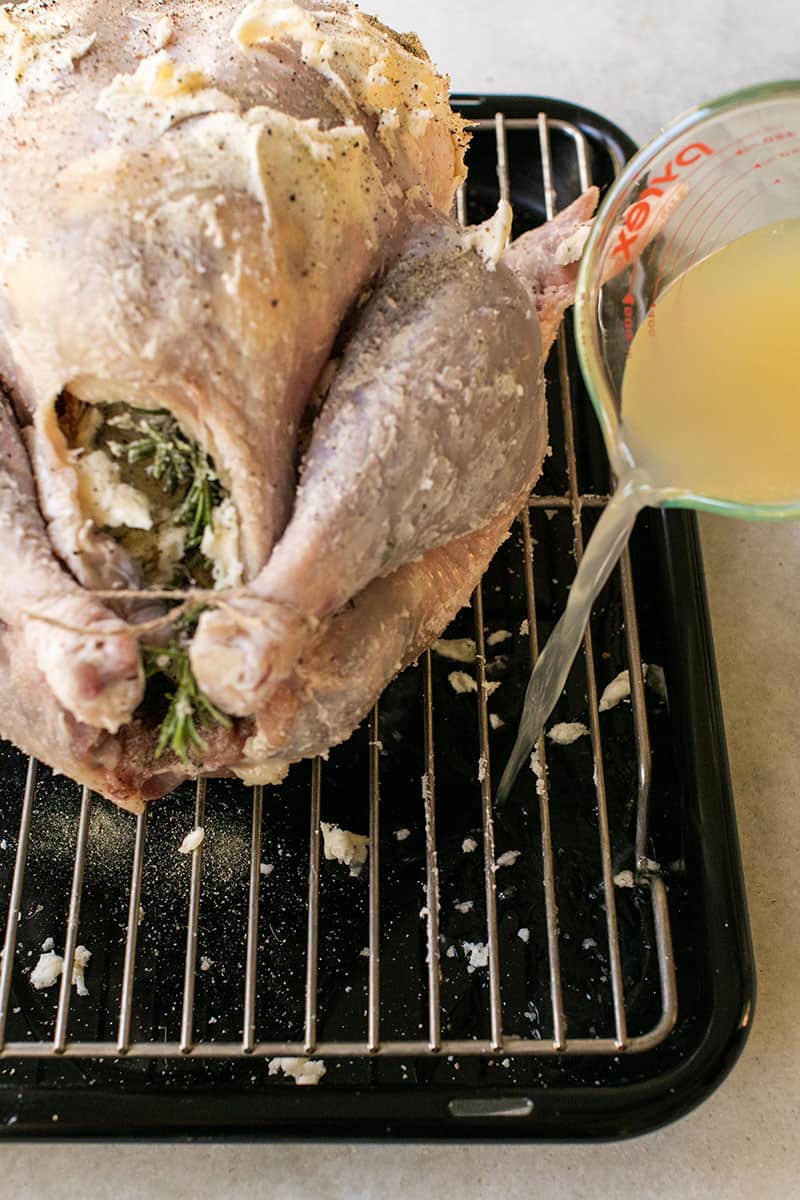
Pour 3-4 cups of chicken stock into the bottom of the roasting rack. This will keep the meat moist while it’s cooking. We also add white wine later.
When cooking a turkey in the oven, one of the most important things you can do is to keep the turkey moist. This is especially important if you’re cooking a large turkey. A good way to do this is to pour some liquid (like water, broth, or wine) into the bottom of the roasting pan before adding the turkey.
The liquid will help to keep the turkey moist as it cooks and will also prevent the drippings from burning. Just be sure to add enough liquid so that it comes up about 1/2 way up the sides of the turkey.
How to Tell When It’s Done Cooking
The best way to know when a turkey is done cooking is to use a meat thermometer. Insert the thermometer into the thickest part of the turkey (without touching the bone) and cook until the internal temperature reaches 165 to 175 degrees F it’s done.
10. Rest
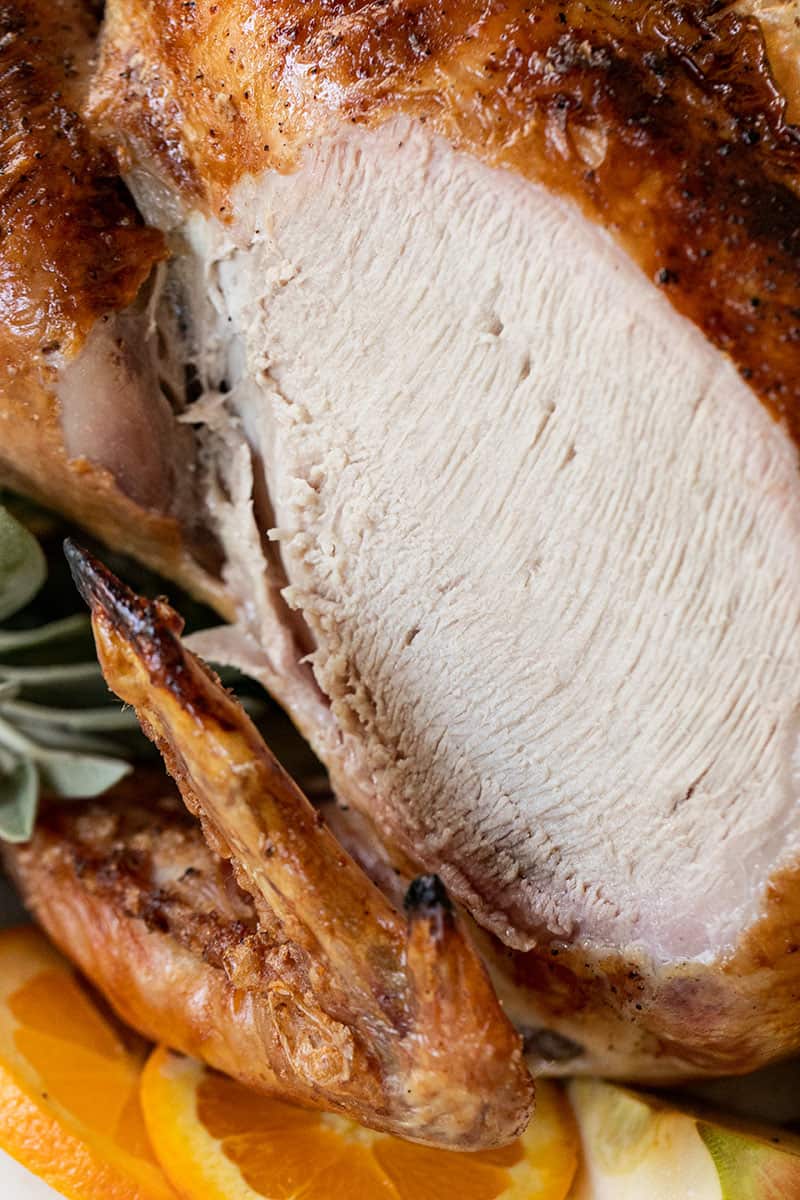
Once the turkey is done cooking, let it rest for 20-30 minutes before carving. This will allow the juices to redistribute, making for a juicier, more flavorful turkey.
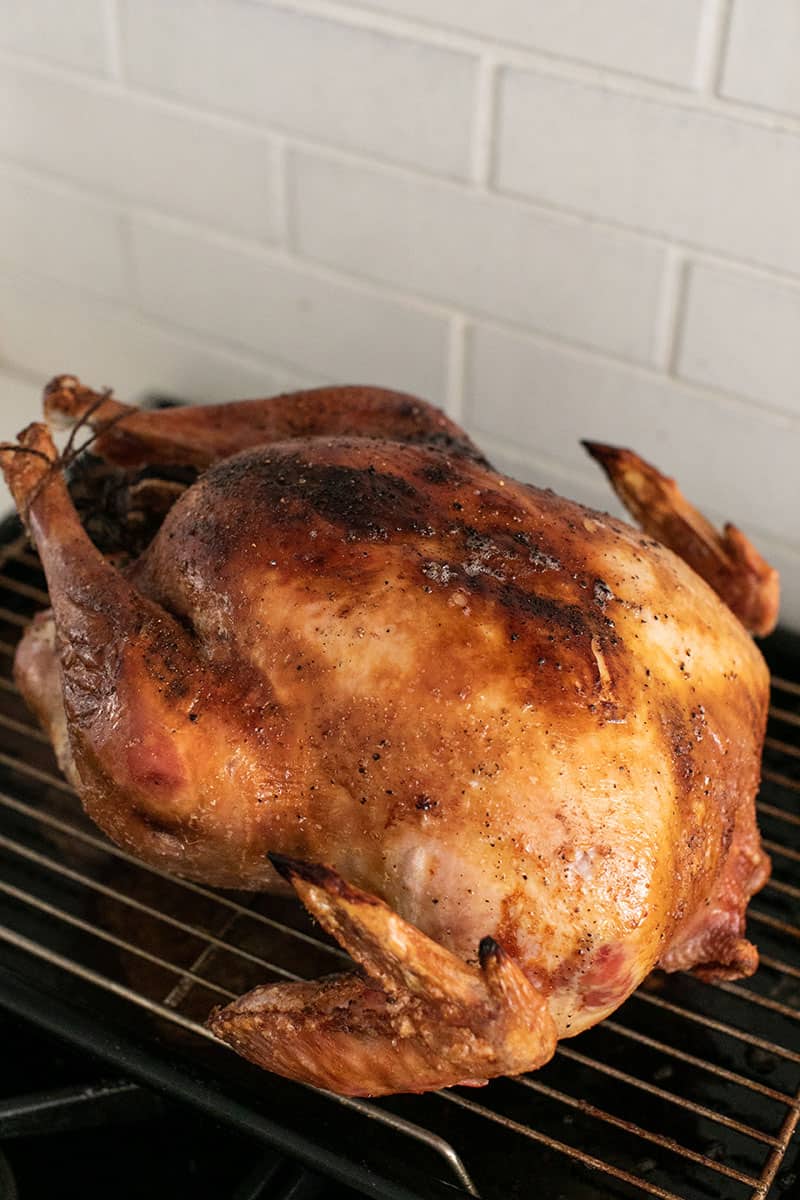
Plate the Turkey
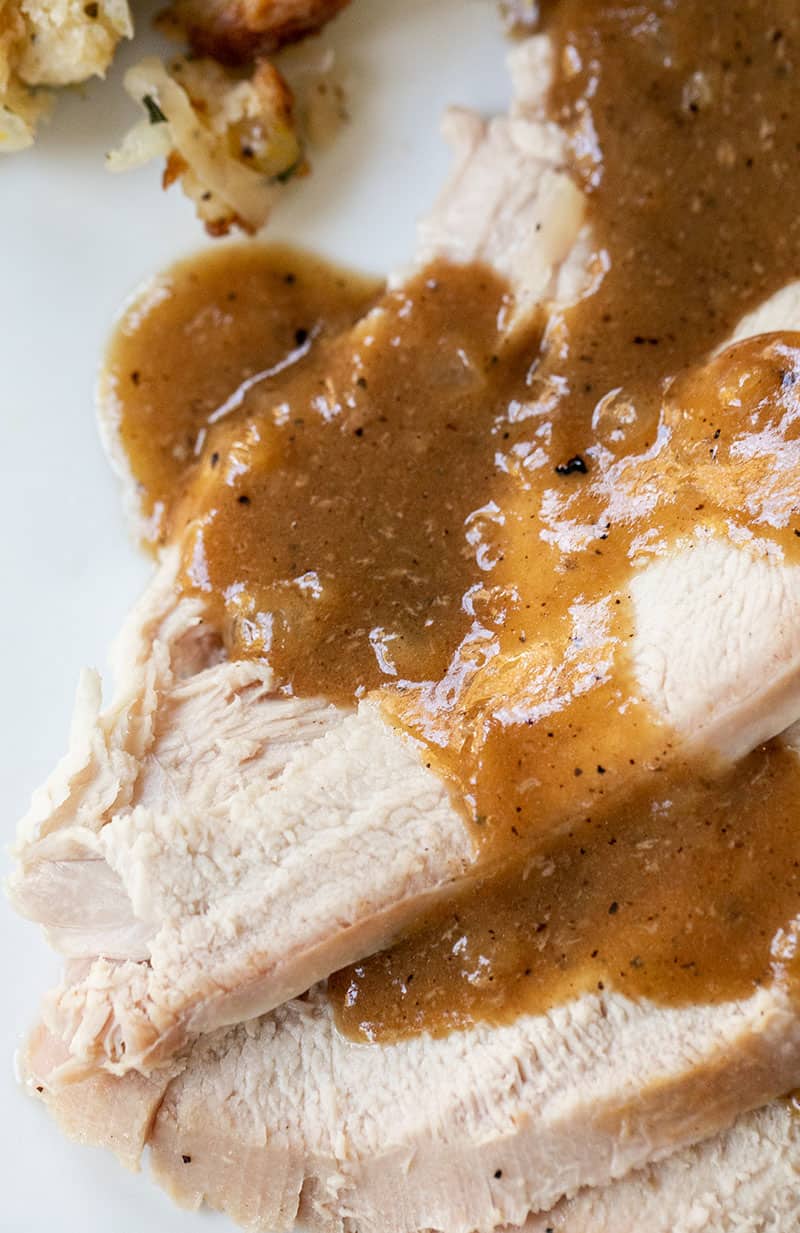
When the turkey is done, save all of the juice from the bottom of the pan. This is perfect for making gravy and for pouring a little over the top of the turkey!
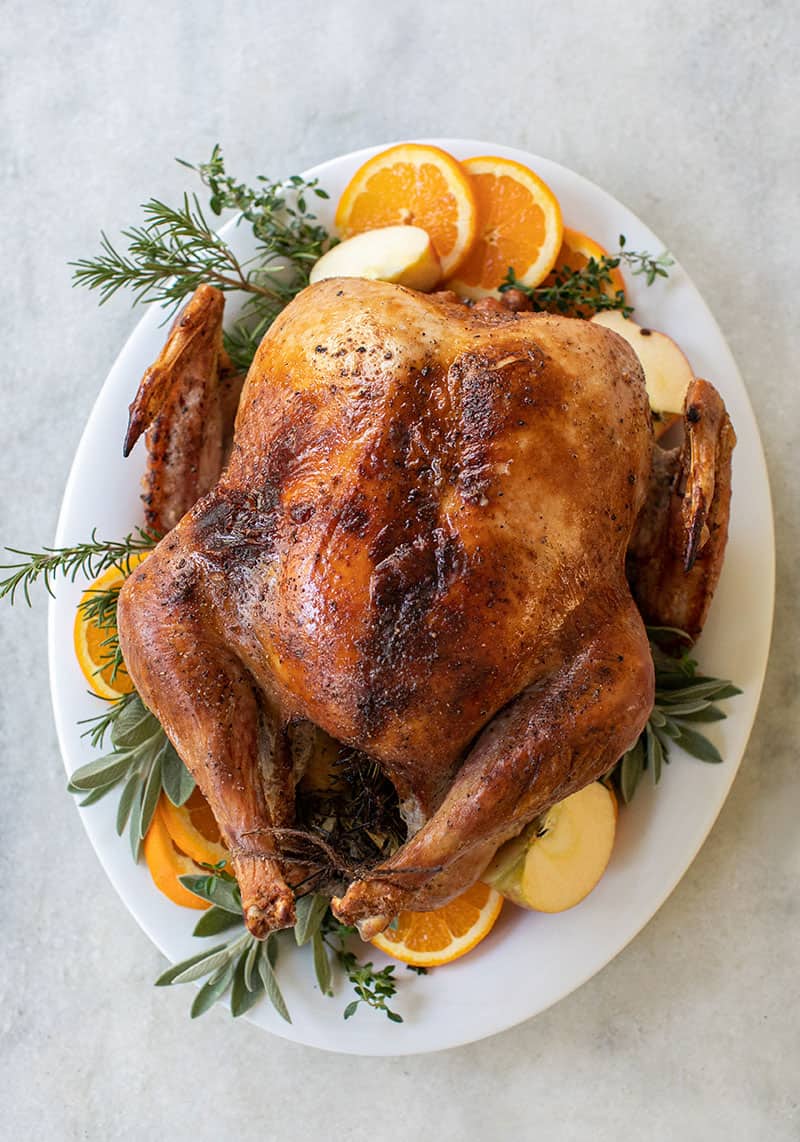
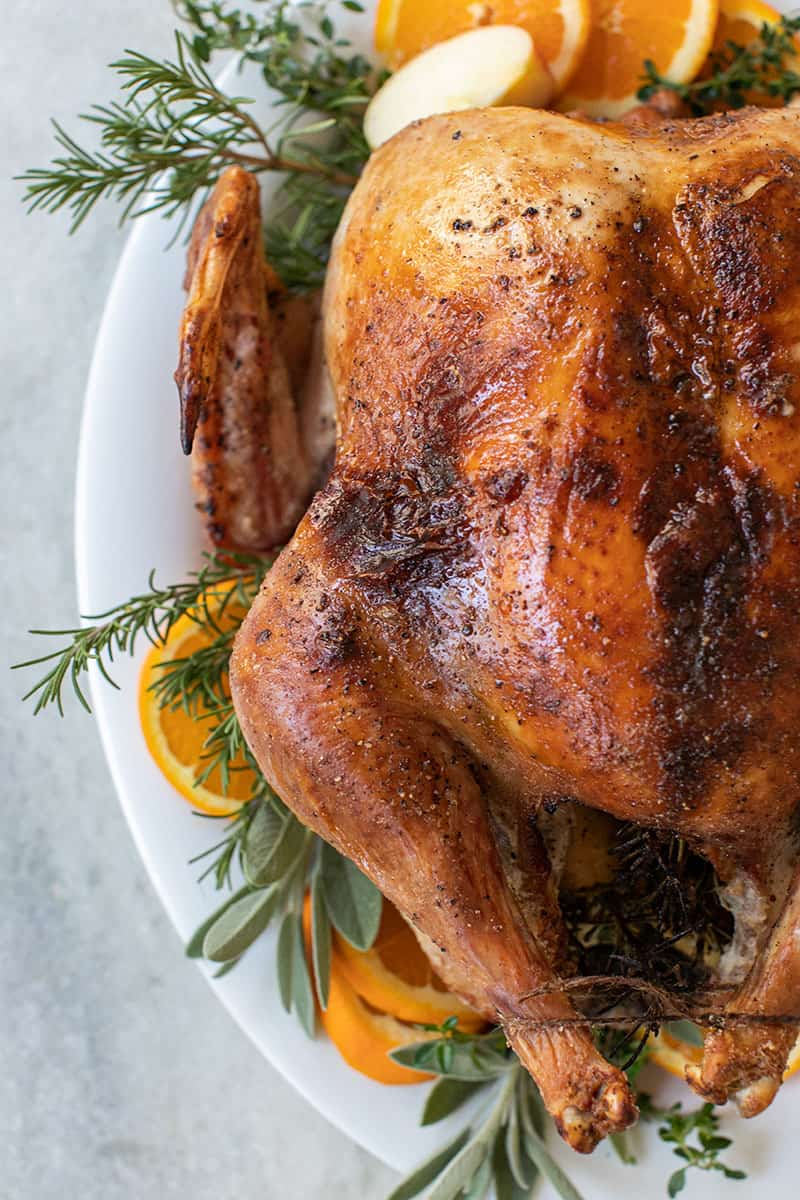
Plate the turkey on a large platter. Garnish the platter with fresh herbs, orange slices, apples, and whatever else you have around that looks pretty!
Spatchcock Turkey
Spatchcocking is a great way to ensure even cooking in less time. It’s also a great way to get crispy skin!
To spatchcock a turkey, start by removing the backbone. Use a sharp knife or kitchen shears to cut along both sides of the backbone. Once the backbone is removed, flip the turkey over and press down to flatten it.
A 12-pound spatchcock turkey will take about 2 hours to cook at 350 degrees F.
Dark Meat vs White Meat
There are two types of meat on a turkey- dark and white. Dark meat is located on the legs and thighs and is darker in color due to the higher concentration of myoglobin.
White meat is located on the breast and is lighter in color due to the lower concentration of myoglobin.
Dark meat is more flavorful and juicier than white meat. It’s also higher in fat and calories. White meat is leaner and has a more delicate flavor.
Turkey Drippings
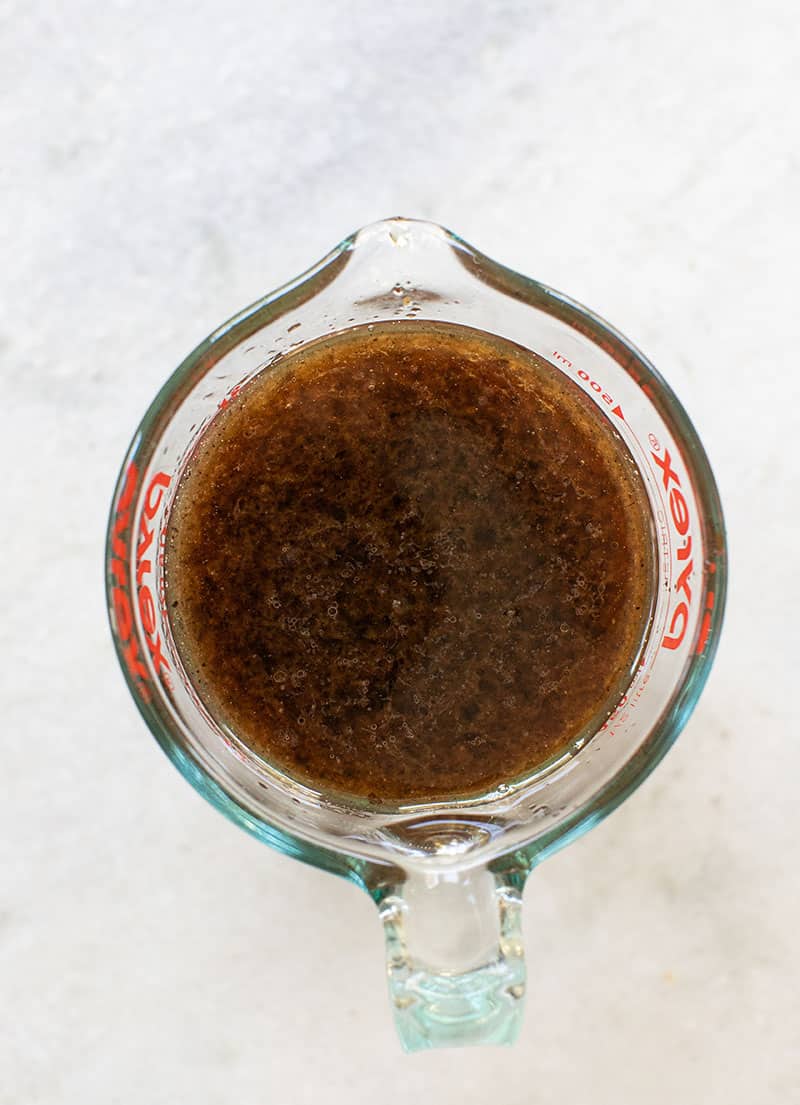
The drippings from a roasted turkey are packed with flavor and can be used to make a delicious gravy. To collect the drippings, place a bowl or roasting pan underneath the turkey while it’s cooking.
Once the turkey is done, remove it from the roasting pan and let it rest. Then, strain the drippings and use them to make gravy or save them for another use.
How to Store Roasted Turkey
- Once your turkey is cooked, it’s important to store it properly. Here are a few tips:
- If you’re not going to eat the turkey right away, allow it to cool completely before storing it in the fridge.
- Place the turkey in a covered container or wrap it tightly with plastic wrap.
- Stored properly, the roasted turkey will keep in the fridge for 3-4 days or in the freezer for 2-3 months.
Turkey Roasting FAQs
We recommend you do both. Cook the turkey uncovered for about 30 minutes so you get a crispier skin, then cover it halfway through cooking so the skin doesn’t burn. Roasting the turkey uncovered will result in a juicier, more flavorful bird.
You should cook your turkey for 15 to 20 minutes per pound. Be sure to check your meat throughout, as times may vary depending on the size and thickness of the bird.
Following the logic above, a 15-pound turkey should cook for a minimum of 3 and 3/4 hours or 225 minutes. It can take up to five hours (20 minutes per pound), so make sure to use your thermometer.
There has been debate over the temperature at which your turkey is truly “done.” Until 2006, the FDA recommended making sure your turkey reached 165 degrees Fahrenheit at the breast part and 180 degrees at the thighs.
Then, it revised those recommendations and said the entire turkey is safe at 165 degrees. Following these guidelines, make sure your turkey’s juices run clear and don’t rely on the pop-up indicators that come with it. Instead, use a meat thermometer and insert it at the thickest part of the thigh.
I like when the turkey is cooked to 165 degrees. I feel like it’s still moist and cooked through.
To complete the dry brine, hold the turkey by its back legs and season the cavity with as much salt and pepper as you like. For a delicious and aromatic touch, stick in rosemary, along with half a bunch of sage. Finally, add a handful of your chopped vegetables and apples to the cavity.
Then, sprinkle more pepper on the outside of the turkey. Place it breast-side up in your roasting pan and refrigerate it uncovered for up to three days.
Nope! You do not need to rinse or pat your turkey dry before cooking. Doing so will make it more difficult to brown. Once you remove it from the refrigerator, let it sit out to room temperature, and then it’s ready to cook!
Tip – if you’re in a hurry, just cook it right out of the refrigerator.
There isn’t a need to baste your turkey as it cooks. The butter you spread on the skin before putting it in the oven is enough to keep it moist. Any extra moisture will prevent your turkey from browning and crisping up the way you want it to!
So sit back, relax and catch the big game once you reach this point!
Resist the urge to gobble it down immediately! Instead, give your turkey about 20 minutes to rest before carving, covering it loosely with foil to keep the heat and moisture in.
For turkey that’s crispy on the outside and moist on the inside, stick with these tips:
Choose a turkey that’s fresh, not frozen
Rub soft butter under the skin before cooking
Stick to a loose truss, or skip the trussing stage altogether
Remember to let the turkey rest
Together, these steps help ensure your turkey stays as moist as possible.
Alternatively, you can opt for a wet brine by preparing a saltwater mixture and coating the turkey with it instead of using dry seasonings, allowing it to soak for a few hours before continuing with the rest of the preparation.
More Thanksgiving Recipes
Thanksgiving
Easy Stuffing Recipe
Thanksgiving
Sweet Potato Casserole
Thanksgiving
Creamy Sautéed Brussels Sprouts Recipe
With these tips, you’re all set to roast a perfectly juicy, golden-brown turkey that will be the star of your Thanksgiving table! And don’t forget to set your Thanksgiving table!
Let me know if you try this recipe and leave a comment and review below!

How to Cook a Turkey in The Oven
Equipment
- Roasting Pan with Rack
- Digital Meat Thermometer
- Cooking Twine
Ingredients
- 12 pound turkey , we buy an organic, free-range turkey.
Dry Brine
- 1/2 cup salt
- 1 tbsp brown sugar
- 1 tbsp baking powder
Ingredients to Stuff in the Middle of Turkey
- 1 large onion, cut into 4
- 1 large apple, cut into 4
- 1 tbsp black pepper
- 4 sprigs thyme
- 4 sprigs rosemary
To Rub on the Outside of Turkey
- 1 1/4 cup unsalted butter
- 1/2 cup fresh herbs, blended
Bottom of the Roasting Rack
- 3 cups chicken broth, more if needed while cooking
- 3 cups dry white wine, nothing too expenise
Garnishes
- 1 large orange, sliced for garnishing
- herbs
Instructions
- Remove the giblets in the bottom of the turkey as well as the neck of the turkey. Don’t forget to take the bag out of the neck area. This can be easily forgotten!
- Dry the meat thoroughly with paper towels for extra-crispy skin.
- Then, pull the wing tips forward and tuck them under the breasts to keep them from burning.
- Mix 1/2 cup salt, baking powder and brown sugar in a bowl.
- Rub the dry brine all over the cleaned and dried turkey.
- Make sure to get the wings, inside the turkey and under the skin.
- Cover the turkey and place it in the refrigerator for up to 2 nights! You can also do this the night before, but 2 days is best.
- Before you cook, take the turkey out of the refrigerator and let it come to room temperature.
- Fill the middle of the bird with the apple, onion, pepper, thyme, and rosemary.
- Rub the butter and herb mixture all over the bird and under the skin. You can chop herbs and make a paste with the butter.
- Place the bird on a roasting rack.
- Pour 3-4 cups chicken broth into the bottom of the roasting rack.
- Place the turkey in a preheated 450-degree oven for 30 minutes. The skin will get nice and brown, which is what you want.
- Next, cover the turkey in tin foil, and pour 3 cups of white wine into the bottom of the roasting rack.
- Turn the oven to 350 degrees to cook the turkey for 2 to 3 hours. Or when a Digital Meat Thermometer reads 165 degrees to 180 degrees.
- When the turkey is done, save all of the juice from the bottom of the pan. This is perfect for making gravy and for pouring a little over the top of the turkey!
- Plate the turkey on a platter with the garnishes and serve!
Notes
Nutrition
Nutrition information is automatically calculated, so should only be used as an approximation.





My first time cooking a turkey and it was THE BEST I’ve ever had thanks to this recipe!! Incredibly simple to put together, moist and delicious. Who would even bother with a liquid brine when you can do a dry rub?! Thank you!