

This post may contain affiliate links. Please see our disclosure policy.
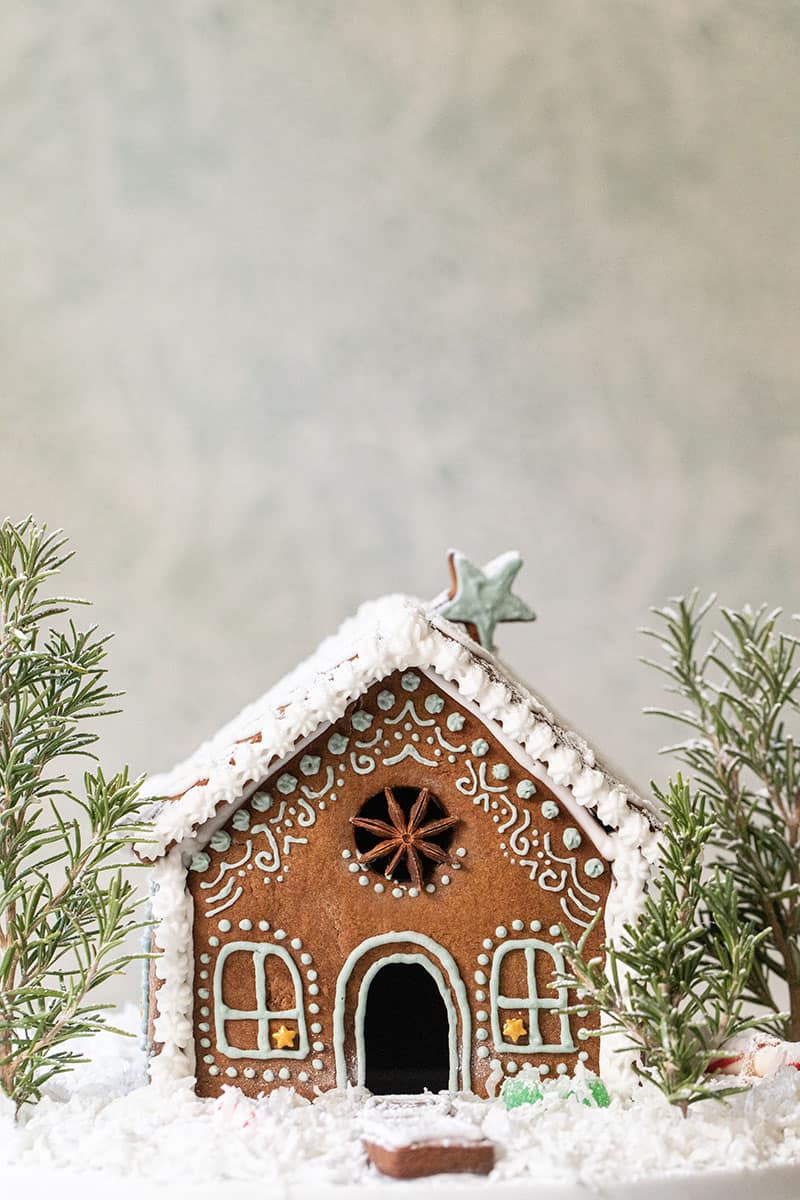
This homemade gingerbread house recipe makes a dough that bakes up sturdy, holds its shape, and actually stands up once you build it. It’s one of my favorite Christmas traditions and we’ve been making these every December for years.
Make a batch of gingerbread house icing to go with it, and if you want more gingerbread on the table, there’s a gingerbread tree for a centerpiece and mini gingerbread houses that sit right on the rim of a mug.
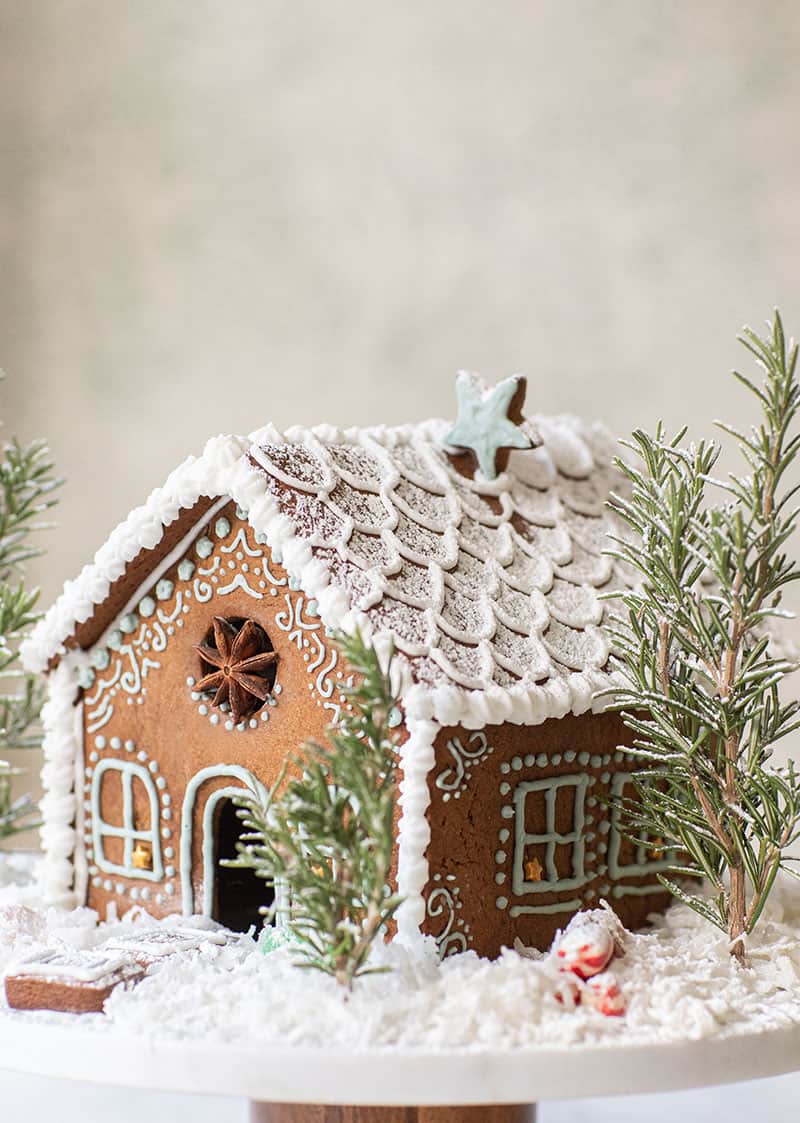
Pin this now to find it later
Pin ItTable of Contents
- Here’s What You Need to Know
- Gingerbread House Ingredients
- Gingerbread House Templates and Cutters
- How to Make a Gingerbread House
- How to Assemble a Gingerbread House
- How to Keep It From Collapsing
- Make It Ahead
- Eden’s Tips
- How to Store a Gingerbread House
- Gingerbread House FAQs
- More Christmas Recipes
- Gingerbread House Recipe
Here’s What You Need to Know
This is a construction dough, not a cookie dough. It has more flour and less leavening than gingerbread cookies, so it bakes flat and firm instead of soft and puffy. That’s exactly what you want in a wall.
One batch makes one standard house, or three to four minis. The dough comes together in about ten minutes, chills for thirty, and bakes in ten.
Plan on two days if you can. Bake and assemble one day, decorate the next. The house needs to dry fully before it can hold candy, and nobody has the patience to wait for that and decorate in the same afternoon.
You’ll also need a batch of gingerbread house icing. That’s a separate recipe and it’s the glue that holds everything together.
⭐⭐⭐⭐⭐
“This is such a great craft for the kids and I to make! Taste so much better than a premade house too!”
— Ashley F.
Gingerbread House Ingredients
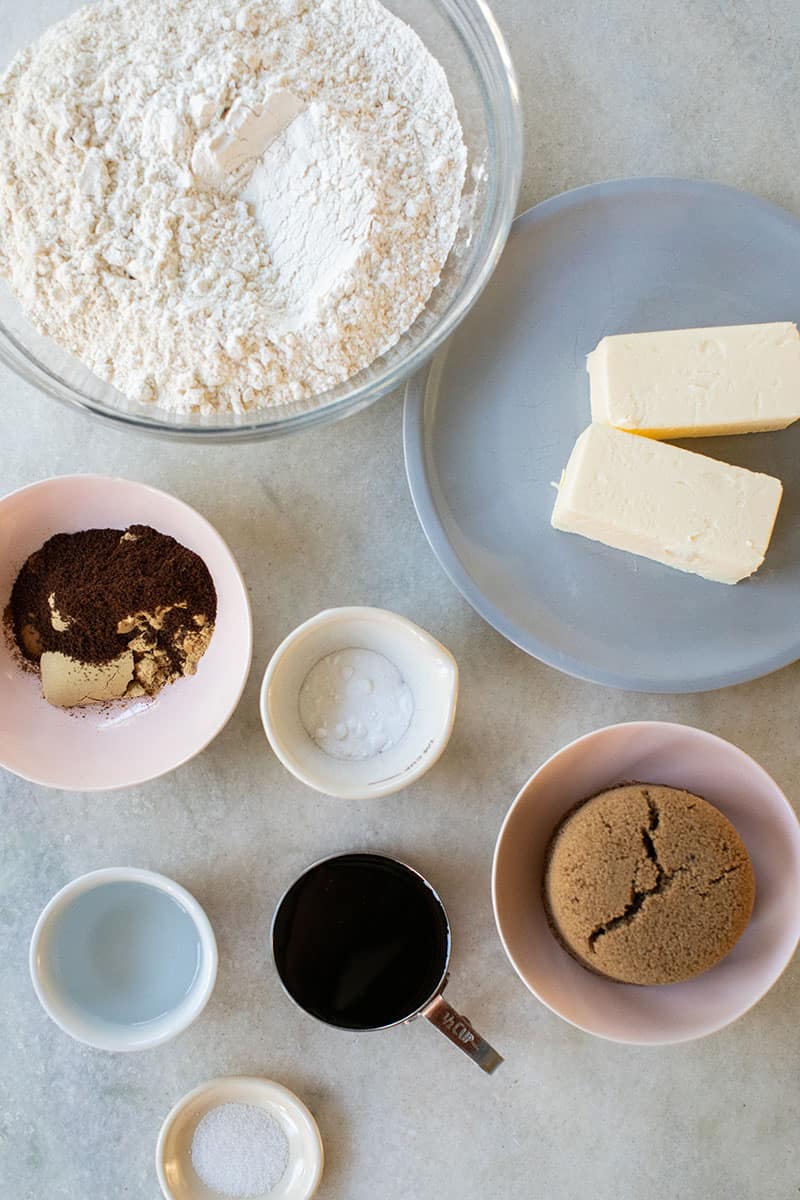
Butter. Salted or unsalted, whatever you have. Just make sure it’s softened so it creams smoothly with the sugar.
Dark brown sugar. This gives you the deep color and the rich flavor. Don’t swap in white sugar, even though there’s molasses in here. You’ll lose both.
Molasses. The heart of real gingerbread. Unsulphured is milder and a little sweeter, which is what I use.
Cinnamon, ginger, and cloves. The cozy trio. Your whole kitchen will smell like Christmas within about four minutes.
Baking soda. Just enough lift to keep the gingerbread from being rock hard. Any more and your walls would puff and warp.
All-purpose flour. More than you’d use in a cookie. That’s what makes the dough strong enough to stand up and hold a roof full of candy.
Gingerbread House Templates and Cutters
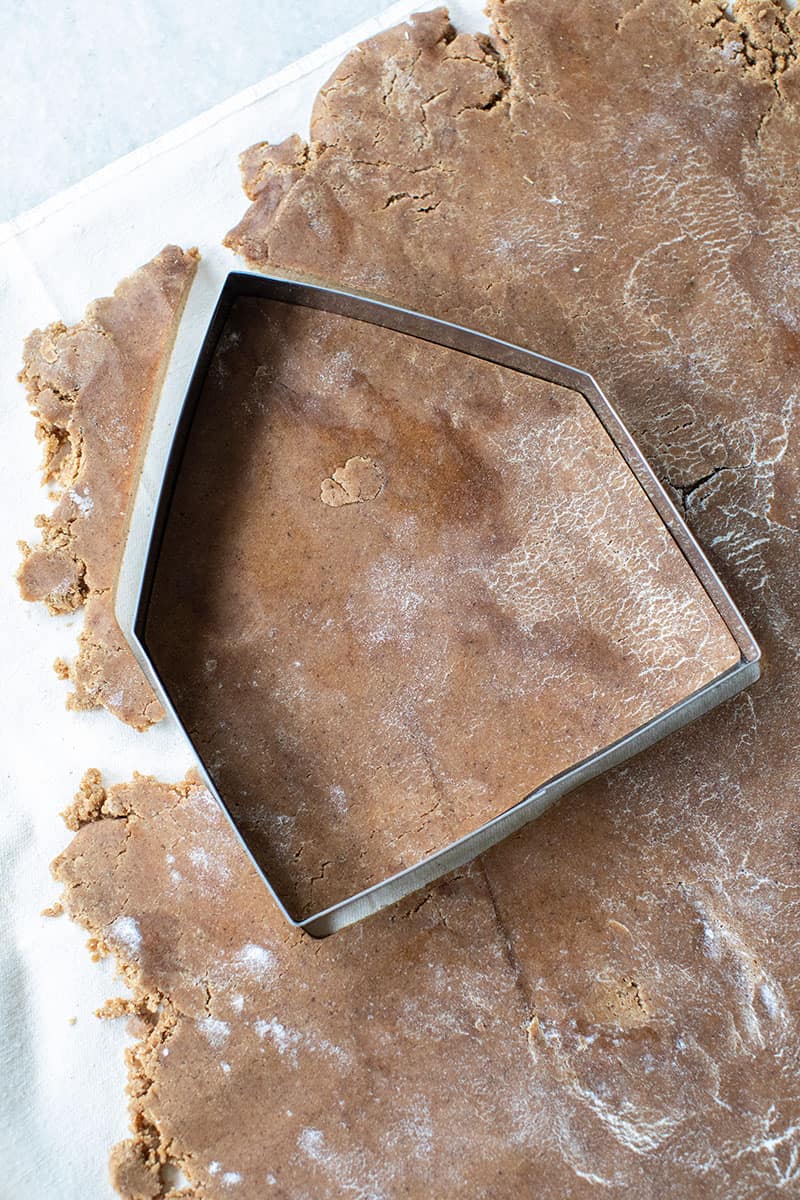
I use cookie cutters for this. They’re faster than fussing with paper, the edges come out clean, and you pull them out again every December. This is the set I have and it’s what every photo in this post was made with.
But if you want a different shape, or something a little fancier than a basic house, a printable template is the way to go. You print it, cut out the pieces, and trace around them on your rolled dough. Here are a few pretty ones:
How to Make a Gingerbread House
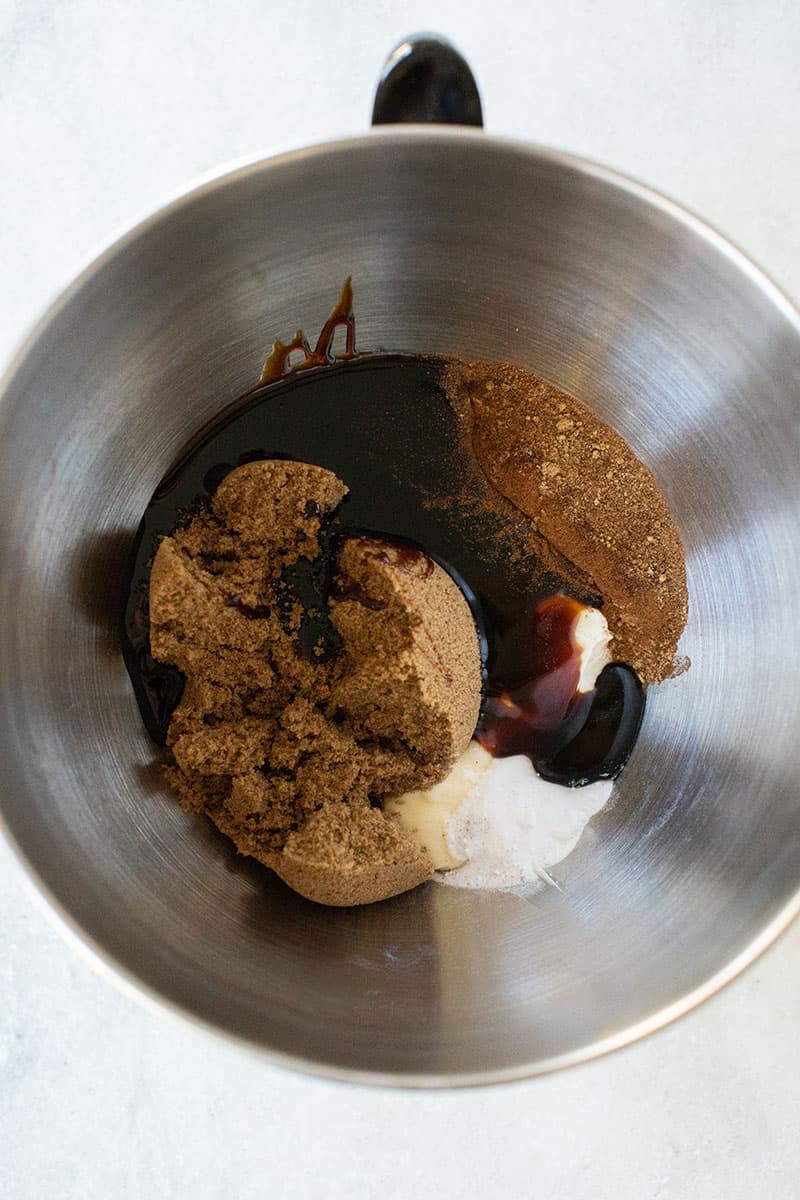
Cream the base: Beat the softened butter, dark brown sugar, molasses, cinnamon, ginger, cloves, and baking soda together until the mixture looks smooth and glossy.
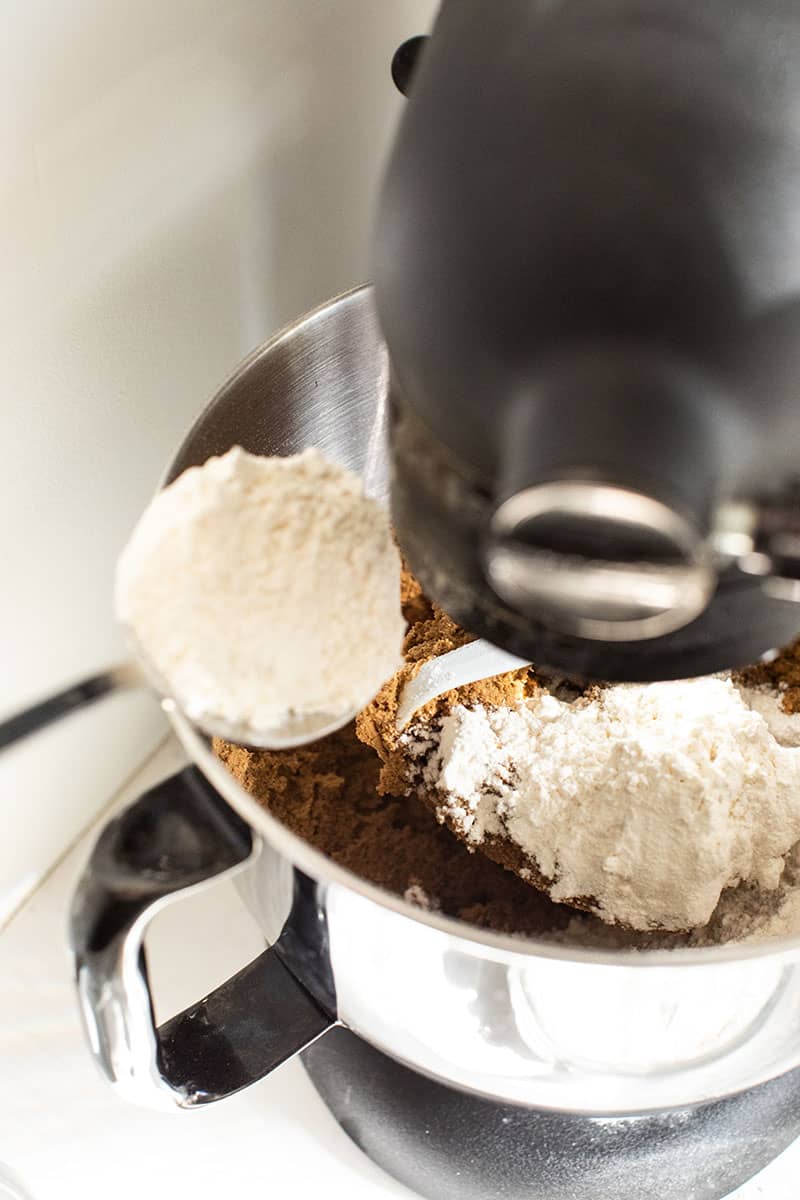
Work in the flour: On low speed, add the flour and water and mix just until a stiff dough pulls together. Stop as soon as it comes together. Overworking makes the panels tough and prone to cracking.
Chill it: Wrap the dough tightly and refrigerate at least 30 minutes. Cold dough rolls cleanly and holds its edges in the oven.
Heat the oven to 375°F.
Roll and cut: On a lightly floured surface, roll the dough to about a quarter inch thick. Even thickness matters more than exact thickness here, since panels that vary won’t sit flush against each other. Cut your shapes and leave them in place on the sheet.
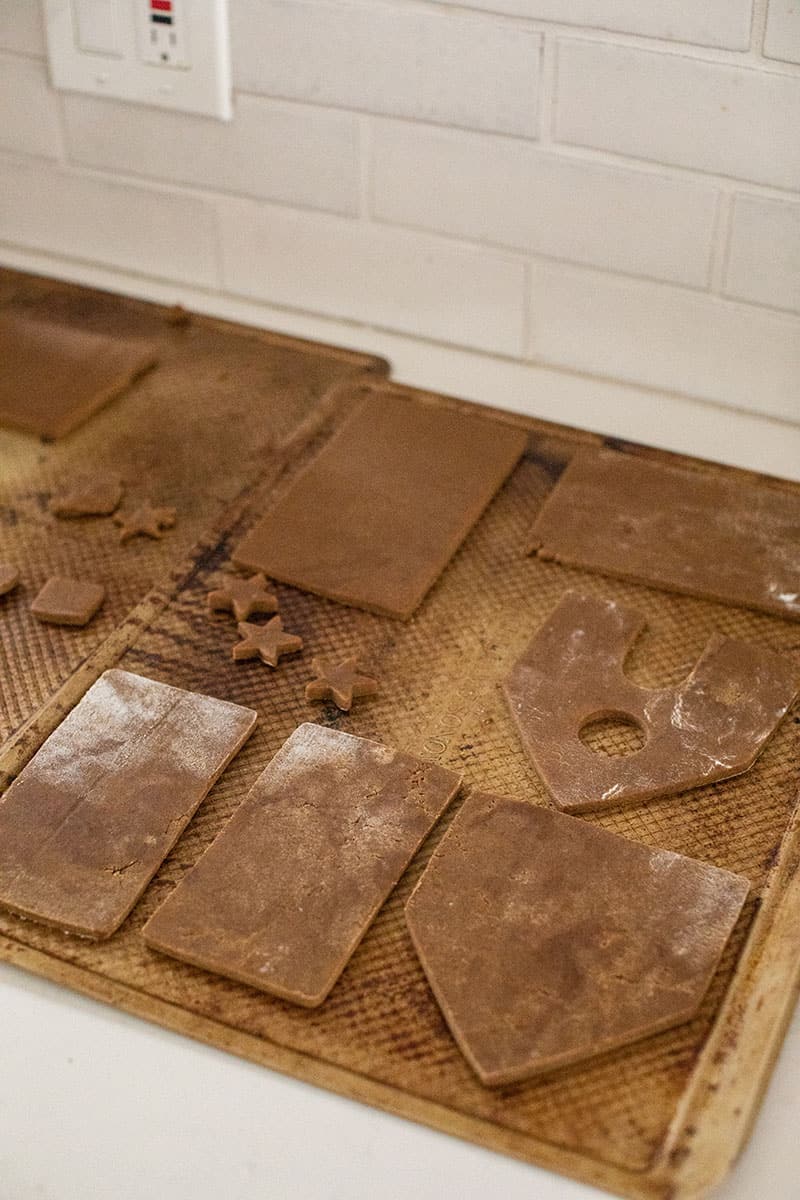
Bake on parchment for about 10 minutes, until the edges look crisp. The centers can still feel a little soft. They firm up as they cool.
Trim and cool: Lay your templates back on top and trim any spread while the panels are still warm. Then cool completely on a wire rack, at least 20 minutes. Warm panels will not hold.
How to Assemble a Gingerbread House


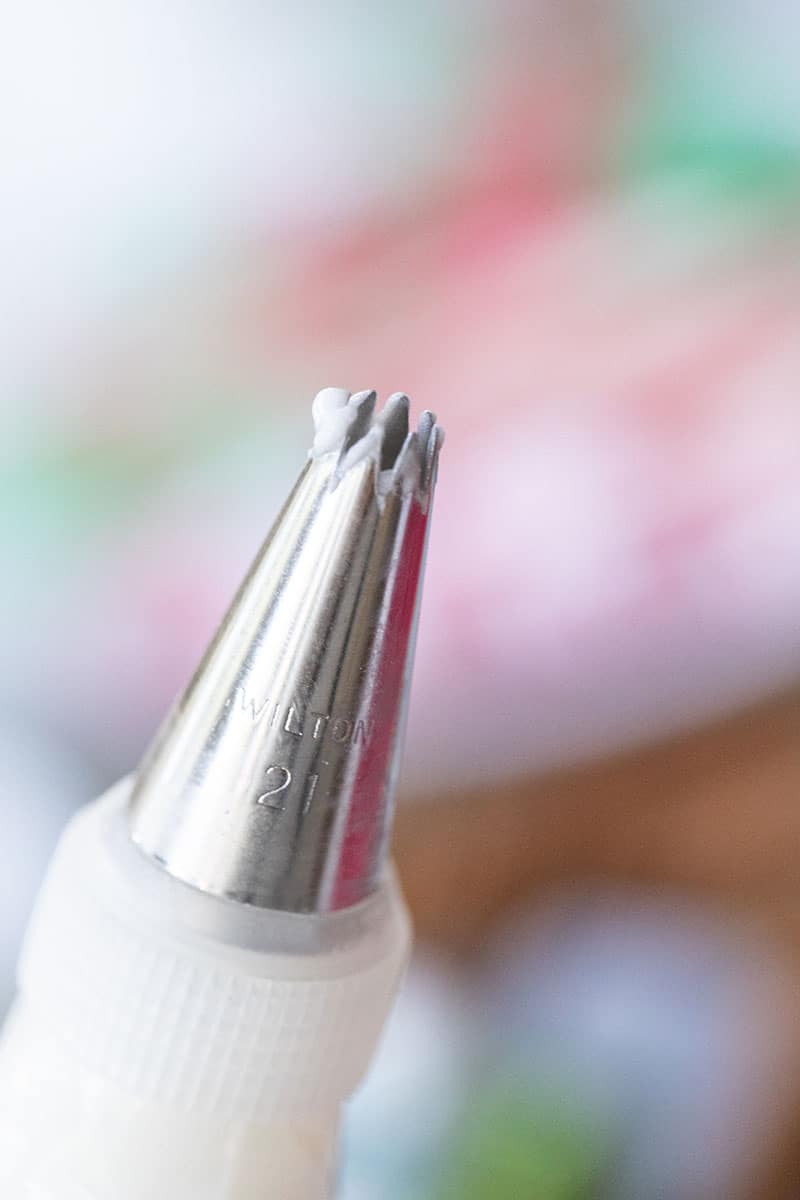
Get everything ready before you start. A sturdy platter or cake stand to build on, piping bags with round tips, a batch of gingerbread house icing, and all your candy sorted into bowls.
Set your base: Put the platter exactly where you want to work. Once the house is up you won’t want to move it.
Stand the front wall: Pipe a thick line of icing along its bottom edge, press it onto the base, and hold for about 60 seconds.
Add the sides: Pipe icing along both the bottom edge and the vertical edge where each side meets the front. Press and hold each one for a minute.
Attach the back the same way, and you have four walls.
Walk away for 15 to 20 minutes. This is the step everyone skips and it’s the step that decides whether your roof stays on.
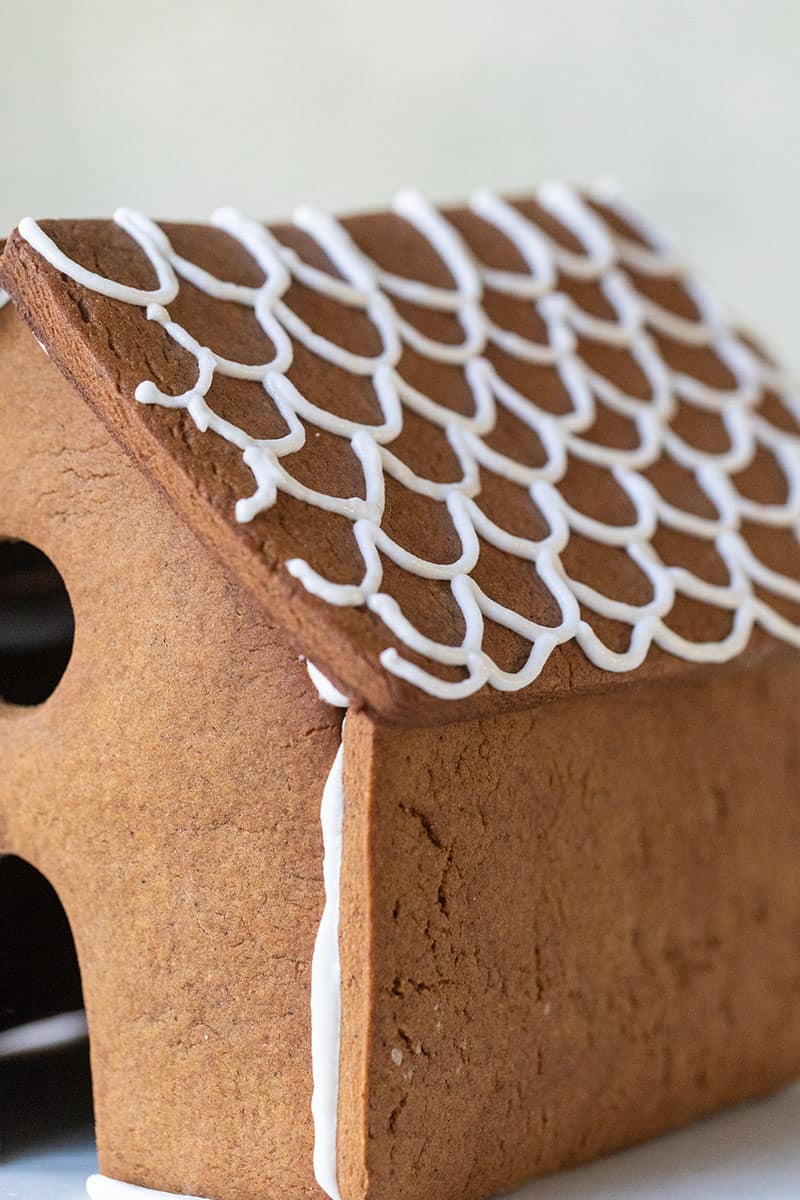
Add the roof one panel at a time. Pipe along the top edges of the walls, set the panel down gently, and hold for a minute or two.
Seal the peak with a line of icing where the two roof panels meet. This joint does more work than any other on the house.
Let it dry at least an hour before decorating. Overnight is better.
How to Keep It From Collapsing
Almost every collapse comes down to one of four things.
Your icing is too soft. Buttercream will not work here and neither will a thin glaze. You need royal icing, which dries hard. It should hold a peak and stay exactly where you pipe it.
The panels weren’t cool. Warm gingerbread flexes. Give it a full 20 minutes.
You rushed the walls. Fifteen to twenty minutes before the roof goes on, every single time.
Nothing is bracing it. Stand a jar or a can inside the house while the walls set. It costs nothing and it saves the whole build.
And if a wall does fall, it’s fixable. Scrape off the old icing, pipe a fresh thick line, and hold it firmly for two minutes. A second pair of hands helps.
Make It Ahead
This is the part that makes a gingerbread house feel doable instead of daunting.
The dough keeps in the fridge for up to a week, wrapped tightly, or in the freezer for three months. Let it sit out about 20 minutes before rolling.
The baked panels keep in an airtight container at room temperature for up to a week. Bake on a quiet weeknight, build on the weekend.
The icing is the one thing I’d make fresh, or at most the day before.
I usually bake panels one evening, assemble the next, and let the kids decorate on the third day. Spreading it out is what turns this into a tradition instead of a project.
Eden’s Tips
Roll to even thickness, not perfect thickness. A quarter inch is my target, but what actually matters is that all your panels match. Uneven panels leave gaps at the seams.
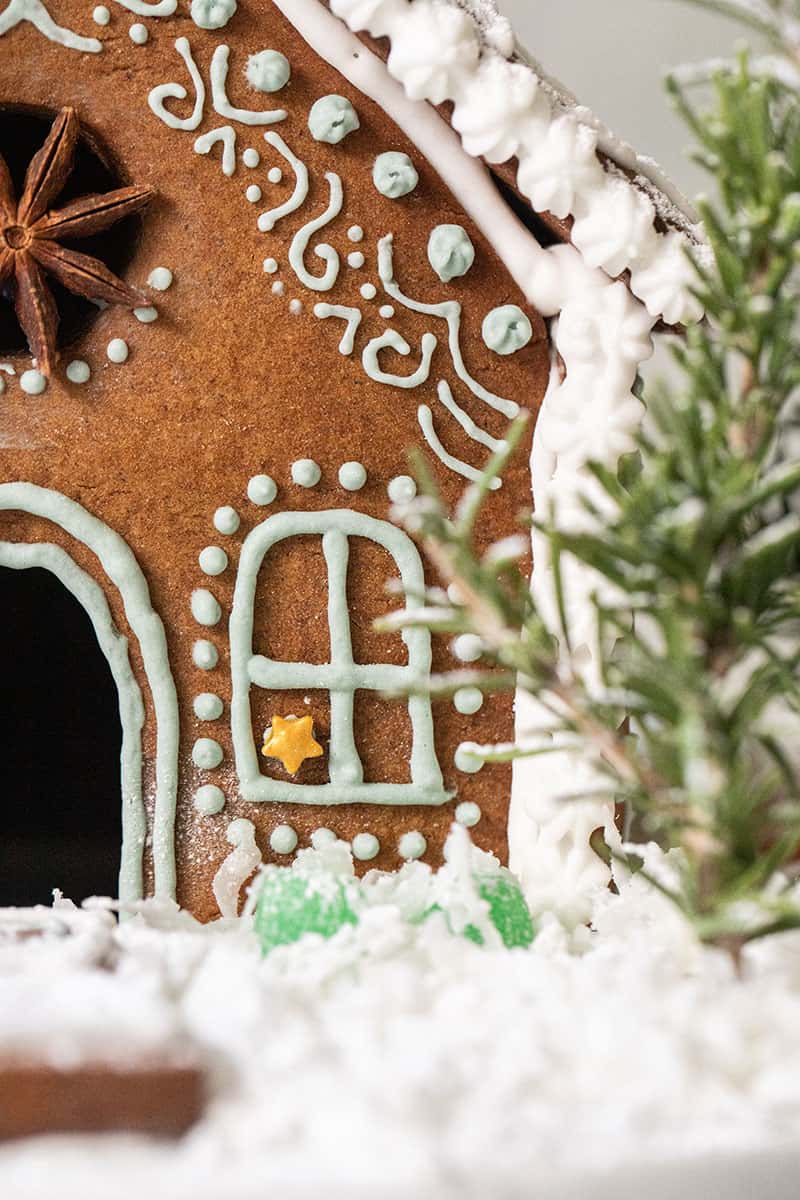
Sort your candy first. Bowls of gumdrops and peppermints lined up before you start makes decorating feel like a craft table instead of a scramble. It’s also what makes it work for a gingerbread house party.
Build on something portable. A cake board or platter means you can move the house to the table, out of the way of dinner, and back again without holding your breath.
Hot glue is for the platter only. Rosemary trees, a fence, anything sitting on the base is fine. Never on the gingerbread itself, since someone always ends up nibbling.
Give everyone a job. Little ones sort candy, older kids pipe. Assigning roles is the difference between a happy afternoon and three children fighting over one piping bag.
Make a soft dessert too. Nobody actually wants to eat a gingerbread house after it’s dried out. I put out gingerbread cookies or gingersnaps for eating, and a pot of peppermint hot chocolate for the builders.
How to Store a Gingerbread House
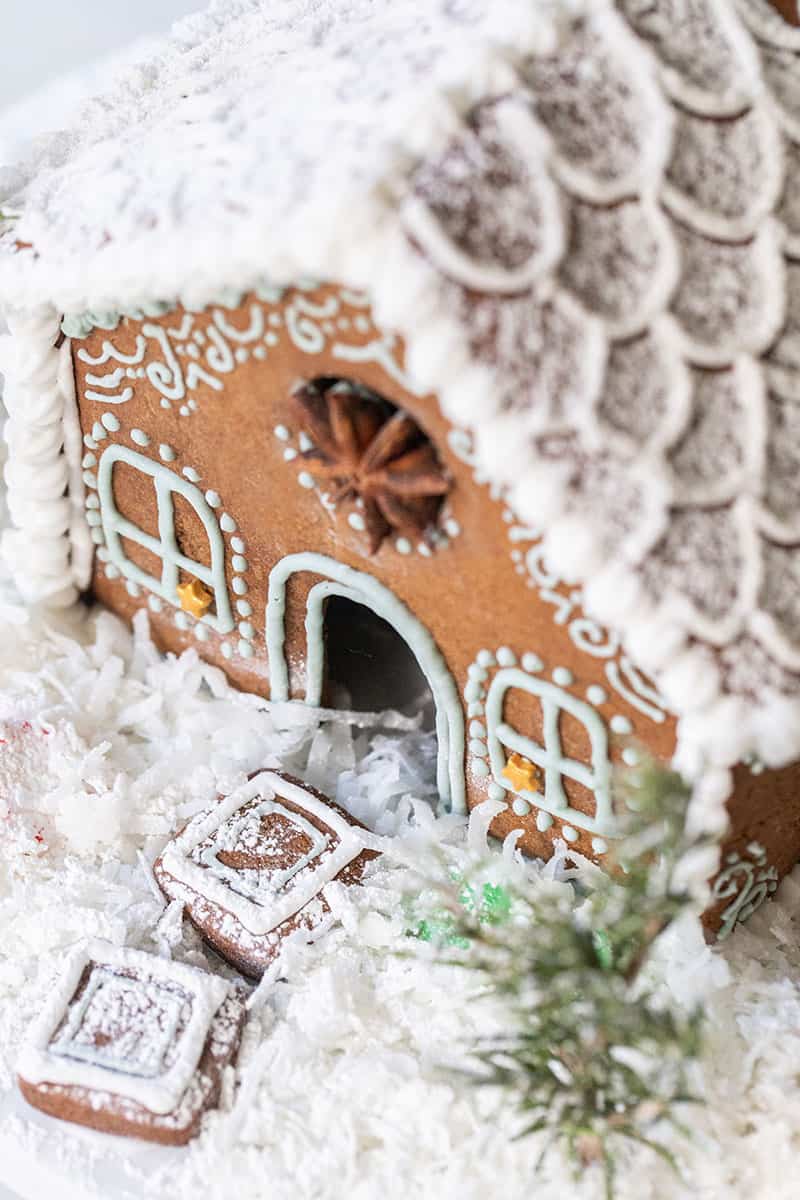
On display. Keep it somewhere cool and dry, out of direct sunlight. It’ll hold together for weeks as decor. I’ve actually had mine out for six weeks, and it was fine and looked great! A glass dome or a loose tent of plastic wrap keeps dust and humidity off it.
If you plan to eat it. Within a week. After that it’s a beautiful decoration and not much else.
Freezer. Up to six to eight months in an airtight, freezer-safe container. It survives the thaw structurally, though the flavor won’t be what it was.
Gingerbread House FAQs
It puffs a little but it doesn’t spread much, which is exactly what makes it good for building. If you want perfectly square edges, lay your templates back on the warm panels and trim them the second they come out.
About a quarter inch. It doesn’t have to be exact, but it does have to be even across all your panels or the walls won’t sit flush.
No. Even with molasses in the recipe, dark brown sugar is where the color and depth come from. It’s worth the trip to the store.
I wouldn’t. Butter is doing structural work here, not just flavor. Margarine has more water in it and the panels come out softer.
One standard house, or three to four mini gingerbread houses. The recipe doubles beautifully if you’re building with a crowd.
It’s not the right dough for eating. It’s built to be firm. For cookies you actually want to eat, use my gingerbread cookie recipe instead.
Royal icing, which is just egg whites, cream of tartar, and powdered sugar. Here’s my gingerbread house icing recipe. It dries hard and holds like glue.
The dough keeps a week in the fridge or three months in the freezer, and baked panels keep a week in an airtight container. Only the icing needs to be fresh.
More Christmas Recipes


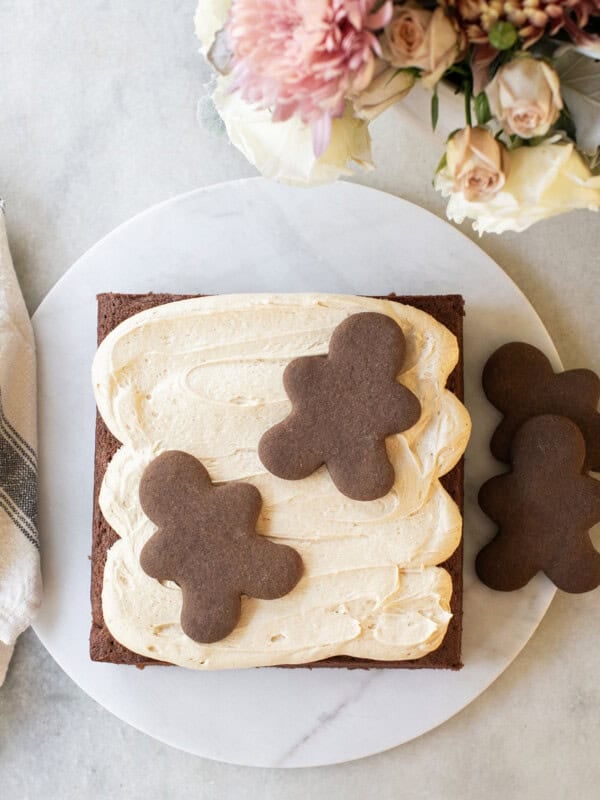

Looking for more Christmas recipes? There’s fluffy gingerbread buttercream for cakes and cookies, buttery spritz cookies, gingersnap cookies, and my full guide to Christmas cookies if you’re planning a baking day. And while you build, set out a hot chocolate charcuterie board and put a peppermint simmer pot on the stove so the whole house smells like Christmas.

My new Entertaining book is here! Order Now!

Gingerbread House Recipe
Equipment
- Gingerbread Cookie Cutters
- Electric Mixer
- Rolling Pin
- Piping Bags with round tips
- measuring cups
Ingredients
Gingerbread House Recipe
- 1/2 cup butter, softened unsalted or salted
- 1/2 cup dark brown sugar
- 1/4 cup molasses
- 1 tbsp ground cinnamon
- 1 tbsp ground ginger
- 1 1/2 tsp ground cloves
- 1 tsp baking soda
- 2 cups all-purpose flour, more if the dough is super sticky
- 4 tbsp water
Gingerbread House Decorations
- candy canes
- gum drops
- sprinkles
- chocolates
Instructions
- Beat the softened butter, brown sugar, molasses, cinnamon, ginger, cloves, and baking soda together until it looks smooth and glossy.
- Turn the mixer to low and add the flour and water. Mix just until a stiff dough pulls together. Stop right there, because overworked dough cracks when you roll it.
- Wrap the dough tightly and chill for at least 30 minutes.
- Heat the oven to 375°F and line your baking sheets with parchment.
- Roll the dough out to about a quarter inch thick on a lightly floured surface. Keep it even across all your panels so the walls sit flush later.
- Cut your house shapes and leave them right where they are on the sheet. Moving them warps the edges.
- Bake about 10 minutes, until the edges look crisp. The centers can still feel a little soft.
- Lay your cutters or templates back on the warm panels and trim any spread. Then cool completely on a wire rack, at least 20 minutes. Warm gingerbread will not hold.
- Make a batch of icing while the panels cool.
- Pipe a thick line of icing along the bottom and side edges of each wall, press it into place, and hold for about 60 seconds. A jar set inside the house helps brace it.
- Let the walls set for 15 to 20 minutes before the roof goes on. Don't skip this part.
- Pipe the roof panels on one at a time, holding each for a minute or two. Seal the peak with a line of icing where the two panels meet.
- Let the house dry at least an hour before decorating. Overnight is better. Then bring on the candy.
Notes
Nutrition
Nutrition information is automatically calculated, so should only be used as an approximation.
















Thanks for all the great tips Eden! Is that shredded coconut on the ground? It looks amazing Xx
Thank you Carrie!! I know if you make one it’s going to look AMAZING!!
We used to always make a gingerbread house at Christmas time growing up. I cannot decide if my favorite part is when you put it together, when you stare at it for days because it’s gorgeous, or when you eat it and enjoy all that hard work!
This sounds like so much fun! My kids and I are definitely going to do this! So excited!
What a beautiful gingerbread house!! My daughter really enjoyed it! Thank you so much for this recipe!
I CANNOT wait to try this! So beautiful but also so yummy looking. BUT FIRST I’m going to make a Halloween Gingerbread House as a trial-run! Thanks for helping me get a head start on my holiday prep!
I love this idea! This looks so much fun! My kids and my husband are going to love this idea! Can’t wait to do this for Christmas this year!
What a beautiful gingerbread house! I will definitely be giving these a try this year; I have never had one look so good!
This is such a great craft for the kids and I to make! Taste so much better than a premade house too!
Thank you Ashley!!
We might try making summer gingerbread houses for an activity 🙂 Thanks for the great step-by-step
You’re welcome! Can’t wait to see your houses!
Your house is gorgeous!!! We always make a gingerbread house at Christmas time. I love your recipe and tip. So much more fun than the premade kits!