This post may contain affiliate links. Please see our disclosure policy.
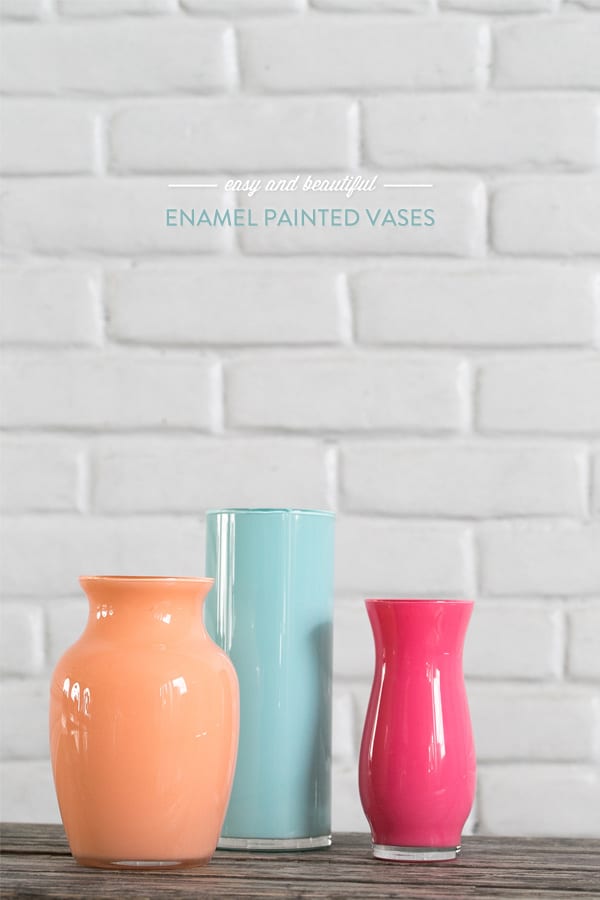
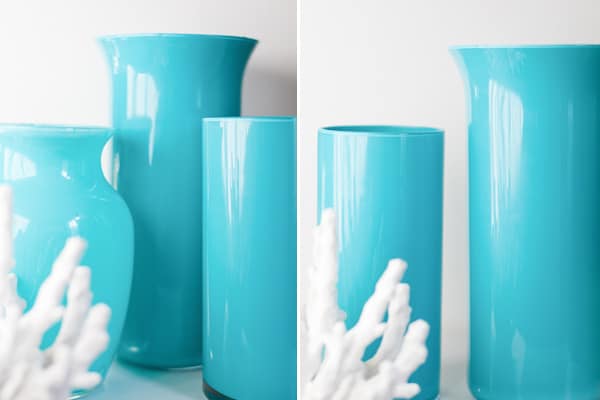
Cost-friendly DIY for beautiful enamel-painted vases. These are easy to make and look chic on a shelf or for birthday parties or events!
Pin this now to find it later
Pin ItEnamel-painted vases – I’m in love! If you like to paint, I have a really fun project to share today! My inspiration for these easy DIY enamel-painted vases came from a restaurant in Sonoma called El Dorado Kitchen.
I’ve always loved the fresh, modern design of the lobby and the eye-catching green and white enamel-painted vases that are displayed on white shelves.
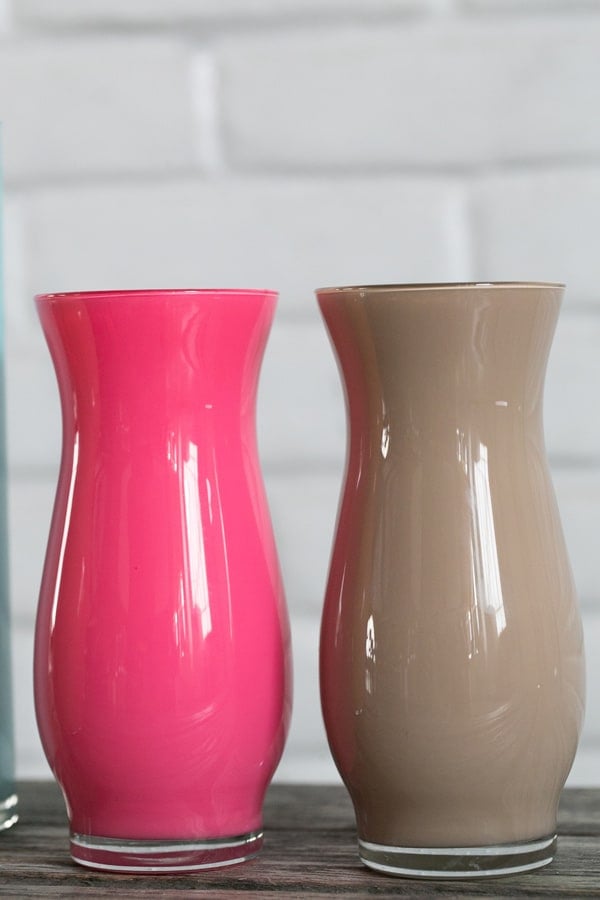
I decided to make my cost-friendly version of this design, which included a quick Martha Stewart tutorial and a trip to the Dollar Store, where I picked up these three vases.
What You’ll Need
– Three different-sized vases from the Dollar Store
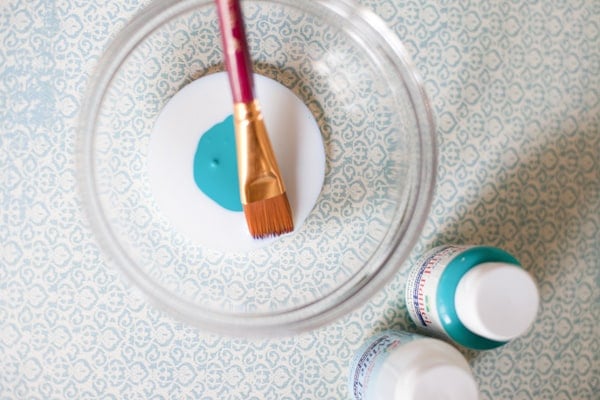
– Dishwasher-safe PermEnamel paint in Mediterranean Blue and White (or whatever color you prefer)
– PermEnamel Surface Conditioner from Michaels Arts and Crafts store
DIY Painted Vases – Steps To Follow
1 — Clean the vases with hot, soapy water.
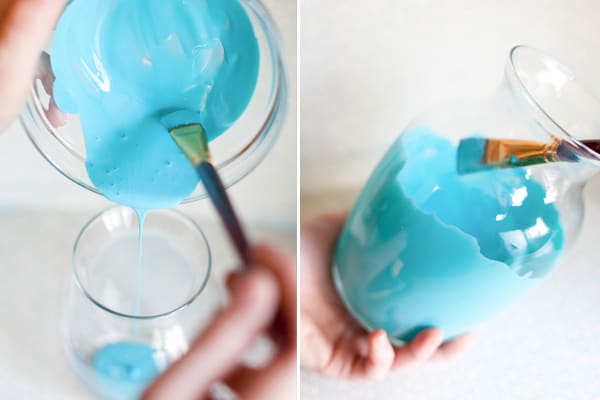
2 — When they are completely dry, pour some surface conditioner in and cover the inside of the vase. Pour out the excess and let the vase dry.
3 — Get the exact color you envision by mixing your PermEnamel paints in a mixing bowl, then pour them inside the vase.
4 — Paint the inside of the glass using a paintbrush to cover the inside surface.
5 — Once the vase is painted, lay it on a paper towel to let the thick paint drip off. You will be amazed at how much comes out! The longer it’s upside down, the thinner the coating will be. I liked the thicker look, so I only kept it upside down only for a few minutes.
6 — Turn the vase back over and touch up the drips inside. Every fifteen minutes, you can even out the thickness on the bottom of the vase as the paint will start to collect.
7 — Let these dry overnight, and in the morning, you should have a beautiful decor vase!
Reminder and Notes
Remember, these beautiful enamel-painted vases are only for DECOR. Don’t drink out of them! You can put water in them, but it may damage the finish eventually.
I’m simply sitting them on the shelf, like the photos to the right.
Follow us for your daily dose of Sugar and Charm on Instagram!
More Creative Posts You’ll Love
- DIY Fabric Marbling
- Essential Oil Candles
- Green Apple Bath Bombs
- How to Arrange Cut Tulips in A Vase
- How to Make Cut Tulips Last
- Repurpose Yankee Candle Jars
Let us know if you make these easy enamel-painted vases! We’d love to know your thoughts!!

DIY Painted Vases
Ingredients
- Three different-sized vases from the Dollar Store
- Dishwasher-safe PermEnamel paint in Mediterranean Blue and White (or whatever color you prefer)
- PermEnamel Surface Conditioner from Michaels Arts and Crafts store
- Paper towels
- Paintbrush
- Mixing bowl
Instructions
- Clean the vases with hot, soapy water.
- When they are completely dry, pour some surface conditioner in and cover the inside of the vase. Pour out the excess and let the vase dry.
- Get the exact color you envision by mixing your PermEnamel paints in a mixing bowl, then pour inside the vase.
- Paint the inside of the glass using a paintbrush to cover the inside surface.
- Once the vase is painted, lay it on a paper towel to let the thick paint drip off. You will be amazed at how much comes out! The longer it’s upside down, the thinner the coating will be. I liked the thicker look so I only kept it upside down only for a few minutes.
- Turn the vase back over and touch up the drips inside. Every fifteen minutes you can even out the thickness on the bottom of the vase as the paint will start to collect.
- Let these dry overnight and in the morning you should have a beautiful decor vase!




how did you get it so even? I gave it a try and even though I had a generous amount of paint, I still had streaks and blotchy spots… 🙁 I rinsed it out quick so I could try again. Any tips?
I bet you could just pour the paint in and let it roll around inside. You won’t even have brush strokes. I never tried this so I am just guessing. I have colored jars with other paints and it has worked. I am going to do this. I hope you will do another or put another coat on it. This time try letting it swirl around in jar. Just my opinion.
Hi Carri, I can’t say it is safe to put candles in them. I use mine strictly for look and they just sit on my shelf. I would be nervous to put a candle in there so I wouldn’t recommend it… If you find anything out about it please pass it along!! 🙂 Thanks for all the comments everyone!! 🙂
Wonderful idea! What a pretty color!
Awesome! Very cool! Thanks for the tutorial. I am definitely going to give this a try. Do you know if they would be safe to put a candle in?? I have a lil idea brewing but don’t want to start a fire! LoL
Beautiful! love that Aqua blue color!!!
Love This I’ve been needing some cheap but fab decor for my living room
very pretty! love the color you chose aswell!
gorg!!! love that vivid color and how modern they look! excelente!
Pretty project! I linked up at the Dollar Store Crafts facebook page! 🙂
Heather
http://www.facebook.com/dollarstorecrafts
Pretty project! I linked up at the Dollar Store Crafts facebook page! 🙂
Heather
http://www.facebook.com/dollarstorecrafts