This post may contain affiliate links. Please see our disclosure policy.
Celebrate the spooky season with my charming Halloween sugar cookies, beautifully decorated with our perfect royal icing! Ideal for parties or fun activities with the kids, these cookies combine simplicity with festive creativity.
Pin this now to find it later
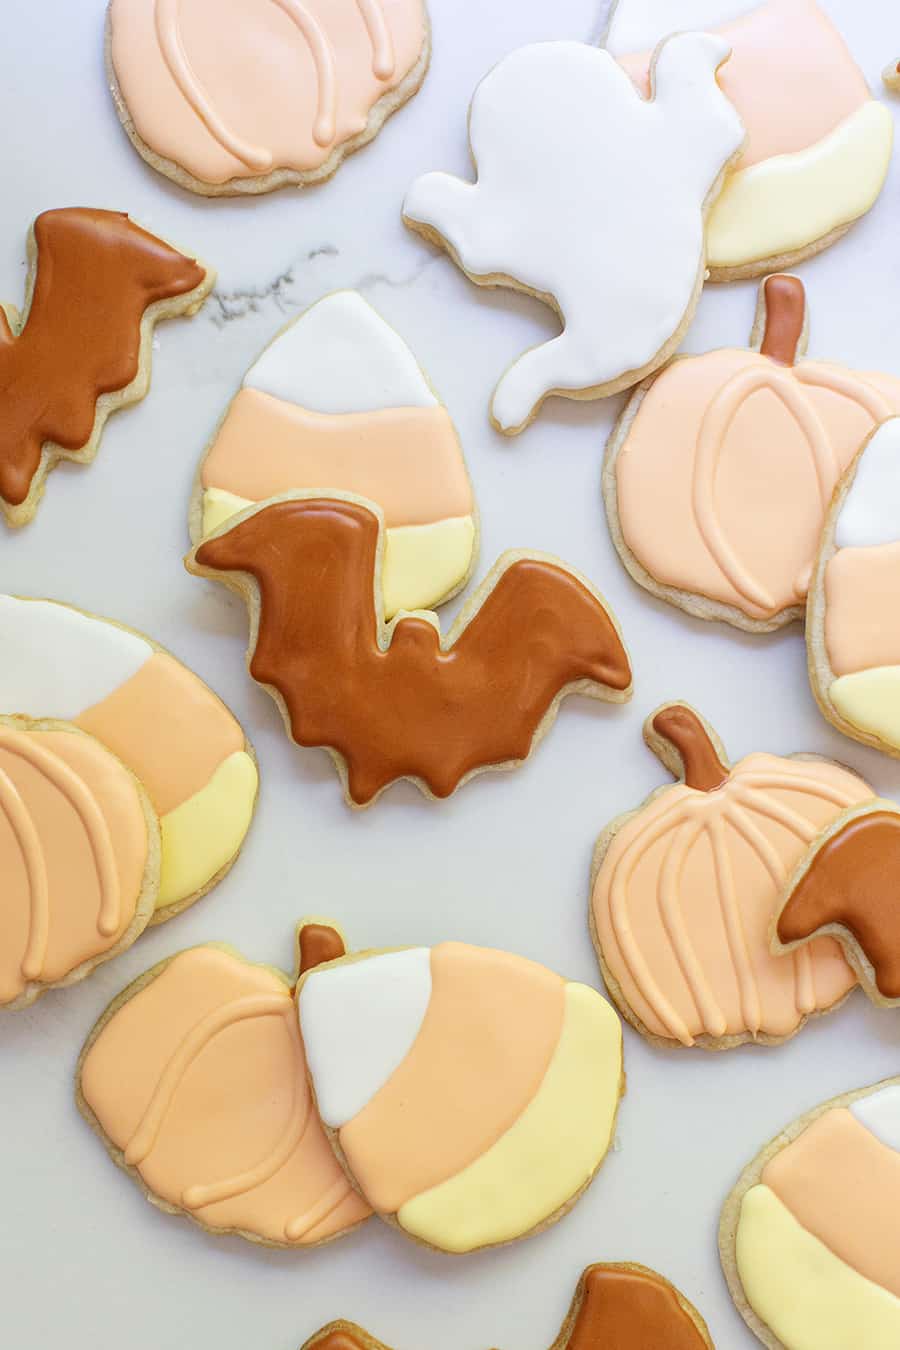
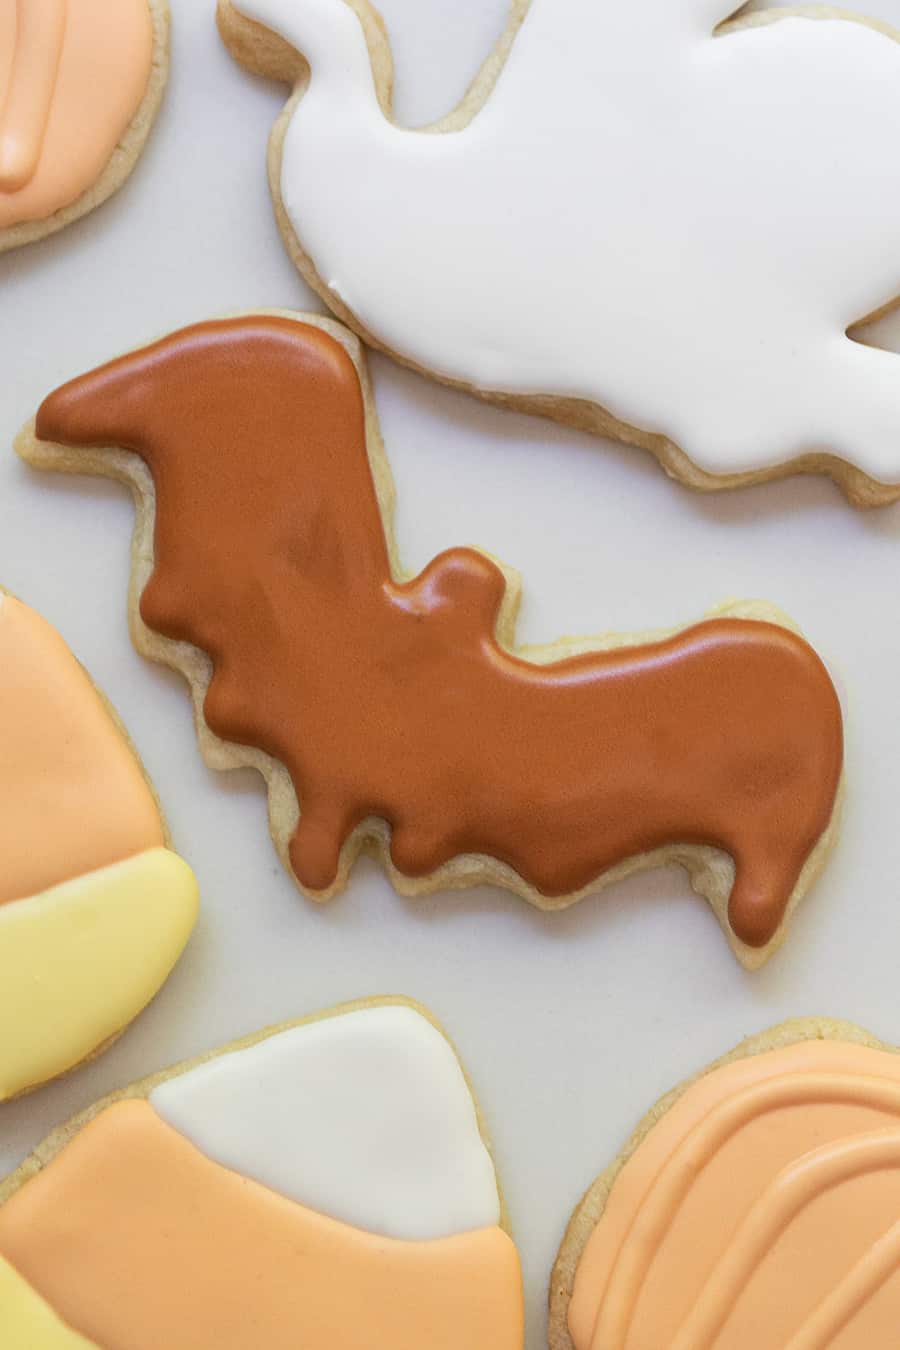
Pin ItYou can’t go wrong with cute, holiday-themed sugar cookies! Cut-out sugar cookies are classic and perfect for Halloween. We kept them charming by using pastel colors and sweet shapes. My buttery cookies are perfect for a party or to make with your kiddos.

You do not need to be a professional cookie decorator to make these either. You’ll need a few decorating supplies that you can pick up and then a little extra time.
You can take a few days to make these. Bake the cookies one day, and the following make it a decorating party!

Essential Supplies You’ll Need
- Halloween Cookie Cutters: Select from various spooky shapes.
- Piping Tips: Small and medium rounds for detailed icing work.
- Quality Baking Tools: Including cookie sheets, parchment paper, and cooling racks.
- Coloring Your Creations: Gel food dye in Halloween-themed colors like copper, orange, and yellow.
- Meringue Powder: This is to make the royal icing.


Sugar Cookie Dough
Make a batch of our favorite sugar cookies! They’re buttery and the perfect sugar cookie cutouts. Follow the recipe here.
Once the dough is made, roll it out 1/4″ to 1/2″ thick on parchment paper and using Halloween cookie cutters, make shapes!
Place the shapes on a parchment lined cookie sheet.
Bake for 7 minutes at 350 degrees.
Place the cookies on a cookie sheet to cool.

Mastering Royal Icing
Royal icing can be tricky, but our detailed guide will ensure you get the perfect glue-like consistency every time. Follow my guide to making the best royal icing!
The biggest tip for making royal icing is that the consistency needs to be glue-like. When you lift the electric mixer, the royal icing should drip down like Elmer’s glue would.


How to Pipe Frosting on Halloween Sugar Cookies
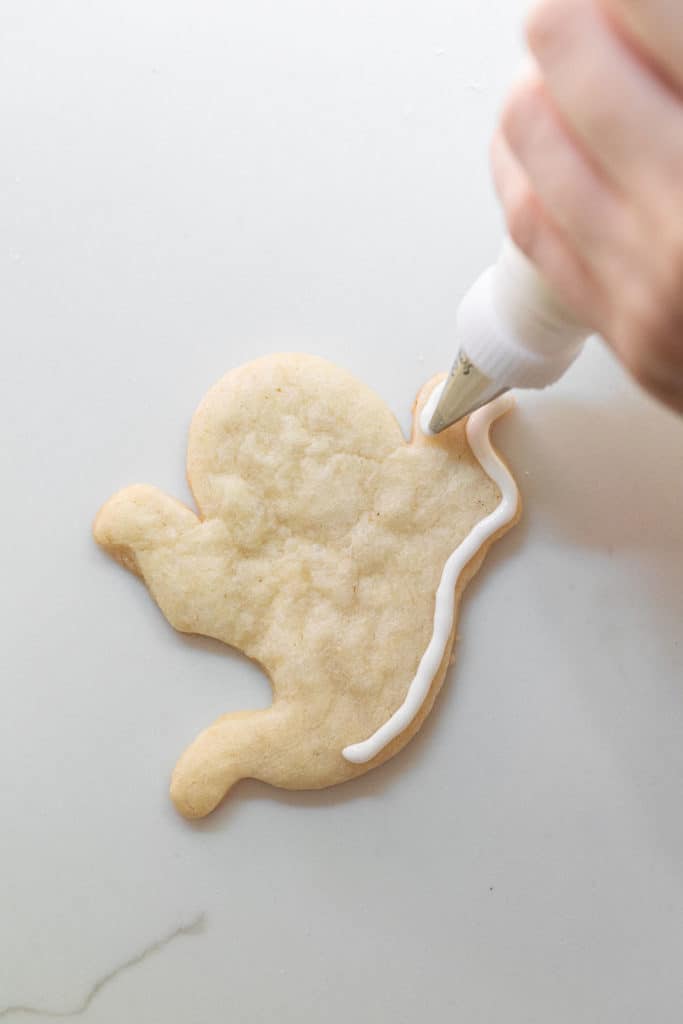
Once the small round tips are fitted on the piping bags and they’re filled with delicious, colorful royal icing you’re ready to pipe!
- Start by outlining the cookie with the icing.
- Next, fill in the middle by continuing to follow the outline all the way to the center.
- The royal icing will start to blend together, creating a seamless coat of frosting.
- For the pumpkins, outline and fill them in. Let them dry for 30 minutes, then go back and make lines over the top.
- Let the cookies dry for 3 hours. Royal icing takes a while to dry and if you touch it before then they will dent and make fingerprints.
If you don’t have piping tips, cut a very small hole at the end of the piping bag.

Tips and Recipe Variations
- Chill the Dough: Always chill your dough for at least an hour before rolling it out. This prevents spreading and helps maintain the shape of your cookies.
- Uniform Thickness: Roll out your dough to a uniform thickness to ensure even baking. Use rolling pins with thickness rings for best results.
- Flavor Variants: Add a hint of almond or lemon extract to the dough to give your traditional sugar cookies a subtle but distinct flavor twist.
- Decorative Details: Beyond traditional icing, consider using edible glitter or candy eyes for a more dramatic effect. These small additions can make your cookies stand out at any Halloween party.
More Fun Halloween Treats to Try
- Brown Butter Mummy Rice Krispies
- Easy and Adorable Mummy Brownies
- Halloween Dirt Cups
- Black Velvet Cupcakes
- Oreo Halloween Cake
- Witch Finger Pretzels
- Chocolate-Covered Halloween Pretzels
Let me know if you make these Halloween sugar cookies by leaving a comment and recipe below!
You can also FOLLOW US on FACEBOOK, INSTAGRAM, and PINTEREST to see more delicious recipes, cocktails, desserts and parties!

Halloween Sugar Cookies
Ingredients
Royal Icing Recipe
- 1/2 tsp orange food coloring, gel
- 1/2 tsp yellow food coloring, gel
- 1/2 tsp brown or copper food coloring , gel, I use brown and copper for the bats.
Instructions
- Make a batch of our favorite sugar cookies! They’re buttery and the perfect sugar cookie cutouts.
- Roll the dough in a ball and refrigerate for 20 minutes so it firms up a little and is easier to cut the shapes from
- Once the dough is made, roll it out 1/4″ to 1/2" thick on parchment paper and using Halloween cookie cutters, make shapes.
- Quick tip – use powdered sugar when rolling the cookies and not flour!
- Place the shapes on a parchment-lined cookie sheet.
- Bake in a 350-degree oven for 7 minutes until the cookies are a very light golden brown.
- Place the cookies on a cookie sheet to cool.
Royal Icing
- Separate the frosting into 4 bowls to make brown, yellow, orange and white.
- You’ll need more orange and white icing to make pumpkins and ghosts and a smaller amount of brown for bats and top of pumpkins. The candy corns will use a small amount of orange, white, and yellow.
- Add less dye to keep the colors pastel to make charming Halloween cookies.
- When the royal icing is colored, add the tips to the piping bags and fill them. Do not fill to the top of the bag, leave room to twist it closed
- Once the small round tips are fitted on the piping bags and they’re filled with delicious, colorful royal icing you’re ready to pipe.
Piping Royal Icing
- Start by outlining the cookie with the icing.
- Next, fill in the middle by continuing to follow the outline all the way to the center.
- The royal icing will start to blend together, creating a seamless coat of frosting.
- For the pumpkins, outline and fill them in. Let them dry for 30 minutes, then go back and make lines over the top.
- Let the cookies dry for 3 hours. Royal icing takes a while to dry and if you touch it before then they will dent and make fingerprints.