

This post may contain affiliate links. Please see our disclosure policy.
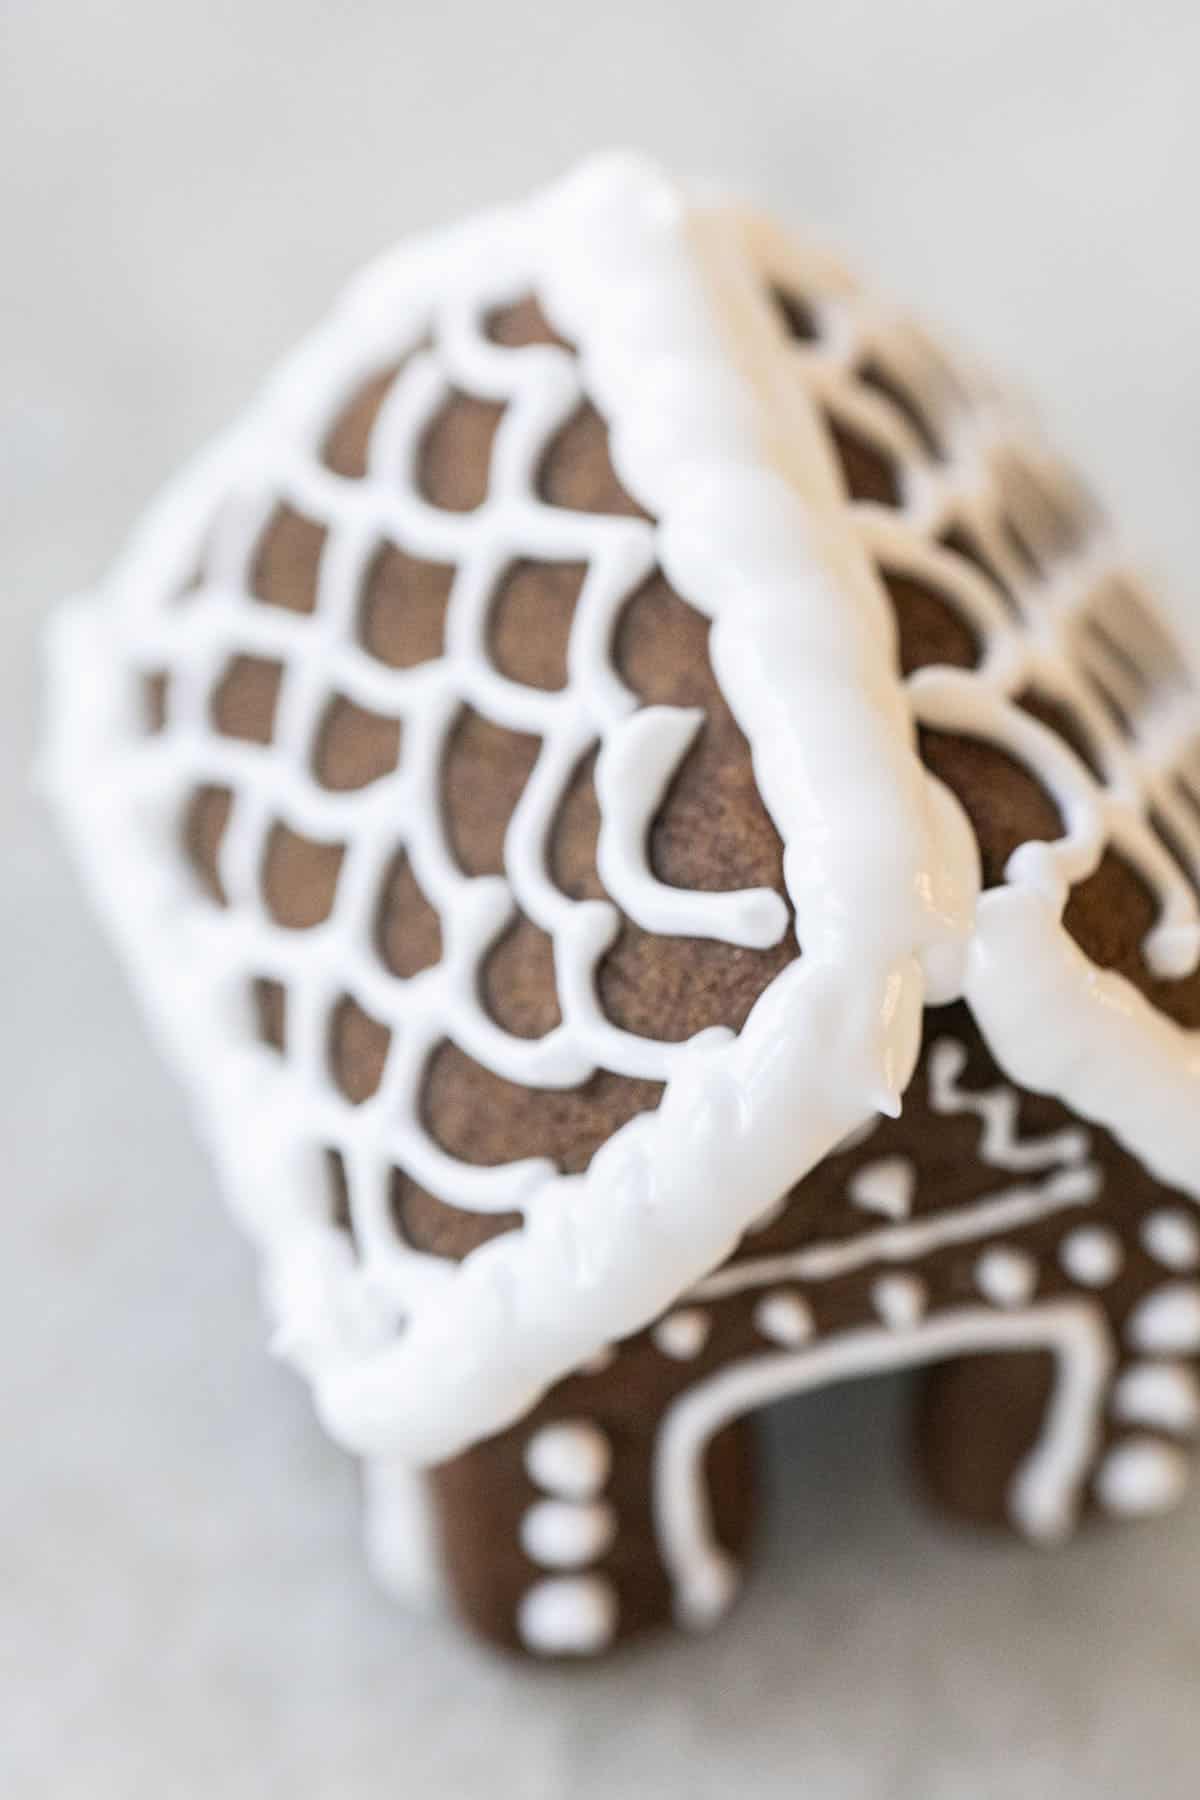
This gingerbread house icing is thick, fluffy, and dries hard enough to hold your entire gingerbread house together! It’s made with just three ingredients, takes only a few minutes to whip up, and works like the BEST edible glue for walls, roofs, and all the candy you want to add.
Pin this now to find it later
Pin ItI’ve been making gingerbread houses for years, and this is the only royal icing I use. We have gingerbread house parties every December, and I’ve made countless batches of this icing. Trust me, nothing takes the fun out of decorating faster than a roof that keeps sliding off!
I use it for my homemade gingerbread houses, mini gingerbread houses, and even my gingerbread Christmas trees. It pipes beautifully, holds its shape, and hardens, so you can decorate without everything falling apart.
⭐⭐⭐⭐⭐
“Wonderful recipe. Holds like superglue and looks great! Thank you so much.” — Róisín
Table of Contents
- Why This Gingerbread House Icing Works
- Gingerbread House Icing Ingredients
- How to Make Gingerbread House Icing
- How Much Icing Do You Need for a Gingerbread House?
- Easy Way to Fill a Piping Bag
- How to Use Royal Icing to Build a Gingerbread House
- Eden’s Gingerbread House Icing Tips
- How to Get the Right Gingerbread House Icing Consistency
- How to Store Gingerbread House Icing
- Gingerbread House Icing FAQs
- More Gingerbread Desserts
- Gingerbread House Icing Recipe
Why This Gingerbread House Icing Works
Dries hard: This is a thick royal icing made for holding gingerbread walls, roofs, and decorations together.
Only three ingredients: Egg whites, powdered sugar, and cream of tartar.
Easy to pipe: It holds its shape without running down the sides of your house.
Great for parties: One batch makes about 3 cups, enough for several houses depending on their size.
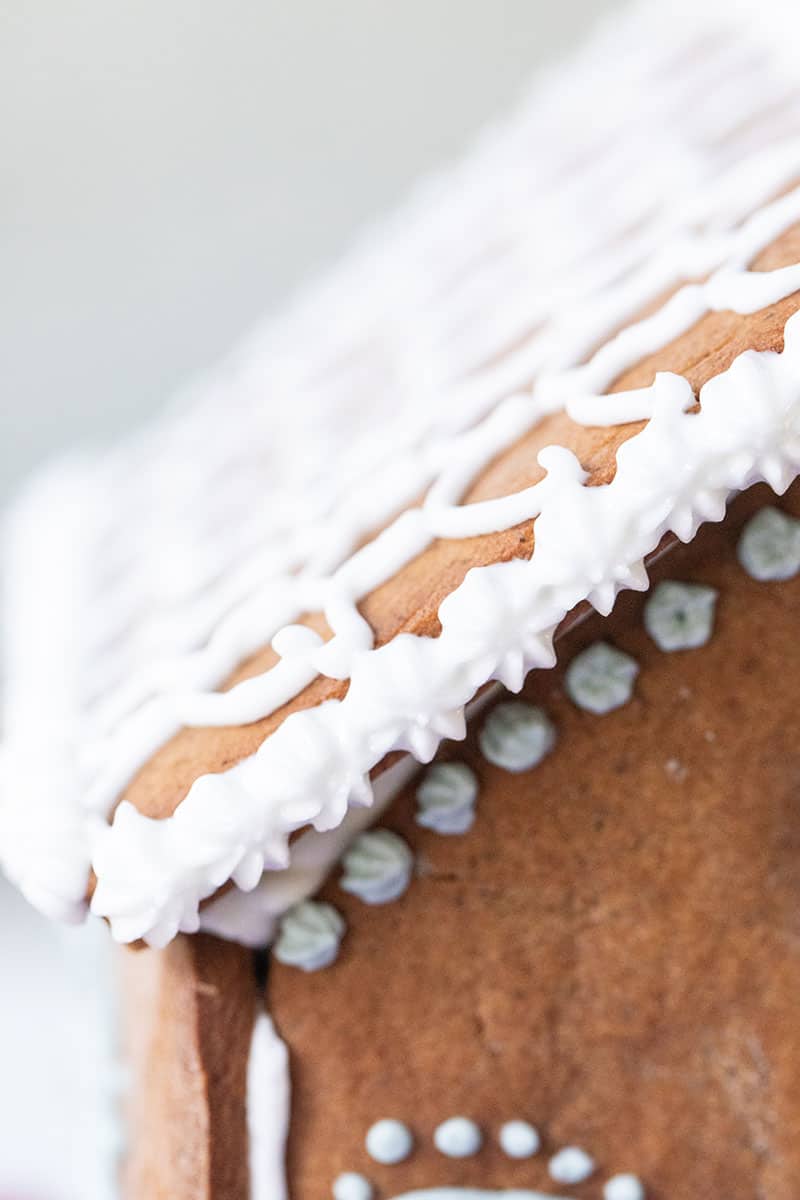
Perfect for decorating: Use it for snowy rooftops, windows, doors, and attaching candy.
If you’re planning a gingerbread decorating afternoon, my gingerbread house party guide has more ideas to make it fun and easy!
Gingerbread House Icing Ingredients
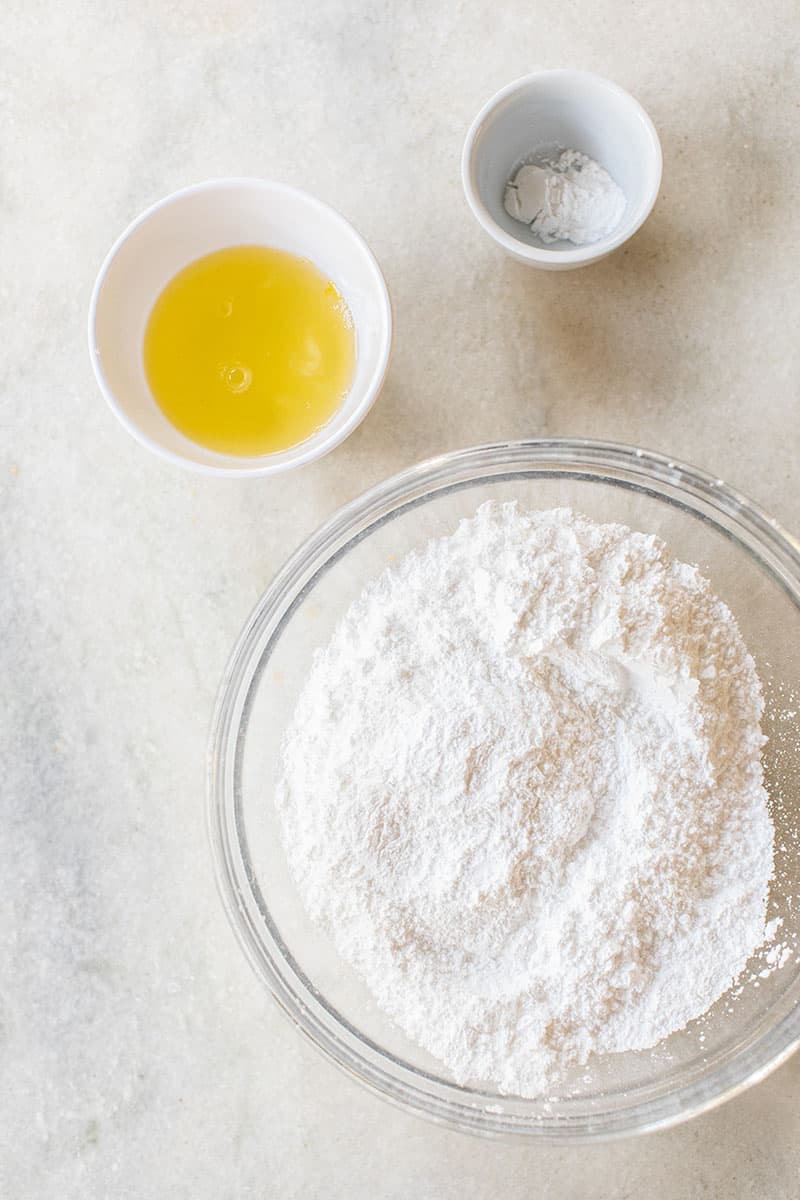
Powdered sugar: Also called confectioners’ sugar. This is what gives the icing its thick consistency and helps it dry hard. I start with 4 cups and add up to another ½ cup as needed.
Egg whites: These help create the thick, fluffy structure of the icing. I recommend pasteurized egg whites if the icing will be eaten. Choose a product labeled suitable for whipping, since not all cartons behave the same way.
Cream of tartar: This helps stabilize the whipped egg whites so the icing holds its shape.
Gel food coloring (optional): I prefer gel coloring because it lets you add beautiful color without thinning the icing too much.
How to Make Gingerbread House Icing
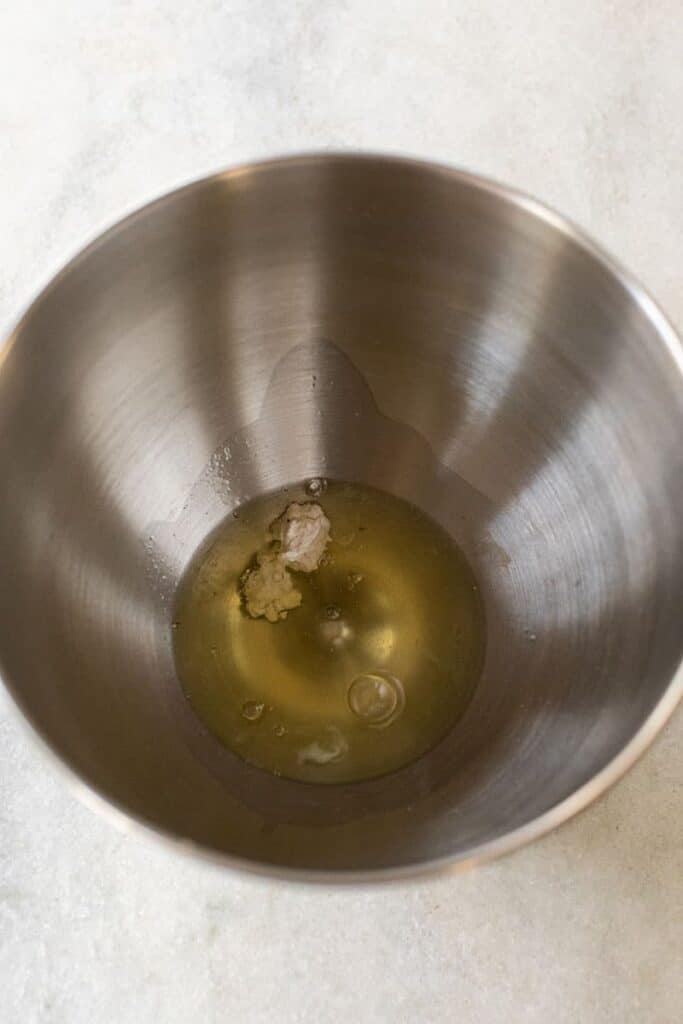
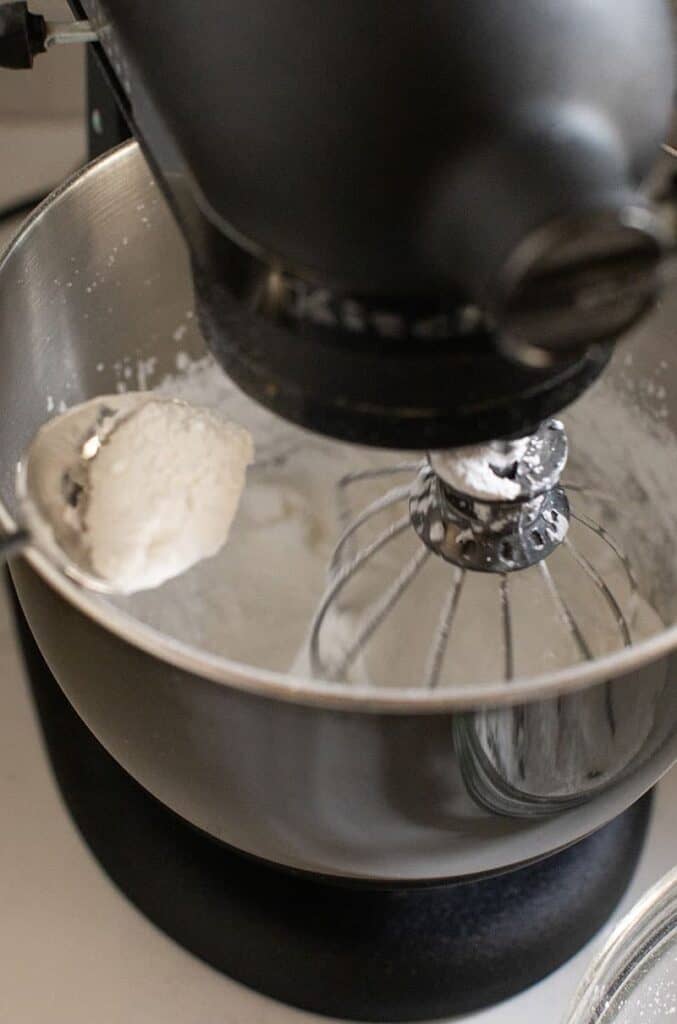


1. Beat the egg whites. Add the egg whites and cream of tartar to the mixer. Beat on high speed until stiff peaks form.
2. Add the powdered sugar. Turn the mixer to low and add the powdered sugar one spoonful at a time.
3. Whip until fluffy. Once the powdered sugar is incorporated, increase the speed and beat until the icing is thick, glossy, and fluffy.
4. Check the consistency. Pull a knife straight through the icing. The line should stay open instead of closing back together. This is my favorite trick for knowing it’s thick enough to hold a gingerbread wall!
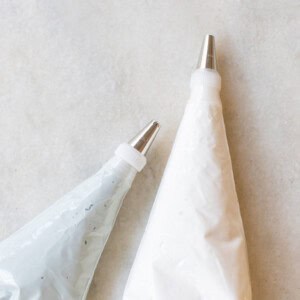
5. Fill the piping bags. Transfer the icing to piping bags and keep it covered until you’re ready to decorate.
How Much Icing Do You Need for a Gingerbread House?
One batch makes approximately 3 cups of icing, which fills about four small piping bags.
Here’s my general guide from making gingerbread houses over the years:
- Standard gingerbread houses: About 2 to 3 houses per batch.
- Mini gingerbread houses: About 6 to 8 houses.
- Graham cracker houses: About 4 to 5 houses.
The amount you need will depend on the size of your houses and how much decorating you plan to do. I’d much rather have leftover icing than run out halfway through decorating.
Easy Way to Fill a Piping Bag

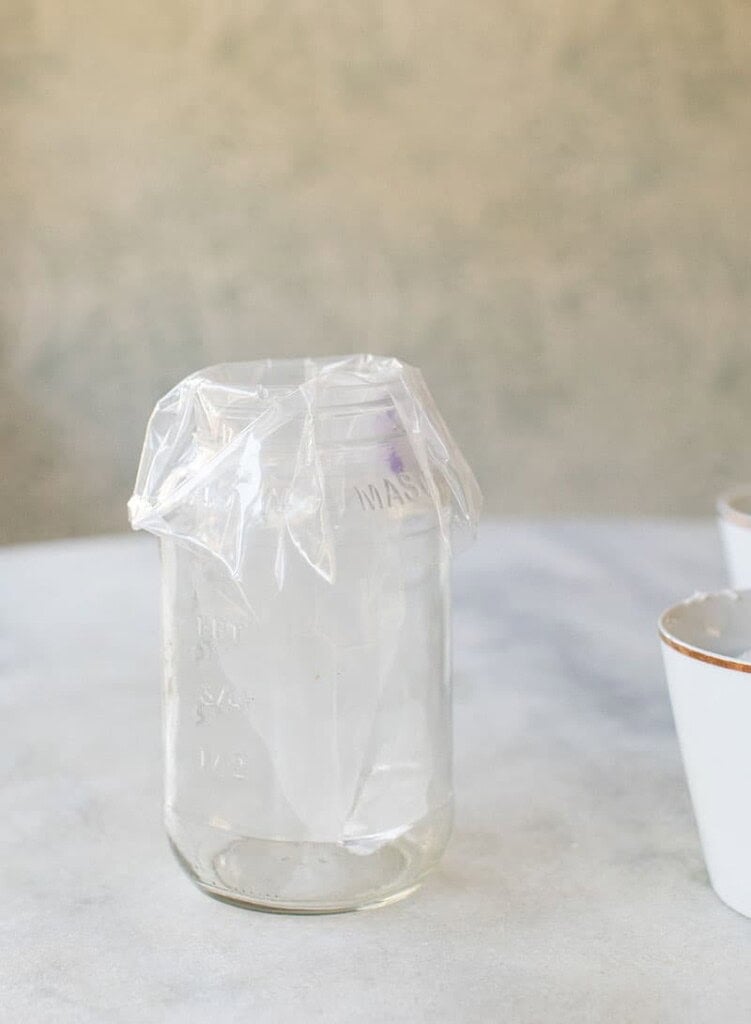
A friend taught me this years ago, and I’ve never filled a piping bag any other way!
- Place an empty piping bag inside a tall glass or jar.
- Fold the top edges of the bag over the rim.
- Spoon the icing into the bag, filling it about three-quarters full.
- Lift the bag out, twist the top, and secure it.
It’s so much easier than trying to hold a piping bag open with one hand while filling it with the other!
How to Use Royal Icing to Build a Gingerbread House
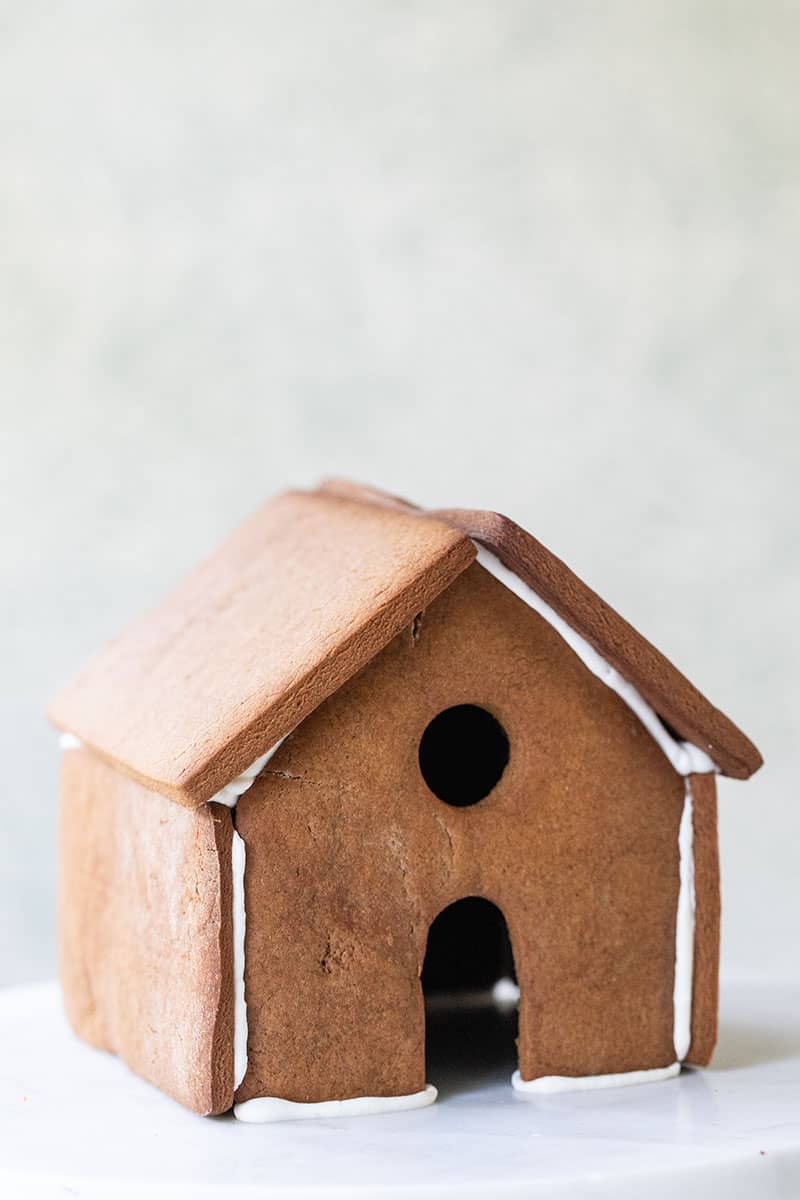
I use this icing for assembling the house AND decorating it.
Pipe a thick line of icing along the edges of your gingerbread pieces, then press them together and support them while they begin to set. Once the walls are secure, add the roof.
The important thing is to give the structure enough time to become stable before piling on heavy candy.
I actually like building the houses the day before we decorate them. That way, when everyone comes over, we can get straight to the fun part!
You can find the full instructions, templates, and construction photos in my homemade gingerbread house recipe.
And if you’re making houses with little kids, try mini gingerbread houses or graham cracker houses. They’re a little easier to manage and just as charming!
Eden’s Gingerbread House Icing Tips
Fill your piping bags right away. Royal icing starts to crust when exposed to air. I fill the bags and close them as soon as it’s ready so it stays soft enough to work with.
Use gel food coloring. Liquid coloring can thin your icing, which isn’t ideal when you’re trying to hold a roof together!
Make extra icing. I always make more than I think I’ll need, especially for parties. There’s never a shortage of candy that needs sticking somewhere!
Keep it covered. If you’re not actively using the icing, keep it in a closed piping bag or covered container so it doesn’t dry out.
You can also use a thicker version of this icing for decorating my classic gingerbread cookies, although you’ll want to adjust the consistency for delicate details.
How to Get the Right Gingerbread House Icing Consistency
This is probably the most important part of the recipe! You want icing that’s thick enough to hold your gingerbread house together, but still soft enough to squeeze through a piping bag.
If it’s too runny: Add a little more powdered sugar and mix again. When you pull a knife through the icing, the line should stay open instead of closing back together.
If it’s too thick: Add water just 1 teaspoon at a time until it’s easier to pipe, but still holds its shape.
If it isn’t drying: Humidity can slow the drying process. Give your house more time to set before adding heavy decorations.
If the walls or roof keep slipping: Make sure your gingerbread pieces fit together, pipe a generous line of icing along the edges, and support them until they’re stable.
I always check the consistency before filling my piping bags. It’s SO much easier to fix the icing in the mixer than after you’ve started building your house!
How to Store Gingerbread House Icing
Royal icing dries quickly when exposed to air, so keep it in a tightly sealed container or piping bag.
Because this recipe contains uncooked egg whites, refrigerate any icing you prepare in advance and follow the storage instructions for the pasteurized egg product you’re using.
If the icing stiffens after refrigeration, let it soften enough to work with, then re-whip and check the consistency before filling your piping bags.
For holiday parties, I prefer making the icing close to when we need it and filling the piping bags right away.
Gingerbread House Icing FAQs
Yes! This royal icing dries firm enough to hold gingerbread walls, rooftops, and candy in place. It needs time to set, so I recommend assembling your house before you begin adding heavy decorations.
Meringue powder can be used to make royal icing, but the recipe and liquid proportions are different. This particular recipe is the egg-white version I’ve made for years, so I wouldn’t substitute it one-for-one without using a tested meringue-powder formula.
Yes. Keep it tightly sealed and refrigerated, using pasteurized egg whites, and follow the product’s storage guidance. Re-whip if needed and check that the icing still holds a stiff peak before using.
Use thick royal icing, apply generous lines along the edges, and support the walls and roof until they’re stable. If the icing is too thin, add a little powdered sugar before trying again.
Absolutely! I actually prefer making my own icing even when I buy a kit because it’s sturdy and I can make plenty of it.
Royal icing made with uncooked egg whites should use pasteurized eggs or an appropriate pasteurized egg product if it will be eaten. The icing also dries very hard, so keep that in mind if you’re planning to eat the decorations.
I wouldn’t! Buttercream stays relatively soft, while royal icing dries firm and is much better suited for supporting gingerbread walls and roofs.
More Gingerbread Desserts

Holidays
Spritz Cookies Recipe
Christmas
Moist Gingerbread Cake Recipe

Holidays
Homemade Gingerbread Syrup

Christmas
Classic Gingerbread Cutout Cookies
If you love making gingerbread houses as much as I do, there are so many fun ways to use this icing!
Start with my homemade gingerbread house, make adorable mini gingerbread houses for hot chocolate mugs, or create a beautiful gingerbread Christmas tree for your holiday table.
You can also try my gingerbread cutout cookies or browse my Christmas cookie recipes for more holiday baking inspiration.
If you make this gingerbread house icing, please leave a comment and rating below! I love seeing the houses you create and hearing how your holiday projects turn out!

My new Entertaining book is here! Order Now!
Gingerbread House Icing
Equipment
- Electric Mixer with Whisk Attachment
Ingredients
- 4 large egg whites , (pasteurized if the icing will be eaten)
- 1 tsp cream of tartar
- 4 1/2 cups powdered sugar , 4 to 4½ cups powdered sugar, added gradually as needed
- 2 tbsp food coloring , optional
Instructions
- Whip the egg whites: In the bowl of a stand mixer fitted with the whisk attachment, beat 4 large egg whites and 1 teaspoon cream of tartar on high speed until stiff peaks form.
- Add the powdered sugar: Turn the mixer to low and slowly add 4 cups powdered sugar, one spoonful at a time.
- Whip until fluffy: Once the powdered sugar is incorporated, increase the speed and beat until the icing is thick, glossy, and fluffy.
- Check the consistency: Pull a knife straight through the icing. The line should stay open instead of running back together. If it's too loose, gradually add up to the remaining ½ cup powdered sugar, mixing and testing as you go.
- Add color if desired: Divide the icing into bowls and add small amounts of gel food coloring until you reach your desired colors.
- Fill the piping bags: Transfer the icing to piping bags and seal the tops. Keep any unused icing tightly covered so it doesn't dry out.
Notes
- Consistency: The icing should hold stiff peaks and keep its shape when piped. Add powdered sugar a little at a time if it’s too runny.
- Too thick: Add water just 1 teaspoon at a time until the icing is easier to pipe.
- Yield: Makes approximately 3 cups, enough for 2–3 standard gingerbread houses or 6–8 mini houses, depending on how heavily you decorate.
- Make ahead: Use pasteurized egg whites if the icing will be eaten. Refrigerate in a tightly sealed container and follow the egg product’s storage instructions.
- Prevent drying: Keep icing covered or in closed piping bags while you work.
- Coloring: Use gel food coloring rather than liquid to avoid thinning the icing.
Nutrition
Nutrition information is automatically calculated, so should only be used as an approximation.
















This is perfect, not too sweet, but excellent flavor.
Save this for your Christmas decorating!! I used it last year and it was great.
Bookmarking this because it’s going to come in handy over the holidays! (But was also great for our Christmas in July party!)
Please disregard my previous review🙏
I now see all the measurements and instructions.
Wonderful recipe. Holds like superglue and looks great! Thank you so much ☺️
Can you put the icing in piping bags and put in refrigerator until ready to use?
It will harden, so I would leave it out OR if you do it the day before you can refrigerate but then it will need a few hours to come to room temp again.
Whipped up perfectly with hand beater and held the house together very well. A recipe worth saving and using again and again. Thanks for sharing this
My batch did not hold the house together, but worked for decorating. I am now concerned about the extra that I froze for use days later. Thinking after it thaws, I could add more powdered sugar to make it firmer? What do you suggest?
Yes maybe use more powdered sugar or make sure you beat the egg whites and cream and tartar until thick. I have never had this problem, mine holds like glue!
I used this recipe to decorate the house, it is great, exactly as described. However, I get the store kits and hot glue the house together before decorating. No one is going to actually eat the house, hot glue the bottom of the house to a base, usually a roasting pan or cookie sheet turned up side down and covered with foil. A hot glue gunned house base can withstand several children decorating it together without caving in.