This post may contain affiliate links. Please see our disclosure policy.
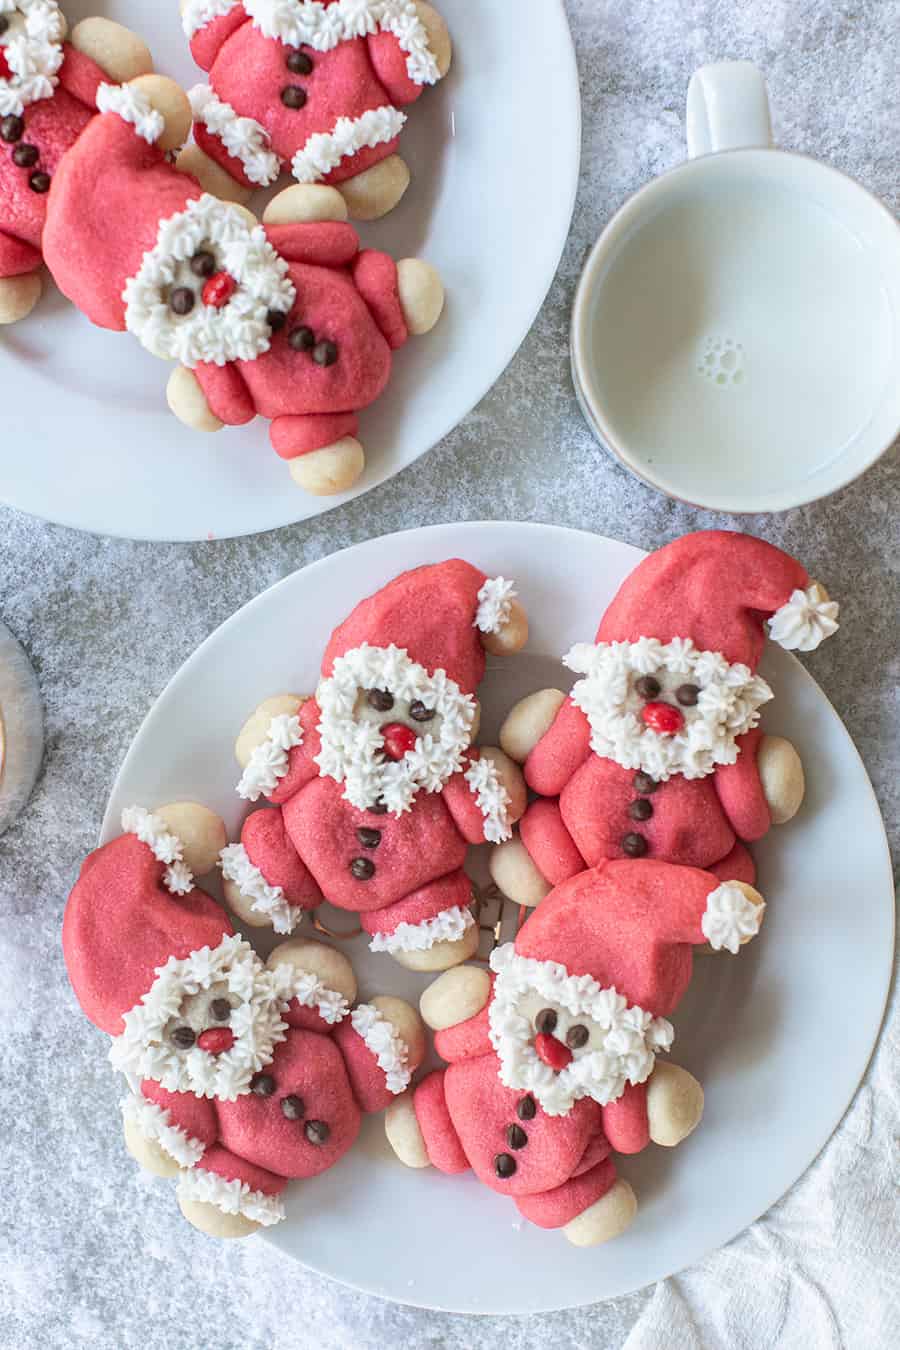
These Santa cookies are adorable, tasty, and great to make with your kids! With their buttery flavor, chocolate eyes, and frosted beards, they’ll stand out at any Festive party. Hands down, the yummiest Christmas cookies to come down your chimney!
Pin this now to find it later
Pin ItI’ve been making these Santa cookies for almost 20 years! They have become a tradition in my home, with my kids helping me each holiday season to create the chubby little body and adorable chocolate chip eyes.
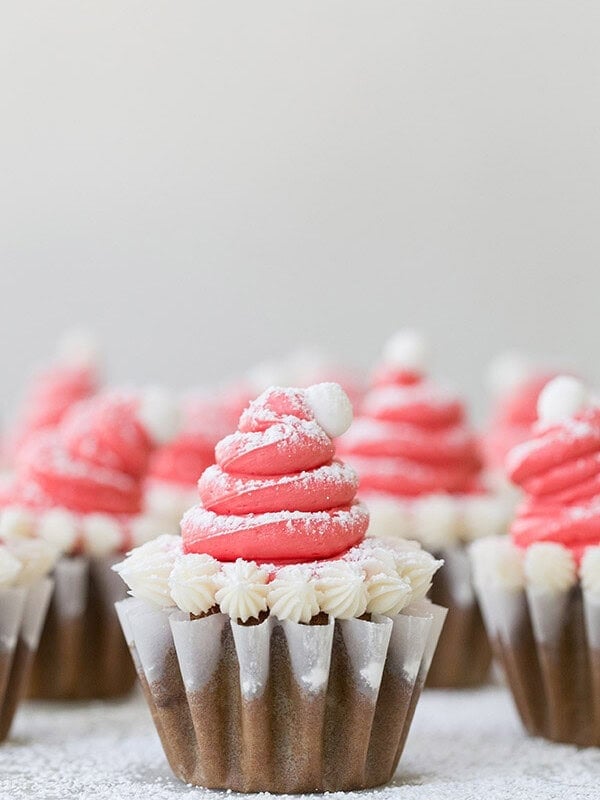
We always place them out for Santa on Christmas Eve, along with our Santa hat cupcakes, and we think he gets a good belly laugh at them well!
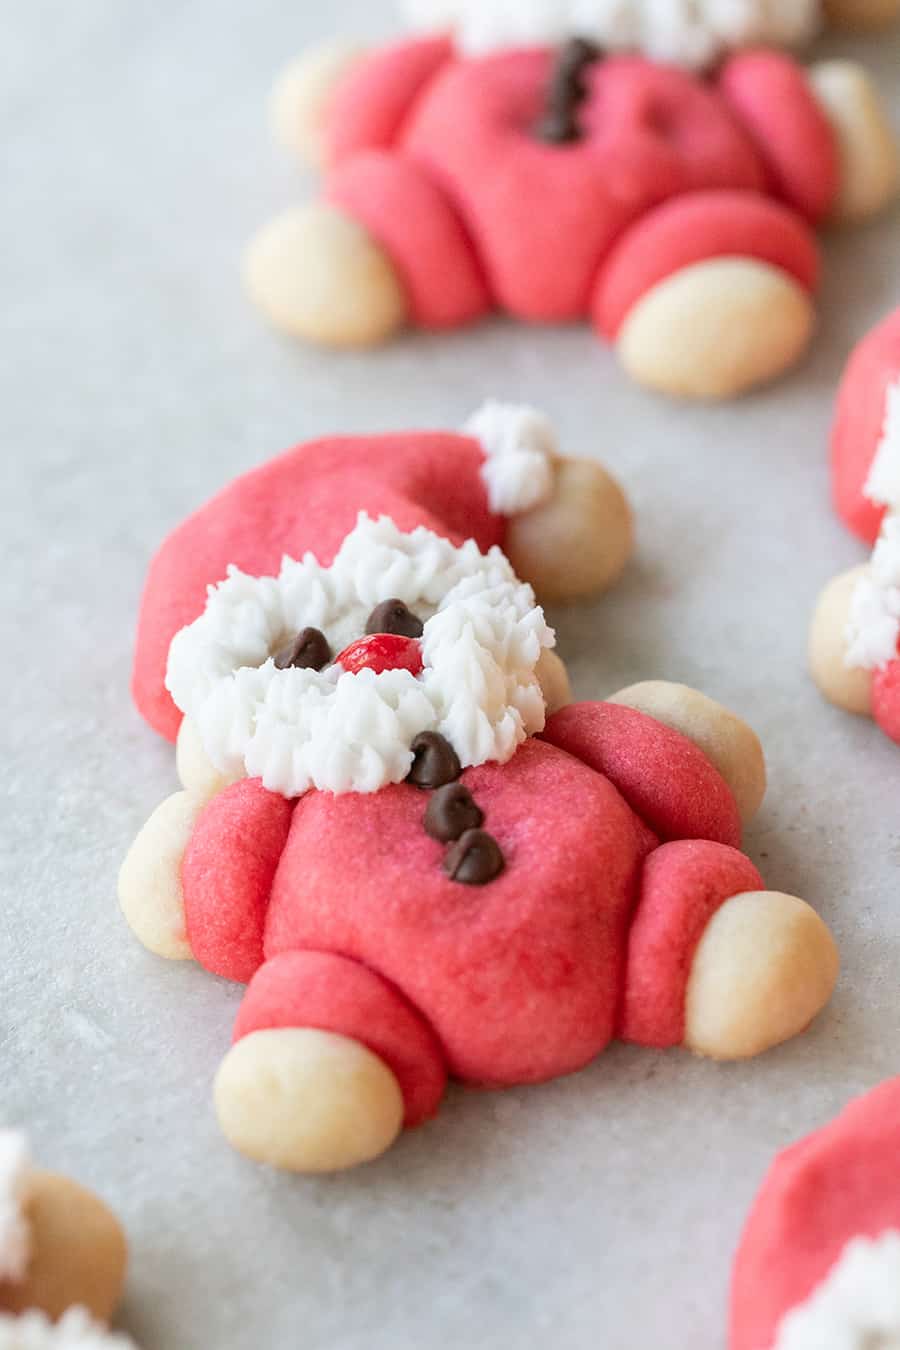
They are the cutest and look lovely on a platter or in a cookie container! They’re buttery and delicious, and you’ll almost feel bad for eating their legs and head, but you won’t regret it once you have a taste! Below is the recipe to make these little guys.
Santa Cookie Ingredients
Butter: I use unsalted, room-temperature butter for this recipe. I like to use good quality butter as these are butter cookies; the better the butter, the better the taste!
Granulated Sugar: Used to sweeten the cookies.
Milk: You can use whole milk or 2% milk.
Vanilla Extract: Use pure vanilla extract when baking.
All-Purpose Flour: I use King Arthur all-purpose flour. If you want to substitute with gluten-free Flour, you can use Bob’s 1-to-1 gluten-free baking flour.
Red Food Coloring: For anyone who doesn’t mind using red dye, it’s the only way to get a red color for Santa’s suit. You can use natural food coloring, which gives the body pink instead of red.
Mini Chocolate Chips: These are for the eyes and the buttons. I use semisweet chocolate chips, but milk chocolate or dark chocolate will work.
Red Hots: These little red cinnamon candies are used for the nose. You can get creative and use any small red candy you prefer.
Frosting
Shortening: This creates a sturdy frosting that keeps its shape when piped. It also dried nicely. You can also use cream cheese instead for more flavor.
Vanilla Extract: Use pure vanilla to flavor the frosting.
Milk: Whole milk or 2% creates a smooth texture.
Confectioners Sugar: Also known as powdered sugar, this is the base and sweetener of the frosting.

How to Make Santa Cookies
- Preheat the oven to 325 degrees and prepare a baking sheet.
- Using an electric mixer with the paddle attachment (or an electric hand mixer), beat the butter on high for 30 seconds. Add sugar and beat until combined, scraping down the sides of the bowl. Beat in milk and vanilla.
- Turn the mixer to low speed and gradually add in the Flour.
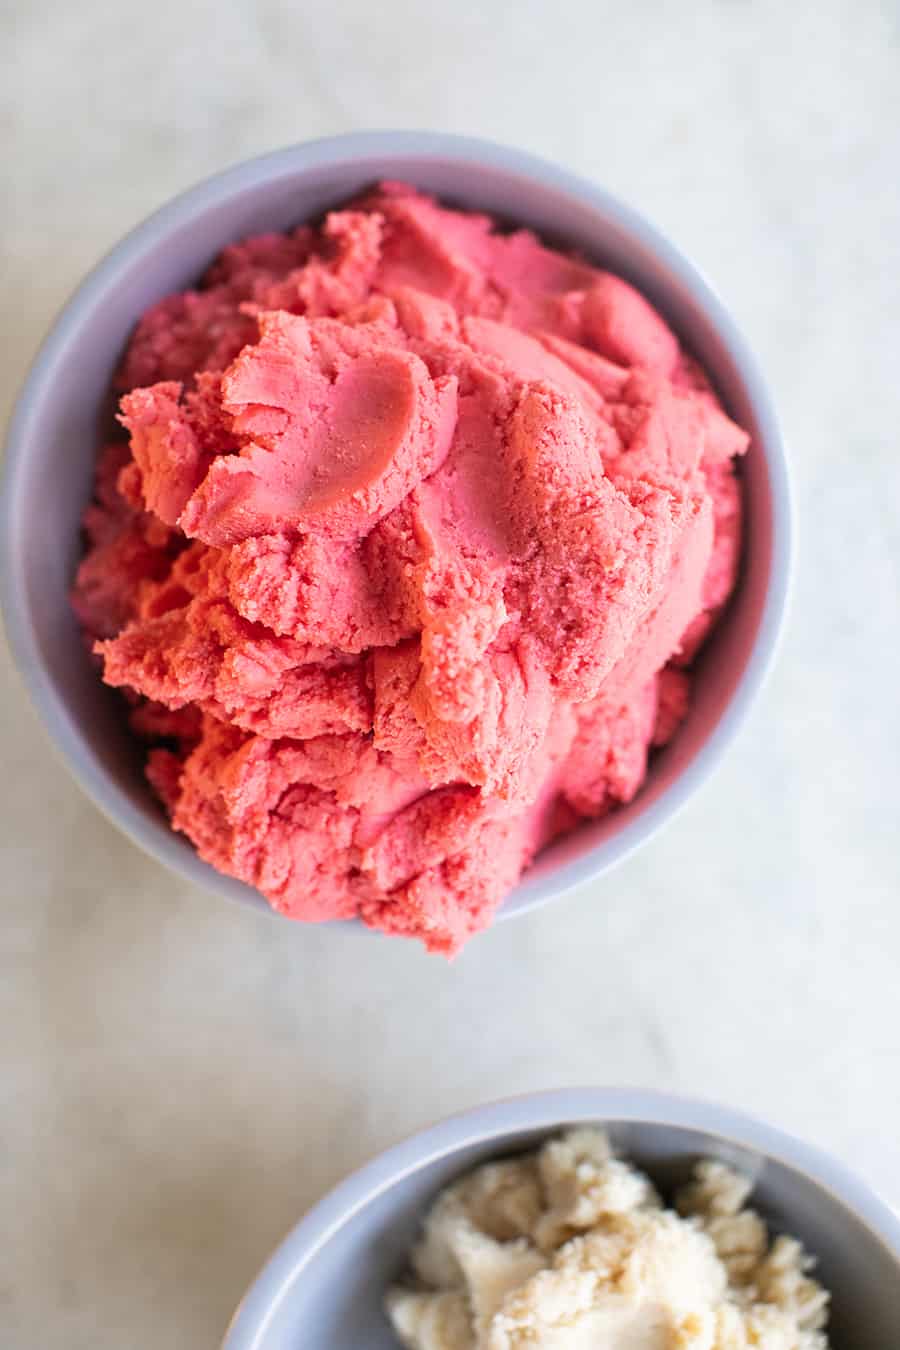
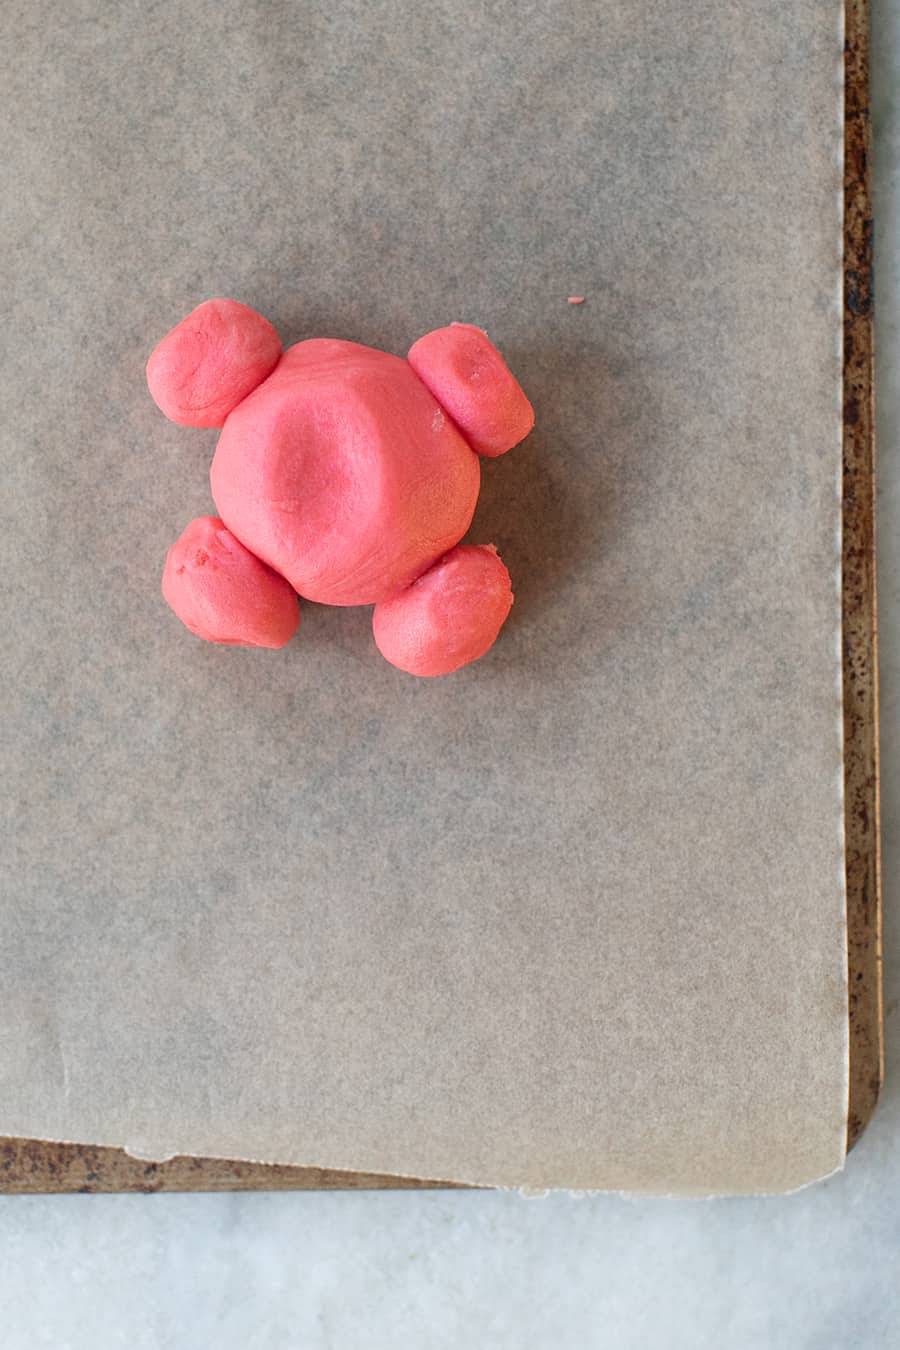
- Remove 1 cup of dough and set aside. Mix red food coloring in the remaining dough. Make one 1-inch dough ball and five 1/2-inch dough balls from the red dough.
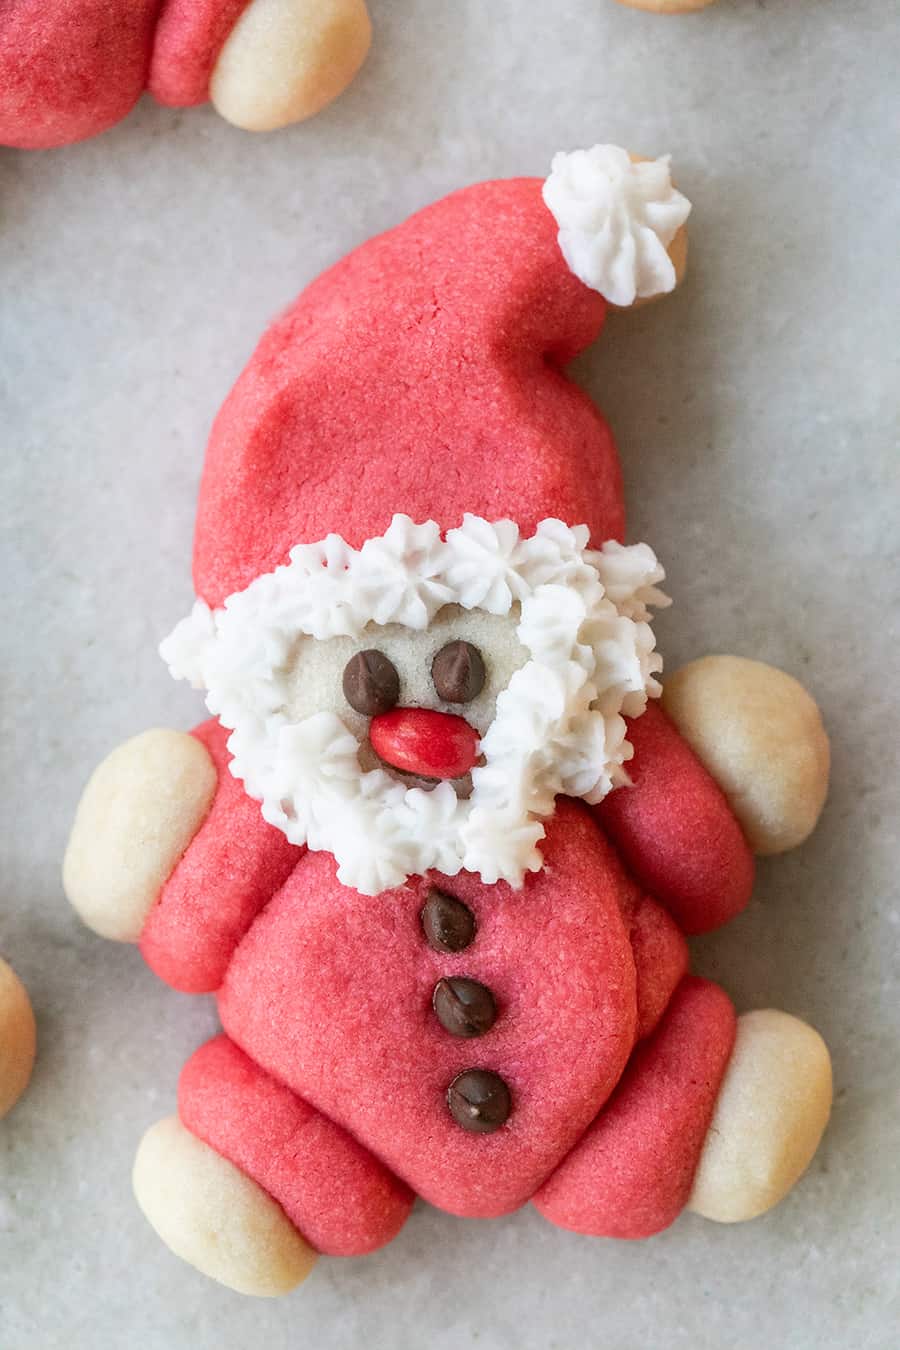
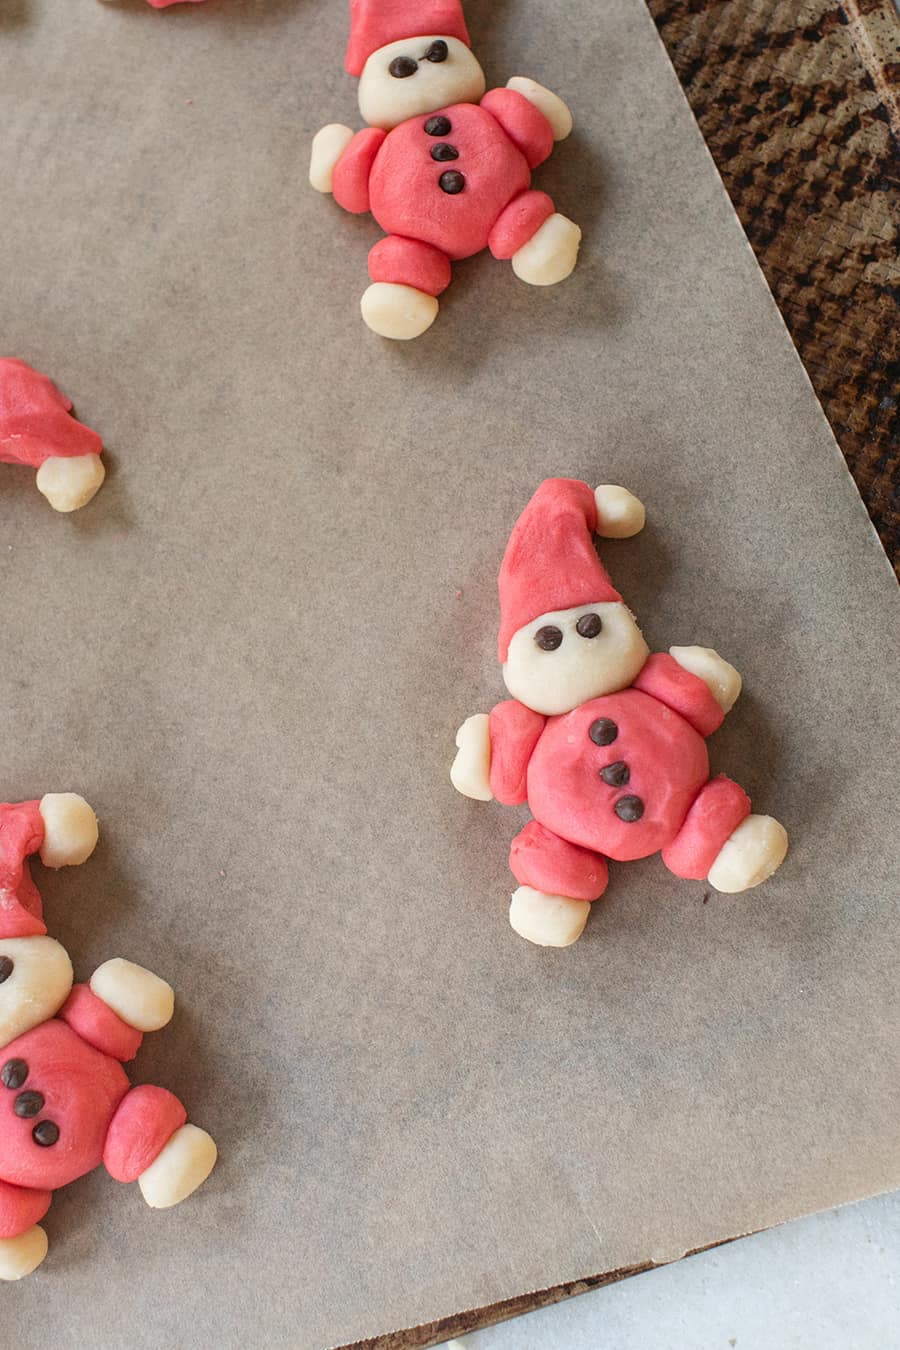
- From the plain dough, make a 3/4-inch ball and four 1/4-inch. Attach them by pushing the dough together, as the picture shows. Add the chocolate chips for the eyes and three buttons.
- After the Santas are assembled on a cookie sheet, bake cookies for 12-15 minutes. Let cool for 2 minutes.
- To make the frosting, beat shortening and 1/2 teaspoon vanilla in a mixer for 30 seconds. Gradually add powdered sugar and enough milk to make the frosting piping consistent.
- Spoon frosting into a decorating bag and use a medium star tip to pipe Santa’s beard hat and add the nose! Voila, you have a charming little cookie!
Tips & Variations
- Press the dough firmly together so Santa keeps his shape while baking.
- Add enough milk to the frosting to make it smooth and pipeable.
- Switch up the candy buttons — use whatever tiny candies you love.
- Use natural food coloring for a softer, pink Santa.
- Easily make these gluten-free with a 1:1 gluten-free flour.
- Make the dough a day ahead and chill until ready to shape.
Piping Tips
- Piping looks intimidating, but you truly can’t mess up these beards — they’re meant to be fun and imperfect.
- A tall glass + piping bag + frosting tip makes setup super easy.
- Snip a small hole in the piping bag, drop in the tip, then fold the bag over the rim of the glass to fill it mess-free.
- Fill the bag about ¾ full, then twist the top (use a rubber band if you have one).
- Practice a few strokes on parchment to warm up, then pipe Santa’s beard and enjoy the charm!

How to Store and Freeze
These cookies can be stored at room temperature in an airtight container for 3 days.
You can also freeze these cookies for 2 months. Bring them to room temperature before serving.
More Christmas Cookie Recipes
Holidays
Santa Hat Gingerbread Cupcakes
Holidays
Christmas Sugar Cookies
Holidays
Spritz Cookies Recipe
Christmas
Gingerbread House Recipe
I hope you love these Santa cookies as much as we do! They are fun to make (especially with kids) and will be a huge hit at any holiday gathering.
If you make these Christmas cookies, please leave a review below. I’d love to know what you think! Happy holidays!

Roly-Poly Santa Cookies
Ingredients
Roly Poly Santa Cookie Recipe
- 1 cup unsalted butter
- 1/2 cup granulated sugar
- 2 tablespoon milk
- 1 teaspoon vanilla extract
- 2 1/4 cups all-purpose flour
- red food coloring, A natural food coloring will turn Santa pink.
- mini-chocolate chips, for eyes and buttons
- Red Hots for nose
Recipe for frosting:
- 1/2 cup shortening, or cream cheese
- 1/2 teaspoon vanilla extract
- 1 1/3 cup powdered sugar
- 1 tablespoon milk
Instructions
Santa Cookie Dough
- Preheat the oven to 325 degrees and prepare a baking sheet.
- Using an electric mixer with the paddle attachment (or an electric hand mixer), beat the butter on high for 30 seconds. Add sugar and beat until combined, scraping down the sides of the bowl. Beat in milk and vanilla.
- Turn the mixer to low speed and gradually add in the Flour.
- Remove 1 cup of dough and set aside. Mix red food coloring in the remaining dough. Make one 1-inch dough ball and five 1/2-inch dough balls from the red dough.
- From the plain dough, make a 3/4-inch ball and four 1/4-inch. Attach them by pushing the dough together, as the picture shows.
- Add the chocolate chips for the eyes and three buttons.
- After the Santas are assembled on a cookie sheet, bake cookies for 12-15 minutes. Let cool for 2 minutes.
Recipe for frosting:
- To make the frosting, beat shortening and 1/2 teaspoon vanilla in a mixer for 30 seconds. Gradually add powdered sugar and enough milk to make the frosting piping consistent.
- Spoon frosting into a decorating bag and use a medium star tip to pipe Santa's beard hat and add the nose! Voila, you have a charming little cookie!
Video
Notes
- When making the Santa shape, press the dough securely together so Santa can hold his shape when baking.
- For the frosting, ensure you add enough milk to get the right consistency to the pipe.
- You can switch up the type of candy you use for buttons, get creative, and use your favorite little candies.
- Use natural food coloring if you don’t want to use red dye. You can make charming pink Santas!
- Make gluten-free by using gluten-free baking flour.
- Make the dough the day before and store it in the refrigerator until ready to shape.
Nutrition
Nutrition information is automatically calculated, so should only be used as an approximation.




These did not work at all. Didn’t you forget to add eggs to the dough? They fell apart and also were too flat/spread out in baking. I’ve been baking for 42 years so I’m not exactly a novice… what do you suggest?
There are no eggs in this recipe. You have to push the dough close together on the cookie sheet, then let them bake and cool completely before moving them. They are delicate, but they should stick together. We’ve been making these for years and they’re always turn out really cute!
I could not get my Santa’s to stay together after baking. I let them cool completely before moving them but the arms and legs keep falling off when I move them. What is wrong?