This post may contain affiliate links. Please see our disclosure policy.
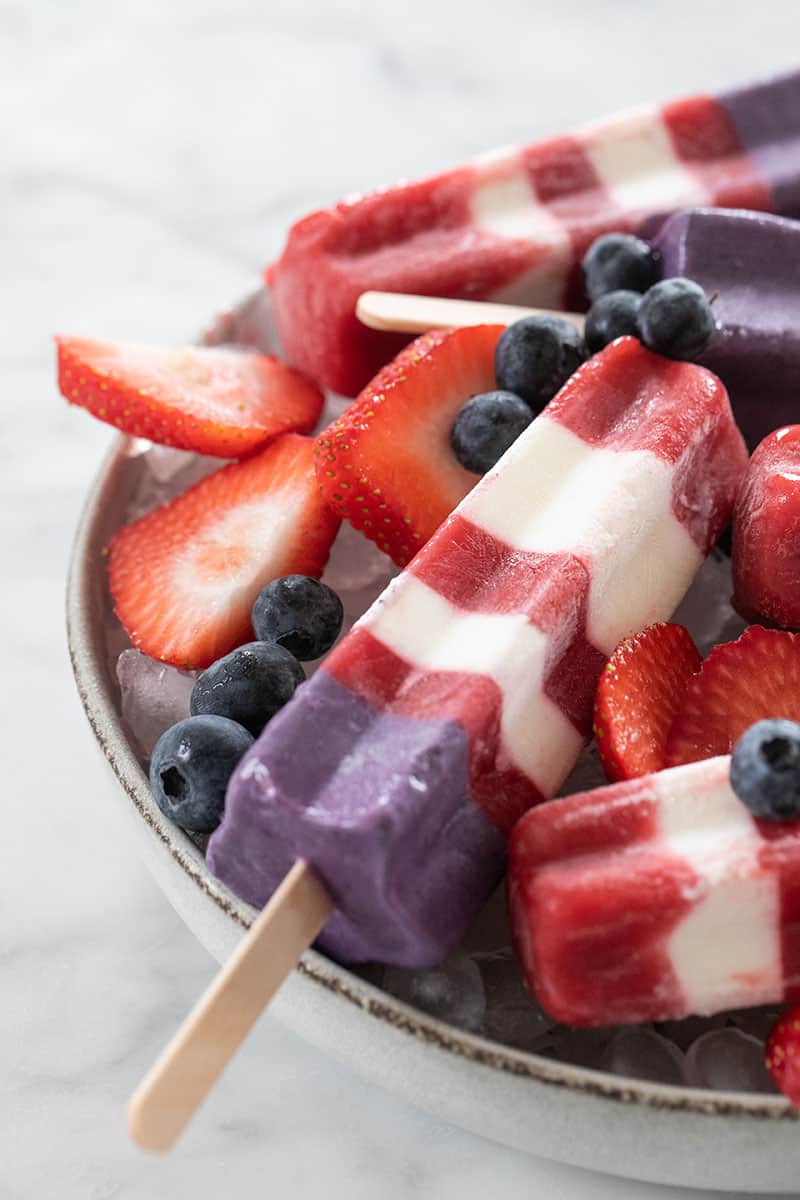
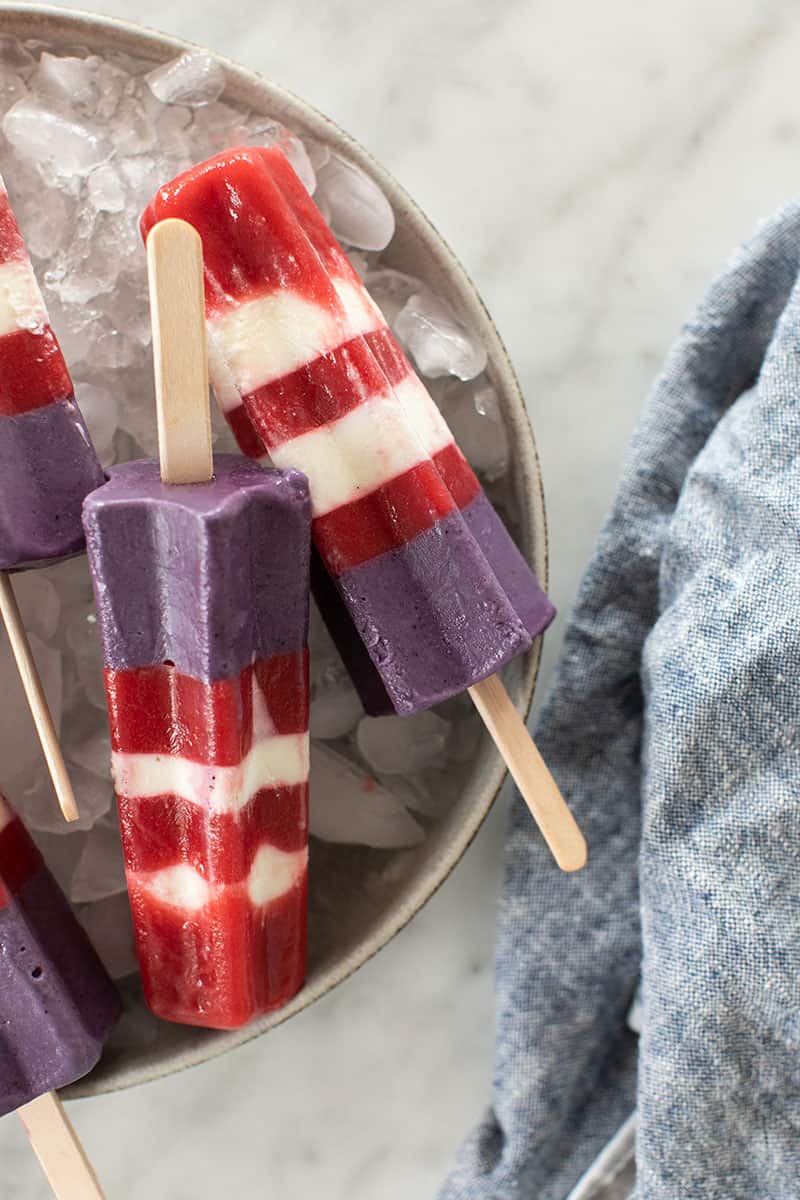
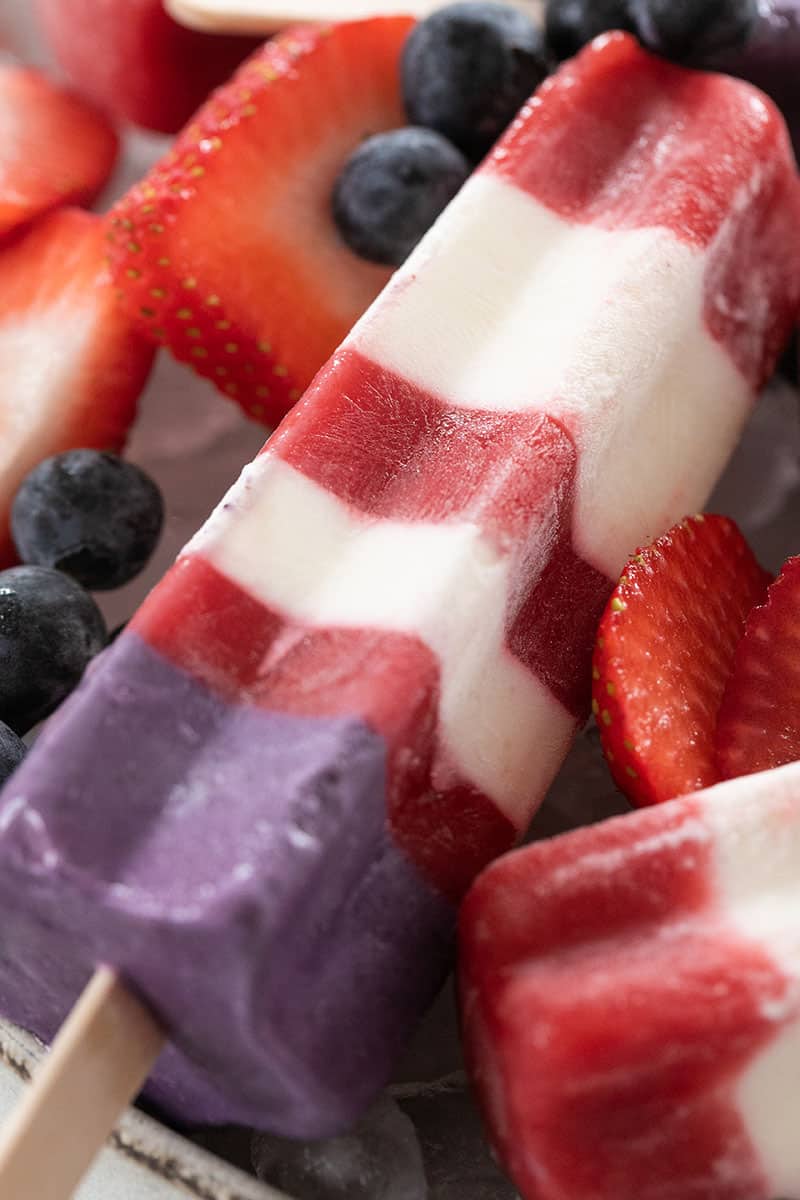
This is a delicious recipe for a classic, childhood favorite bomb pops popsicles! Made with whole ingredients, they’re creamy, colorful, and flavorful! These popsicles are perfect for celebrating the 4th of July and a great summer treat. Also, check out our guide to making the best popsicles!
Pin this now to find it later
Pin ItI still remember running outside when I heard the ice cream truck circling through our neighborhood. My popsicle of choice was the classic bomb pop popsicle. I wanted to create a homemade version of this popsicle to share with my kids and for a fun 4th of July treat.
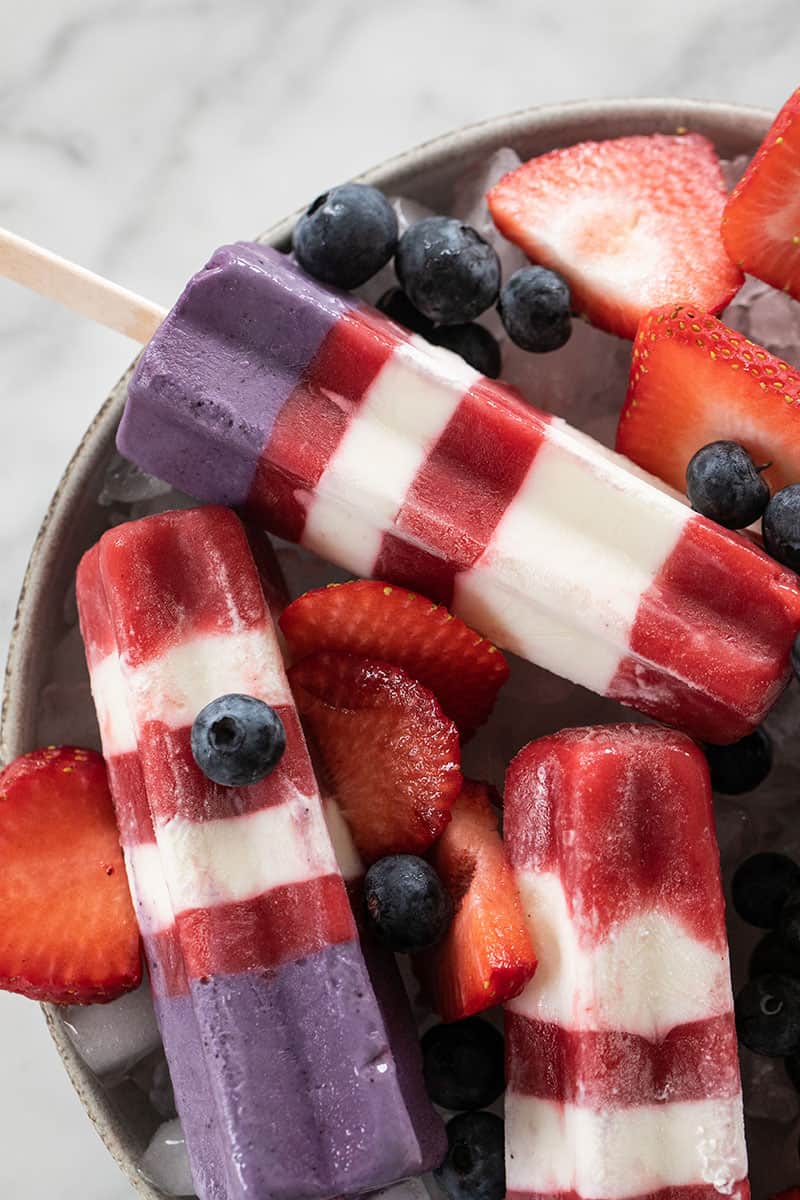
This recipe uses fresh fruit and yogurt. It’s sweetened with a little sugar, you can always use honey, and flavored with whole ingredients. That’s the benefit of making your own bomb pop popsicles!
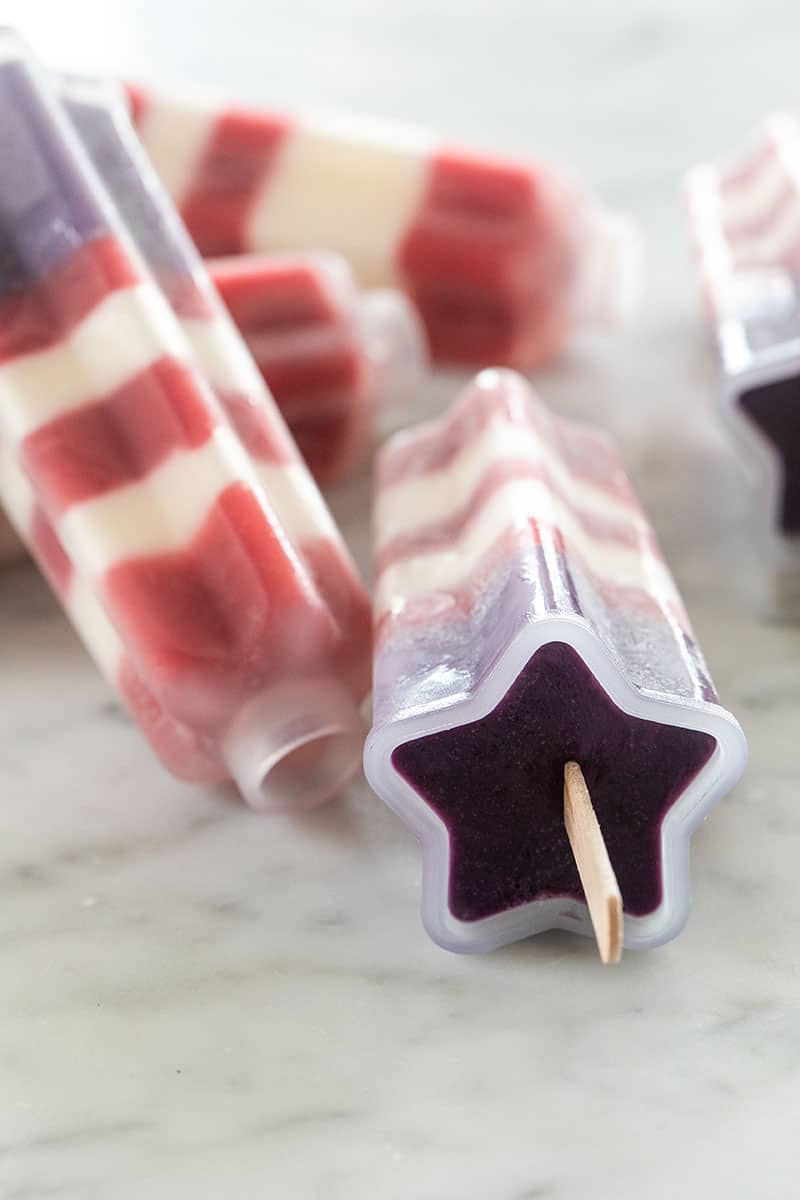
The popsicles consist of three red, white, and blue layers. The blue layer does have more of a purple color because, well blueberries aren’t so blue when you blend them up!
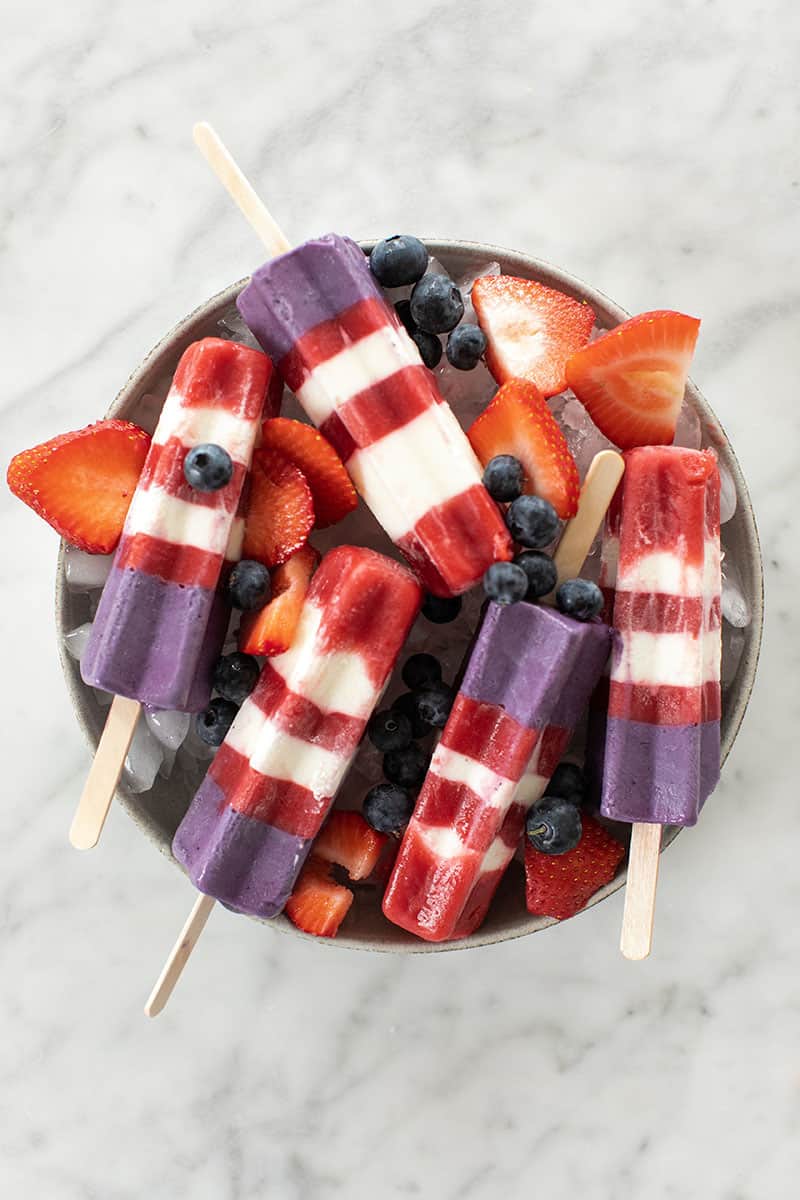
We experimented with a few different options to try and make the layer natural blue color, but nothing seemed worth the extra trouble since we want these to be easy.
If you really want a super blue flavor, food coloring really is the best way. However, you can leave it more of a purple hue as we did.
How to Make Bomb Pops
Red Popsicle Layer
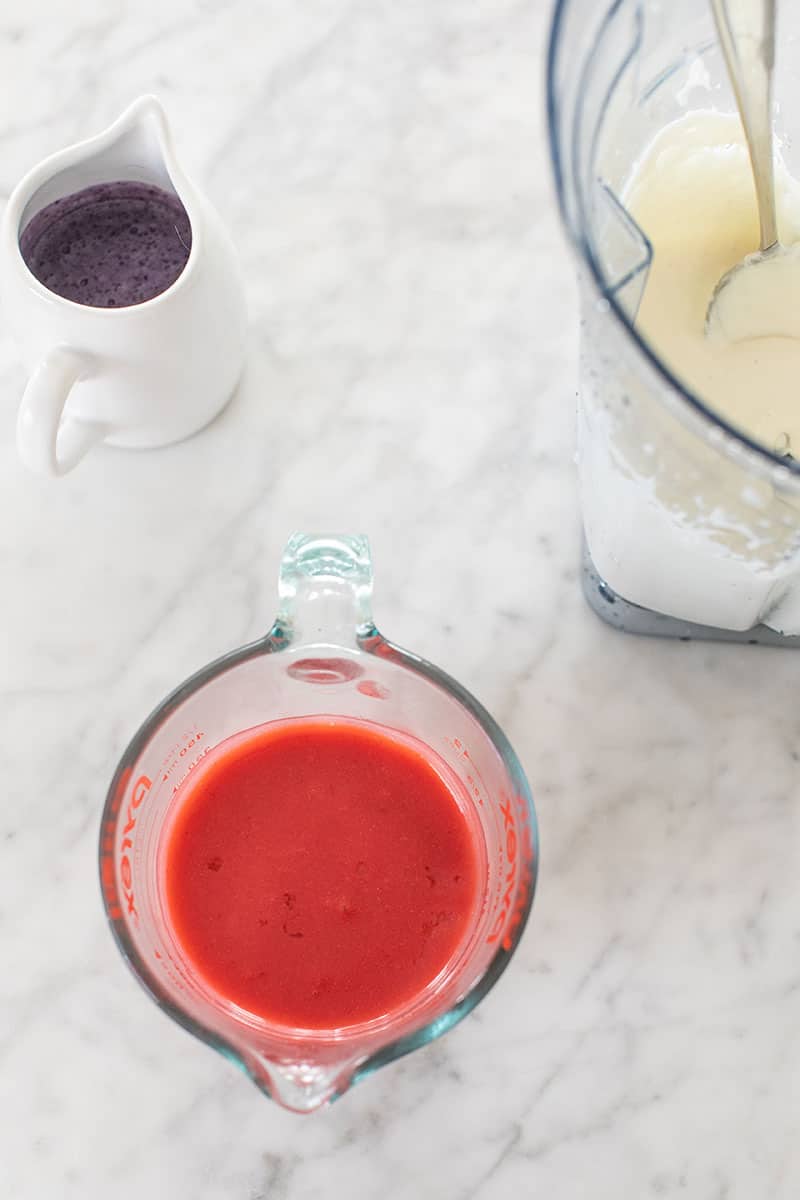
The red layer is made with strawberries, cornstarch lemon juice, and sugar.
So the cornstarch helps keep them creamy! I use it in my ice cream recipes too, like this raspberry cheesecake swirl.
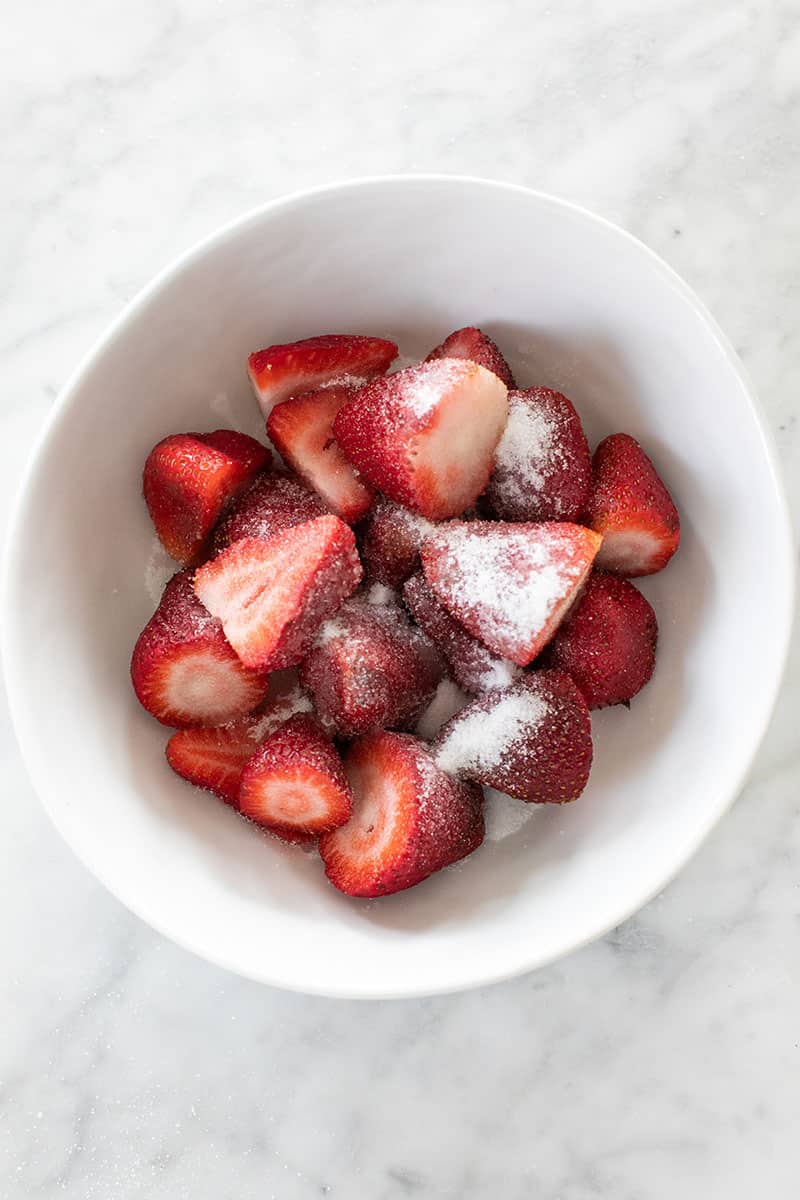
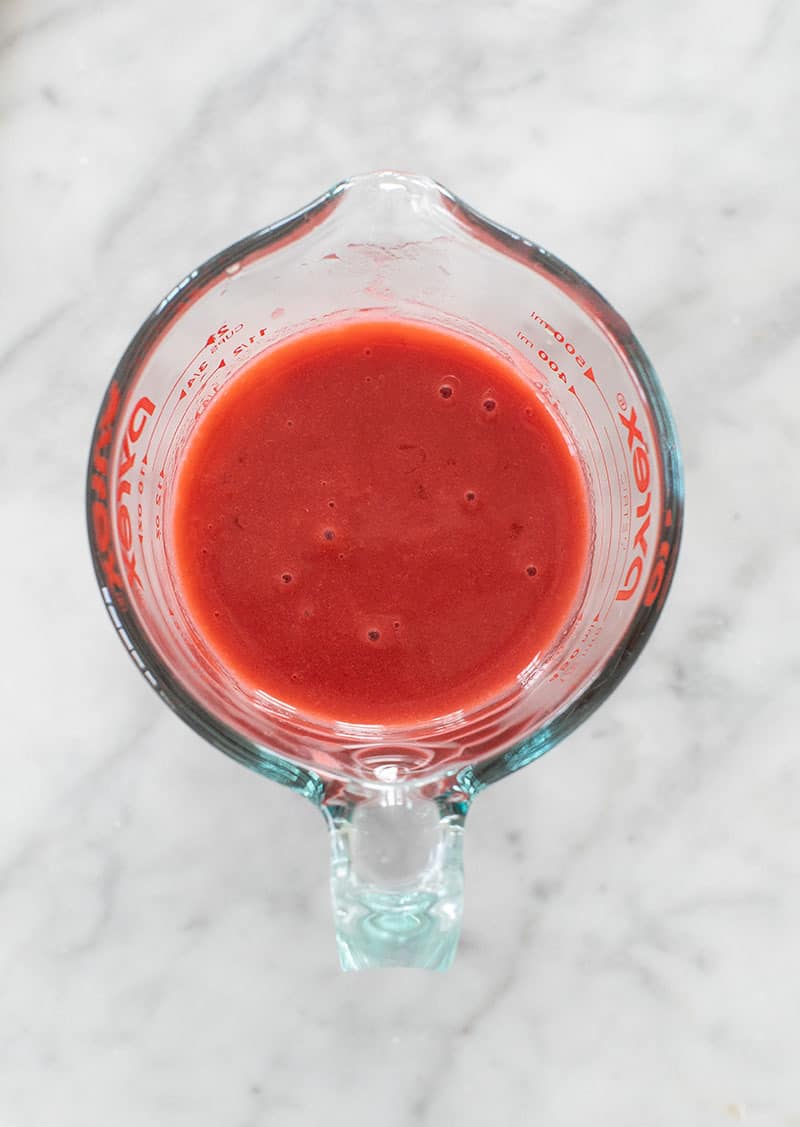
White Popsicle Layer
The white layer is made with vanilla yogurt and milk. You can use coconut milk, almond milk, or whole milk. It also has sugar and cornstarch.
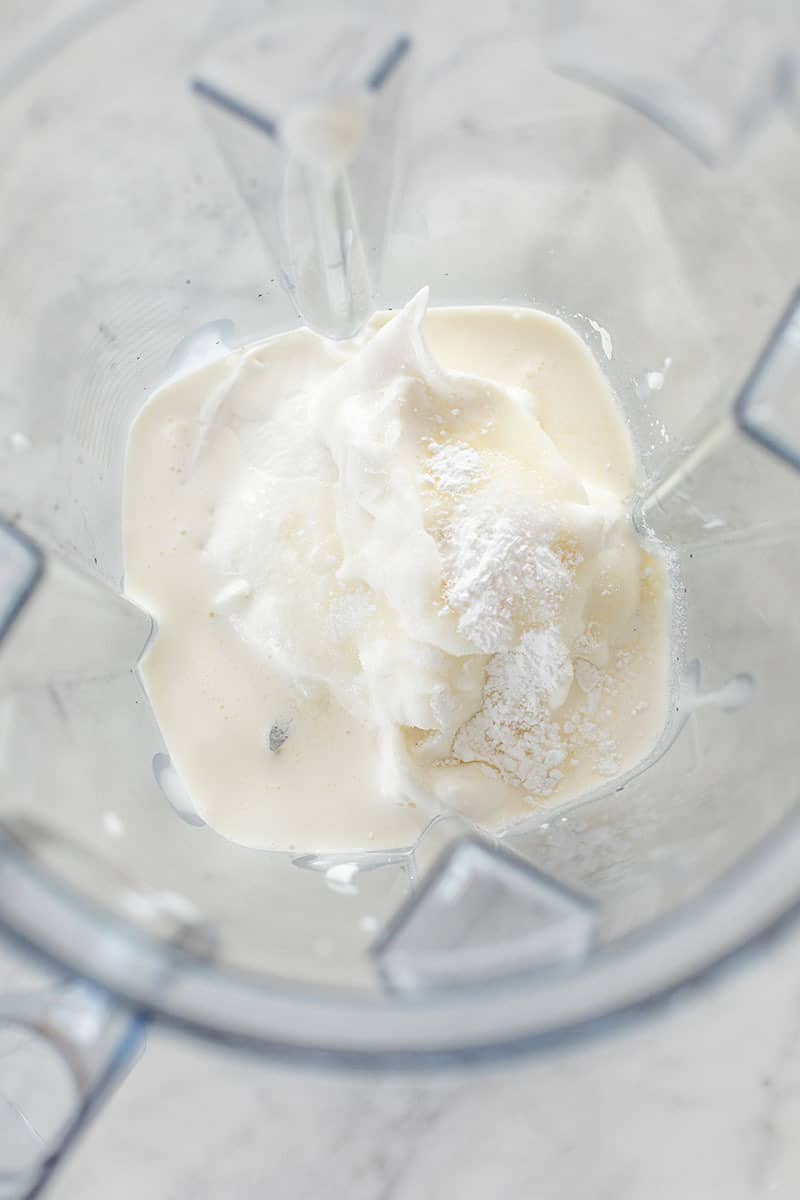
Blue Popsicle Layer
The blue (purple if we’re being honest!) layer is made with blueberries, sugar, cornstarch, and a little milk. Almond or coconut milk.
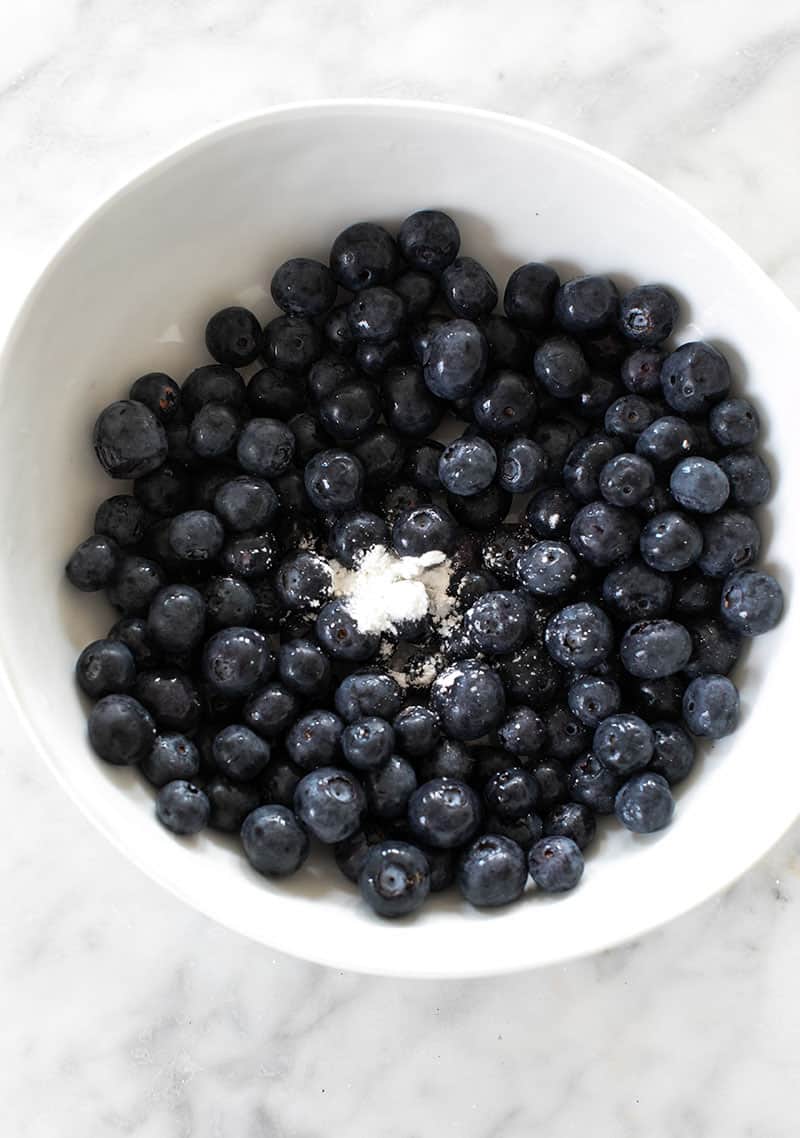
Blend all of the ingredients together in a blender until smooth.
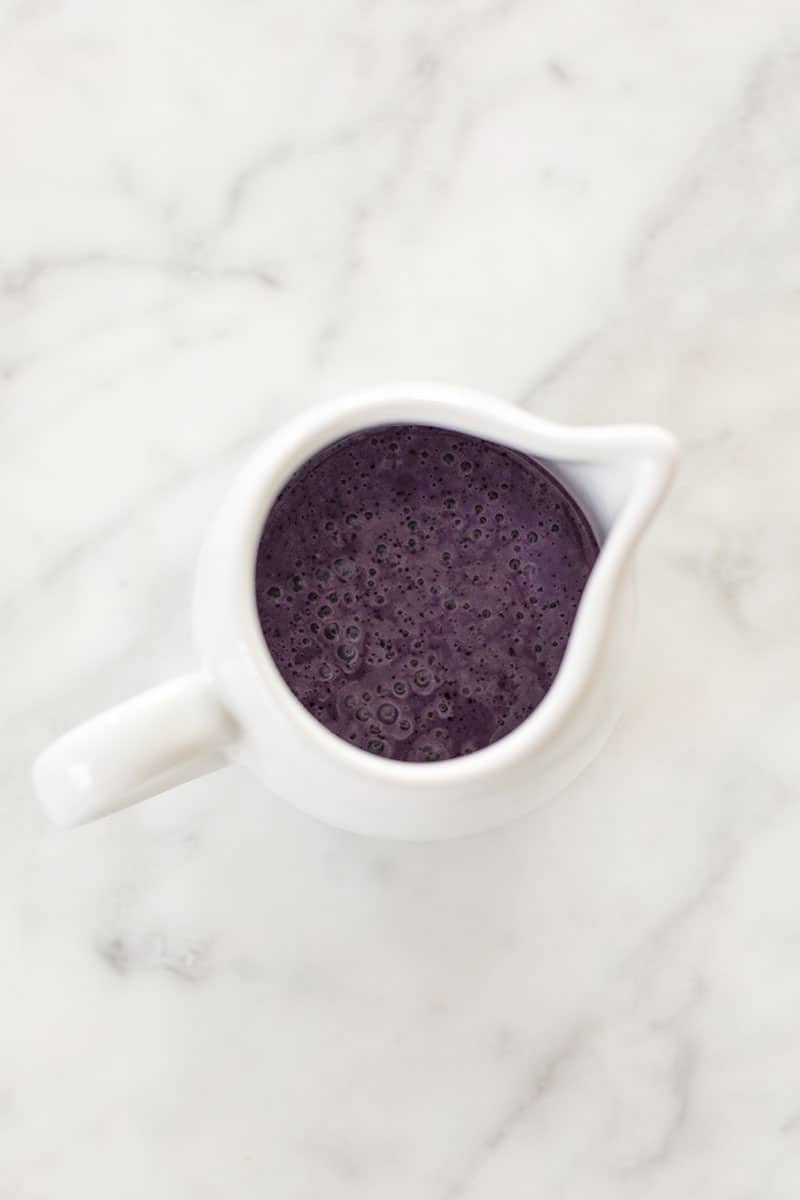
Making Bomb Pop Popsicles
Once you have all of the simple ingredients prepared, these are really easy to make.
Make each one of the layers separately and store it in a container with a spout. To make the layers just blend the ingredients in a blender on high until they are fully blended and smooth.
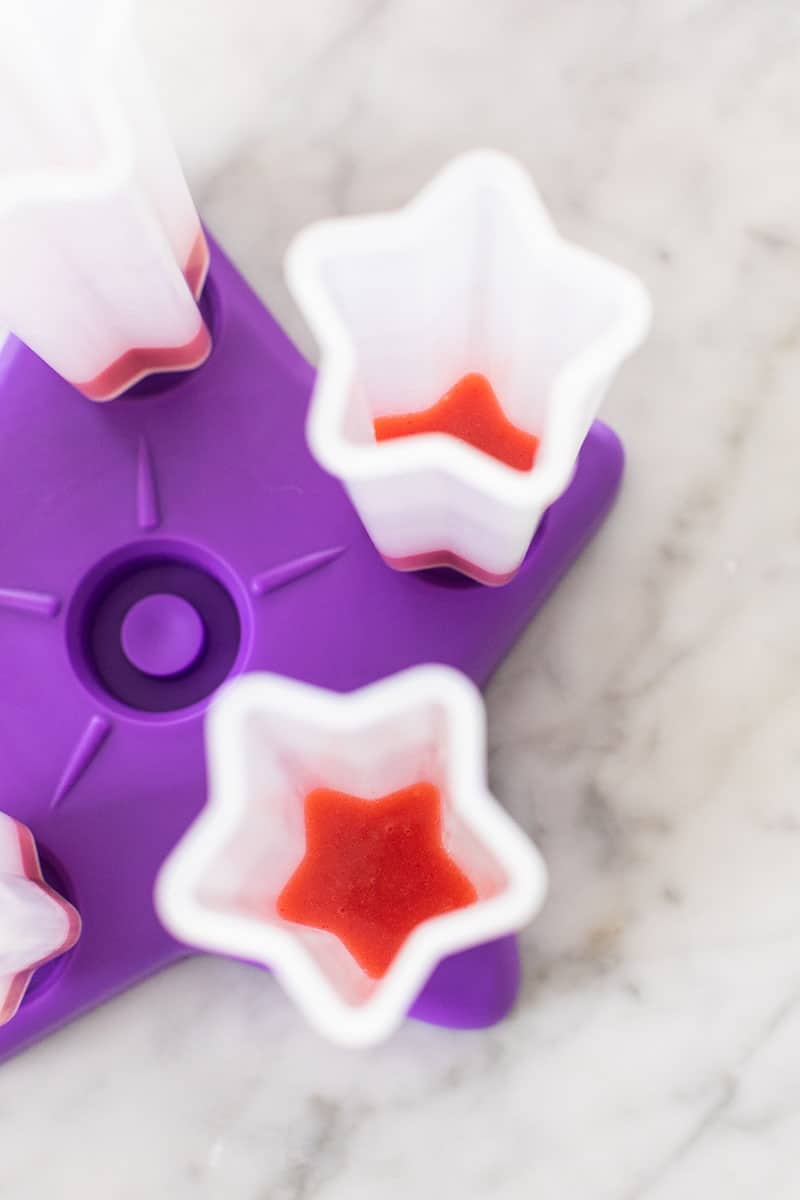
Creating Layers
Each layer has to freeze, so pour the first layer in the popsicle mold and then freeze for 30 minutes. Then add in the next layer and freeze. Continue until you reach the top.
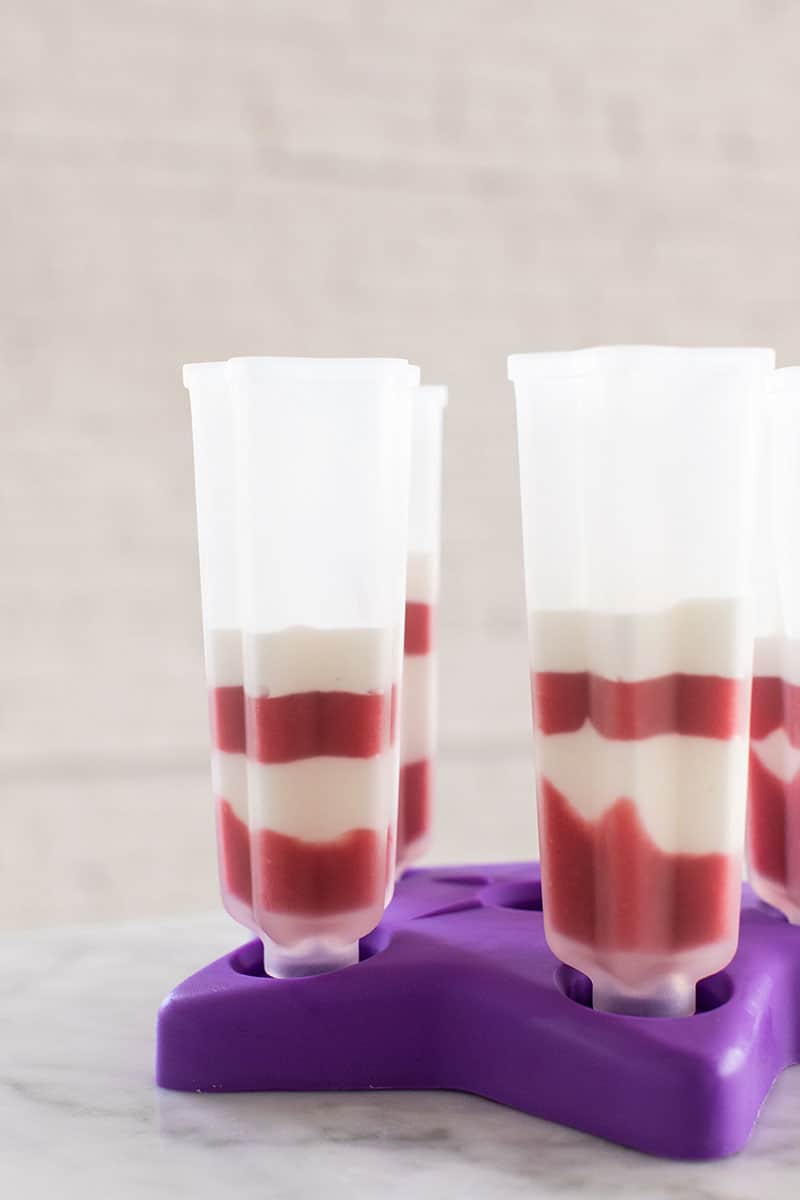
Add the popsicle stick in before you reach the middle of the mold to freeze in place.
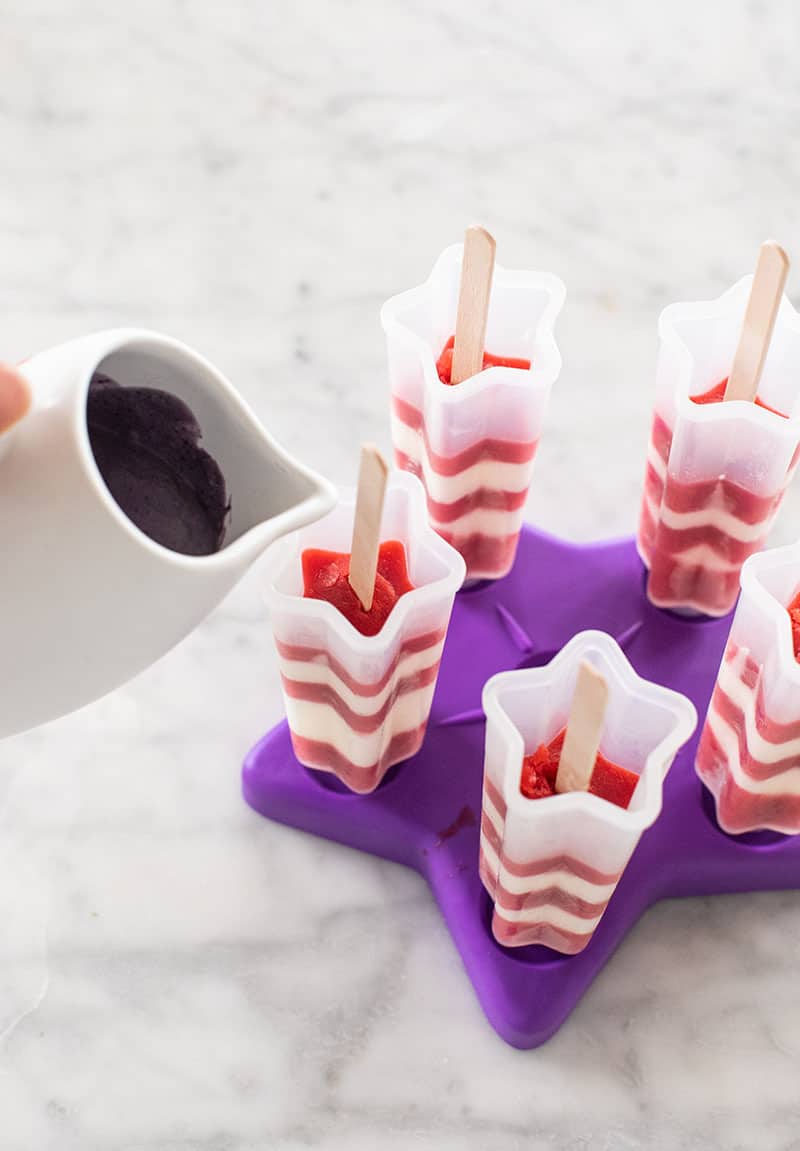
Choose whatever layer pattern you want. Classic bomb pop popsicles are three layers of red, white and blue. We did a few layers of red and white and then all blue at the bottom.
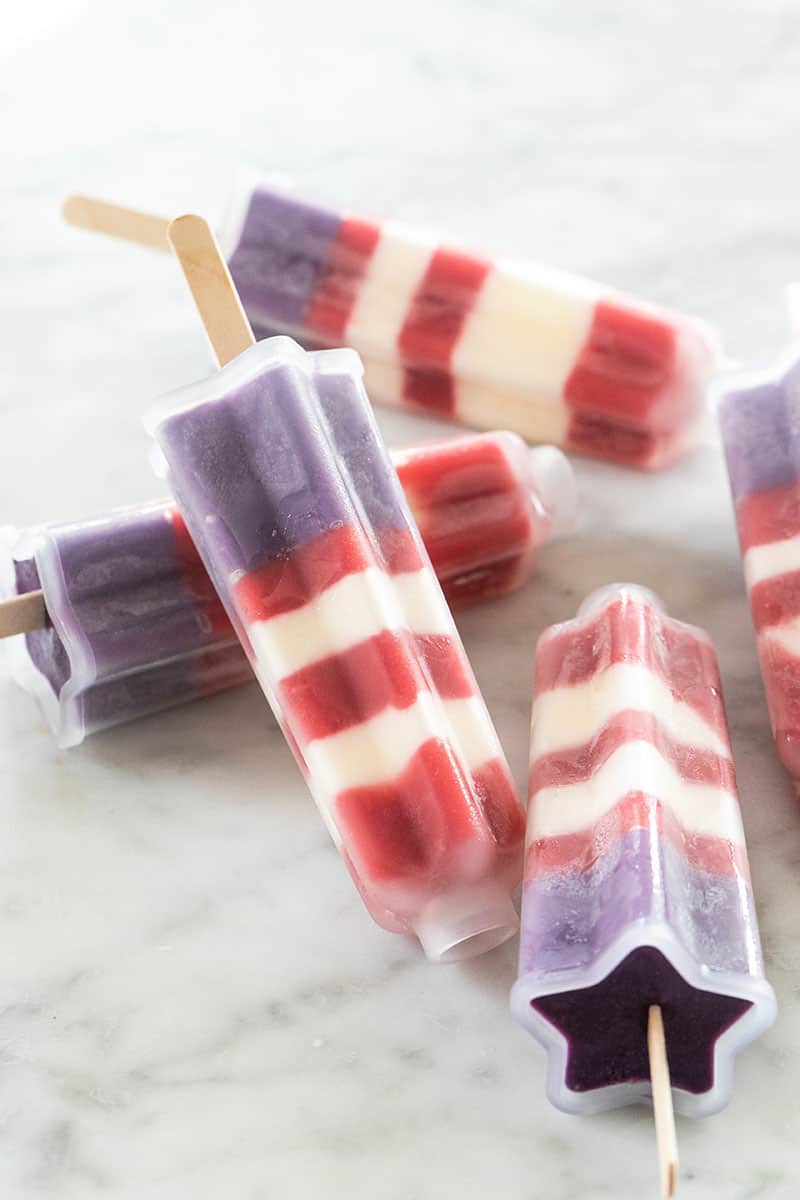
Bomb Pop Popsicle Mold
However, we’ve made popsicles with this mold recently for the kids and used the sticks it comes with. They work really well and have a little area to catch drips.
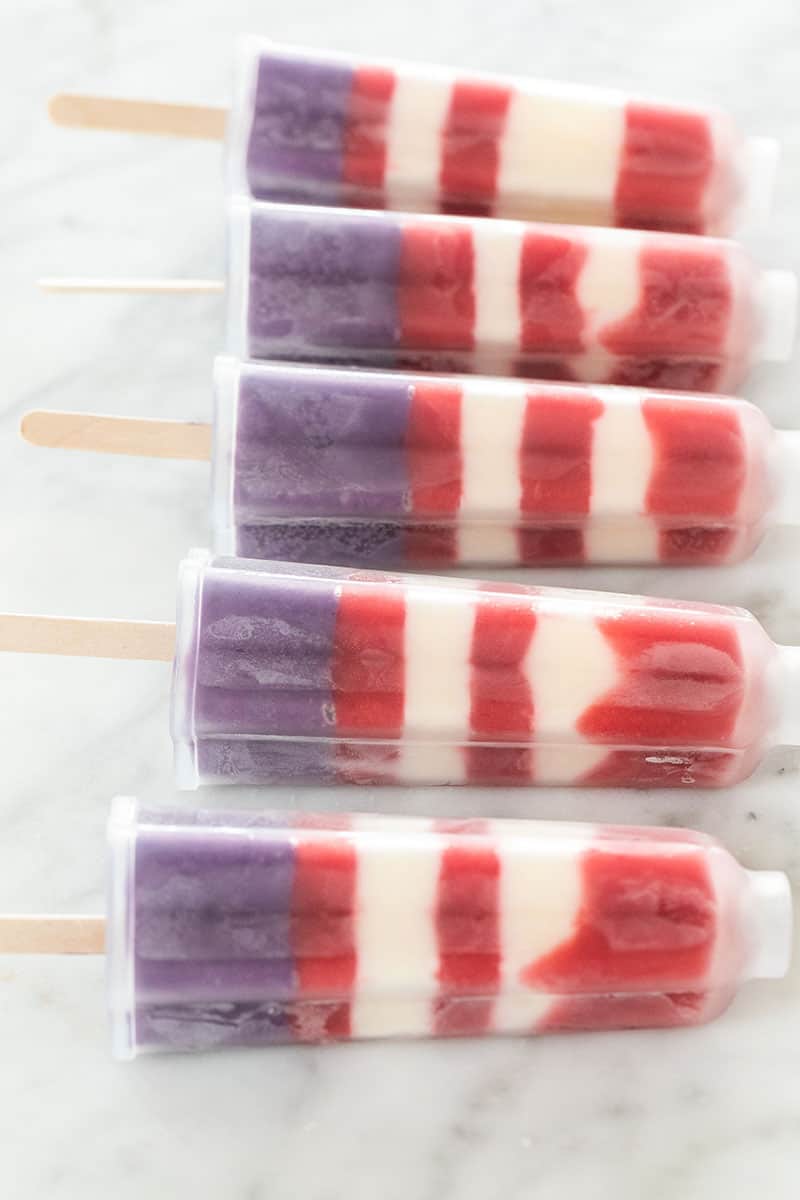
Tips for Making Popsicles
Make sure to leave about 1/4″ space at the top of the mold for the popsicle to expand.
When juice and water freezes, it expands. If the juice and ice expand over the mold, it makes the removal of the lid on the mold harder. Also, you don’t get a clean edge to your popsicle.
More 4th of July Recipes You’ll Love
Refreshing Watermelon 4th of July Cocktail
Red, White and Blue 4th of July Jello Shots
More Popsicle Recipes You’ll Love
Peachy Mango Protein Popsicles
Peachy Mango Protein Popsicles
Let us know if you make these bomb pops by leaving a comment and review below!
You can also FOLLOW US on FACEBOOK, INSTAGRAM, and PINTEREST to see more delicious recipes, cocktails, desserts, and parties!

Bomb Pops Popsicle Recipe
Equipment
- Popsicle mold
- Blender
Ingredients
Red Layer
- 2 cups fresh strawberries, tops removed, washed and cleaned.
- 3 tbsp granulated sugar , you can also use honey
- 1 tsp lemon juice, fresh-squeezed
- 1/2 tsp cornstarch
White Layer
- 1/2 cup vanilla yogurt
- 1 cup milk, coconut, almond or whole milk
- 1 tbsp granulated sugar
- 1 tsp cornstarch
Blue Layer
- 1/2 cup blueberries, washed and cleaned
- 3 tbsp granulated sugar , you can also use honey
- 1 cup milk, coconut, almond or whole
- 1 tsp cornstarch
- blue dye , optional
Instructions
- Start with the white layer and blend the ingredients in a blender until smooth.
- Pour into a bowl or container with a spout and store in the refrigerator.
- Wash the blender and make the red layer blening until smooth.
- Pour into a container with a spout.
- Lastly, make the blue layer blending until smooth.
- Next, pour the red layer in first, then freeze for 20 minutes.
- Continue adding layers and freezing between each layer, before adding another layer over the top.
- Add the popsicle stick in when you get 1/2 through the mold.
- Once the mold is full freeze over night.
- To remove the popsicles, run the mold under warm water until it easily releases.
Nutrition
Nutrition information is automatically calculated, so should only be used as an approximation.



How far in advance could you leave the mixture in the fridge before actually assembling and freezing? Taking these to the lake house, and I don’t want the colors melting en route, but I’d also like to prep as much as possible! TIA!
Hi! I would only store the mix for one day, so the day before. Then freeze the next day. Good idea to prep for these because they can be a little time consuming waiting for each layer to freeze!
Matt just showed me these, we are definitely making these for the 4th!
The perfect treat all summer long and especially for the 4th of July!
The kiddos loved them! Definitely making again. They are perfect for the 4th!
These are incredible! My kids love making them and eating them! Always a hit! Thanks for sharing!
Oh, I just love these! SO delicious!
Thank you Katie!